> ## Documentation Index
> Fetch the complete documentation index at: https://notes.kodekloud.com/llms.txt
> Use this file to discover all available pages before exploring further.
# Docker Trusted Registry Setup
> This guide explores Docker Trusted Registry, its capabilities, and deployment within a Docker Universal Control Plane cluster.
In this guide, we’ll explore Docker Trusted Registry (DTR), starting with a quick recap of Docker Registry, then diving into DTR’s capabilities, and finally covering deployment and configuration within a Docker Universal Control Plane (UCP) cluster.
## Docker Registry Recap
Docker Registry is the central store for container images. By default, `docker pull` and `docker push` interact with Docker Hub. To target a private registry or another namespace, include the full path:
```bash theme={null}
# Pulling from Docker Hub
docker pull ubuntu
# Pushing to Docker Hub (requires permissions)
docker push ubuntu
# Pulling from a Google Container Registry (GCR) namespace
docker pull gcr.io/your-org/ubuntu
```
## Introducing Docker Trusted Registry
Docker Trusted Registry (DTR) is Docker’s on-premises, enterprise-grade image repository. It delivers:
* **Security Scanning**\
Automated vulnerability checks integrated into your CI/CD pipelines.
* **Image Signing**\
Enforce image provenance with [Docker Content Trust].
* **Role-Based Access Control (RBAC)**\
Granular permissions to govern who can view, push, or pull each repository.
## Deploying DTR on a UCP Cluster
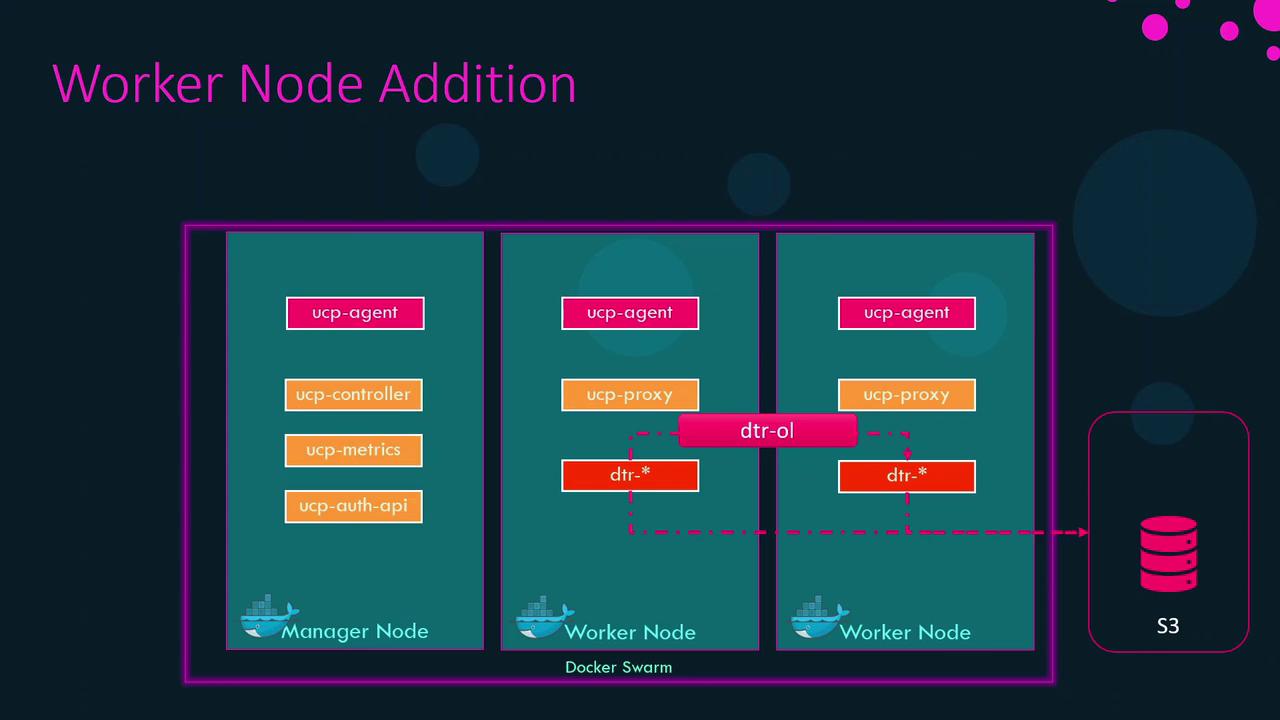
DTR runs as a service on a UCP worker node. Follow these steps to install DTR:
### Prerequisites
| Requirement | Details |
| ------------------ | ------------------------------------------- |
| Worker Node | New node dedicated to DTR |
| Docker Engine – EE | Enterprise Edition installed |
| UCP Cluster | UCP 3.x or later, accessible over TLS/HTTPS |
### Installation Steps
1. **Provision a Worker Node**\
Spin up a new server (VM or bare metal) and install Docker Engine – Enterprise.
2. **Join the UCP Cluster**\
On the new node, run:
```bash theme={null}
docker swarm join --token :2377
```
UCP’s agent (`ucp-agent`) will install automatically.
3. **Retrieve the DTR Install Command**\
In the UCP Web UI, navigate to **Settings > DTR**, and copy the provided `docker run docker/dtr install ...` command.
4. **Execute the Installer**\
Run the command on your worker node:
```bash theme={null}
docker run --rm -v /var/run/docker.sock:/var/run/docker.sock \
docker/dtr install \
--ucp-node-address \
--ucp-insecure-tls \
--dtr-external-url https://dtr.example.com
```
For production environments, deploy **at least three** DTR replicas to ensure high availability.
### High Availability and Raft Consensus
DTR leverages the Raft algorithm to synchronize metadata and configuration across replicas—much like Docker Swarm ensures consistent cluster state.
### Overlay Network: `dtr-ol`
Upon installation, UCP creates an overlay network called `dtr-ol`. This network allows DTR replicas to communicate securely and replicate data.
### External Storage for Images
By default, images are stored on each node’s local filesystem, which can risk data loss in multi-instance setups. Instead, configure an external store:
| Storage Type | Description | URI Example |
| ------------ | ------------------------- | --------------------- |
| NFS | Network File System share | `nfs://server/export` |
| Amazon S3 | AWS object storage | `s3://my-dtr-bucket` |
| Google GCS | Google Cloud Storage | `gs://my-dtr-bucket` |
Ensure the DTR service account has read/write permissions to the external storage.
## DTR Console After Installation
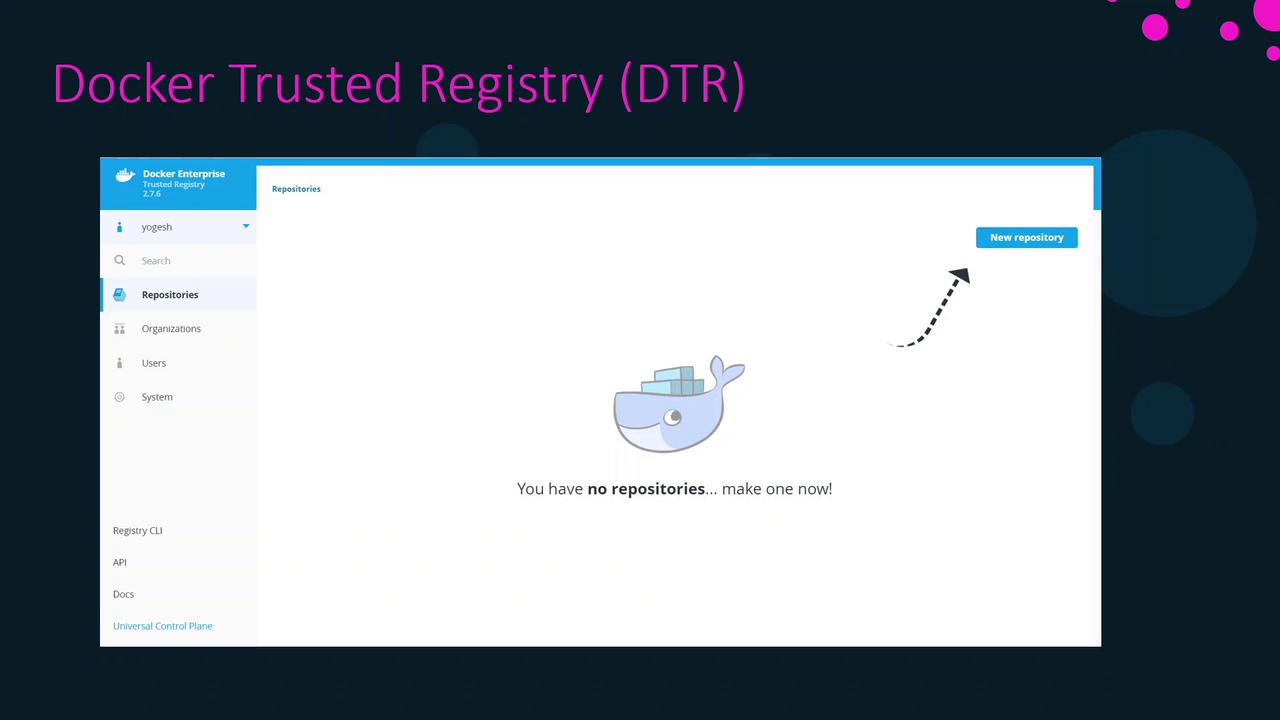
Once installation completes, open your browser at `https://dtr.example.com`. You’ll see an interface similar to below—ready for you to create and manage repositories.
***
In the next section, we’ll walk through creating repositories, configuring webhooks, and integrating DTR with your CI/CD pipelines.
[Kubernetes Documentation]: https://kubernetes.io/docs/
[Docker Content Trust]: https://docs.docker.com/engine/security/trust/