> ## Documentation Index
> Fetch the complete documentation index at: https://notes.kodekloud.com/llms.txt
> Use this file to discover all available pages before exploring further.
# Building a custom image
> Creating a custom Docker image for a Flask application ensures consistent deployments and includes necessary dependencies for your app.
Creating a custom Docker image ensures consistent deployments and lets you include exactly the dependencies your Python Flask app needs. Whether you require specialized system libraries or a private base image, building your own container image is straightforward.
## 1. Planning Your Dockerfile
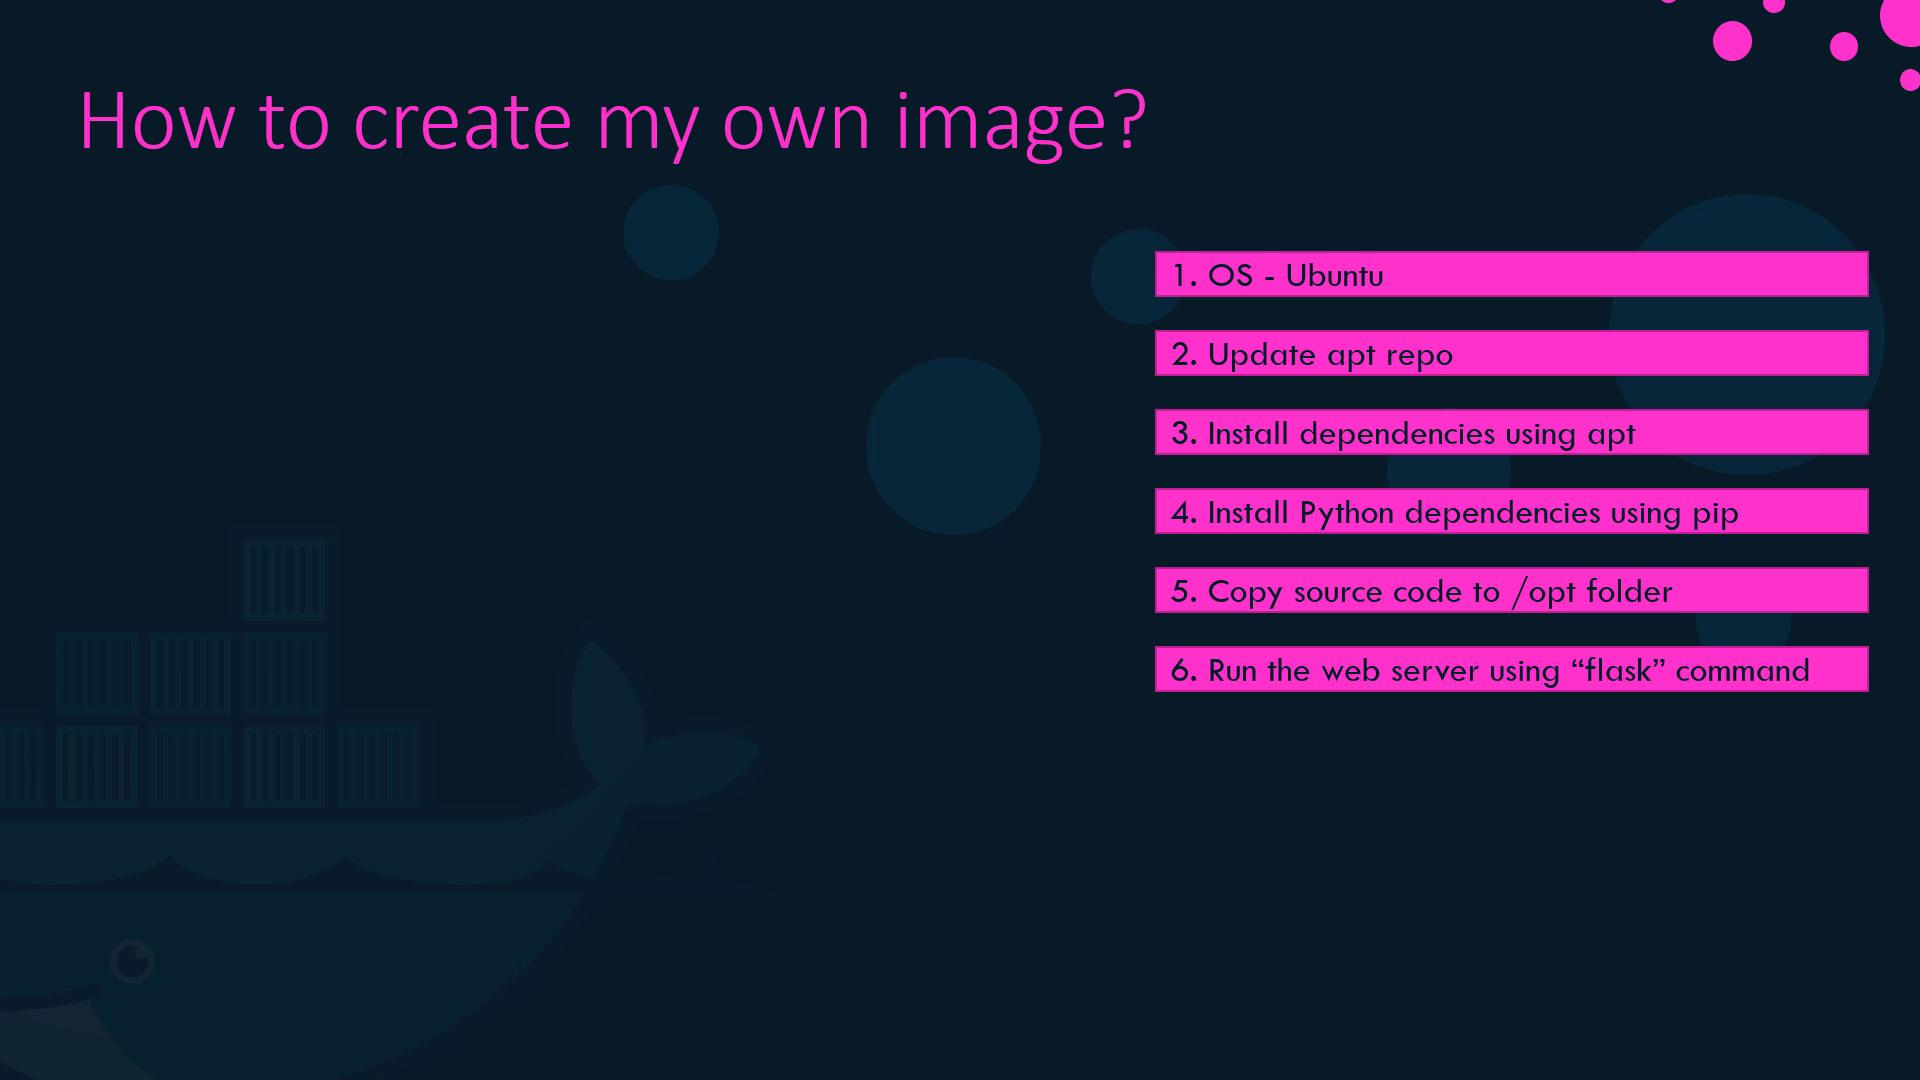
Before writing any code, outline the manual steps you’d perform to deploy your Flask application:
1. Select a base image (e.g., [Ubuntu](https://ubuntu.com/) or `python:3-slim`).
2. Update and install OS packages (`apt-get update && apt-get install`).
3. Install Python dependencies (`pip install`).
4. Copy application source code into the image.
5. Configure environment variables and expose required ports.
6. Define the container’s startup command.
Using an official Python base image (for example, `python:3.9-slim`) can reduce image size and simplify dependency installation.
## 2. Writing the Dockerfile
Create a file named `Dockerfile` at your project root and add the following contents:
```dockerfile theme={null}
# 1. Base image
FROM ubuntu:20.04
# 2. OS-level dependencies
RUN apt-get update && \
apt-get install -y python3 python3-pip && \
rm -rf /var/lib/apt/lists/*
# 3. Install Python packages
RUN pip3 install --no-cache-dir flask flask-mysql
# 4. Copy application source
WORKDIR /opt/source-code
COPY . .
# 5. Environment and ports
ENV FLASK_APP=app.py
EXPOSE 5000
# 6. Start the Flask server
ENTRYPOINT ["flask", "run", "--host=0.0.0.0"]
```
| Instruction | Purpose | Example |
| ----------- | ------------------------------------------- | ------------------------------------ |
| FROM | Sets the base image | `FROM ubuntu:20.04` |
| RUN | Executes commands in a new layer | `RUN pip3 install flask flask-mysql` |
| WORKDIR | Sets working directory inside the container | `WORKDIR /opt/source-code` |
| COPY | Copies files from host to container | `COPY . .` |
| EXPOSE | Documents the port the container listens on | `EXPOSE 5000` |
| ENTRYPOINT | Defines the startup command | `ENTRYPOINT ["flask", "run", ...]` |
## 3. Build, Tag, and Push Your Image
1. **Build** the image locally and add a tag:
```bash theme={null}
docker build -t your-dockerhub-username/flask-app:latest .
```
2. **Push** to Docker Hub (replace with your repository):
```bash theme={null}
docker push your-dockerhub-username/flask-app:latest
```
## 4. Inspecting Image Layers with `docker history`
Each Dockerfile instruction creates a new image layer. To view these layers and their sizes, run:
```bash theme={null}
docker history your-dockerhub-username/flask-app:latest
```
The output lists layers in reverse order, showing the command and size of each layer.
If you frequently change application code but not OS dependencies, structure your Dockerfile so that `COPY . .` appears after installing system and Python packages. This maximizes cache reuse and speeds up rebuilds.
## 5. Leveraging Build Cache for Faster Iteration
Docker caches successful build steps. On subsequent builds:
* Steps unchanged since the last build use cached layers.
* Only modified steps (and those that follow) are re-executed.
Example:
```bash theme={null}
$ docker build -t flask-app:latest .
...
Step 2/6 : RUN apt-get update && apt-get install -y python3 python3-pip
---> Using cache
...
Step 5/6 : COPY . .
---> 123abc456def # Rebuilds only this layer and ENTRYPOINT step
```
By isolating frequently changing instructions toward the end of your Dockerfile, you accelerate development cycles.
## Links and References
* [Dockerfile reference](https://docs.docker.com/engine/reference/builder/)
* [Flask Documentation](https://flask.palletsprojects.com/)
* [Docker Best Practices](https://docs.docker.com/develop/develop-images/dockerfile_best-practices/)