> ## Documentation Index
> Fetch the complete documentation index at: https://notes.kodekloud.com/llms.txt
> Use this file to discover all available pages before exploring further.
# Demo Build HTTPD image
> This tutorial teaches how to build a lightweight custom Docker image for an HTTPD web server on CentOS 7.
In this tutorial, you’ll learn how to build a lightweight, custom Docker image for an HTTPD (Apache) web server on CentOS 7. We’ll cover:
* Setting up the build context
* Crafting an optimized `Dockerfile`
* Adding a simple `index.html`
* Building, testing, and pushing your image to Docker Hub
By following these steps, you’ll gain hands-on experience with multi-layered Docker images and best practices for containerized web servers.
***
## 1. Prepare the Build Context
First, create an isolated directory for all build artifacts. This ensures that nothing outside the folder is accidentally added to your image.
```bash theme={null}
cd /tmp
mkdir firstimage && cd firstimage
ls -1
# (should be empty)
```
Everything in this directory (including subdirectories) is sent to the Docker daemon during the build. Keep it lean to speed up image creation.
***
## 2. Write the Dockerfile
Create a file named `Dockerfile`:
```bash theme={null}
vi Dockerfile
```
Populate it with the following content:
```dockerfile theme={null}
# Base image: CentOS 7
FROM centos:7
# 1. Update and install HTTPD
RUN yum -y update && \
yum -y install httpd
# 2. Copy a custom HTML page into the default document root
COPY index.html /var/www/html/index.html
# 3. Expose port 80 for HTTP traffic
EXPOSE 80
# 4. Start HTTPD in the foreground
CMD ["httpd", "-D", "FOREGROUND"]
```
| Instruction | Description |
| ----------- | ------------------------------------------------- |
| FROM | Specifies the base image (CentOS 7) |
| RUN | Runs commands in a new layer |
| COPY | Copies files from build context |
| EXPOSE | Documents the port on which the container listens |
| CMD | Defines the default command at container start |
Running containers as root can pose risks. For production workloads, consider adding a non-root user and switching with `USER`.
For more details on Dockerfile syntax, see the [Dockerfile reference][dockerfile-ref].
***
## 3. Create the HTML Page
Add a simple `index.html` in the same directory:
```bash theme={null}
vi index.html
```
Example content:
```html theme={null}
Welcome
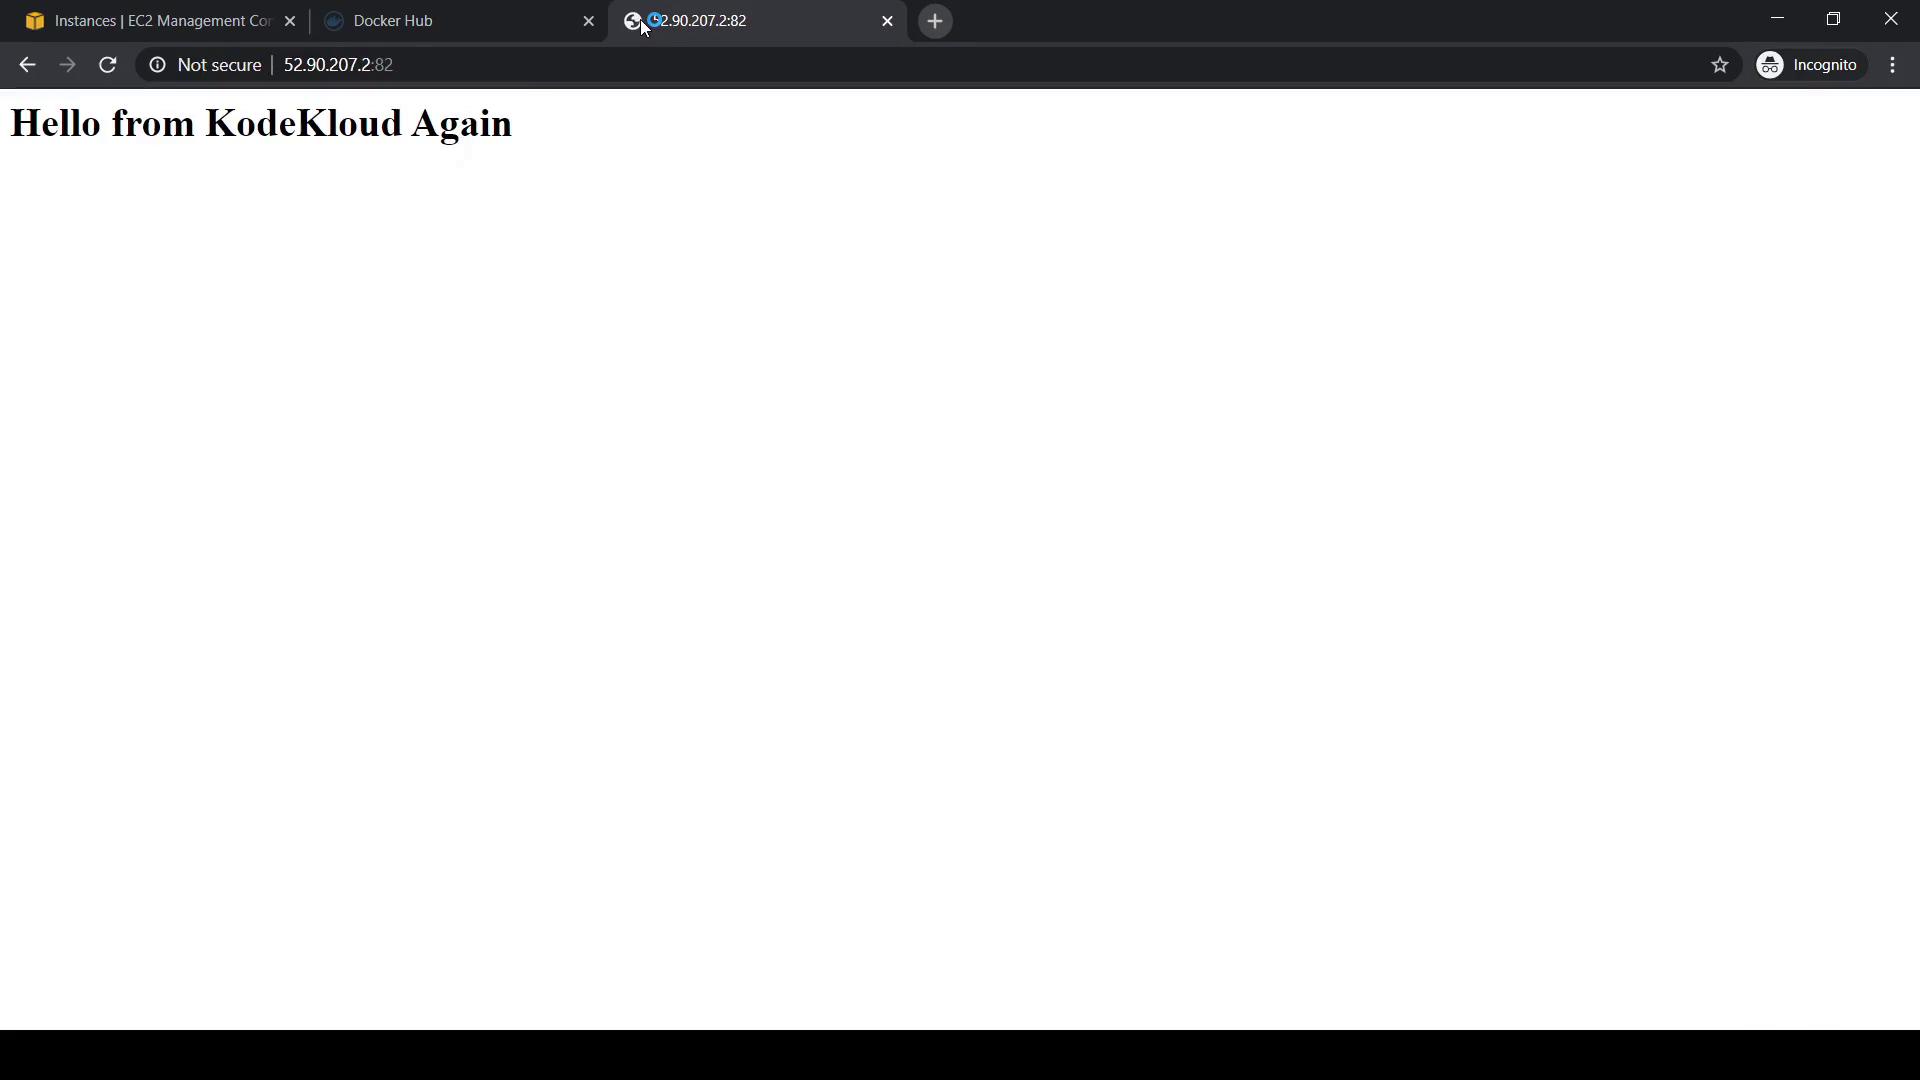
Hello from KodeKloud Again
```
Verify both files are present:
```bash theme={null}
ls -l
# total 8
# -rw-r--r-- 1 root root 199 May 4 13:38 Dockerfile
# -rw-r--r-- 1 root root 98 May 4 13:39 index.html
```
***
## 4. Build the Docker Image
Use a clear, versioned tag for your image:
```bash theme={null}
docker image build -t yogeshraheja/kodekloud-web-image:v1 .
```
You should see output for each of the five build steps. Once complete, confirm the image exists:
```bash theme={null}
docker image ls
```
Inspect the image layers:
```bash theme={null}
docker image history yogeshraheja/kodekloud-web-image:v1
```
***
## 5. Test the Container
Run a container, mapping host port 82 to container port 80:
```bash theme={null}
docker container run -d \
-p 82:80 \
--name httpd-test \
yogeshraheja/kodekloud-web-image:v1
```
Open your browser to `http://:82`. You should see your custom page:
***
## 6. Push to Docker Hub
Authenticate and push your image so others can pull it:
```bash theme={null}
docker login
docker push yogeshraheja/kodekloud-web-image:v1
```
Verify on [Docker Hub][docker-hub] that your repository is public and the tag is available.
***
## Quick Command Reference
| Command | Purpose |
| ----------------------------------------------------------------------- | ---------------------------------------------------- |
| docker image build -t user/repo:tag . | Build an image with a tag from the current directory |
| docker container run -d -p host\_port:container\_port --name name image | Run a container detached with port mapping |
| docker image ls | List all local images |
| docker image history image\_name:tag | Show the history of image layers |
| docker push user/repo:tag | Push a local image to Docker Hub |
***
## Links and References
* [Dockerfile Reference][dockerfile-ref]
* [Docker CLI Overview][docker-cli]
* [Docker Hub Documentation][docker-hub]
* [CentOS 7 on Docker Hub][centos7]
[dockerfile-ref]: https://docs.docker.com/engine/reference/builder/
[docker-cli]: https://docs.docker.com/engine/reference/commandline/cli/
[docker-hub]: https://hub.docker.com/
[centos7]: https://hub.docker.com/_/centos