Accessing Docker Cloud
- Navigate to cloud.docker.com and click on Sign In.
- Log in with your credentials (for demonstration purposes, a test user is used).
- After logging in, the dashboard displays key features including Docker Registry as a service, continuous integration, and continuous deployment.
Dashboard Overview
- Repositories: Lists your repositories. (In this demo, none will be listed.)
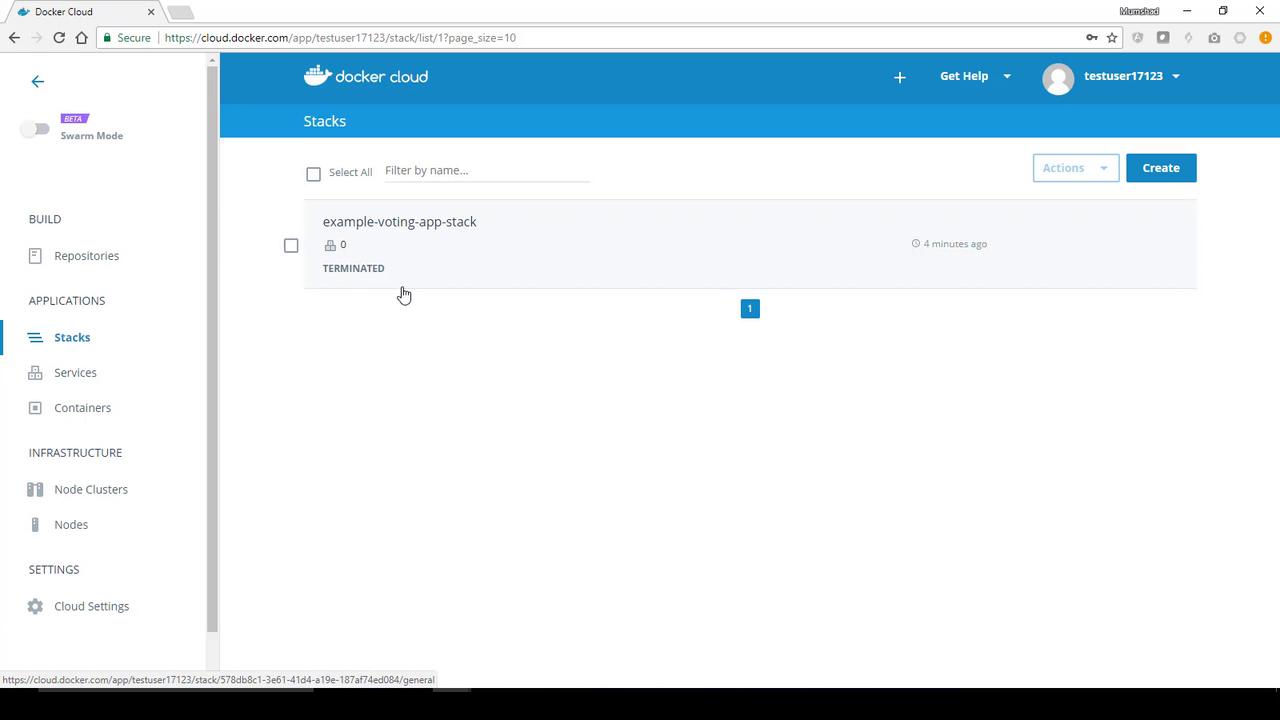
- Stacks: Shows your deployed stacks (e.g., an older stack might appear in the terminated state).
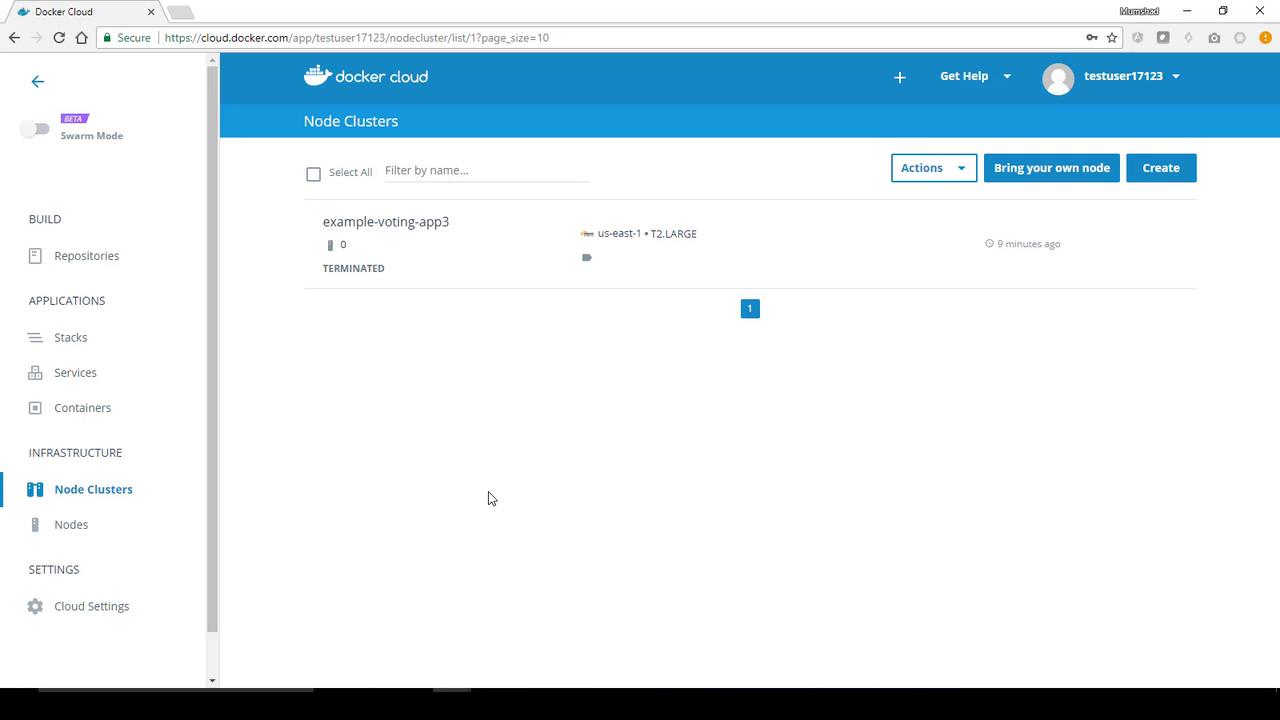
- Infrastructure: Lists your provisioned resources.
Configuring Cloud Integration
When you log into Docker Cloud for the first time, the recommended first step is to integrate Docker Cloud with a cloud solution provider.- Navigate to Cloud Settings.
- Under Cloud Providers, choose Amazon Web Services (AWS).
- Click on Connect Provider and enter your AWS credentials. Detailed instructions are available through the provided link within the interface.
- Copy the AWS ARN from your AWS account, paste it into the required field, and click Save. Once integrated, the icon changes to confirm successful connection.
Provisioning a Node Cluster
Before deploying the application stack, you must create a cluster:- Navigate to Node Clusters and click on Create.
- Name the cluster (e.g., “example Voting Application”).
- Select Amazon Web Services as your provider.
- Choose the region (e.g., US East) and leave other settings as default.
- Set the number of nodes to one, select an appropriate instance size (for example, T2 Medium), and click Launch Node Cluster.
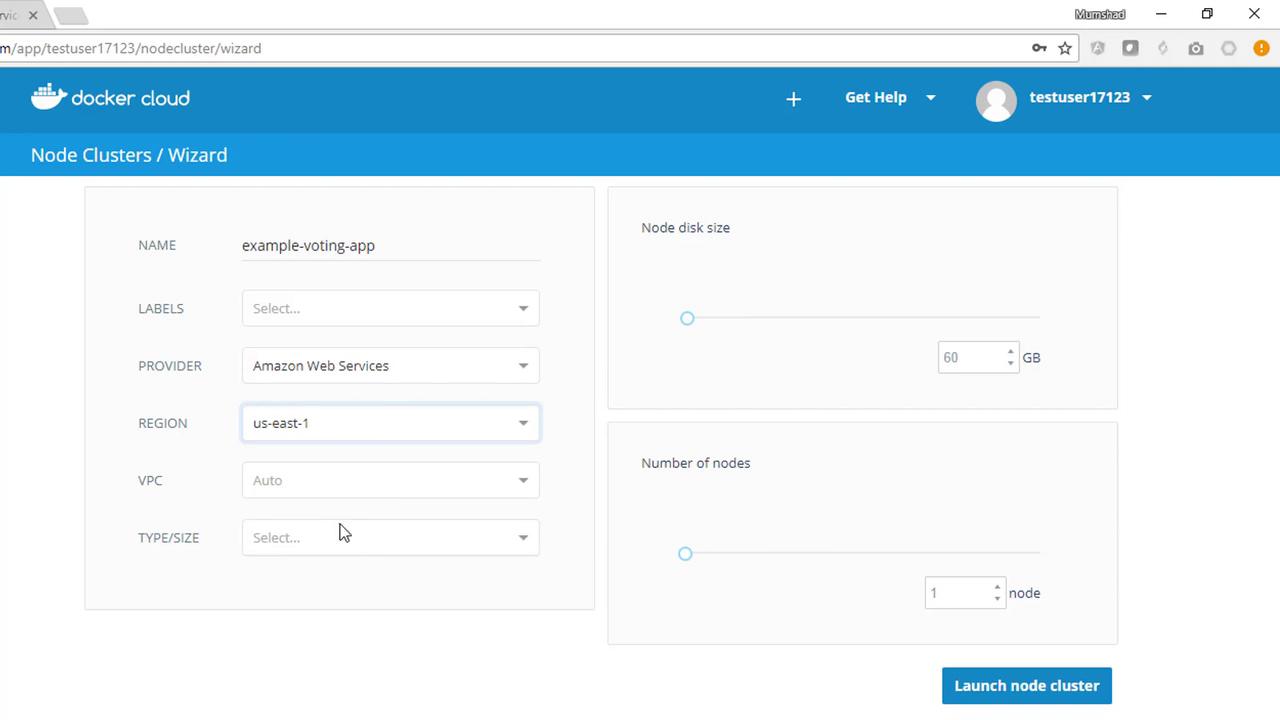
Be sure to wait until the node cluster deployment completes before moving on to deploy the application stack.
Creating the Application Stack
Preparing the Stack File
Navigate to Stacks and click on Create. Docker Cloud will prompt you to provide a stack file. Although this file is similar to a Docker Compose file, it includes adjustments specific to Docker Cloud. For reference, here is the base version of the stack file from the example voting application repository:Stack File Breakdown
- db: Uses the PostgreSQL image (
postgres:9.4) with restart set to always. - redis: Uses the latest Redis image.
- result: Configured with autoredeploy enabled, exposes port 80 on the host.
- vote: Configured with autoredeploy enabled and maps port 5000 on the host to port 80 in the container.
- worker: Uses the worker image with autoredeploy enabled.
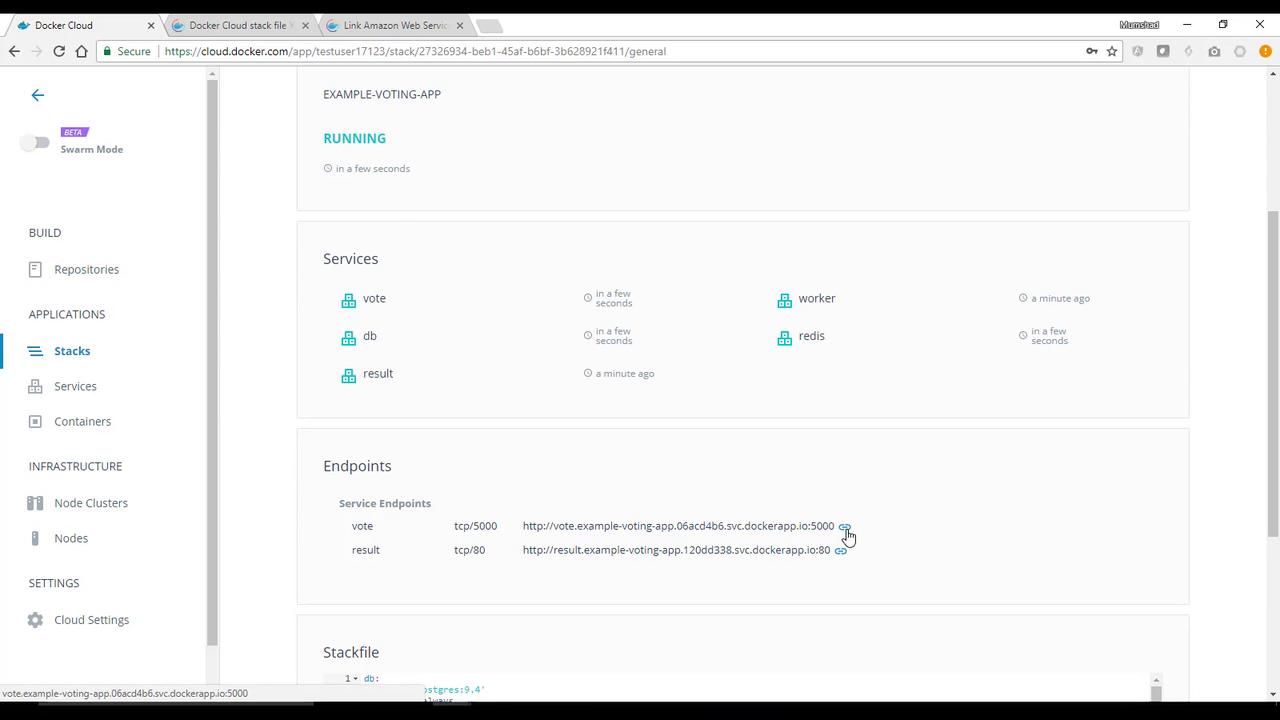
After pasting the final stack file into the Docker Cloud stack creation form, click Create to deploy. Docker Cloud will automatically detect and deploy the five identified services.
Monitoring Deployment
Once the stack is deployed:- Monitor the status until all services display green indicators, signifying that they are running.
- The stack file remains visible at the bottom of the page.
- Under Endpoints, you can access links to your application services.
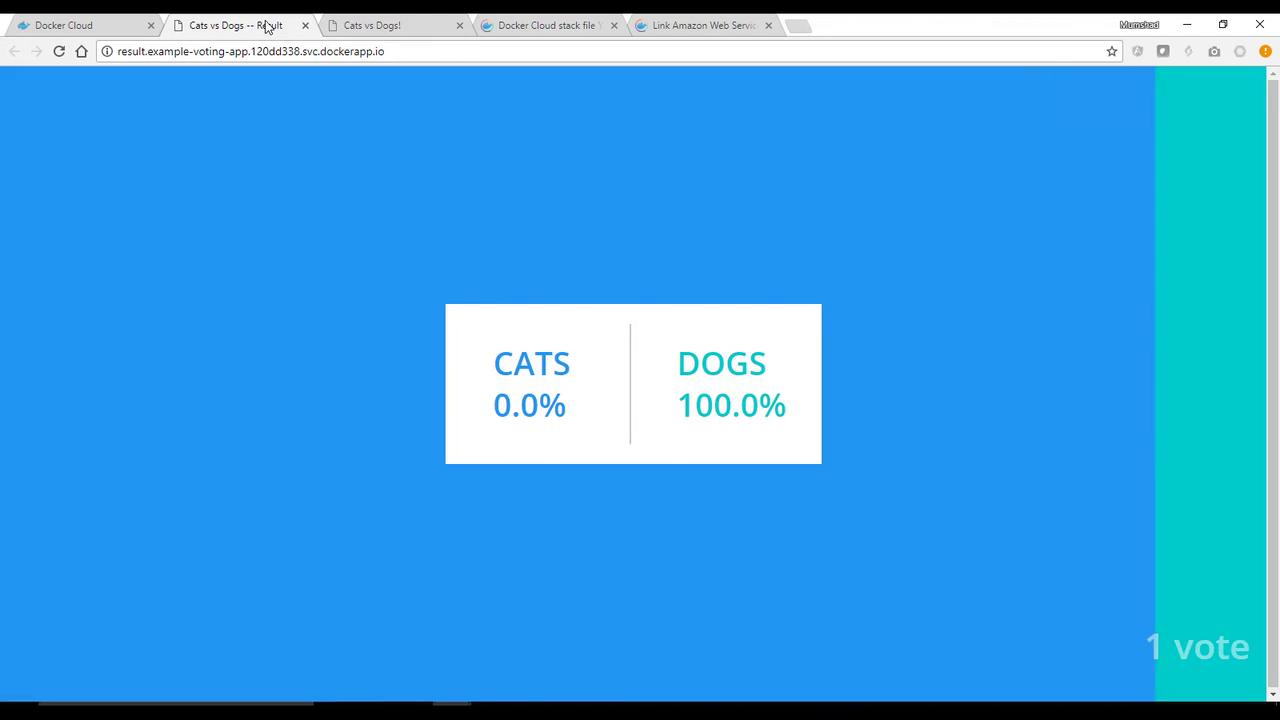
Using the Voting Application
- Click on the voting application endpoint to open the application.
- Click on the results endpoint to view updated voting results.
- Cast a vote and observe the checkmark confirmation indicating successful integration with Redis.
- Updated vote counts will be displayed accordingly for each option selected.
Exploring Docker Swarm Mode (Beta Feature)
Docker Cloud also includes a beta feature called Swarm Mode. By toggling the switch on the interface, you can switch your view to Docker Swarm Mode. This feature enables you to create and manage a Docker Swarm on AWS.If you are interested in orchestration and cluster management, feel free to explore these beta features.
Conclusion
This walkthrough demonstrated how to deploy the example Voting Application on Docker Cloud by:- Logging into Docker Cloud and exploring its dashboard.
- Integrating Docker Cloud with AWS.
- Provisioning a node cluster.
- Creating and deploying a customized stack file.
- Monitoring service status and accessing application endpoints.