> ## Documentation Index
> Fetch the complete documentation index at: https://notes.kodekloud.com/llms.txt
> Use this file to discover all available pages before exploring further.
# Demo Kubernetes on Google Cloud Platform
> This guide covers deploying an application using Google Kubernetes Engine on Google Cloud Platform, including setting up a cluster and creating YAML files for deployment.
Welcome to this comprehensive guide on deploying an application using Google Kubernetes Engine (GKE) on the Google Cloud Platform (GCP). In this article, you'll learn how to set up a Kubernetes cluster, create YAML definition files for pods and services, and deploy your multi-component application. Follow along as we walk through each step of the process.
***
## Setting Up the Kubernetes Cluster
Begin by signing in to your Google Cloud Platform account. Once logged in, your dashboard will resemble the image below:
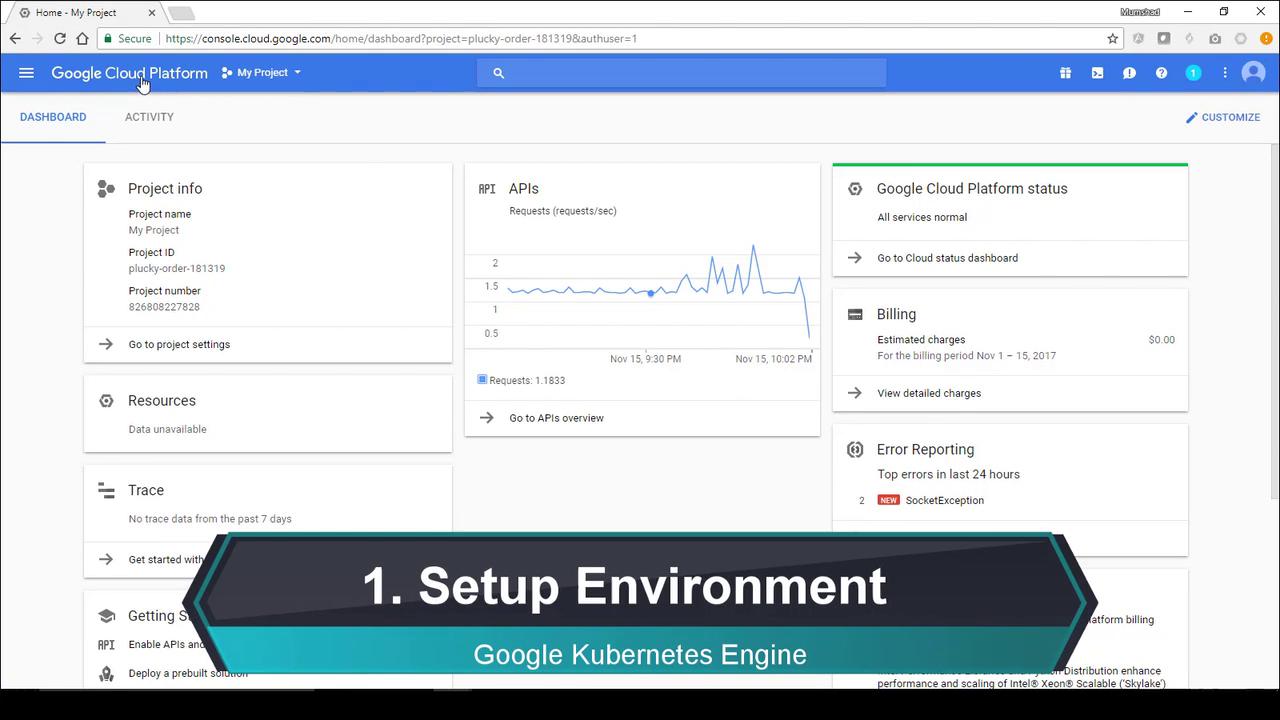
Kubernetes Engine provides a managed environment for deploying containerized applications. To get started with the command-line tool, run:
```bash theme={null}
gcloud components install kubectl
```
Next, from the Cloud Console menu, select **Kubernetes Engine** to access the dashboard. If no cluster exists yet, click on **Create a Cluster** as shown below:
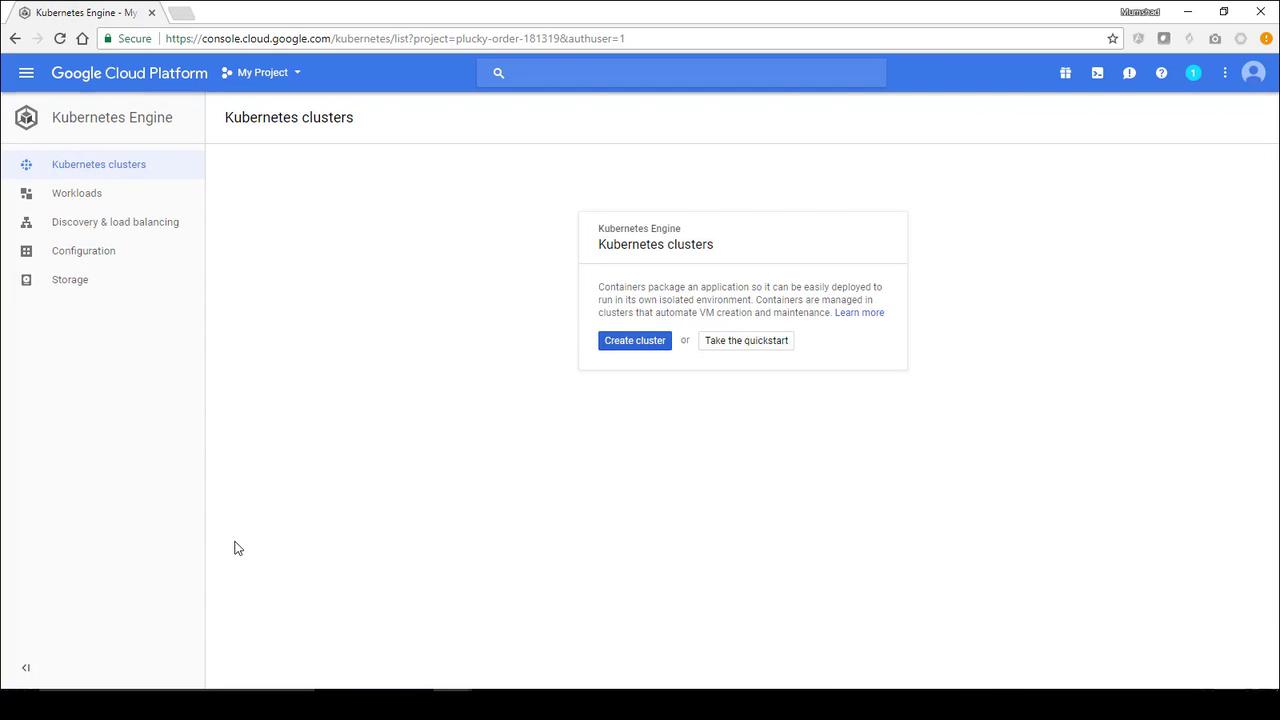
Fill in the cluster details:
* **Name:** Use something descriptive like "example-voting-app"
* **Description:** (Optional) Provide a brief description
* Leave the remaining options as default and click **Create**.
This process provisions a master node along with three worker nodes. When setup is complete, you will see a green check mark confirming the cluster is ready.
Next, click on the **Google Cloud Shell** button located in the top right corner. The Cloud Shell offers a temporary terminal for running Kubernetes commands and will display a screen similar to the one below:
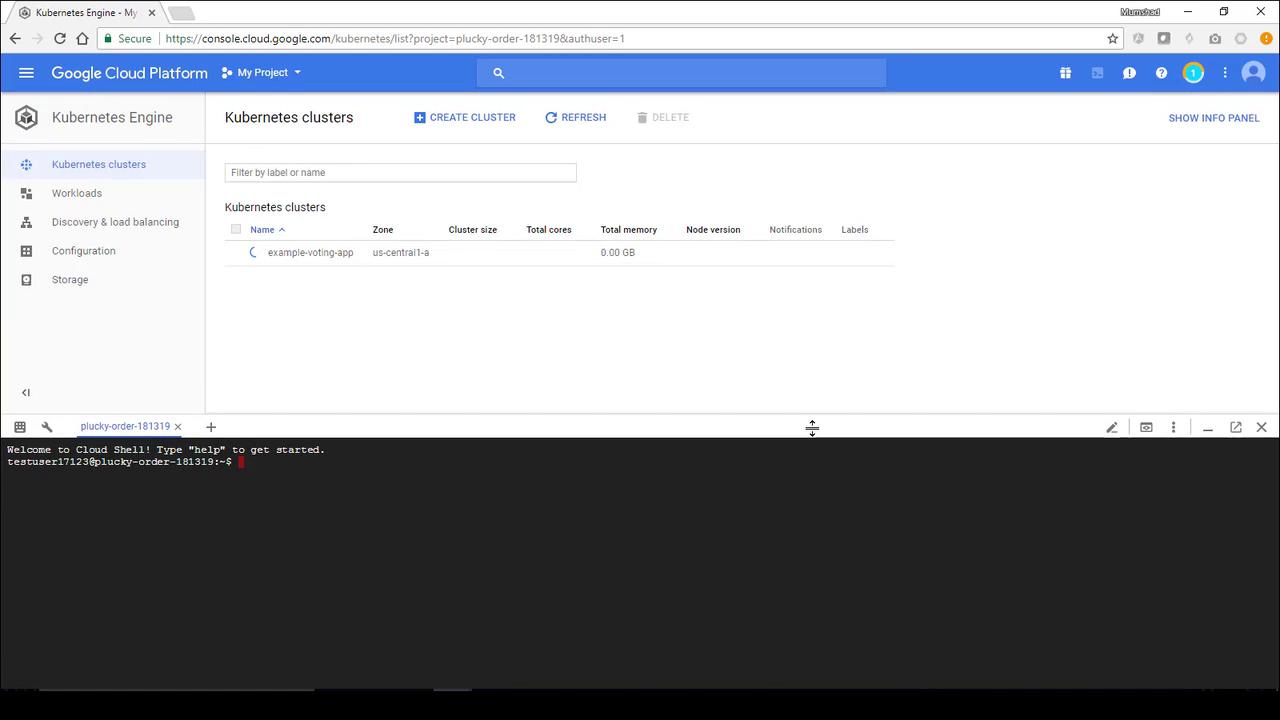
Once your cluster is ready, click the **Connect** button for the Voting Application cluster. Follow the provided instructions to retrieve credentials and start a proxy by running:
```bash theme={null}
gcloud container clusters get-credentials example-voting-app --zone us-central1-a --project plucky-order-181319
kubectl proxy
```
If the command warns that the cluster is not running, wait until the green check mark appears and execute the command again. This step ensures that your kubeconfig is correctly configured for further commands.
To verify your cluster, list the nodes:
```bash theme={null}
kubectl get nodes
```
You should see something similar to the following output:
```bash theme={null}
NAME STATUS ROLES AGE VERSION
gke-example-voting-app-default-pool-2aad9e6c-d9n5 Ready 1m v1.7.8-gke.0
gke-example-voting-app-default-pool-2aad9e6c-ldq4 Ready 1m v1.7.8-gke.0
gke-example-voting-app-default-pool-2aad9e6c-x9pp Ready 1m v1.7.8-gke.0
```
Similarly, verify that no pods are running yet:
```bash theme={null}
kubectl get pods
```
You can also list the Kubernetes-created default service with:
```bash theme={null}
kubectl get services
```
With your cluster ready, the next step is to create YAML definition files for the application components.
***
## Creating Pod Definition Files
On your local development environment, create a folder called `example-voting-app-kube`. This folder will contain the YAML files for each component of the voting application.
### Voting App Pod
Create a file named `voting-app-pod.yaml` with the following content:
```yaml theme={null}
apiVersion: v1
kind: Pod
metadata:
name: voting-app-pod
labels:
name: voting-app-pod
app: demo-voting-app
spec:
containers:
- name: voting-app
image: dockersamples/examplevotingapp_vote
ports:
- containerPort: 80
```
This definition creates a pod for the voting application. The labels will be used later for service selection.
### Worker Pod
Duplicate the previous file and save it as `worker-app-pod.yaml`. Modify the content as follows:
```yaml theme={null}
apiVersion: v1
kind: Pod
metadata:
name: worker-app-pod
labels:
name: worker-app-pod
app: demo-voting-app
spec:
containers:
- name: worker-app
image: dockersamples/examplevotingapp_worker
```
This pod definition creates the backend worker, which does not require exposed ports.
### Result App Pod
Create a file named `result-app-pod.yaml` containing:
```yaml theme={null}
apiVersion: v1
kind: Pod
metadata:
name: result-app-pod
labels:
name: result-app-pod
app: demo-voting-app
spec:
containers:
- name: res-app
image: dockersamples/examplevotingapp_result
ports:
- containerPort: 80
```
This pod exposes port 80 for the results application.
### Redis Pod
Define the Redis pod by creating a file named `redis-pod.yaml`:
```yaml theme={null}
apiVersion: v1
kind: Pod
metadata:
name: redis-pod
labels:
name: redis-pod
app: demo-voting-app
spec:
containers:
- name: redis
image: redis
ports:
- containerPort: 6379
```
Redis listens on the default port 6379.
### PostgreSQL Pod
Finally, create a file named `postgres-pod.yaml` for the PostgreSQL database:
```yaml theme={null}
apiVersion: v1
kind: Pod
metadata:
name: postgres-pod
labels:
name: postgres-pod
app: demo-voting-app
spec:
containers:
- name: postgres
image: postgres:9.4
ports:
- containerPort: 5432
```
PostgreSQL uses port 5432.
***
## Creating Service Definition Files
To allow the components to communicate internally (and externally when needed), you'll create services for the pods.
### Redis Service
Create a file named `redis-service.yaml` with this content:
```yaml theme={null}
apiVersion: v1
kind: Service
metadata:
name: redis
labels:
name: redis-service
app: demo-voting-app
spec:
ports:
- port: 6379
targetPort: 6379
selector:
name: redis-pod
app: demo-voting-app
```
This service exposes the Redis pod internally.
### PostgreSQL (DB) Service
For the PostgreSQL database, create a file named `postgres-service.yaml`:
```yaml theme={null}
apiVersion: v1
kind: Service
metadata:
name: db
labels:
name: db-service
app: demo-voting-app
spec:
ports:
- port: 5432
targetPort: 5432
selector:
name: postgres-pod
app: demo-voting-app
```
The service is named "db" to match what the application expects.
### Voting App Service (LoadBalancer)
To expose the voting application externally, create a file named `voting-app-service.yaml`:
```yaml theme={null}
apiVersion: v1
kind: Service
metadata:
name: voting-service
labels:
name: voting-service
app: demo-voting-app
spec:
type: LoadBalancer
ports:
- port: 80
targetPort: 80
selector:
name: voting-app-pod
app: demo-voting-app
```
Setting the service type to LoadBalancer enables external access through a cloud provider’s load balancer.
### Result App Service (LoadBalancer)
Similarly, expose the result app externally by creating `result-service.yaml`:
```yaml theme={null}
apiVersion: v1
kind: Service
metadata:
name: result-service
labels:
name: result-service
app: demo-voting-app
spec:
type: LoadBalancer
ports:
- port: 80
targetPort: 80
selector:
name: result-app-pod
app: demo-voting-app
```
Although service labels can sometimes be optional, it is best practice to define them consistently for ease of management.
***
## Deploying to the Cluster
Before deployment, commit and push your YAML files to your GitHub repository. Then, open your Cloud Shell and clone your repository:
1. **Clone the Repository:**
```bash theme={null}
git clone
```
2. **Change into the Directory:**
```bash theme={null}
cd kubernetes-example-voting-app
```
Now, deploy each component individually.
### Deploy the Voting App
1. **Create the Voting App Pod:**
```bash theme={null}
kubectl create -f voting-app-pod.yaml
```
You should receive a confirmation such as:
```bash theme={null}
pod "voting-app-pod" created
```
2. **Verify Pod Status:**
```bash theme={null}
kubectl get pods
```
3. **Expose the Voting App:**
```bash theme={null}
kubectl create -f voting-app-service.yaml
```
Check the service details. Initially, the external IP might be listed as `\`:
```bash theme={null}
kubectl get services
```
Monitor the load balancer creation in the "Discovery and load balancing" section of the Cloud Console. Once the external IP is provisioned, you can access the voting app in your browser.
### Deploy Internal Components
Deploy Redis and its corresponding service:
```bash theme={null}
kubectl create -f redis-pod.yaml
kubectl create -f redis-service.yaml
```
Similarly, deploy the PostgreSQL pod and its service:
```bash theme={null}
kubectl create -f postgres-pod.yaml
kubectl create -f postgres-service.yaml
```
### Deploy the Worker and Result Pods
Deploy the worker component with:
```bash theme={null}
kubectl create -f worker-app-pod.yaml
```
Then deploy the result application pod and expose it externally:
```bash theme={null}
kubectl create -f result-app-pod.yaml
kubectl create -f result-service.yaml
```
To review the status of your pods:
```bash theme={null}
kubectl get pods
```
And to check your services, run:
```bash theme={null}
kubectl get services
```
A typical output might look like this:
| NAME | TYPE | CLUSTER-IP | EXTERNAL-IP | PORT(S) | AGE |
| -------------- | ------------ | -------------- | -------------- | ------------ | --- |
| db | ClusterIP | 10.19.245.11 | \ | 5432/TCP | 2m |
| kubernetes | ClusterIP | 10.19.240.201 | \ | 443/TCP | 25m |
| redis | ClusterIP | 10.19.242.155 | \ | 6379/TCP | 3m |
| result-service | LoadBalancer | 35.188.172.125 | 35.184.173.162 | 80:30410/TCP | 12s |
| voting-service | LoadBalancer | 35.184.173.162 | \ | 80:30176/TCP | 6m |
Once the load balancer services are active and the external IP addresses are available, simply enter those IPs in your browser. As you cast votes, you will see the results update in near real-time.
***
## Conclusion
This guide demonstrated how to create a Kubernetes cluster on Google Cloud Platform, prepare YAML files for various pods and services, and deploy a multi-component application encompassing the voting app, worker, result app, Redis, and PostgreSQL. Services are configured to ensure seamless communication between components as well as external access via load balancers.
Thank you for reading this guide. Enjoy experimenting with Kubernetes and GCP, and happy deploying!
For further reading, consider exploring the following resources:
* [Kubernetes Documentation](https://kubernetes.io/docs/)
* [Google Cloud Platform Documentation](https://cloud.google.com/docs)
Happy Kubernetes-ing!