> ## Documentation Index
> Fetch the complete documentation index at: https://notes.kodekloud.com/llms.txt
> Use this file to discover all available pages before exploring further.
# Demo Advanced Docker Run Features
> This article covers advanced Docker container management, including running containers, specifying image tags, and deploying applications like Jenkins.
Welcome to this comprehensive lesson on advanced Docker container management. In this guide, you will learn how to leverage additional options with the docker run command. We will explore image tags, running containers in both attached and detached modes, port and volume mapping, and deploying applications like Jenkins in Docker.
Before proceeding, ensure you have Docker installed, know how to run basic Docker commands, and are comfortable managing containers.
***
## Checking for Running Containers
Start by checking if any containers are currently running:
```bash theme={null}
root@docker:/root # docker ps
```
Since there are no running containers, you can proceed to launch new ones.
***
## Running an Ubuntu Container with a Command
In previous exercises, you may have launched an Ubuntu container using a simple command:
```bash theme={null}
root@Docker:/root # docker run ubuntu
```
This command pulls the latest Ubuntu image and runs it. However, because there is no long-running process, the container exits immediately. To keep it alive just long enough to display information, you can append a command. For instance, to display the Ubuntu version, execute:
```bash theme={null}
root@Docker:/root # docker run ubuntu cat /etc/*release*
```
You should see output similar to:
```plaintext theme={null}
NAME="Ubuntu"
VERSION="16.04.3 LTS (Xenial Xerus)"
ID=ubuntu
ID_LIKE=debian
PRETTY_NAME="Ubuntu 16.04.3 LTS"
VERSION_ID="16.04"
HOME_URL="http://www.ubuntu.com/"
SUPPORT_URL="http://help.ubuntu.com/"
BUG_REPORT_URL="http://bugs.launchpad.net/ubuntu/"
VERSION_CODENAME=xenial
UBUNTU_CODENAME=xenial
```
This confirms that the default Ubuntu image pulled is version 16.04.3 LTS.
***
## Specifying Image Tags
To run a specific version of Ubuntu, such as 17.10, you can explicitly specify the image tag. Docker pulls the latest image only when no tag is provided. Follow these steps:
1. Visit the [Ubuntu repository on Docker Hub](https://hub.docker.com/_/ubuntu) to check for all supported tags.
2. Run the desired version by appending the tag to the image name:
```bash theme={null}
root@Docker:/root # docker run ubuntu:17.10 cat /etc/*release*
```
Docker will download the Ubuntu 17.10 image if it is not already available locally. The output should display details for Ubuntu 17.10:
```plaintext theme={null}
NAME="Ubuntu"
VERSION="17.10 (Artful Aardvark)"
ID=ubuntu
ID_LIKE=debian
PRETTY_NAME="Ubuntu Artful Aardvark (development branch)"
VERSION_ID="17.10"
HOME_URL="https://www.ubuntu.com/"
SUPPORT_URL="https://help.ubuntu.com/"
BUG_REPORT_URL="https://bugs.launchpad.net/ubuntu/"
PRIVACY_POLICY_URL="https://www.ubuntu.com/legal/terms-and-policies/privacy-policy"
VERSION_CODENAME=artful
UBUNTU_CODENAME=artful
```
Appending a colon and a tag (e.g., `:17.10`) is a simple way to run the exact version you need.
***
## Attaching and Detaching from Containers
When you run a container in the foreground, you are attached to its output. For instance, running:
```bash theme={null}
root@Docker:/root # docker run ubuntu sleep 15
```
keeps the container alive for fifteen seconds with you attached to its console. If you run a long-running process, like a web server, remaining attached may not be practical. Instead, use detached mode with the `-d` flag:
```bash theme={null}
root@Docker:/root # docker run -d ubuntu sleep 1500
```
This command starts the container in the background and returns a unique container ID. Verify that your container is running with:
```bash theme={null}
docker ps
```
To attach to the running container later:
```bash theme={null}
docker attach
```
Alternatively, if you need to stop the container, open a new terminal and run:
```bash theme={null}
docker stop
```
Running in detached mode is especially useful for applications that require continuous operation without tying up your terminal.
***
## Running the Timer Image Example
Imagine a Docker image named "timer" that displays the current time every second. Running it in the foreground produces continuous output:
```bash theme={null}
root@docker:/root# docker run timer
```
Example output:
```plaintext theme={null}
Sat Aug 19 22:11:08 UTC 2017
Sat Aug 19 22:11:09 UTC 2017
Sat Aug 19 22:11:10 UTC 2017
...
```
For a background execution, run the timer in detached mode:
```bash theme={null}
root@Docker:/root # docker run -d timer
```
After starting in detached mode, list running containers:
```bash theme={null}
docker ps
```
Then attach to the timer container (using its container ID):
```bash theme={null}
docker attach
```
***
## Running Jenkins with Docker
[Jenkins](https://learn.kodekloud.com/user/courses/jenkins) is a powerful Continuous Integration and Delivery server. Running Jenkins inside a container lets you experiment without extensive host installations.
### Pulling and Running Jenkins
First, pull the Jenkins image:
```bash theme={null}
docker pull jenkins
```
Next, run Jenkins with port mappings for both its web UI and the agent communication port (50000):
```bash theme={null}
docker run -p 8080:8080 -p 50000:50000 jenkins
```
As the container starts, you will see log messages similar to:
```plaintext theme={null}
Jenkins initial setup is required. An admin user has been created and a password generated. Please use the following password to proceed to installation:
9d338c648c604203a9918272ac787b98
This may also be found at: /var/jenkins_home/secrets/initialAdminPassword
...
Jenkins is fully up and running
--> setting agent port for jnlp... done
```
### Accessing Jenkins
You have two options for accessing Jenkins:
1. **Internal Access:**\
Retrieve the container’s internal IP by:
```bash theme={null}
docker ps
```
Then inspect the container:
```bash theme={null}
docker inspect
```
Look under the "Networks" section for an IP like `172.17.0.2`. Navigate to:
```text theme={null}
http://172.17.0.2:8080
```
2. **External Access via Port Mapping:**\
By mapping container port 8080 to your host, access Jenkins externally using the host’s IP address (e.g., `http://192.168.1.14:8080`).
Ensure no other Jenkins containers are running without proper port mappings before starting Jenkins externally.
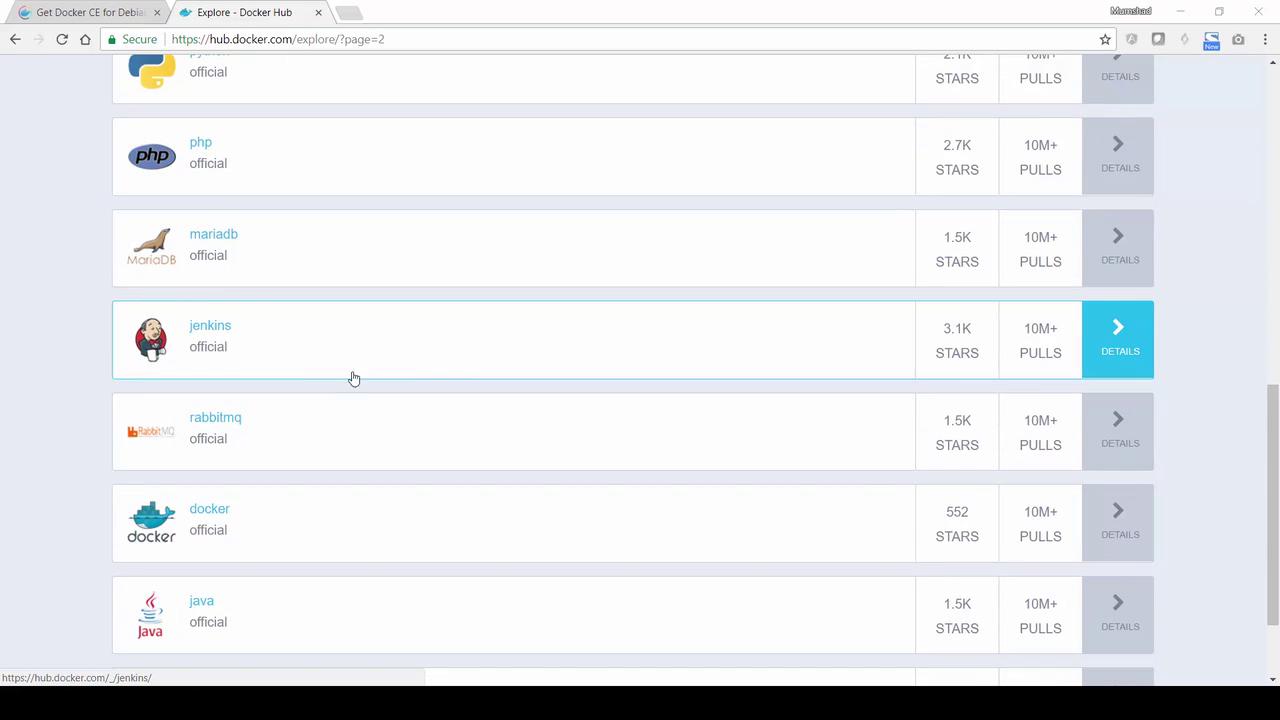
The image below displays an overview of official repositories on Docker Hub, including Jenkins:
After Jenkins starts, the setup screen prompts for the initial administrator password:
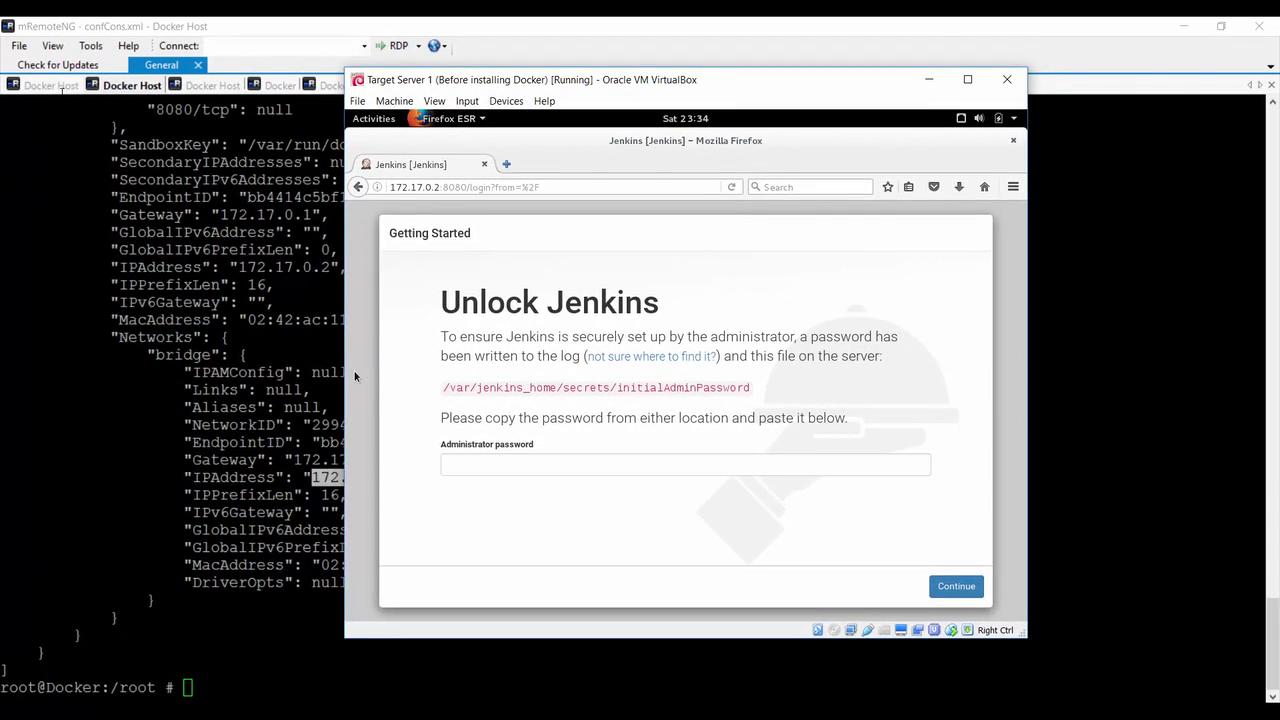
Follow the on-screen instructions to complete the installation, including entering the admin password and installing the suggested plugins.
***
## Persisting Jenkins Data Using a Volume
By default, stopping a Jenkins container causes all configuration and job data to be lost. To persist data across container restarts, map a host directory to the Jenkins home directory.
### Step-by-Step Process
1. Create a directory on your host:
```bash theme={null}
root@Docker:/root # mkdir my-jenkins-data
```
2. Run Jenkins with the volume mapped. Run as root if needed to avoid permission issues:
```bash theme={null}
root@Docker:/root # docker run -p 8080:8080 -p 50000:50000 -v /root/my-jenkins-data:/var/jenkins_home -u root jenkins
```
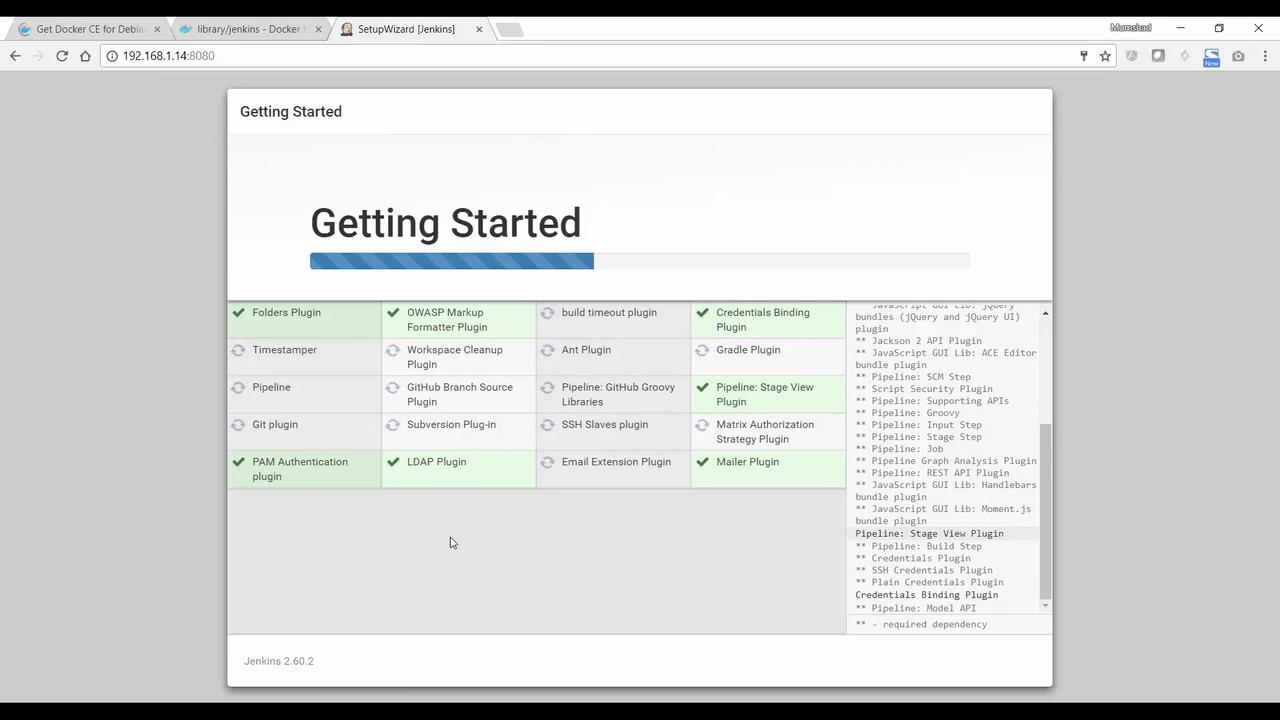
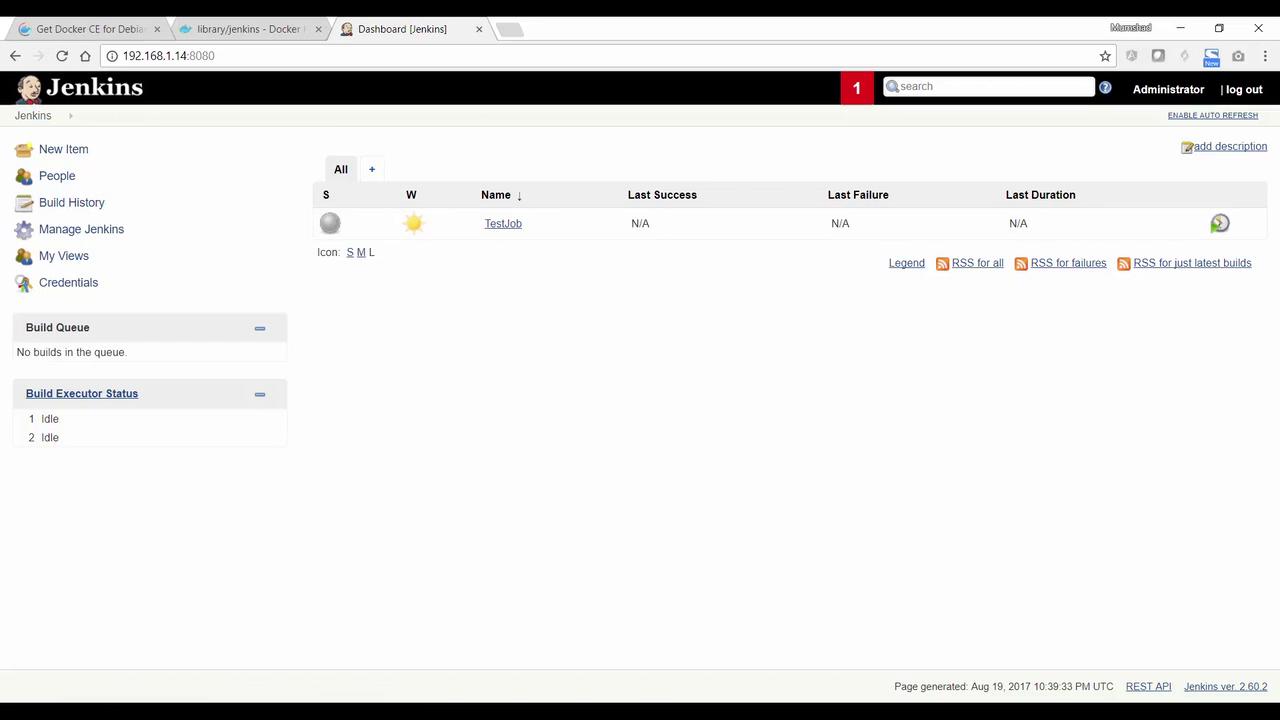
3. Complete the Jenkins setup by configuring the admin user, installing plugins, and creating a test job.
If you stop and later restart the Jenkins container using the same volume mapping, your configuration and jobs will persist:
```bash theme={null}
root@Docker:/root # docker run -p 8080:8080 -p 50000:50000 -v /root/my-jenkins-data:/var/jenkins_home -u root jenkins
```
The images below illustrate parts of the Jenkins setup process:
***
## Summary
In this lesson, you learned how to:
* Run Docker containers with appended commands (e.g., displaying OS release information).
* Specify image tags (e.g., `ubuntu:17.10`) to control which version is run.
* Operate containers in both attached and detached modes, including attaching to or stopping a container.
* Execute applications like the "timer" image in either foreground or background modes.
* Deploy [Jenkins](https://learn.kodekloud.com/user/courses/jenkins) in a Docker container, access its web UI via internal and external IP addresses, and persist configuration data using volume mapping.
Thank you for following along, and see you in the next lesson!