Exploring WebAssembly (WASM)

Getting Started with WebAssembly

Demo Setting up the Development Environment

In this lesson, you’ll install and configure the Emscripten SDK to compile WebAssembly (WASM) binaries and prepare your code editor for development.

Prerequisites

  • Git installed on your machine
  • Homebrew (macOS), Chocolatey (Windows), or another package manager
  • A modern code editor (we’ll use Visual Studio Code)

1. Clone and Install Emscripten via Git

Visit the official Emscripten site for full details: https://emscripten.org

# 1. Clone the emsdk repository
git clone https://github.com/emscripten-core/emsdk.git

# 2. Change into the cloned directory
cd emsdk

# 3. (Optional) Update to the latest version if you cloned previously
git pull

Note

After cloning, install and activate the latest SDK release, then configure your shell environment:

./emsdk install latest
./emsdk activate latest
source ./emsdk_env.sh

This step ensures you have the required compiler, linker, and runtime env set up.

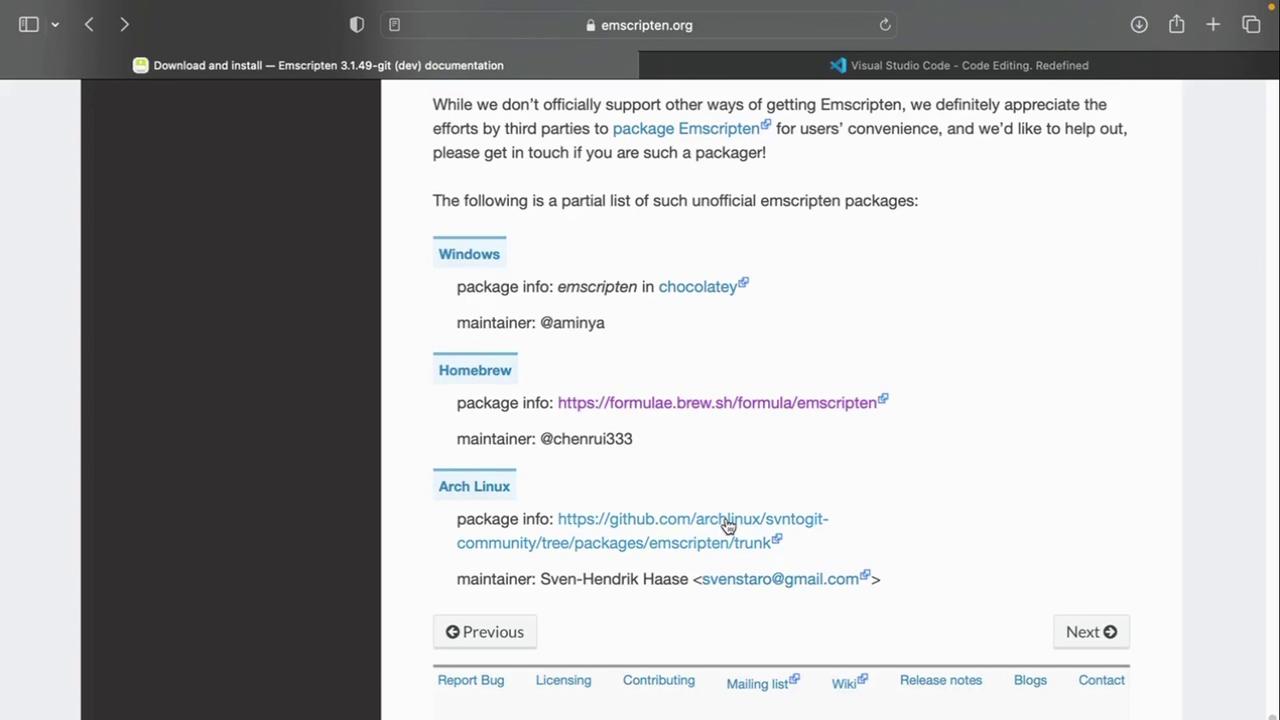
2. Install Emscripten via Package Manager

Emscripten is also available through popular package managers:

PlatformPackage ManagerInstall Command
WindowsChocolateychoco install emscripten
macOSHomebrewbrew install emscripten
LinuxOfficial GuideSee Linux downloads

The image shows a webpage from emscripten.org listing unofficial Emscripten packages for Windows, Homebrew, and Arch Linux, along with package information and maintainers.

3. Verify Your Installation

After installation, confirm the Emscripten compiler is accessible:

emcc --version

Expected output:

emcc (Emscripten gcc/clang-like replacement + linker emulating GNU ld) 3.1.48-git
Copyright (C) 2014 the Emscripten authors (see AUTHORS.txt)
This is free and open source software under the MIT license.
There is NO warranty; not even for MERCHANTABILITY or FITNESS FOR A PARTICULAR PURPOSE.

4. Choose Your Code Editor

We recommend using Visual Studio Code for WebAssembly development:

The image shows the Visual Studio Code website, highlighting its features and offering a download option, alongside a screenshot of the code editor with various extensions and a JavaScript file open.

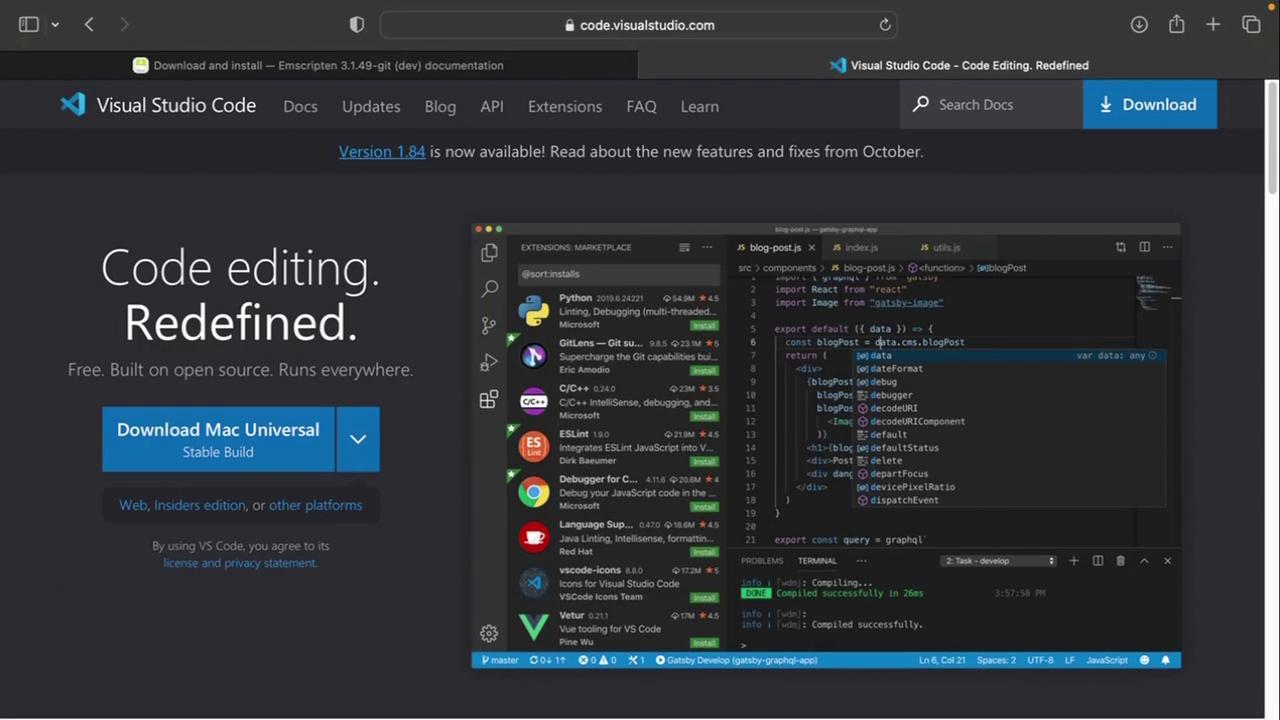
  1. Download and install VS Code.
  2. Add extensions like “ESLint,” “Prettier,” and “WebAssembly Toolkit” for syntax support.

5. Create Your WASM Project Folder

Organize your demos and examples in a dedicated directory:

mkdir WASM
cd WASM

Inside WASM, you can start adding C/C++, Rust, or AssemblyScript source files to compile into .wasm.


Next Steps

Now that your environment is ready, the next lesson will cover writing and compiling a simple C program to WebAssembly. Stay tuned!

References

Watch Video

Watch video content

Previous
WebAssembly JavaScript API