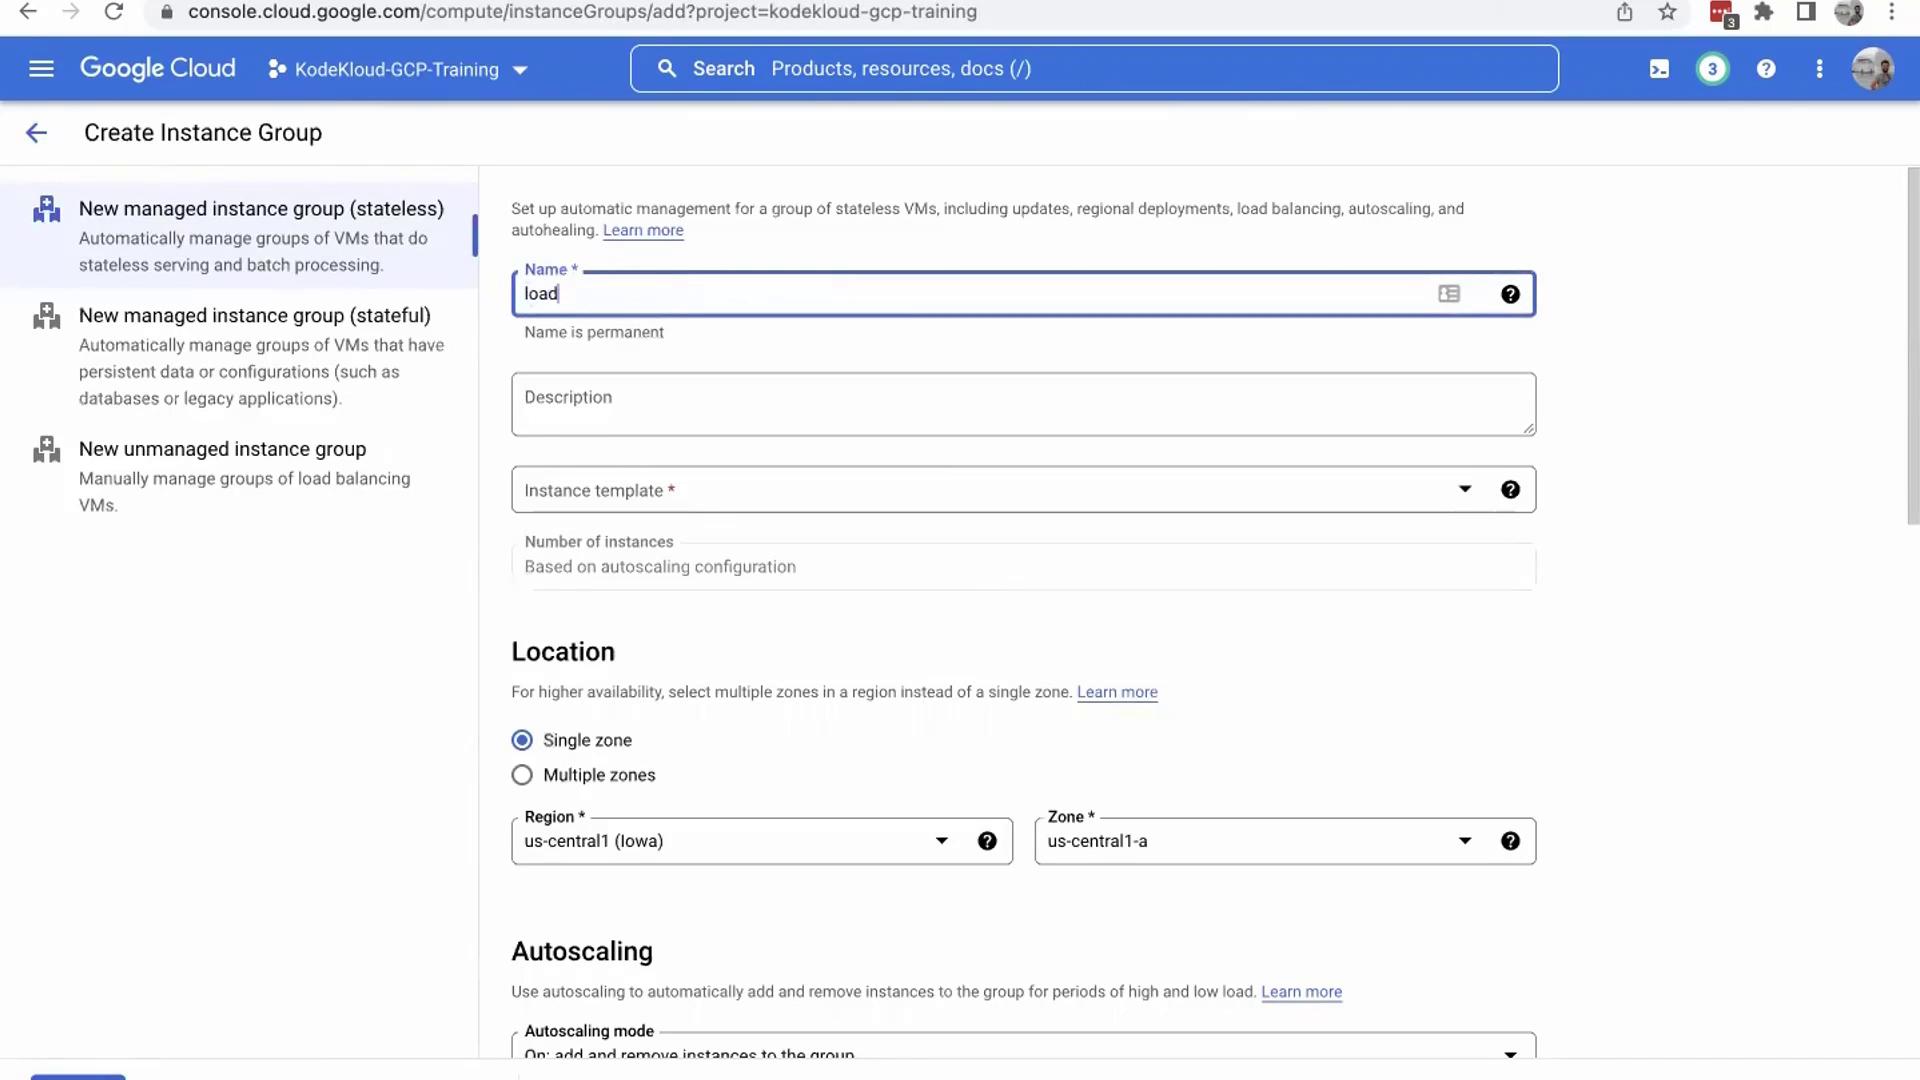
Setting Up the Instance Group
Begin by logging into the GCP console and selecting the appropriate project. Navigate to the Compute section by entering “Compute” in the console search bar. On the Compute page, create an instance group as outlined below.- Click on the Instance Groups section.
- Select the option to create a new instance group.
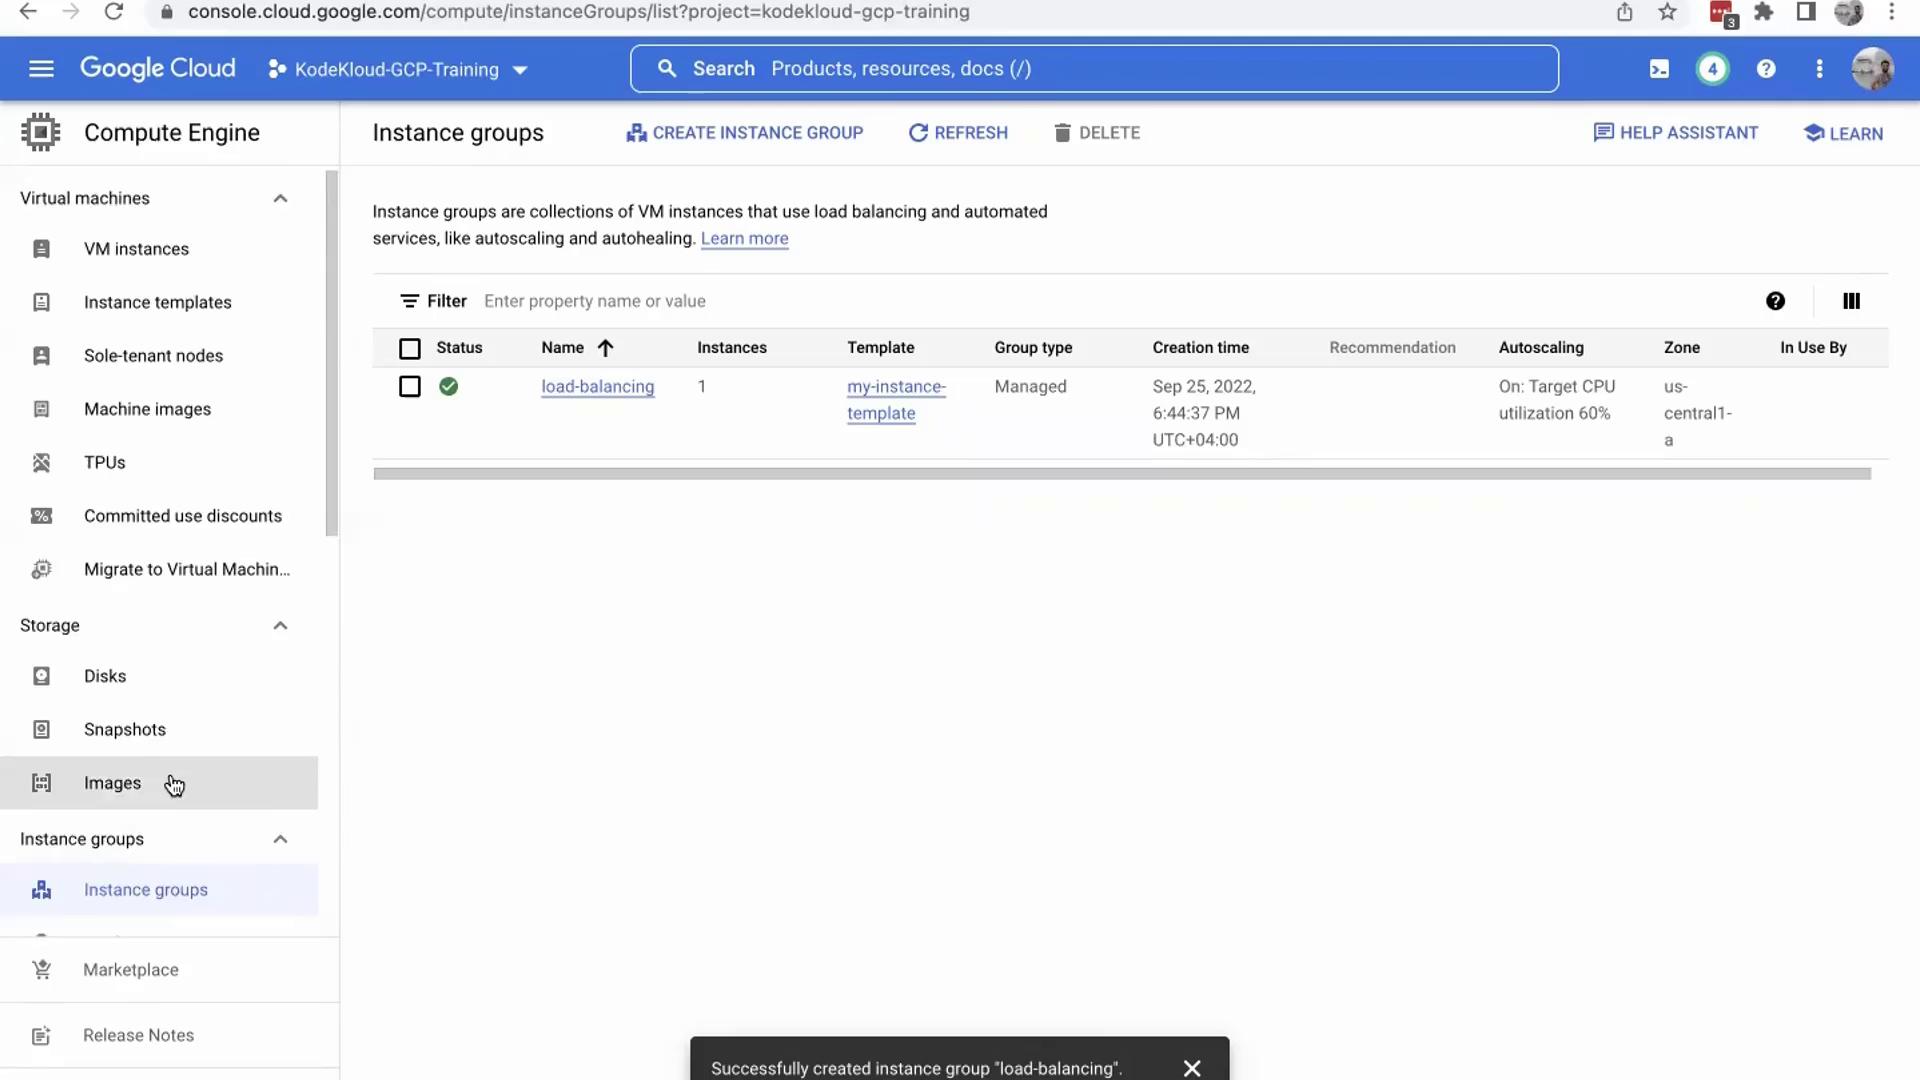
- Name the group to reflect its purpose (e.g., “load balancing”) and choose an appropriate instance template. This template, which outlines the configuration for your instances, will be reused throughout this demonstration.
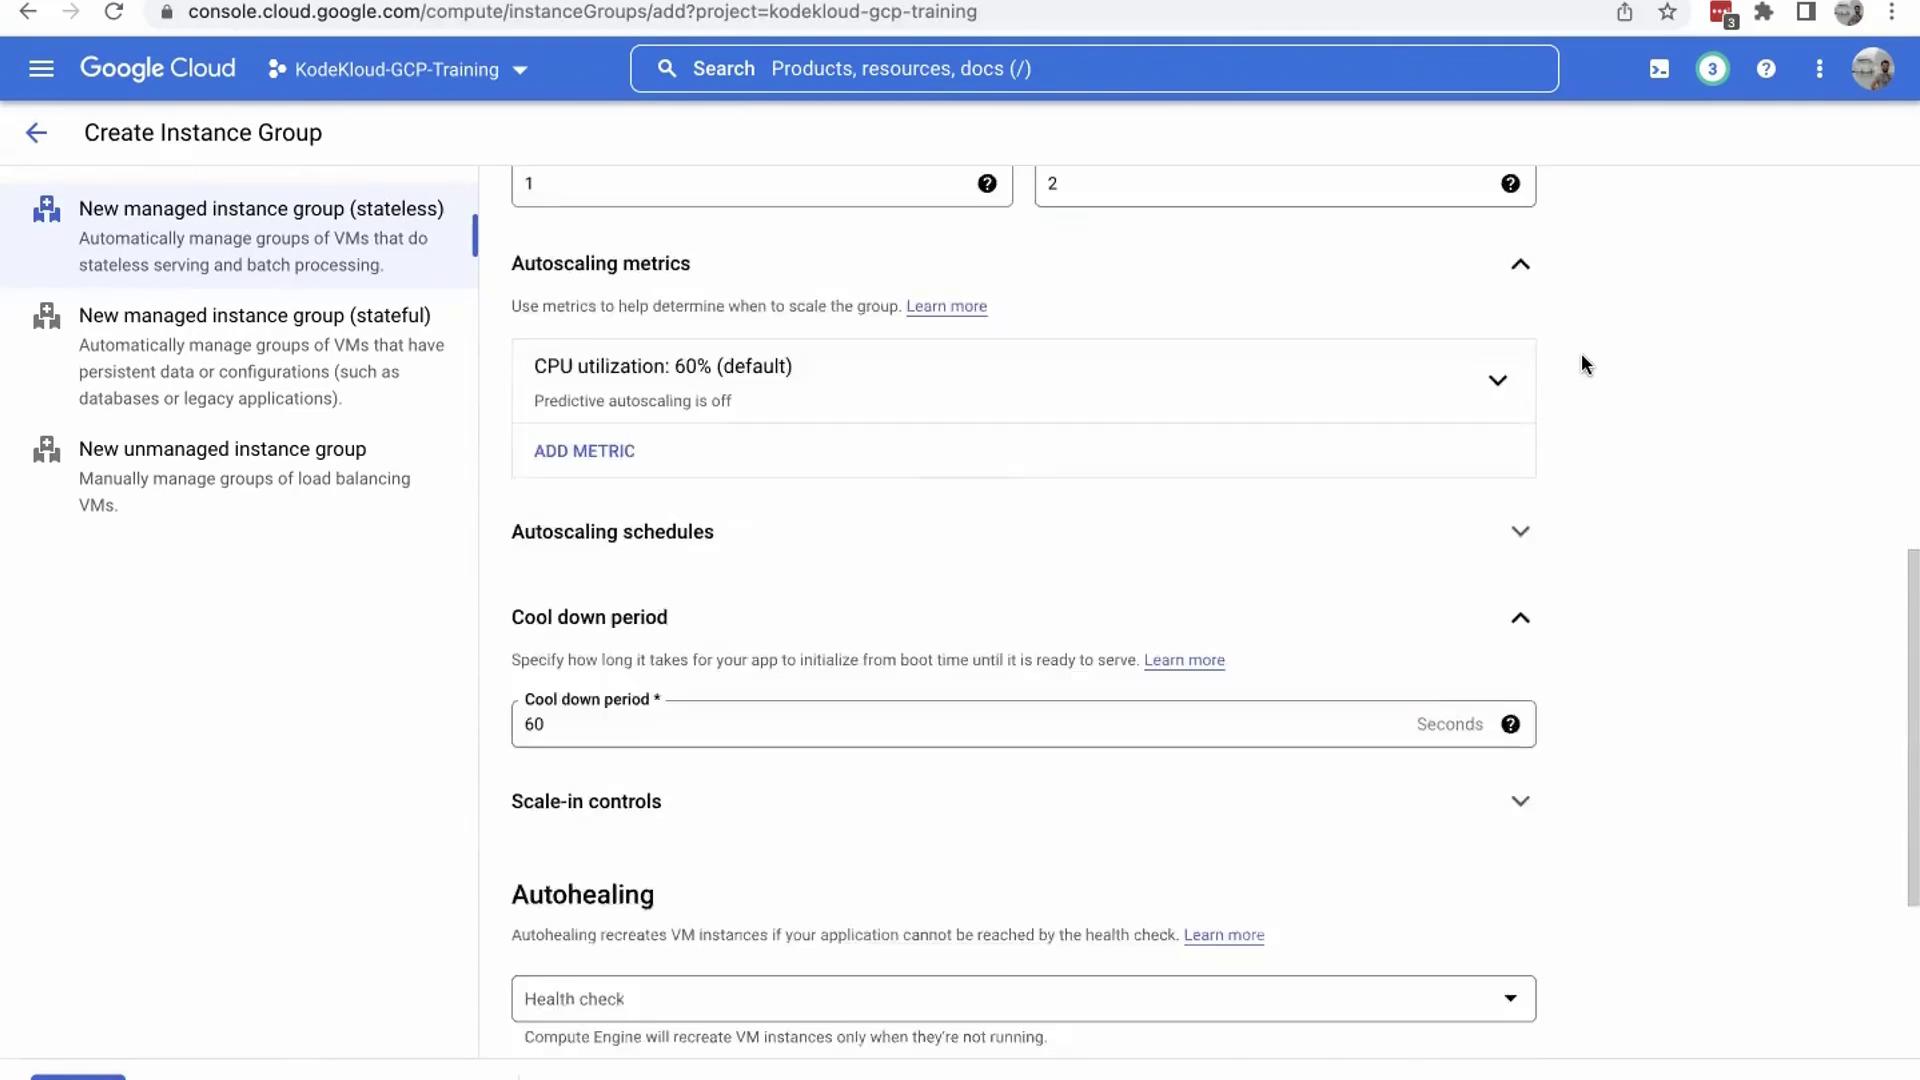
- Adjust the autoscaling settings: set the maximum number of instances to two instead of the default ten, since this demonstration does not require a high scale.
Instance Group Interface Overview
Review the instance group creation interface to familiarize yourself with the available options, including naming the group, providing a description, selecting an instance template, and choosing the target region.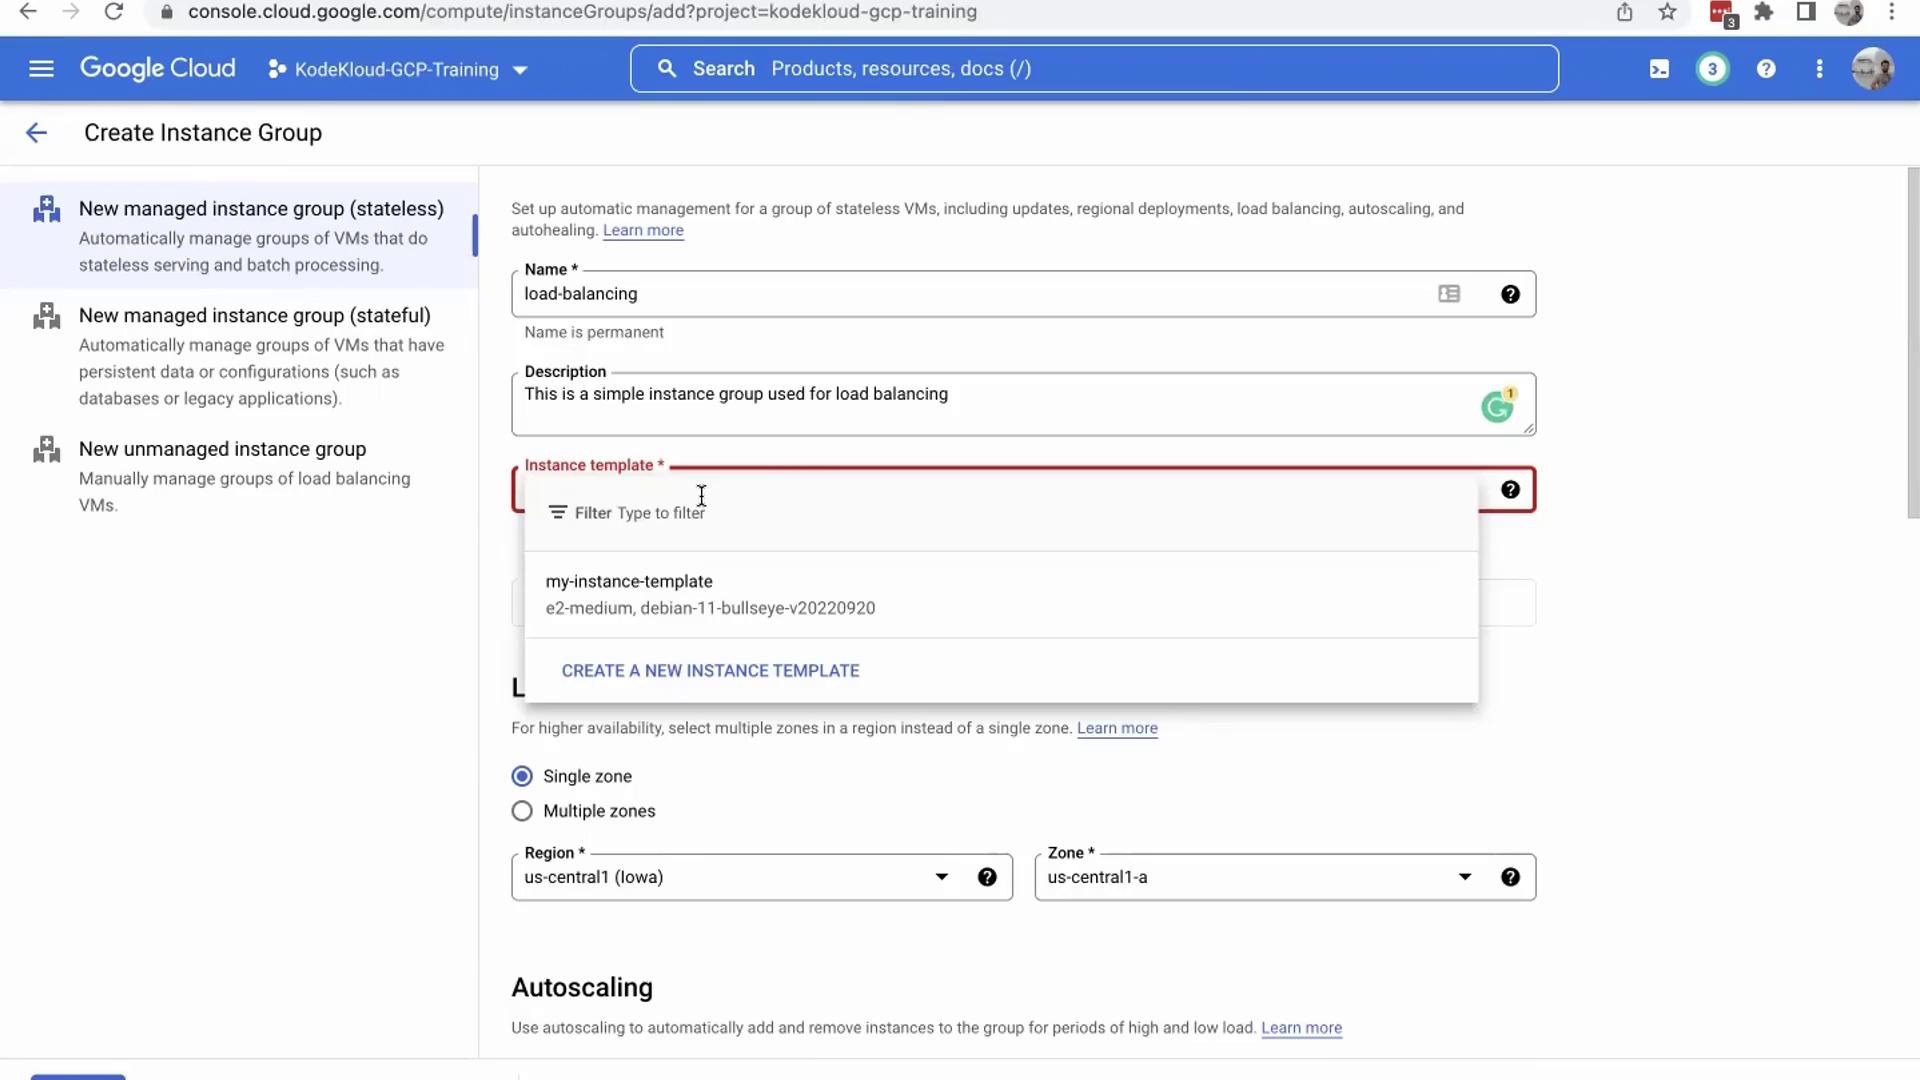
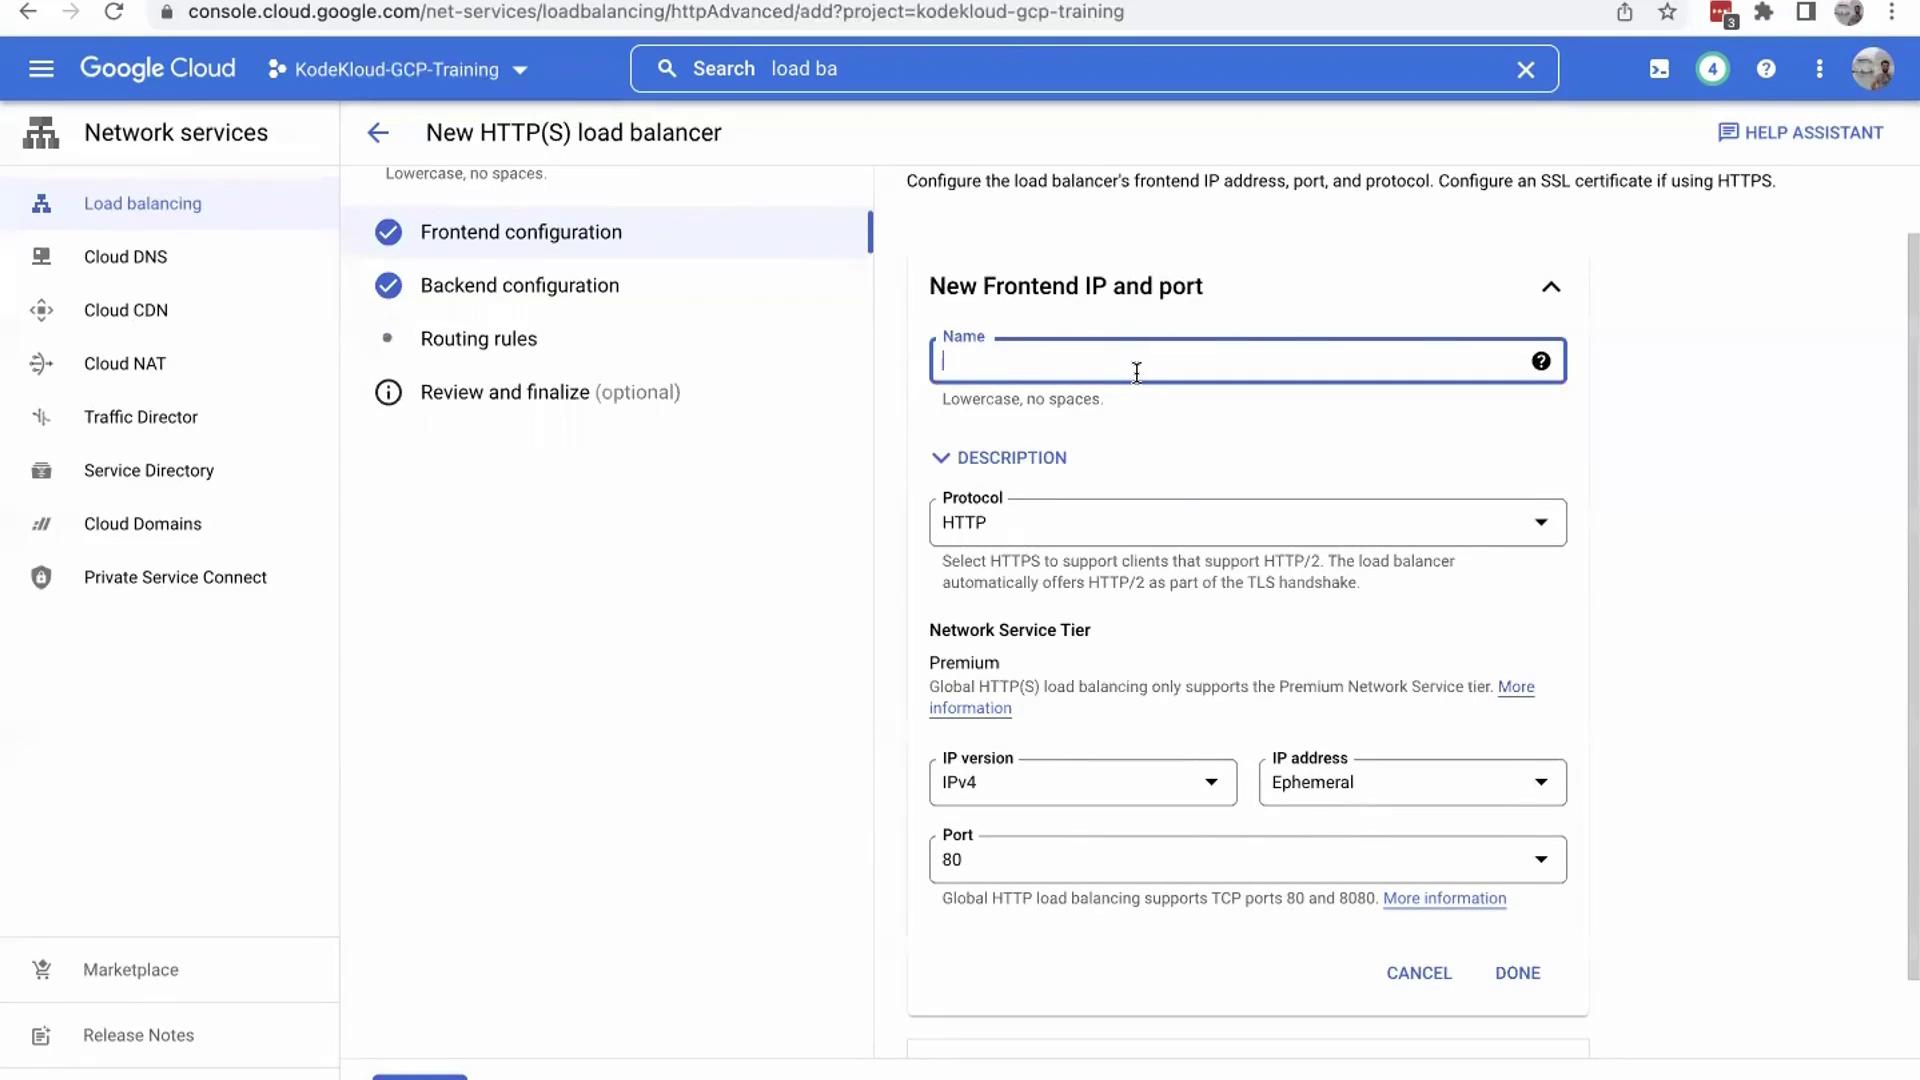
Creating the Load Balancer
With the instance group in place, the next step is to create a load balancer. While it is possible to attach multiple instance groups to a load balancer, this demonstration uses a single instance group for simplicity. To locate the load balancing service:- Use the scroll menu on the left side of the GCP console.
- Alternatively, search for “load balancing” in the search bar.
- HTTPS Load Balancing (Layer 7)
- TCP Load Balancing (Layer 4)
- UDP Load Balancing (Layer 4)
- Choose between “internet-facing” (for external access) and “internal-facing” (for internal communication only).
Configuring the Backend Service
Proceed to the “Backend” section to define where the load balancer should route incoming traffic:- Click on the drop-down menu and select “Create a backend service.”
- Fill in the details:
- Assign a name to the backend service (e.g., “load balancer backend service”).
- Select the instance group created earlier.
- Configure the port to 80.
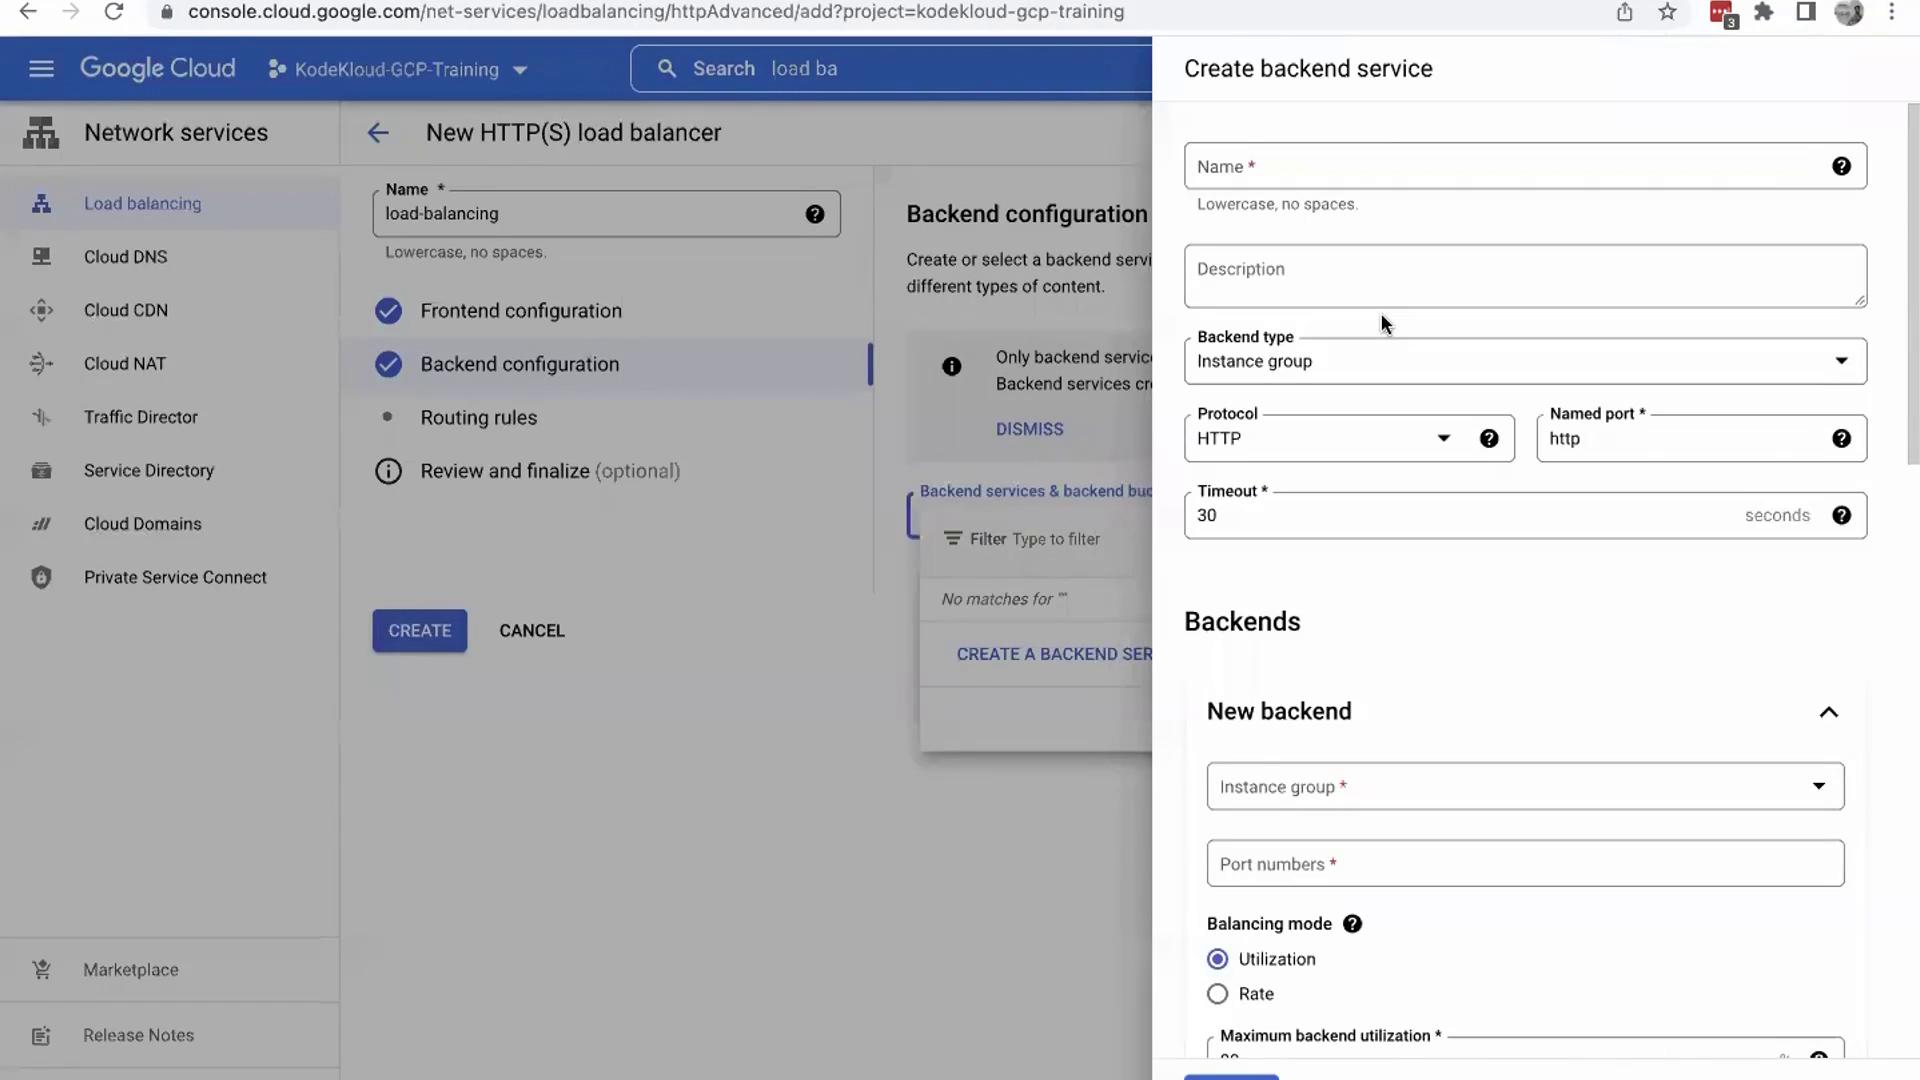
At this stage, no service is running on port 80 of your instance group, so any incoming traffic will not reach an active service. Further automation and software installation will be covered in subsequent articles.
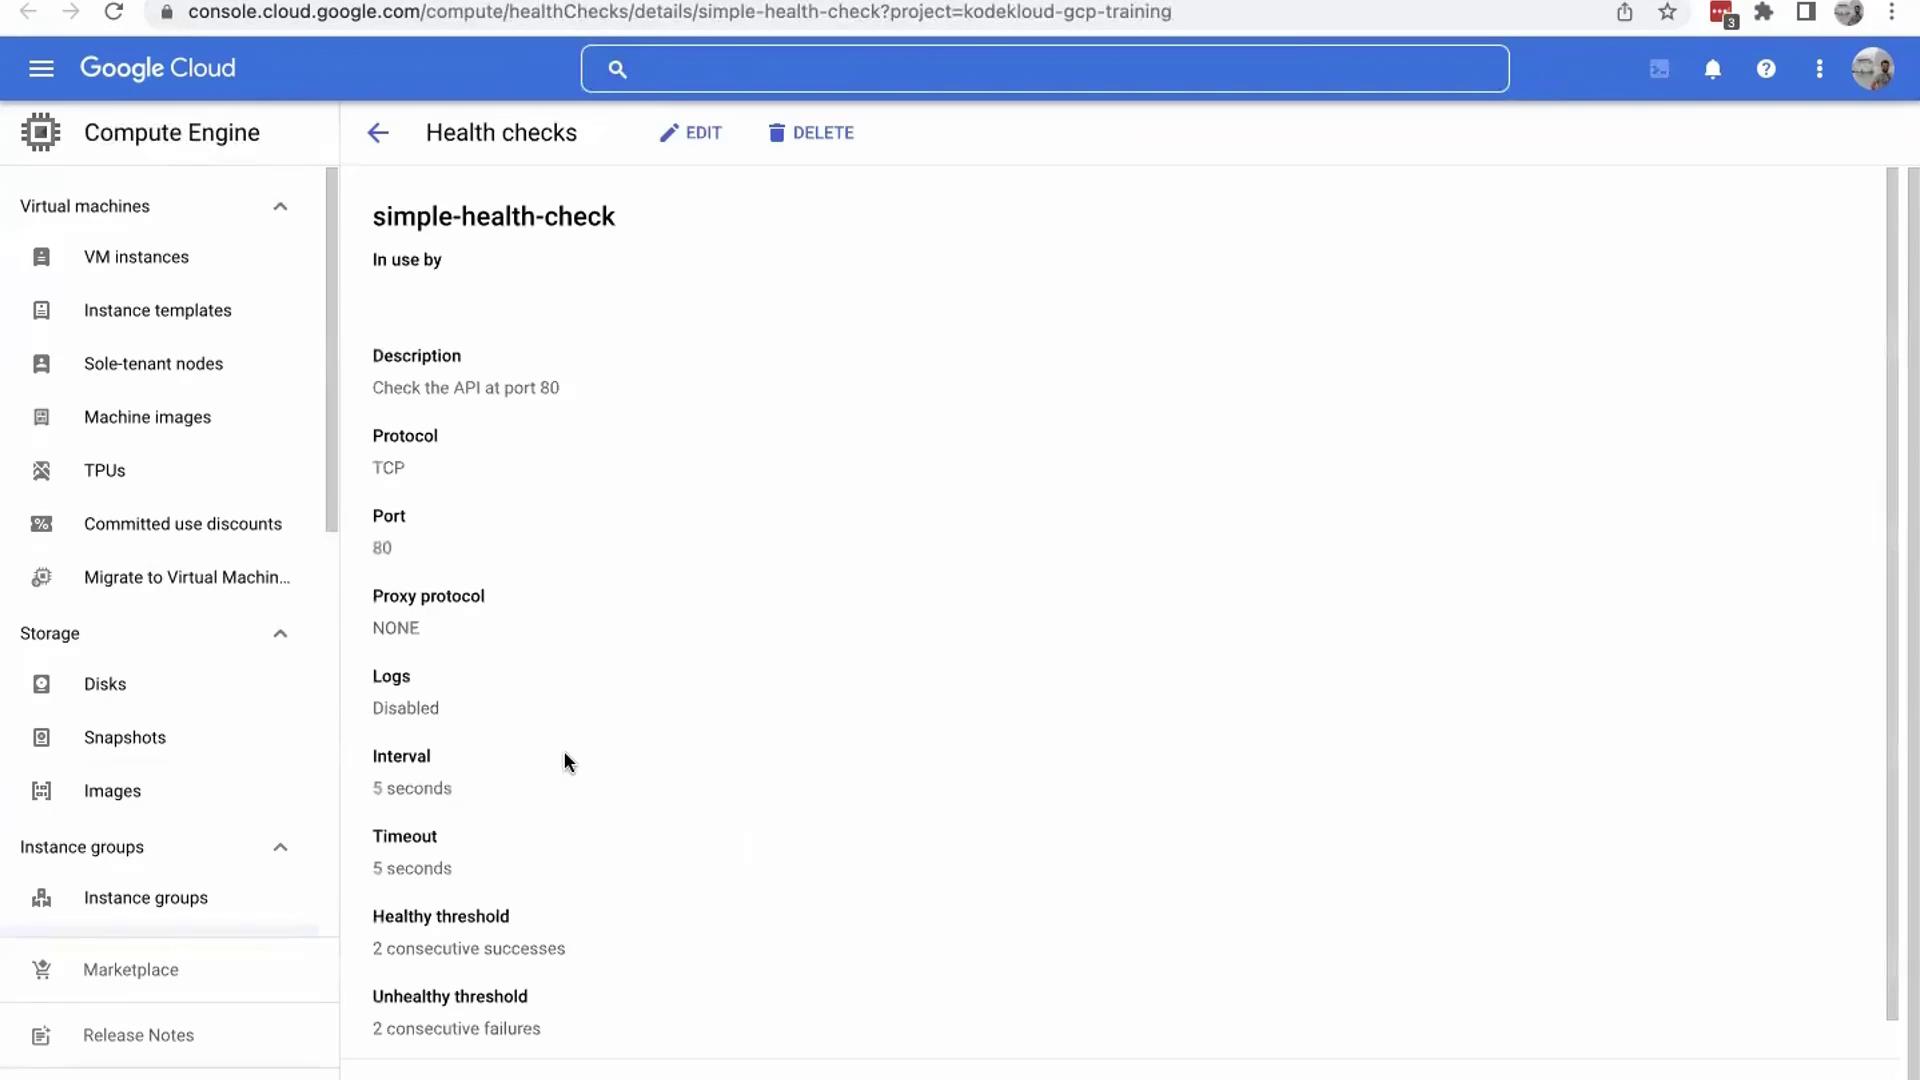
Setting Up the Health Check
Scroll down to set up a health check, which is critical to monitor the status of your backend instances. Create a health check (for example, name it “simple health check”) that will attempt to access port 80. Because there is currently no service running on port 80, the health check will fail. This is expected and will be rectified once the necessary application is deployed.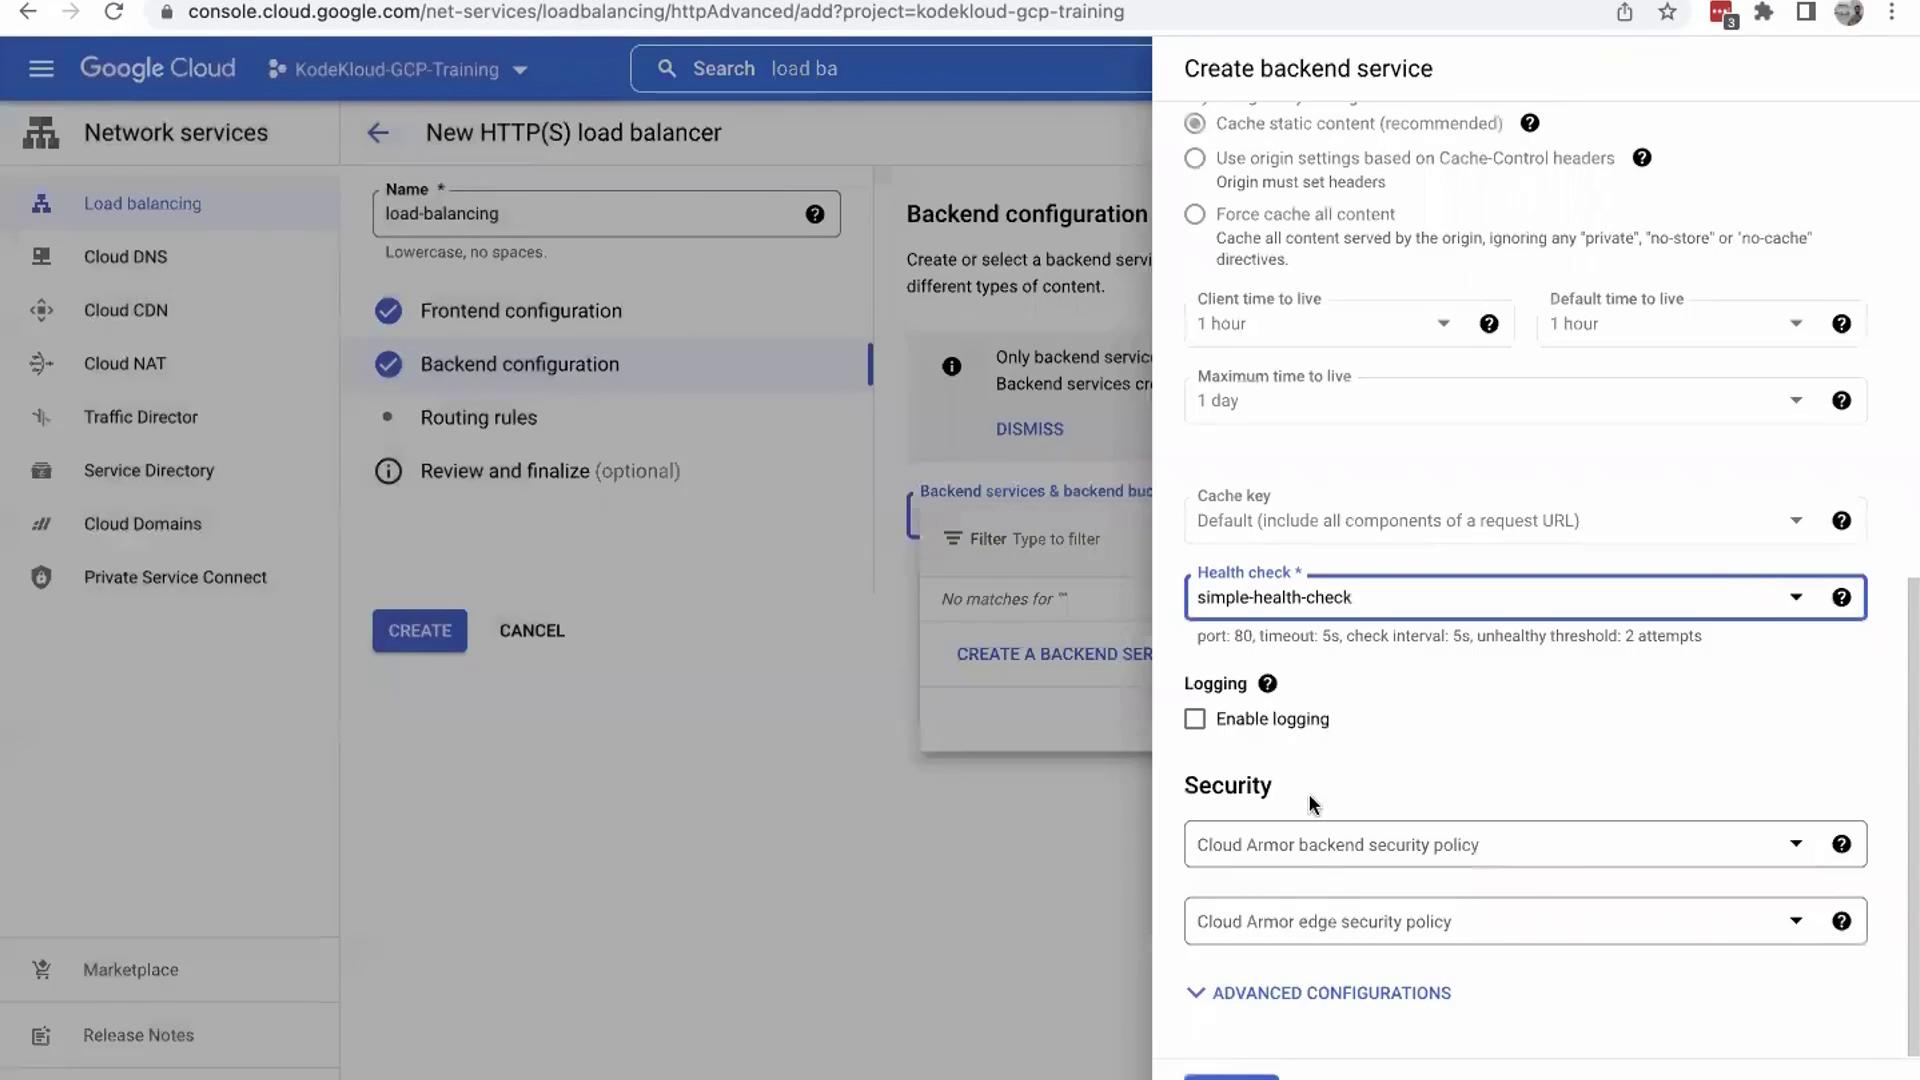
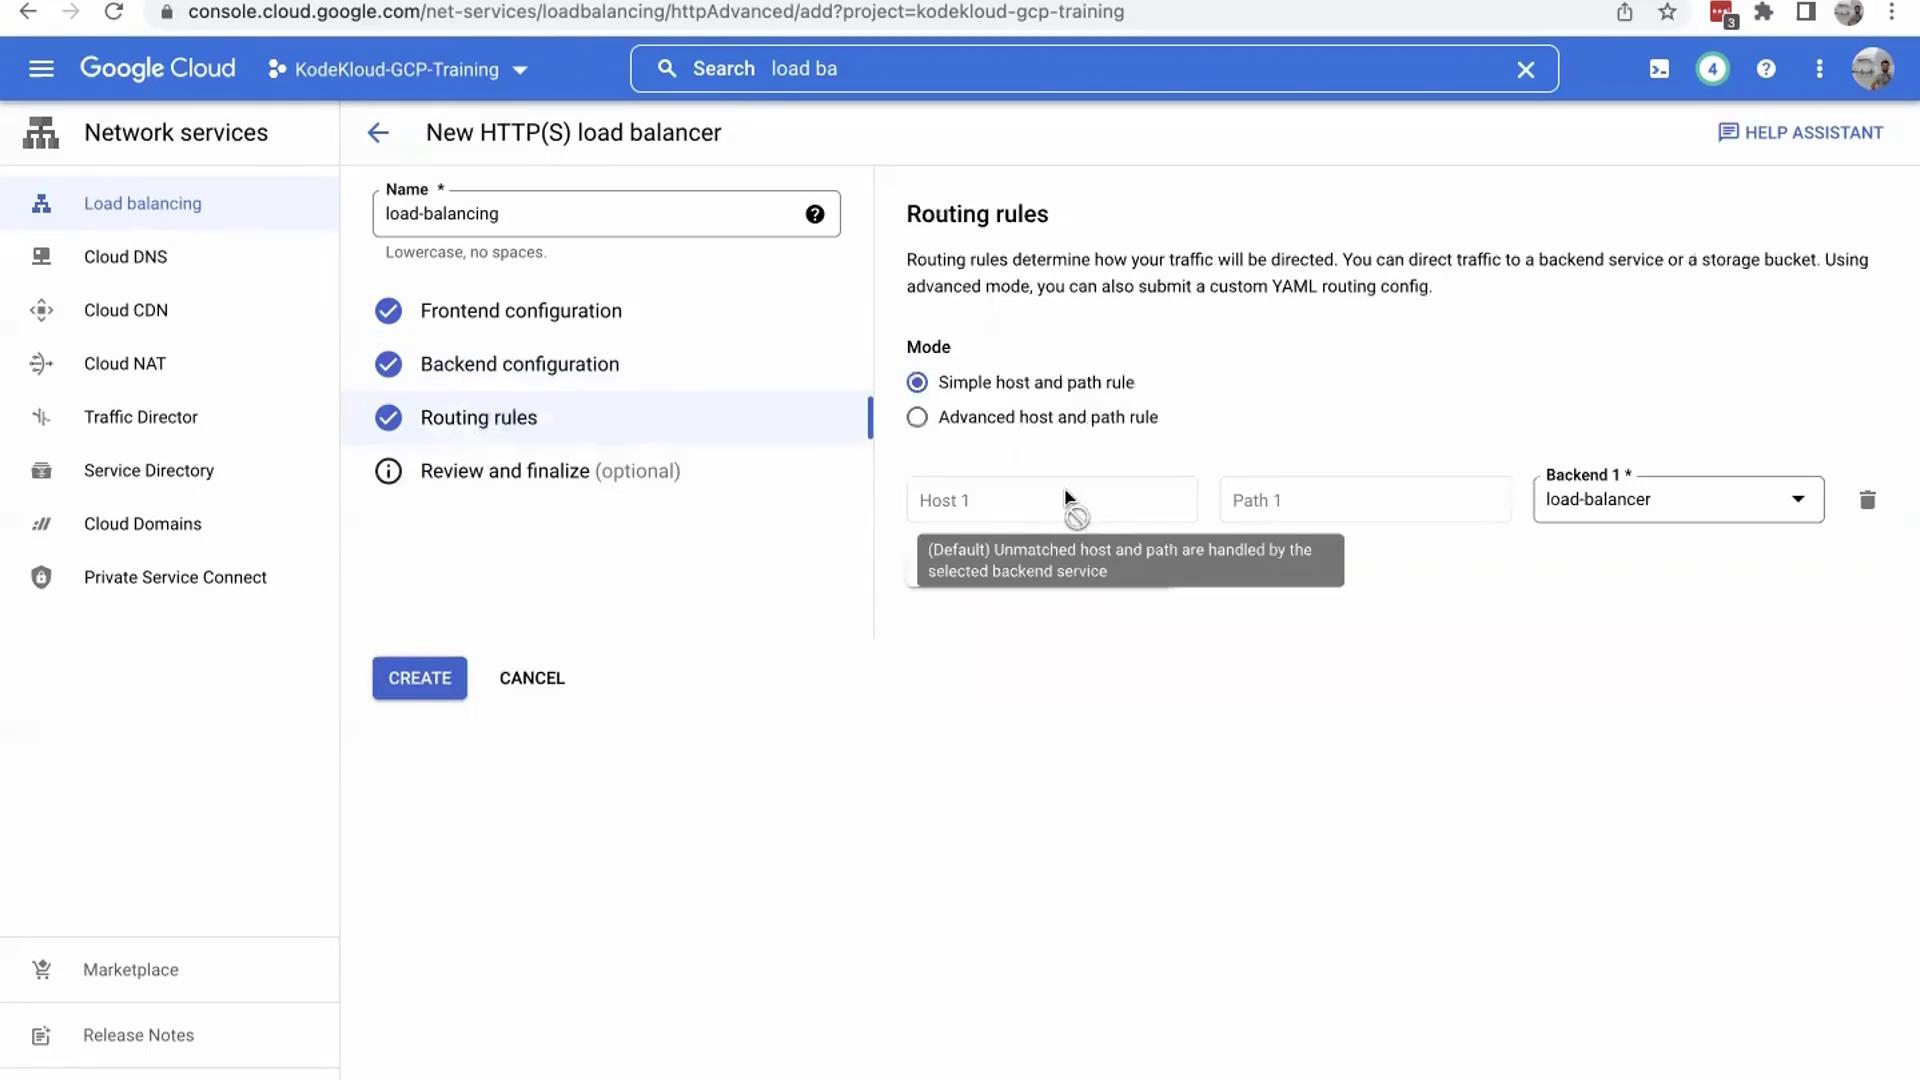
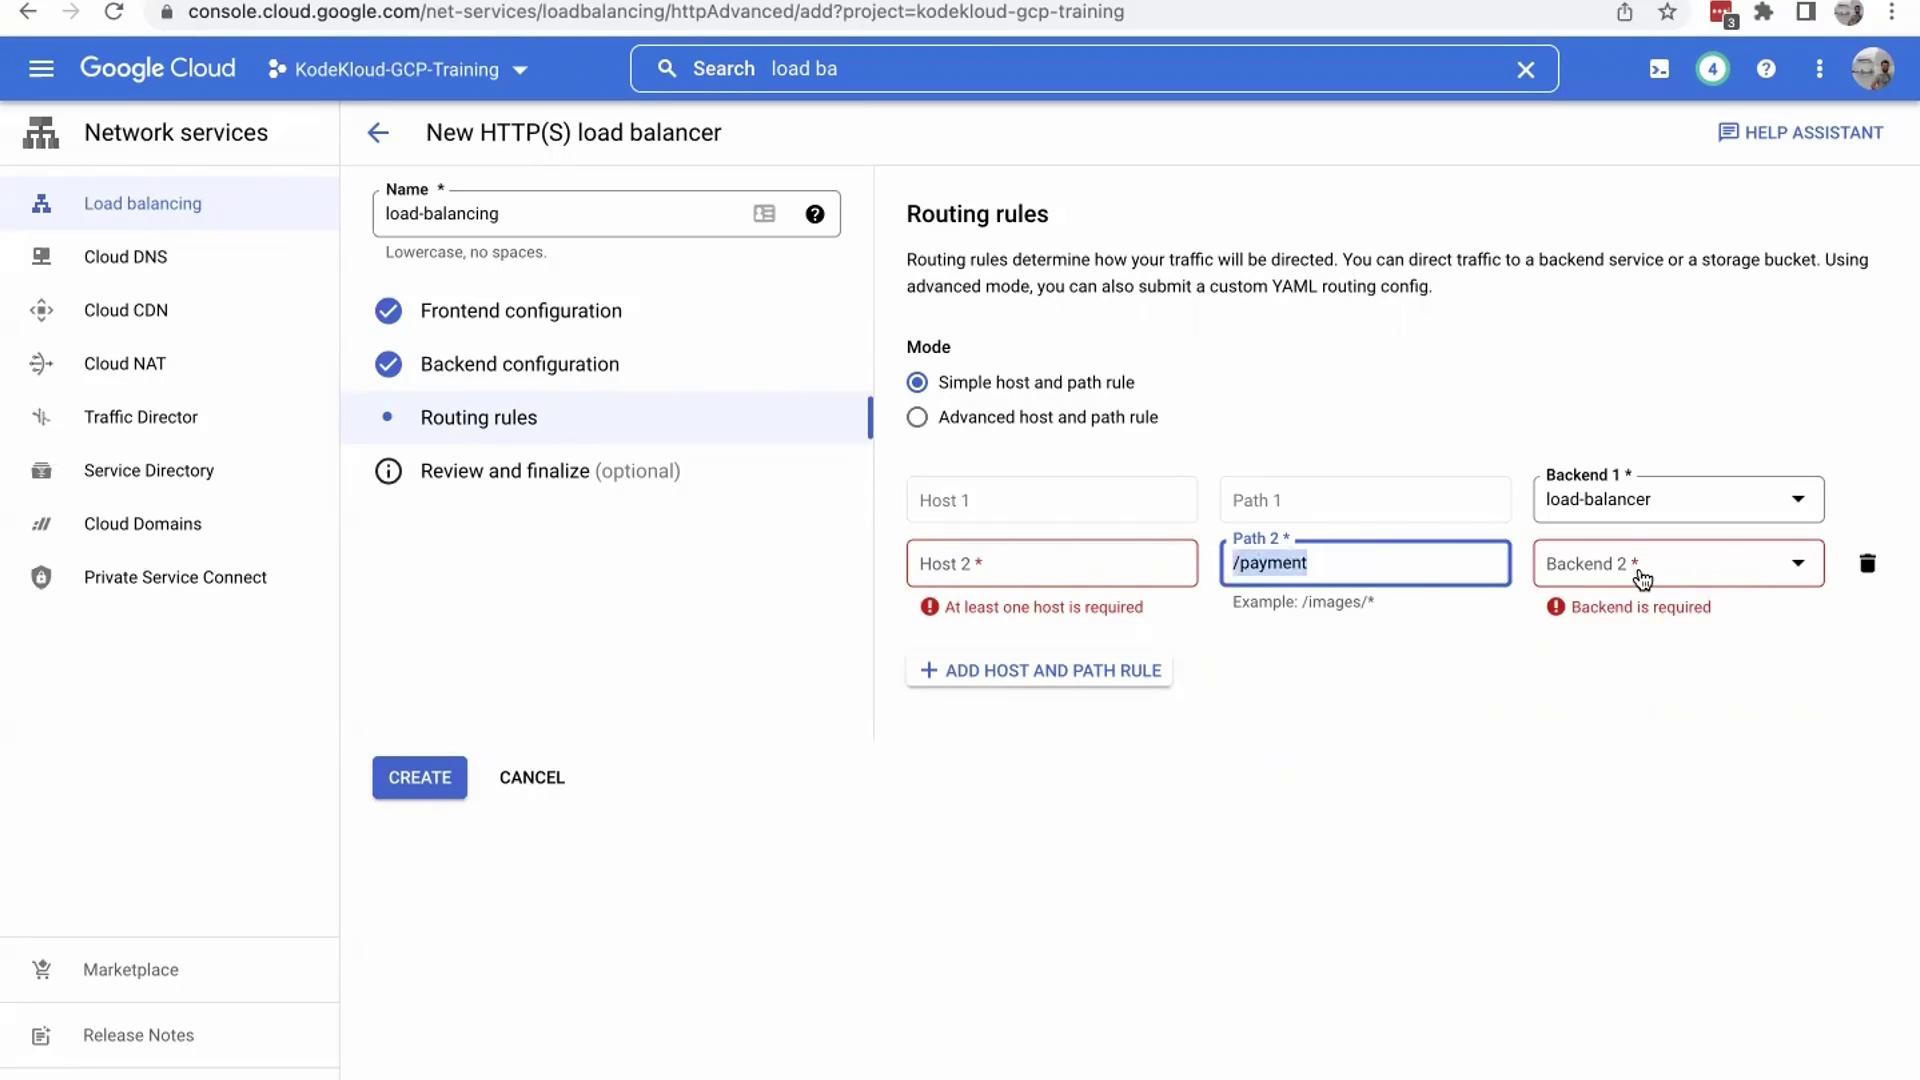
Configuring Routing Rules
Next, define the routing rules that determine how incoming traffic is directed to your backend:- Navigate to the routing rules dialog.
- Specify host and path rules if you need to direct specific URL patterns (e.g., traffic ending with “/payment” can be assigned to a dedicated backend).
- For this demonstration, use the default routing rule.
- Click “Create” to finalize the load balancer configuration.
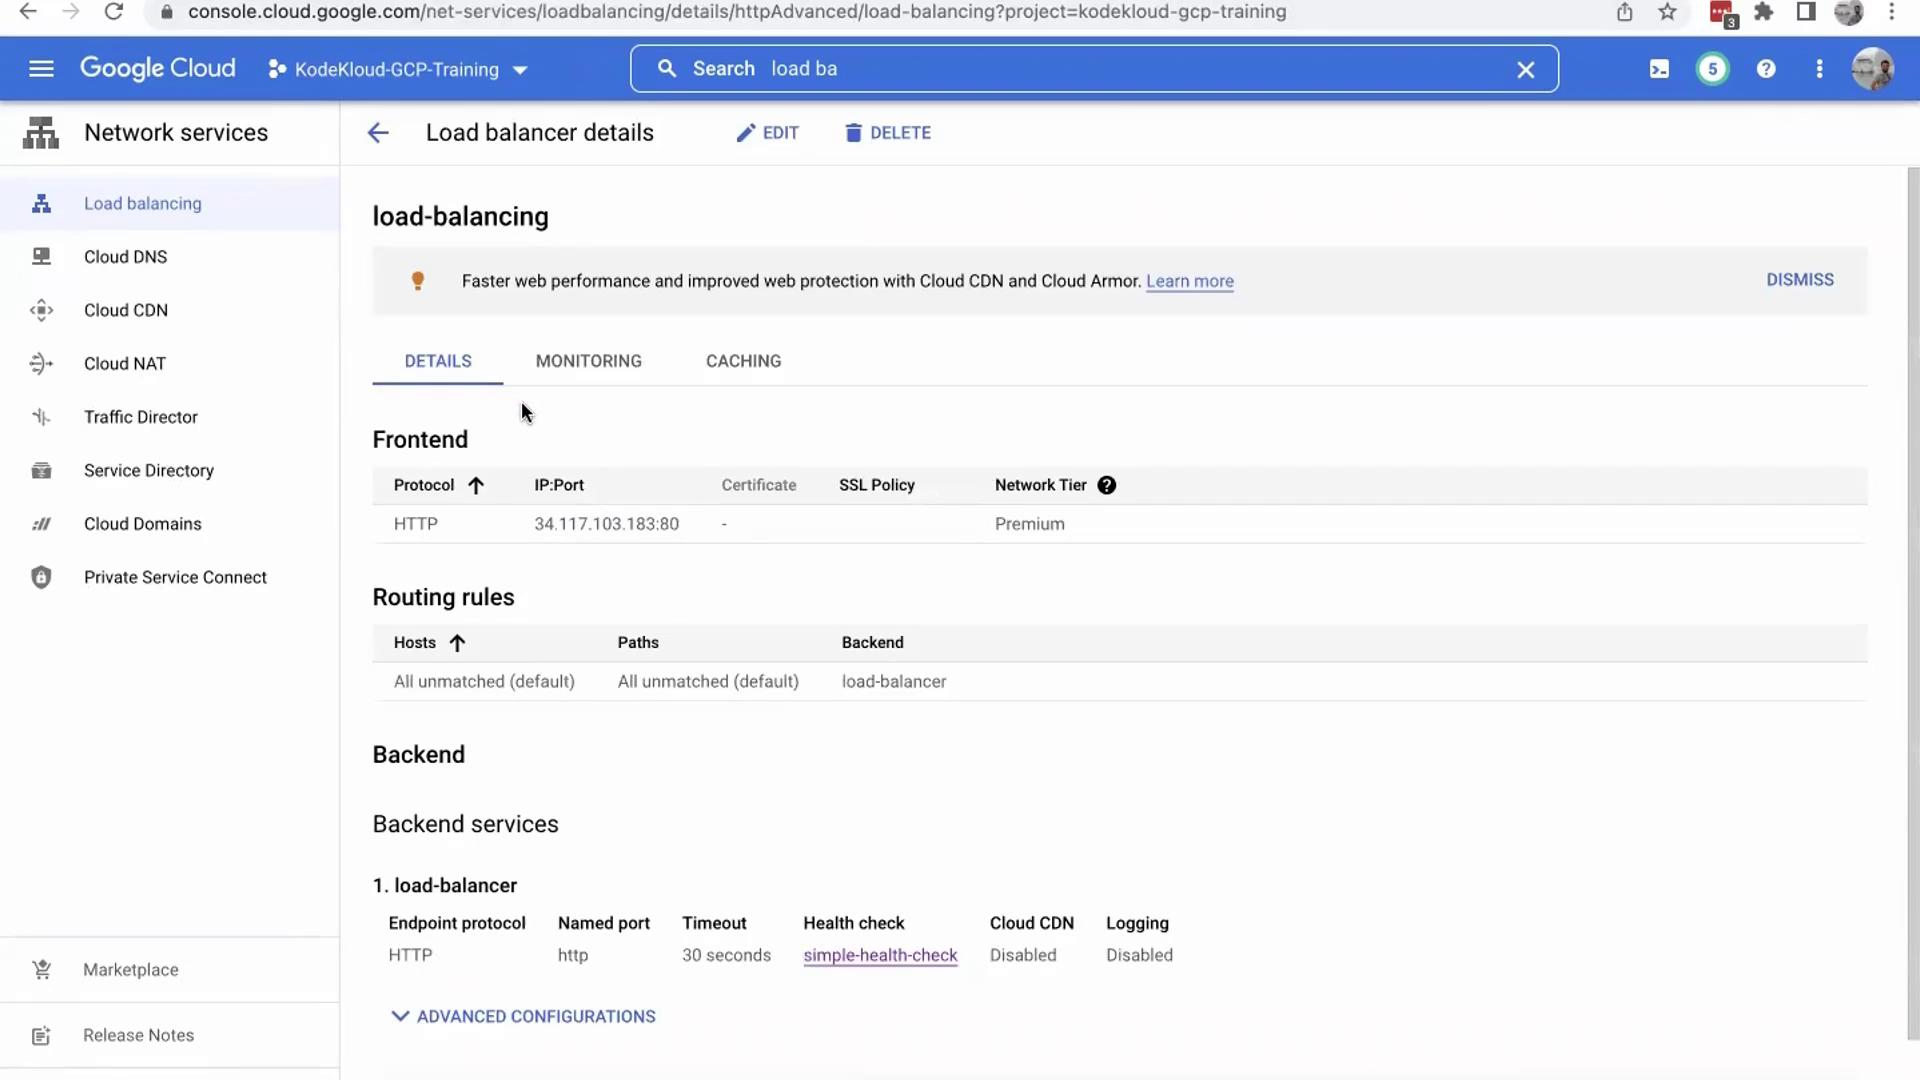
Verifying Health Checks and Load Balancer Status
After connecting the load balancer to your instance group, you may notice that the backend is flagged as unhealthy. To troubleshoot:- Click on the health check settings to review the configuration.
- Verify that the health check is attempting to access port 80 on your instance group.
Clean-Up and Conclusion
After completing this demonstration, it is important to clean up unused resources to avoid unnecessary charges. Follow these steps:- Delete the load balancer along with its associated health check.
- Remove the instance group from the Compute section.