> ## Documentation Index
> Fetch the complete documentation index at: https://notes.kodekloud.com/llms.txt
> Use this file to discover all available pages before exploring further.
# Task 1Creating GitHub Repo
> This article guides you through creating a GitHub repository for a GCP DevOps project.
In this lesson, you'll set up a new GitHub repository named **gcp-devops-project**. Follow these steps to get started.
## Prerequisites
* A GitHub account (sign in or sign up at [GitHub.com](https://github.com))
* Git installed locally ([https://git-scm.com](https://git-scm.com))
***
## Step 1: Access GitHub
1. Open your browser and navigate to [https://github.com](https://github.com)
2. Click **Sign in** to log in, or **Sign up** to register.
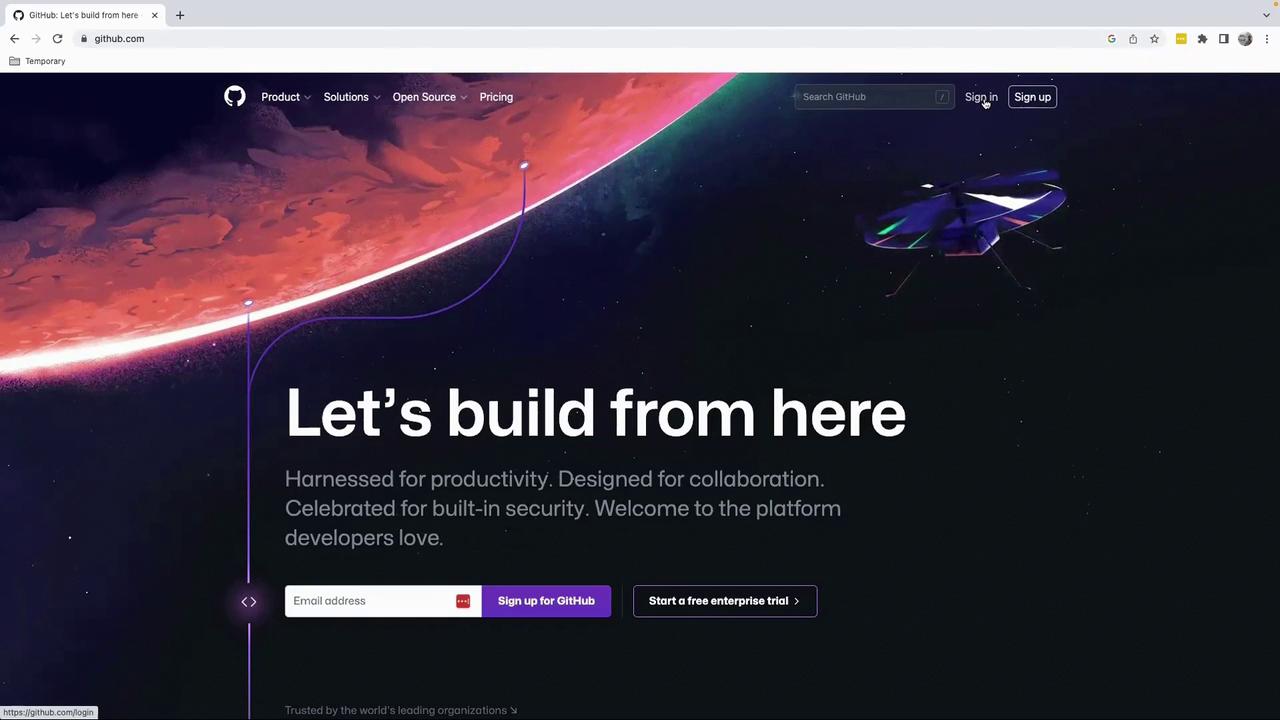
If you have Two-Factor Authentication enabled, create a [personal access token](https://docs.github.com/authentication/keeping-your-account-and-data-secure/creating-a-personal-access-token) before signing in.
***
## Step 2: Sign In or Sign Up
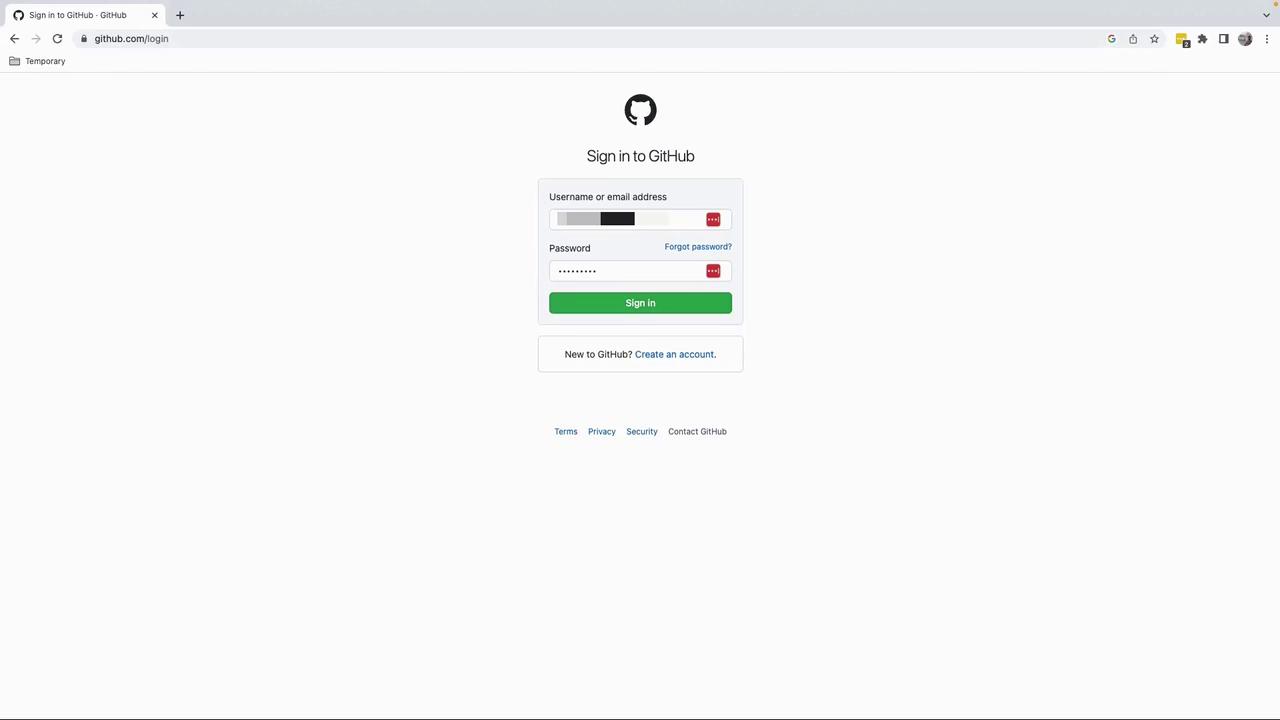
1. Enter your **username (or email)** and **password**.
2. Click **Sign in**.
3. If you don't have an account yet, select **Sign up** and follow the registration flow.
***
## Step 3: Create a New Repository
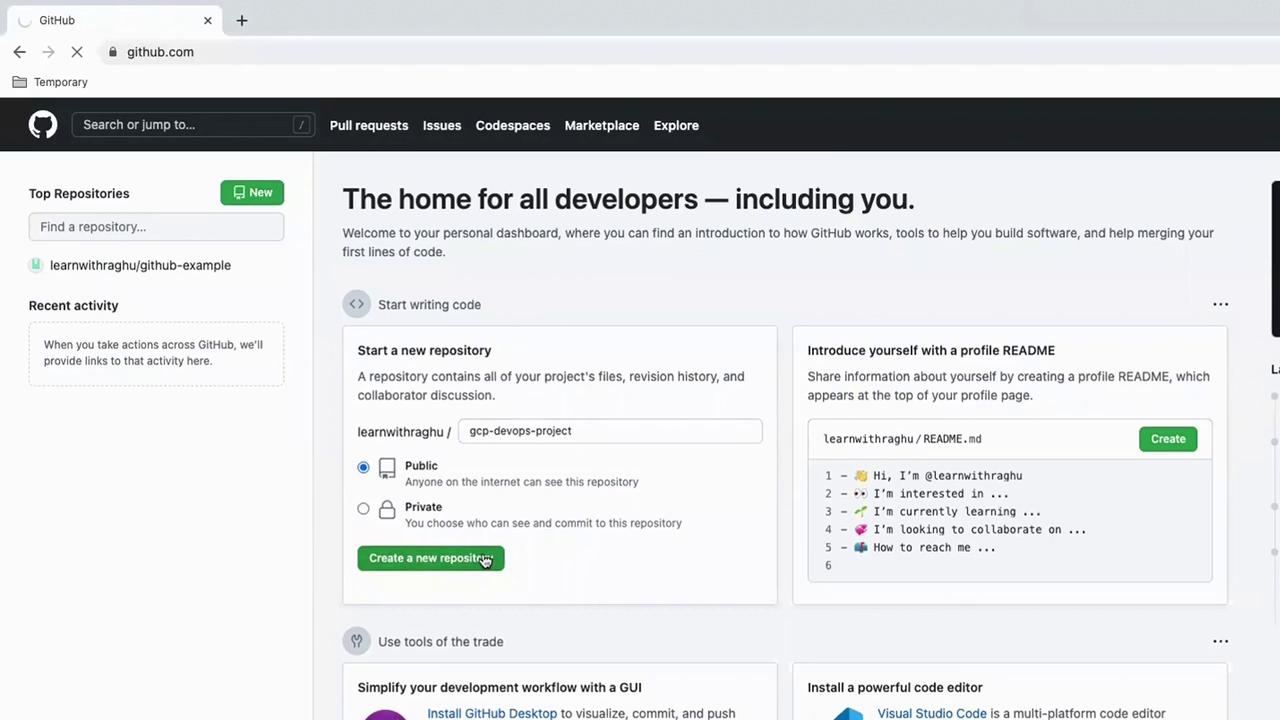
1. From your dashboard, click **Create a new repository**.
2. Configure the repository settings:
| Visibility | Description | When to Use |
| ---------- | -------------------------------------- | -------------------------------------- |
| Private | Only you and collaborators can view it | Company code, internal projects |
| Public | Anyone can view and clone it | Tutorials, demos, open-source projects |
3. For this tutorial, choose **Public**.
4. Name the repository **gcp-devops-project**.
5. Click **Create repository**.
***
## Step 4: Initialize Locally & Push
Run these commands in your terminal to initialize, commit, and push to GitHub:
```bash theme={null}
# 1. Create a README and initialize Git
echo "# gcp-devops-project" >> README.md
git init
# 2. Stage and commit your initial file
git add README.md
git commit -m "first commit"
# 3. Rename default branch, add remote, and push
git branch -M main
git remote add origin git@github.com:learnwithraghu/gcp-devops-project.git
git push -u origin main
```
Always verify your remote URL with `git remote -v` to avoid pushing to the wrong repository.
***
Congratulations! Your **gcp-devops-project** repository is now live on GitHub. In the next lesson, we'll explore branching strategies and collaboration workflows.