> ## Documentation Index
> Fetch the complete documentation index at: https://notes.kodekloud.com/llms.txt
> Use this file to discover all available pages before exploring further.
# Deploy and validate and validate the service
> This tutorial explains how to extend a Kubernetes Deployment by adding a LoadBalancer Service on Google Kubernetes Engine.
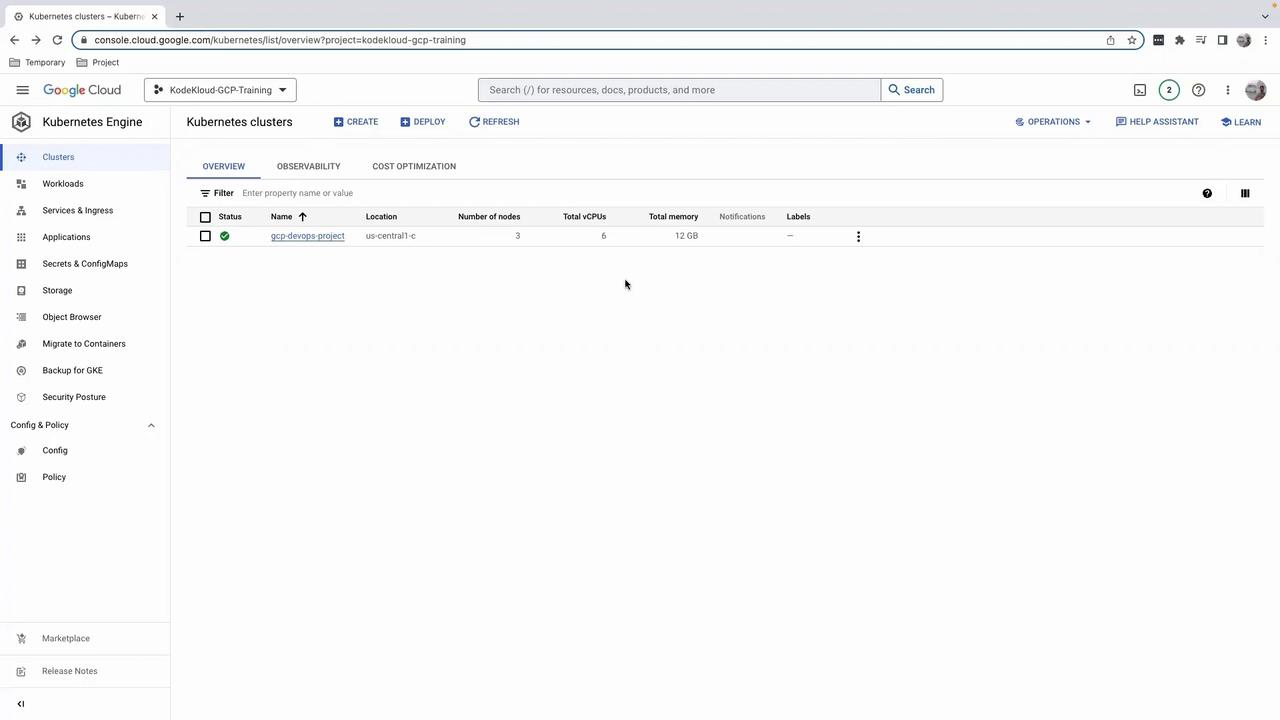
In this tutorial, we’ll extend an existing Kubernetes Deployment by adding a Service of type `LoadBalancer` to expose your application on Google Kubernetes Engine (GKE). You’ll learn how to update your manifest, trigger a Cloud Build, and verify the Service in the GKE console.
## 1. Create a New Git Branch
First, sync your `main` branch and create a feature branch for the Service manifest:
```bash theme={null}
git checkout main
git pull origin main
git checkout -b feature/add-loadbalancer-service
```
## 2. Add the Service to gke.yaml
Open your `gke.yaml` and append the following Service definition beneath the existing Deployment:
```yaml theme={null}
apiVersion: v1
kind: Service
metadata:
name: gcp-devops-gke-service
namespace: default
labels:
app.kubernetes.io/managed-by: gcp-cloud-build-deploy
spec:
type: LoadBalancer
selector:
app: gcp
ports:
- protocol: TCP
port: 80
targetPort: 5000
```
If you’re targeting a production namespace, replace `namespace: default` with your environment (e.g., `gcp-devops-prod`).
Using `LoadBalancer` provisions a cloud load balancer and may incur additional costs.
### Kubernetes Resources Overview
| Resource Kind | Purpose | Key Fields |
| ------------- | ----------------------------------------- | ---------------------------------- |
| Deployment | Manages a set of identical Pods | `replicas`, `template`, `selector` |
| Service | Exposes Pods to external/internal traffic | `type`, `ports`, `selector` |
Save your changes, then commit and push:
```bash theme={null}
git add gke.yaml
git commit -m "Add LoadBalancer Service to gke.yaml"
git push origin feature/add-loadbalancer-service
```
## 3. Open a Pull Request & Trigger Cloud Build
1. Go to your GitHub repository.
2. Create a PR from `feature/add-loadbalancer-service` into `main`.
3. Merge the PR to kick off the Cloud Build trigger configured on `main`.
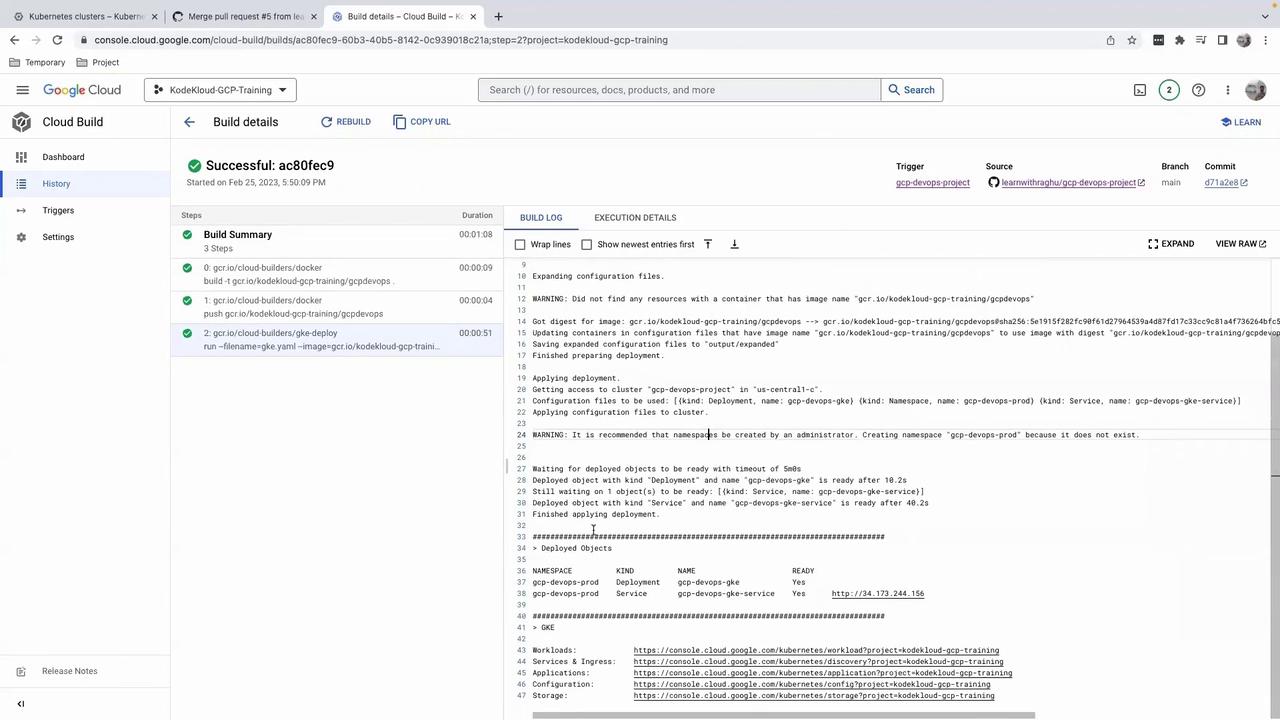
## 4. Verify the Build in Cloud Build
In the [Google Cloud Console – Cloud Build](https://console.cloud.google.com/cloud-build/builds), you’ll see logs for:
* Building the Docker image
* Pushing to Container Registry
* Deploying to GKE
A successful build ends with a green checkmark:
## 5. Inspect the Service in GKE
Navigate to **Kubernetes Engine > Services & Ingress** in the Cloud Console. You should see your `gcp-devops-gke-service` with an external IP:
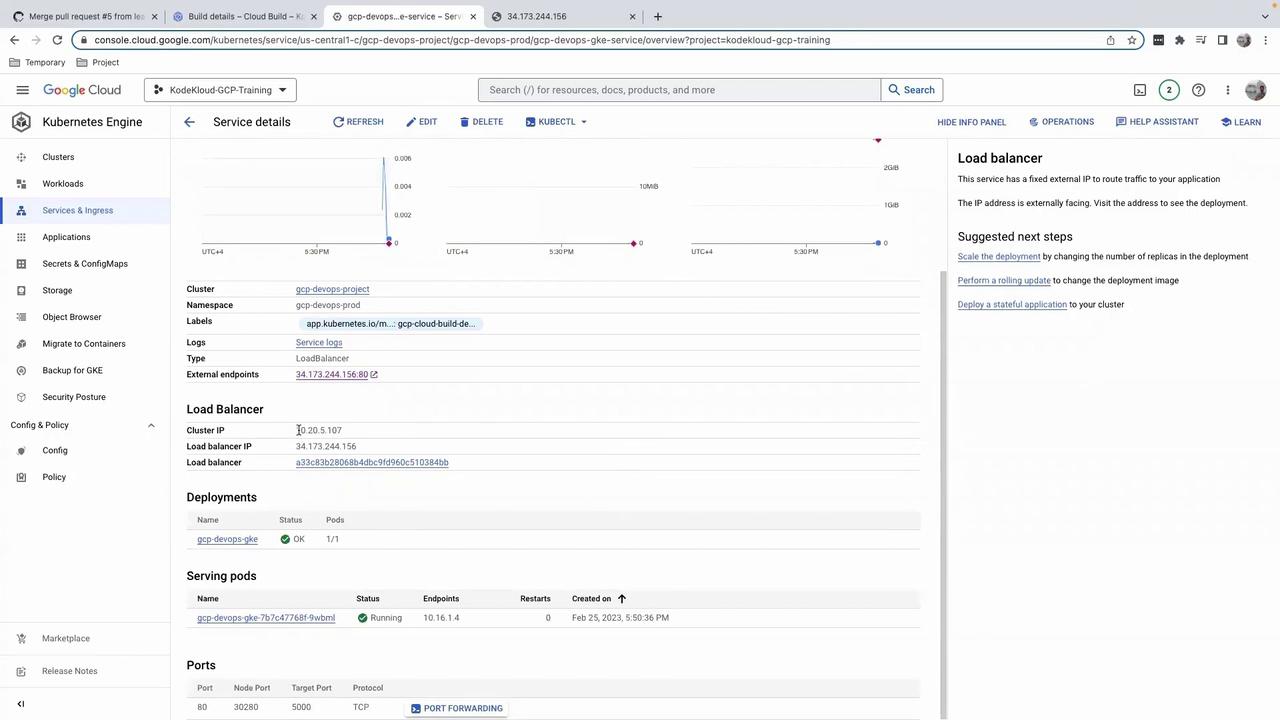
Click the external IP to access your application. To monitor resource usage, switch to the **Metrics** tab:
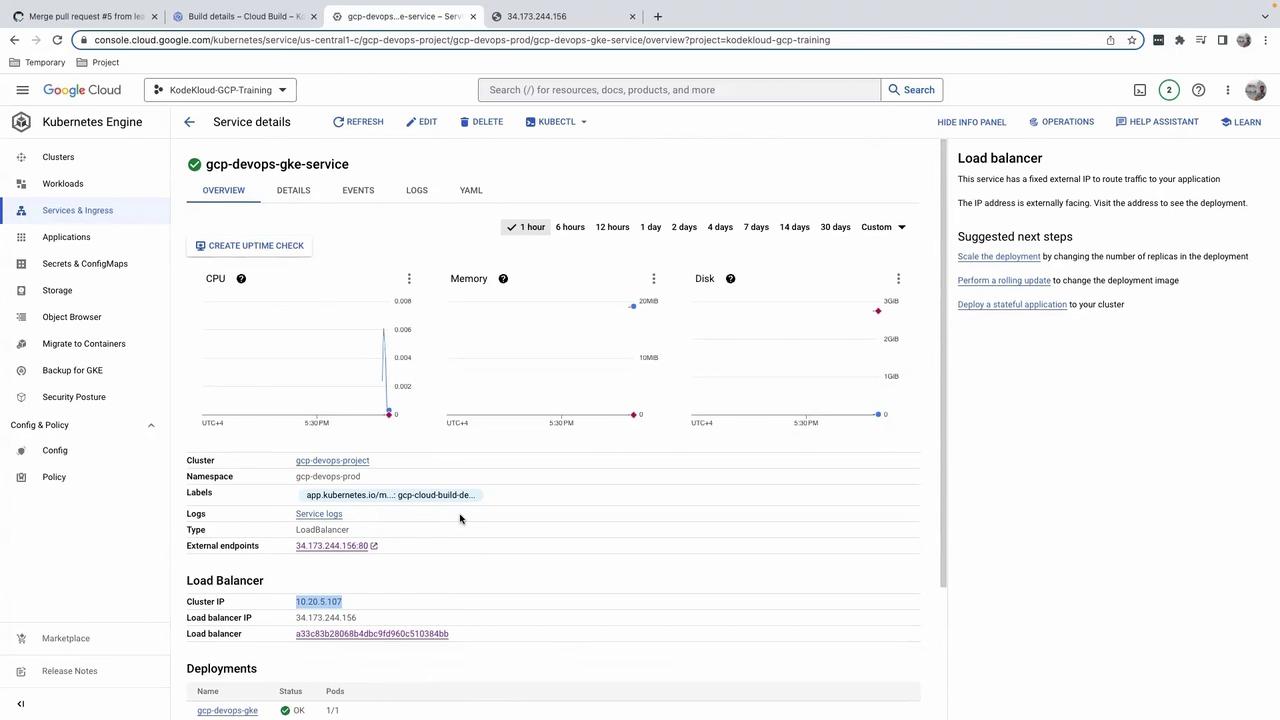
Congratulations! You’ve successfully deployed and exposed your application on GKE using a LoadBalancer Service—without modifying `cloudbuild.yaml`. Stay tuned for the next lesson.
## Links and References
* [Google Kubernetes Engine (GKE) Overview](https://cloud.google.com/kubernetes-engine)
* [Kubernetes Service Types](https://kubernetes.io/docs/concepts/services-networking/service/#publishing-services-service-types)
* [Cloud Build Triggers](https://cloud.google.com/build/docs/automating-builds/create-build-trigger)
* [Kubernetes Official Documentation](https://kubernetes.io/docs/)