> ## Documentation Index
> Fetch the complete documentation index at: https://notes.kodekloud.com/llms.txt
> Use this file to discover all available pages before exploring further.
# Create GitHub release using GitHub Actions
> Automate your GitHub release workflow using GitHub Actions to eliminate manual tagging and streamline the process.
Automate your GitHub release workflow with GitHub Actions—no more manual tagging or UI clicks. In this tutorial, we’ll use the **Troubleshooting JavaScript Actions** repository as our example, transforming a once-manual process into a seamless pipeline.
## 1. Manual Release Workflow
Before automation, releases were created by hand:
1. Navigate to **Releases** in your repo.
2. Select an existing tag or create a new one.
3. Choose the target branch.
4. Write release notes and publish.
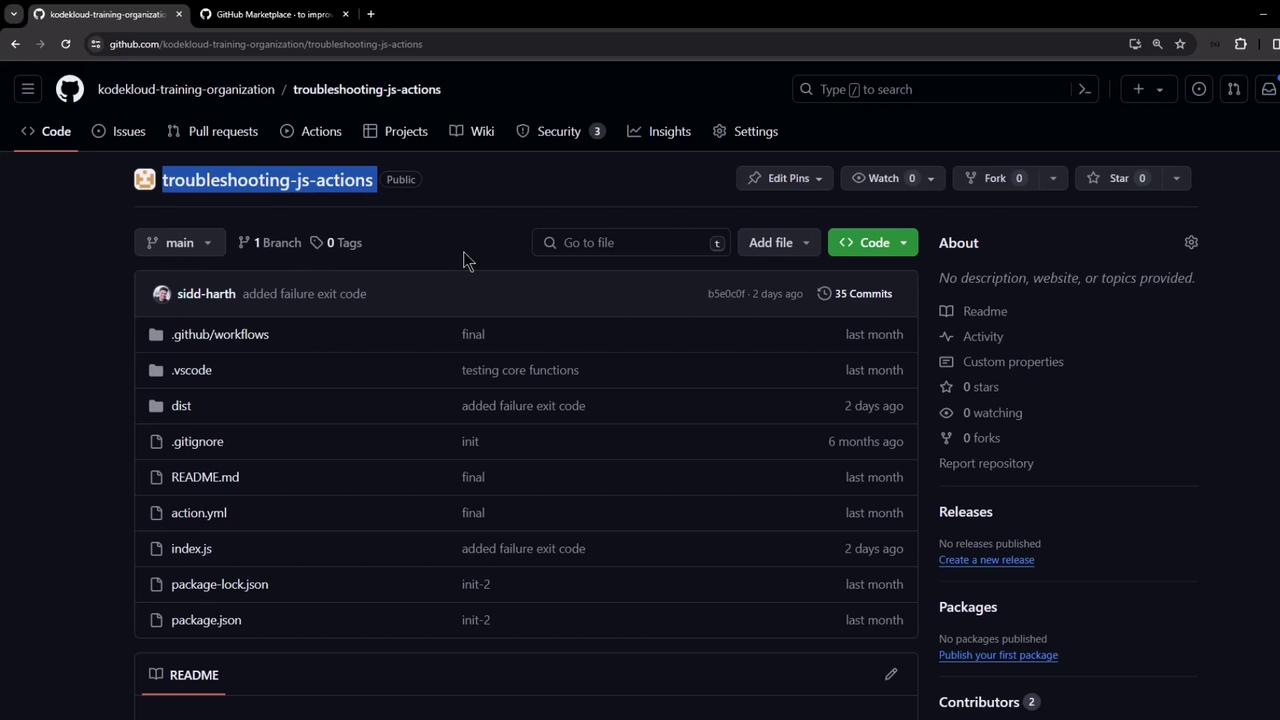
For each release, you specify the tag, assign the branch, and craft release notes:
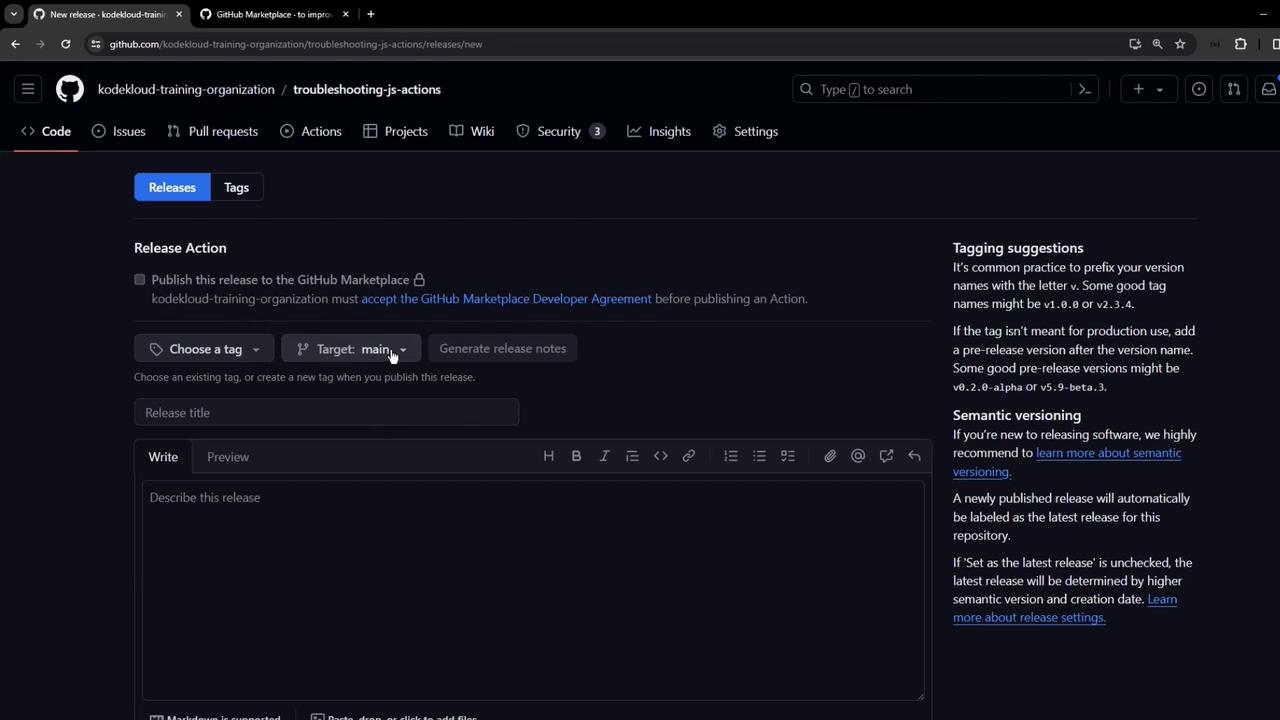
Each published release is tied to a Git tag, pointing to a precise code snapshot. Automating this ensures consistency and saves time.
## 2. Choosing an Action
GitHub’s Actions Marketplace provides community-maintained workflows. A search for **“release”** surfaces many options. We’ll use the popular [`softprops/action-gh-release`](https://github.com/softprops/action-gh-release) action:
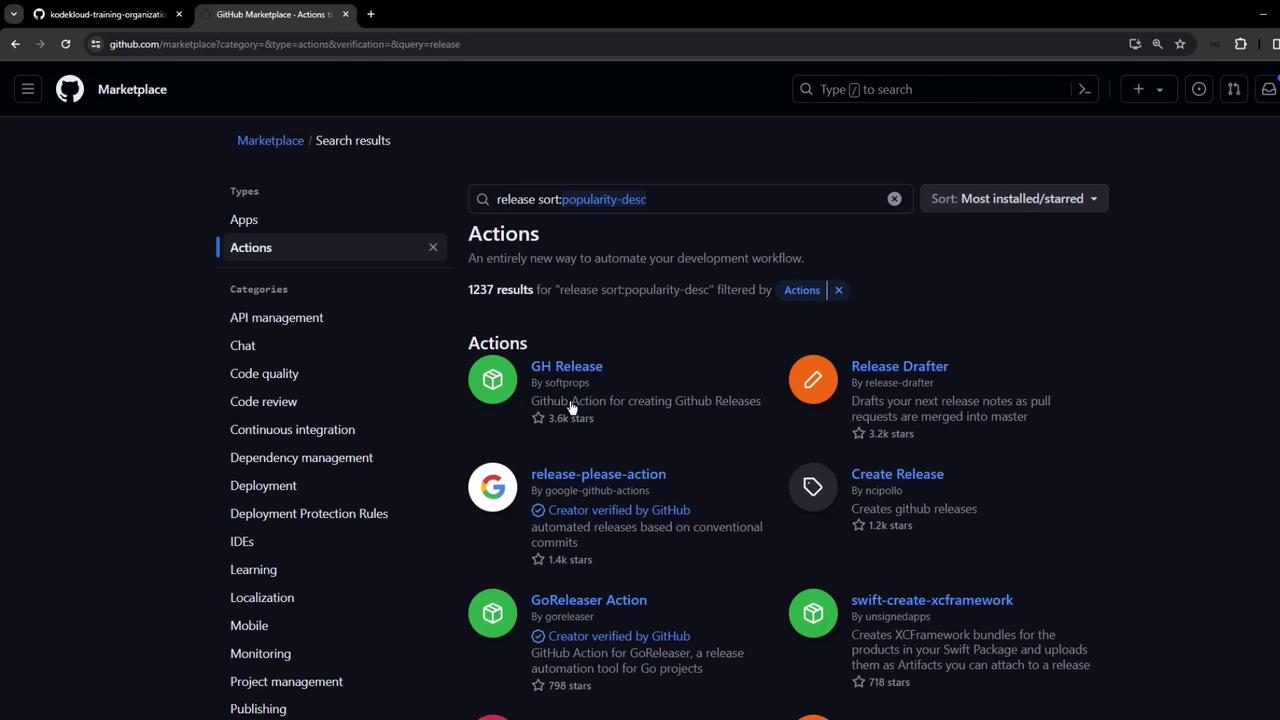

> **Why `softprops/action-gh-release`?**
>
> * Automatically creates releases from tags
> * Supports asset uploads
> * Handles prerequisites (permissions, checks)
## 3. Minimal Workflow Example
Below is the simplest setup: trigger on semver tags starting with `v` and create a release.
```yaml theme={null}
name: Create Release
on:
push:
tags:
- "v*.*.*"
jobs:
release:
runs-on: ubuntu-latest
steps:
- uses: actions/checkout@v4
- uses: softprops/action-gh-release@v2
```
Use tag patterns to control when the workflow runs:
| Pattern | Matches |
| -------- | -------------------- |
| `v*.*.*` | v1.0.0, v2.3.4, etc. |
| `*` | All tags |
## 4. Adding Assets to Your Release
To upload build artifacts (e.g., binaries, docs), extend the workflow:
```yaml theme={null}
name: Create Release with Assets
on:
push:
tags:
- "v*.*.*"
jobs:
release:
runs-on: ubuntu-latest
steps:
- uses: actions/checkout@v4
- name: Build Artifact
run: echo ${{ github.sha }} > release_info.txt
- name: Create GitHub Release
uses: softprops/action-gh-release@v2
if: startsWith(github.ref, 'refs/tags/')
with:
files: release_info.txt
```
## 5. Implementing the Auto-Release Workflow
1. Clone your repo and open it in VS Code.
2. Create a new workflow file at `.github/workflows/autorelease.yaml`.
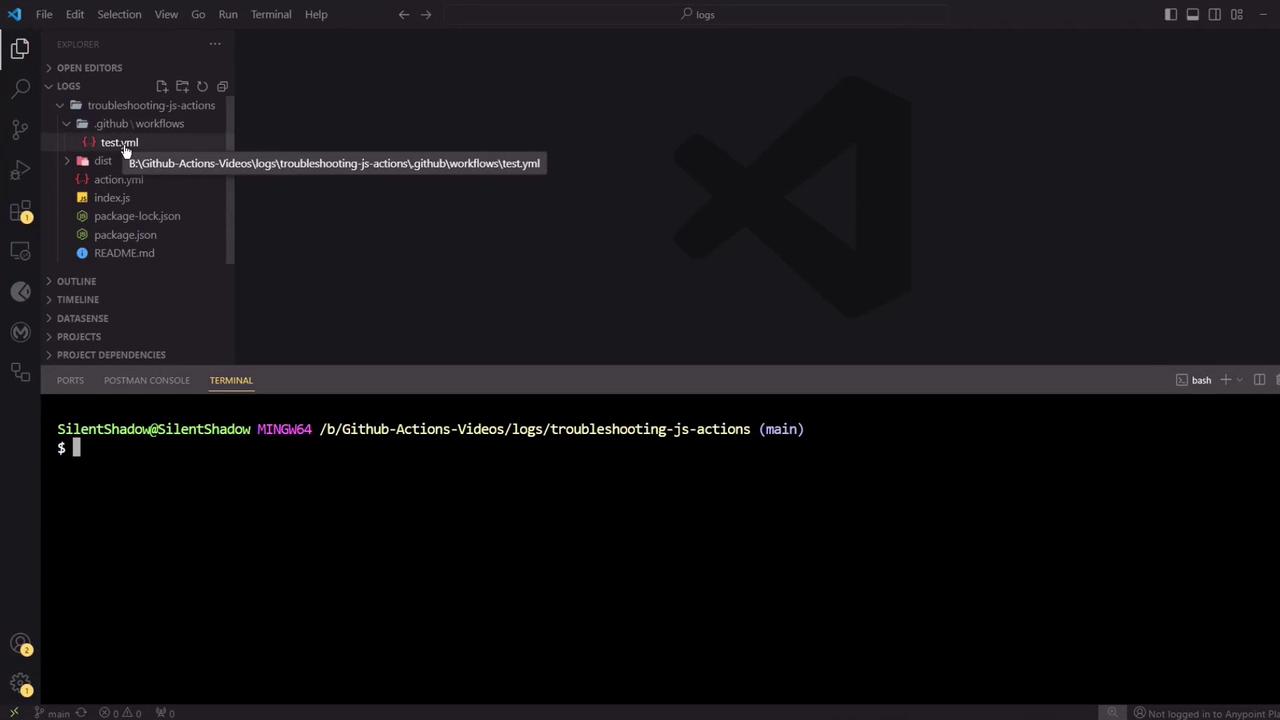
3. Paste the following content:
```yaml theme={null}
name: Auto Release Workflow
on:
push:
tags:
- "*"
permissions:
contents: write
jobs:
build:
runs-on: ubuntu-latest
steps:
- name: Checkout Repository
uses: actions/checkout@v4
- name: Create Release & Upload dist/index.js
uses: softprops/action-gh-release@v2
with:
files: dist/index.js
```
The workflow needs `contents: write` permission to publish releases and upload assets.\
Without it, the release step will fail.
## 6. Commit, Tag, and Push
```bash theme={null}
git add .github/workflows/autorelease.yaml
git commit -m "feat: add auto release workflow and upload dist/index.js"
git push origin main
```
Create and push a new tag to trigger the workflow:
```bash theme={null}
git tag v1.0.0
git push origin v1.0.0
```
## 7. Verify the Workflow
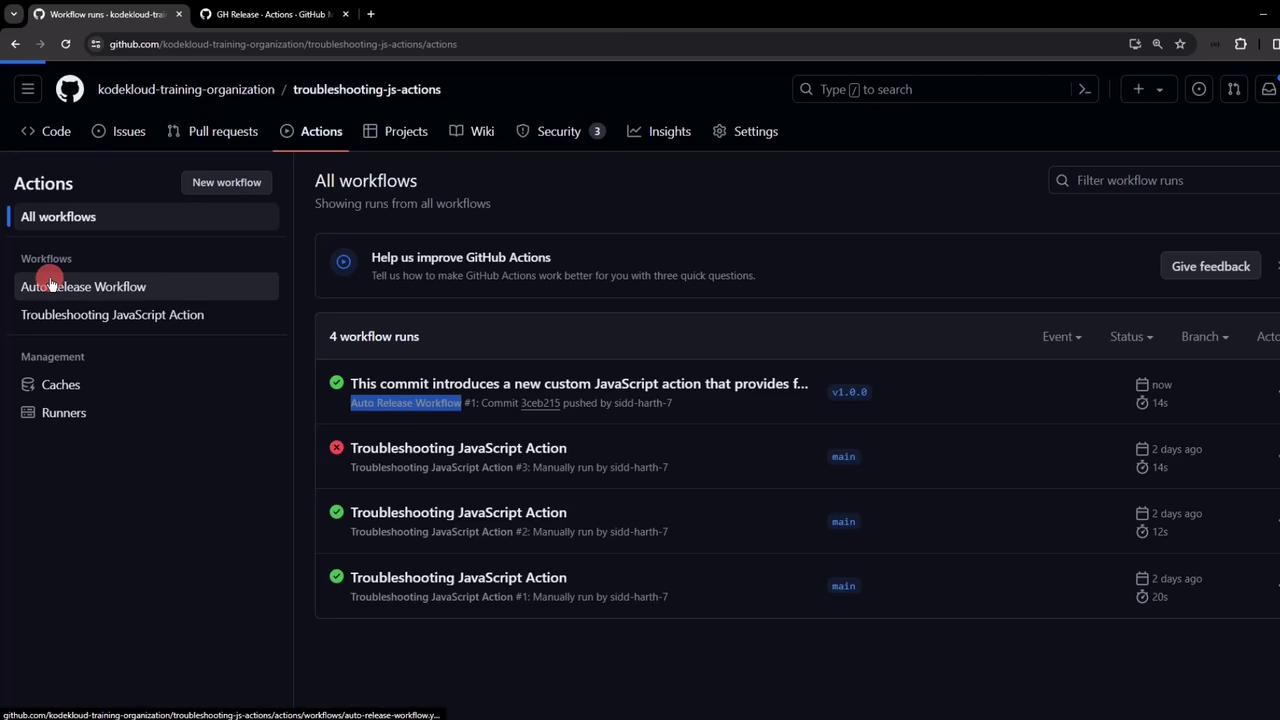
Navigate to the **Actions** tab and look for **Auto Release Workflow**:
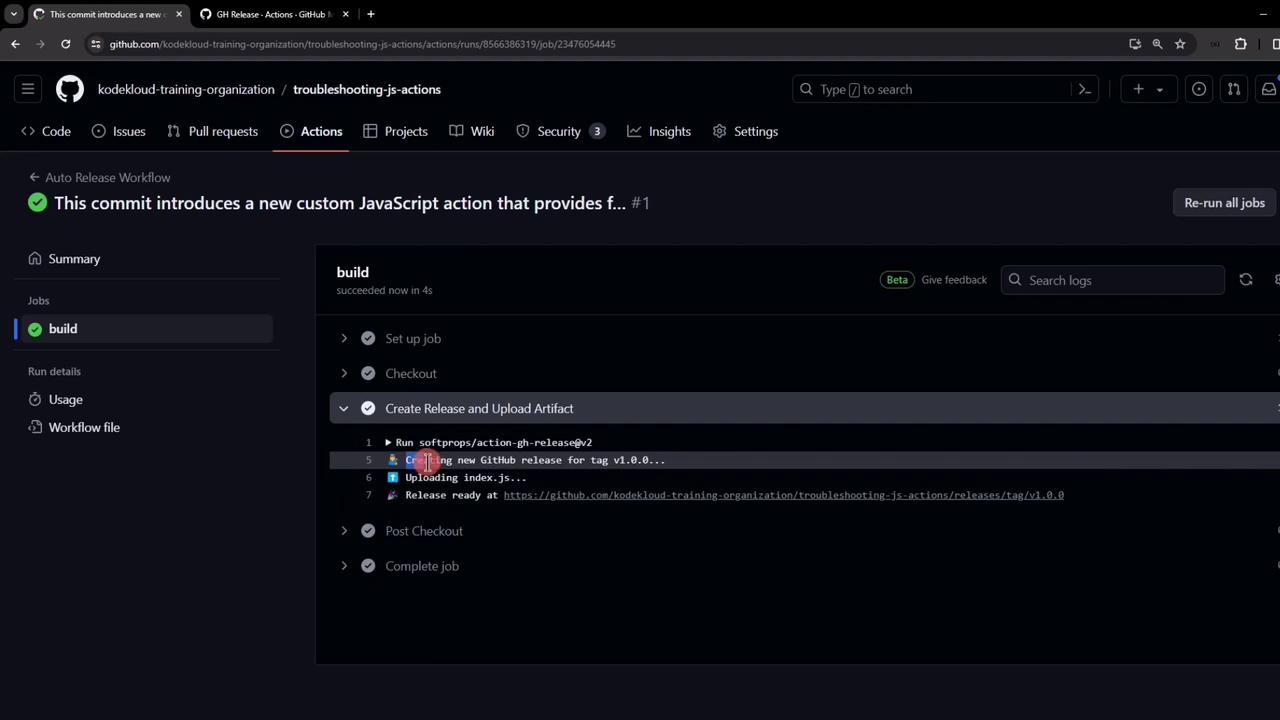
Open the run to ensure all steps—checkout, release creation, and asset upload—completed successfully:
## 8. Review and Publish Your Release
After execution, go to **Releases**. You’ll see:
* A new release named `v1.0.0`
* Release notes from your git commit message
* `index.js` attached under **Assets**
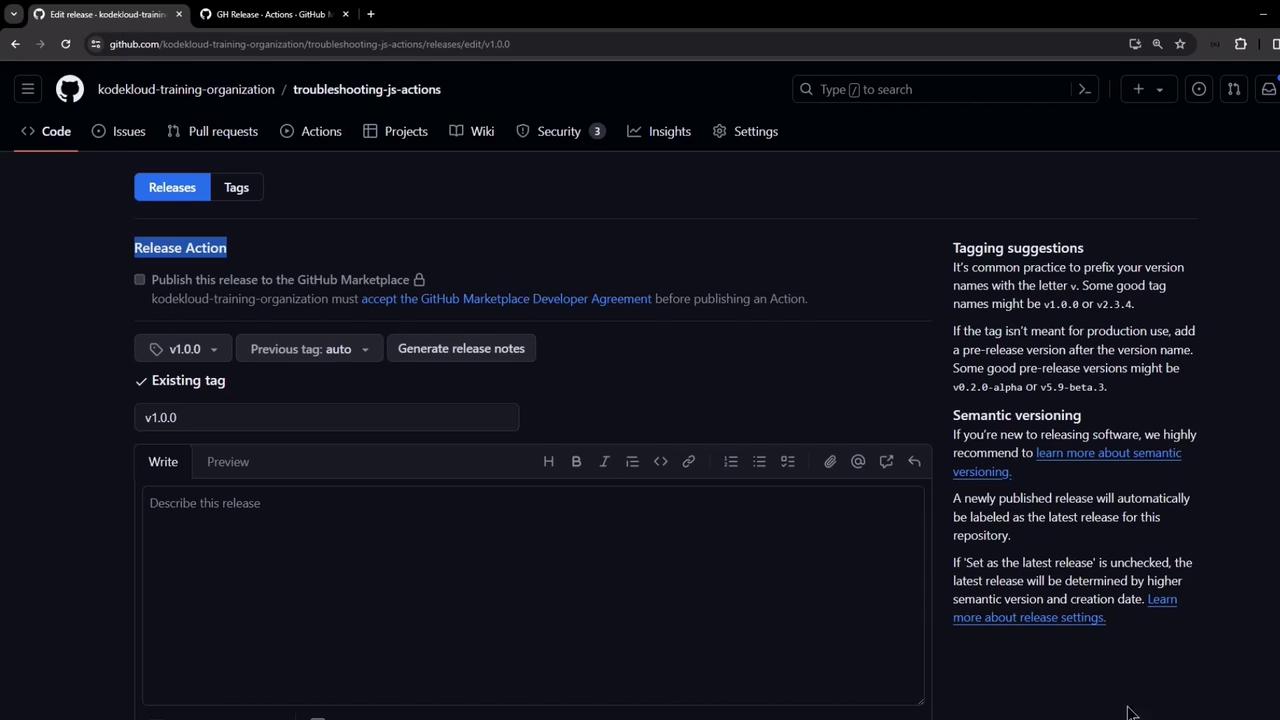
To push your Action to the Marketplace, click **Edit release** and follow the **Publish to Marketplace** prompts:
Congratulations—you now have a fully automated GitHub release pipeline!
***
## References
* [GitHub Actions Documentation](https://docs.github.com/actions)
* [GitHub Actions Marketplace](https://github.com/marketplace?type=actions)
* [softprops/action-gh-release](https://github.com/softprops/action-gh-release)
* [Semantic Versioning](https://semver.org)