> ## Documentation Index
> Fetch the complete documentation index at: https://notes.kodekloud.com/llms.txt
> Use this file to discover all available pages before exploring further.
# Create and Run Workflow
> Automate your CI/CD pipeline by defining workflows that build, test, and deploy your code on every push using GitHub Actions.
Automate your CI/CD pipeline by defining workflows that build, test, and deploy your code on every push. In this tutorial, you’ll set up a simple GitHub Actions workflow from scratch using the GitHub.dev editor and VS Code’s Actions extension.
| Step | Description |
| ---- | ----------------------------------------------------- |
| 1 | Create a new GitHub repository |
| 2 | Open it in the GitHub.dev online editor (VS Code Web) |
| 3 | Install the GitHub Actions extension |
| 4 | Author your first workflow file |
| 5 | Commit, push, and trigger the workflow |
| 6 | View, debug, and fix issues in your workflow runs |
## Step 1: Create a New Repository
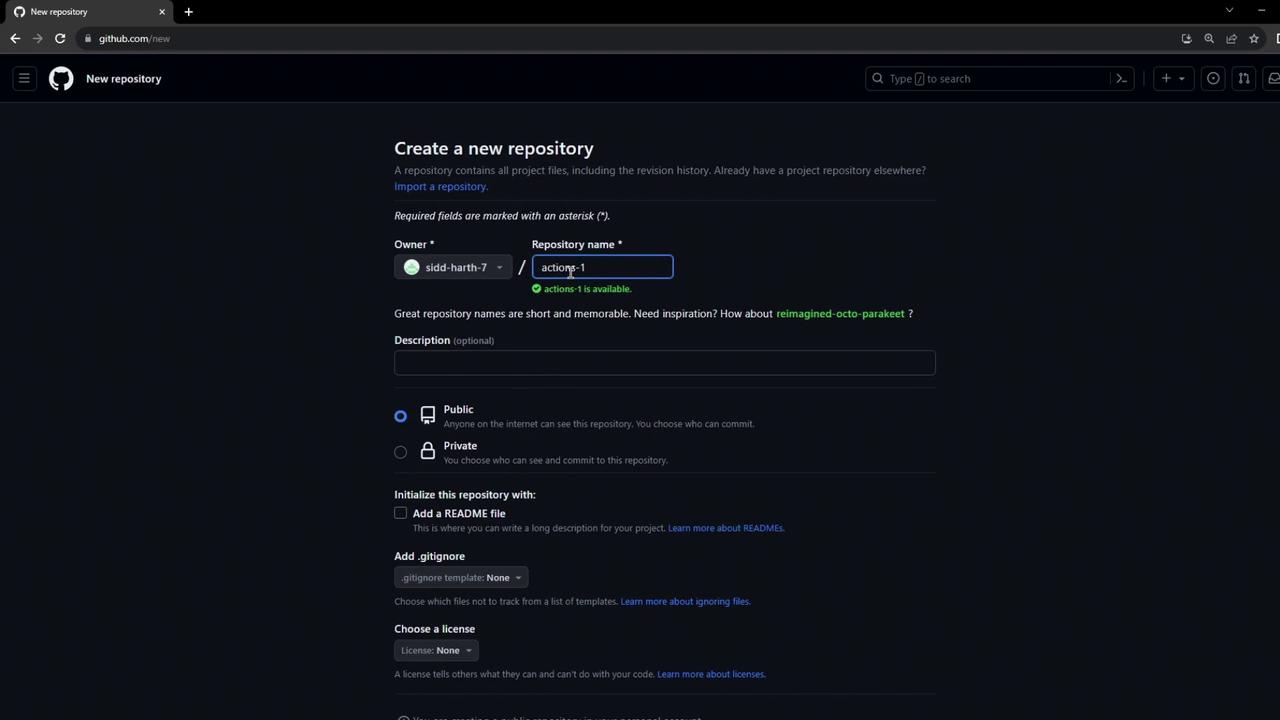
1. Sign in to GitHub and click **New**.
2. Name the repository `actions-1`, set it to **Public**, and initialize with a README.
3. Click **Create repository** to finish.
## Step 2: Open in Visual Studio Code (GitHub.dev)
In your repo’s URL, replace `github.com` with `github.dev` to launch the VS Code–style online editor:
```text theme={null}
https://github.dev/your-username/actions-1
```
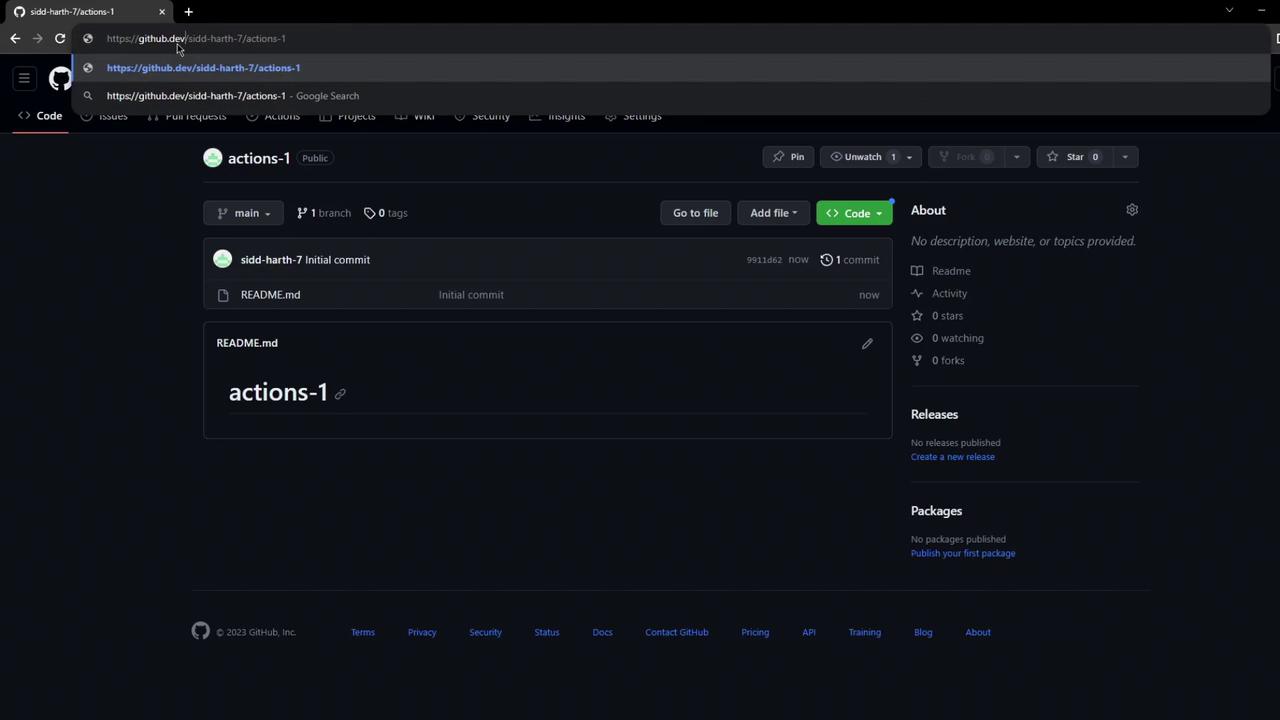
GitHub.dev provides the full VS Code keybindings and interface in your browser—no local install required.
## Step 3: Install the GitHub Actions Extension
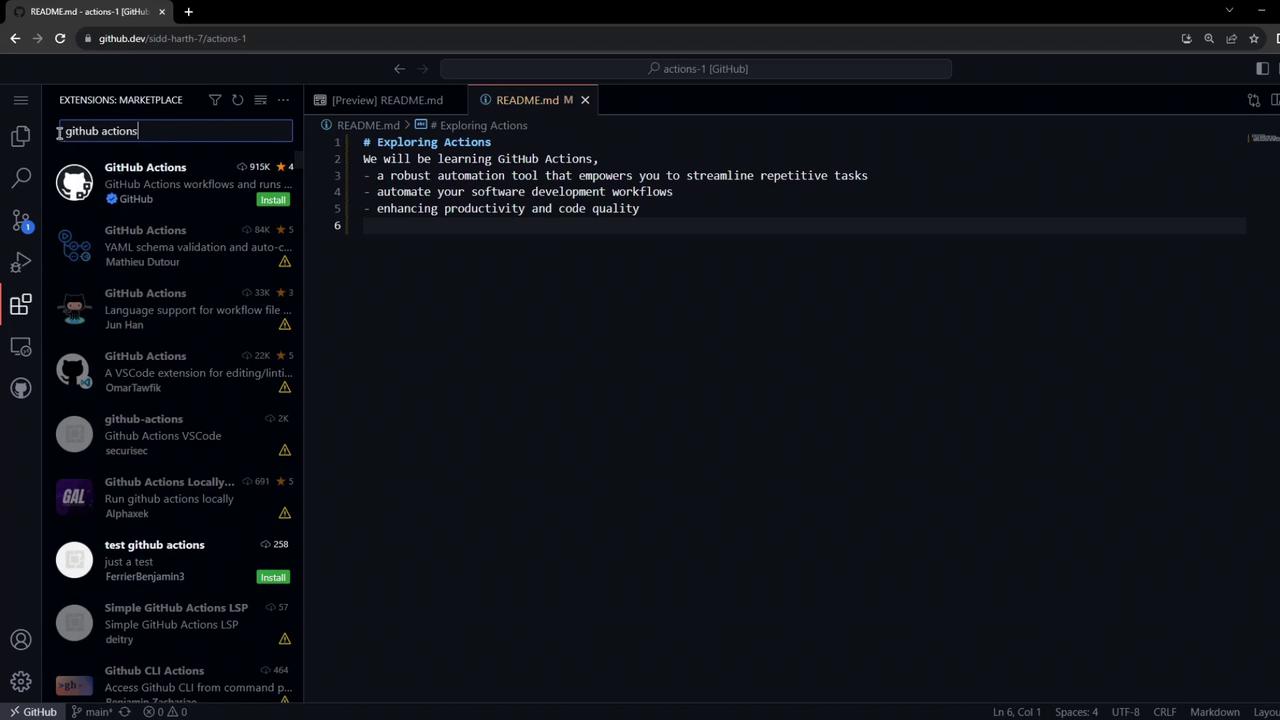
1. Open the **Extensions** pane (⇧⌘X or Ctrl+Shift+X).
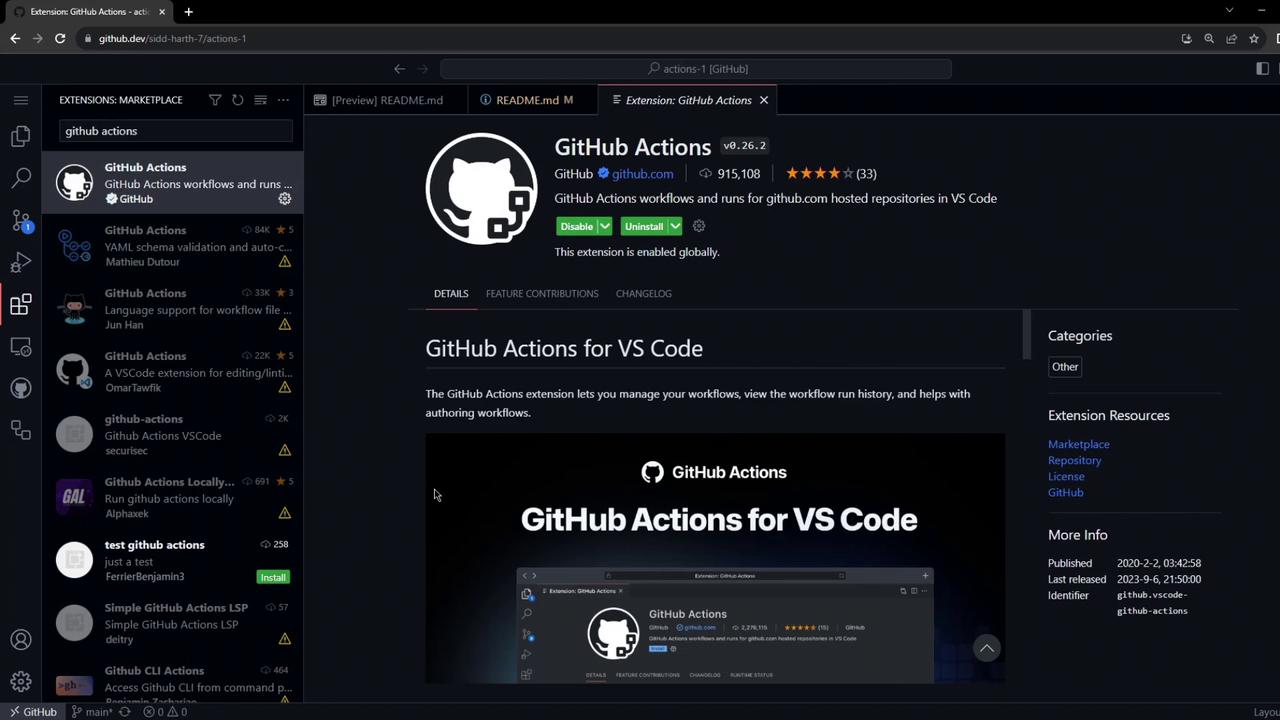
2. Search for **GitHub Actions** and install the official extension.
3. Enjoy syntax validation, autocompletion, and inline error checking for `.yml` workflows.
## Step 4: Create the Workflow File
In the Explorer, add a `.github/workflows` folder and create `firstexample.yml`:
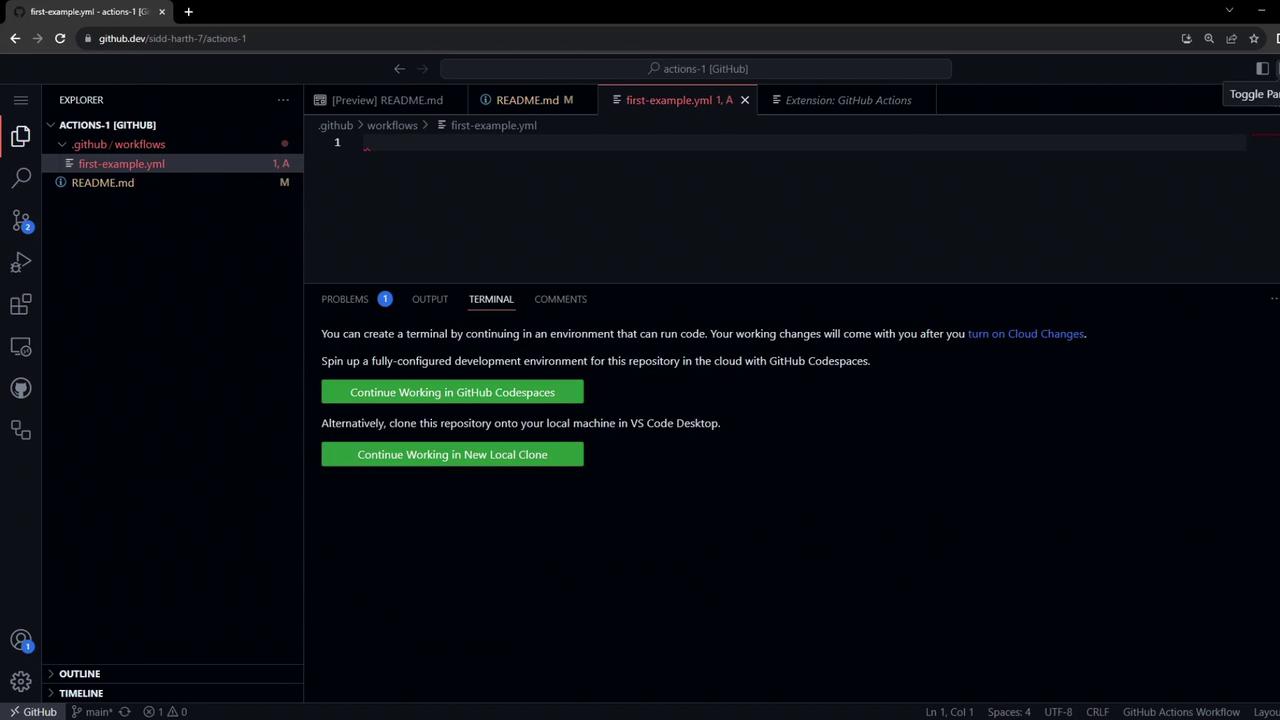
Paste the following workflow definition:
```yaml theme={null}
name: My First Workflow
on: push
jobs:
first_job:
runs-on: ubuntu-latest
steps:
- name: Welcome message
run: echo "My first GitHub Actions Job"
- name: List files
run: ls
- name: Read file
run: cat README.md
```
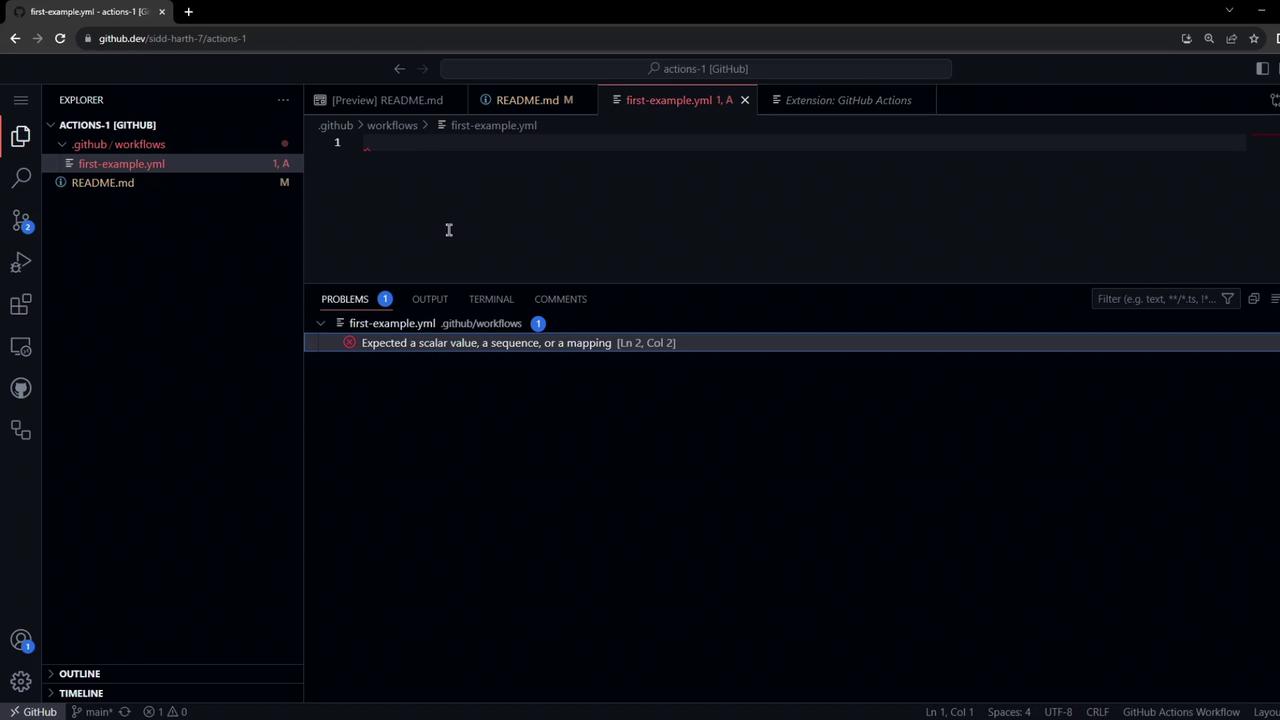
Save the file—VS Code will validate the YAML against the Actions schema.
## Step 5: Commit and Push the Workflow
```bash theme={null}
git add .github/workflows/firstexample.yml
git commit -m "Add first workflow"
git push
```
Because the workflow triggers on `push`, GitHub will immediately enqueue a run.
## Step 6: View the Workflow Run
1. On GitHub, select the **Actions** tab.
2. Locate **My First Workflow** in the list.
3. Explore starter workflows for other languages or cloud deployments.
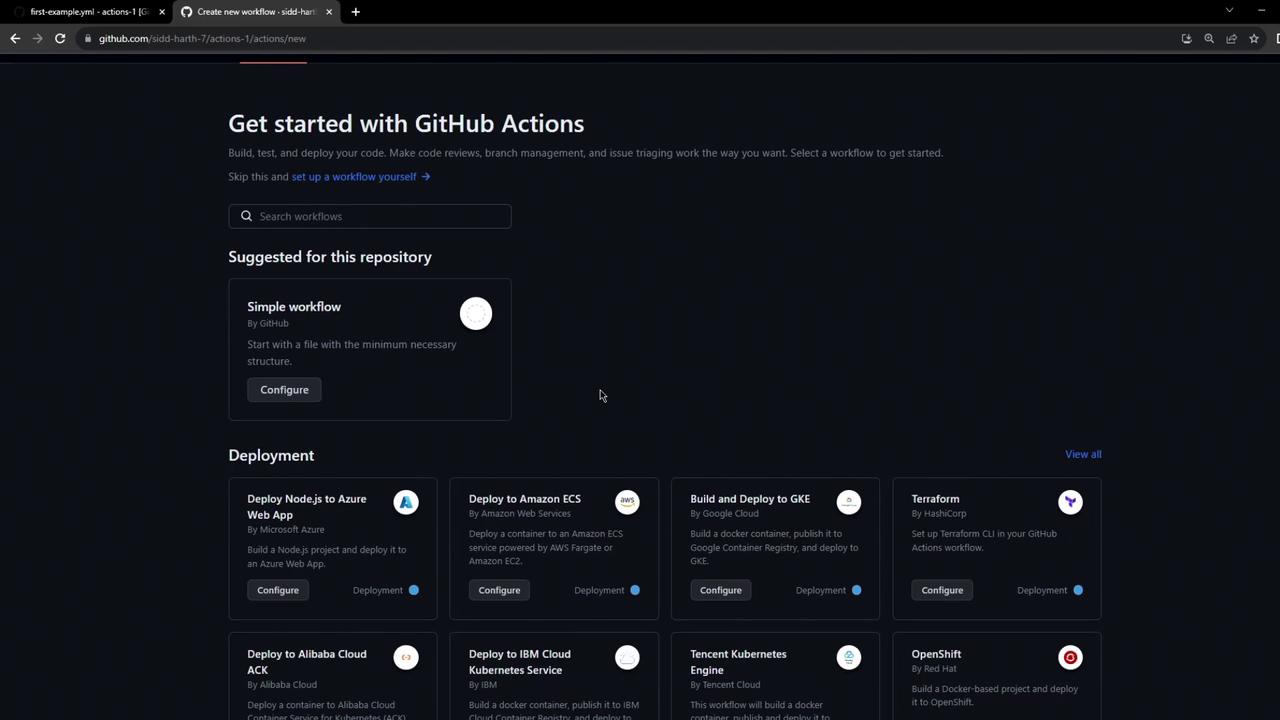
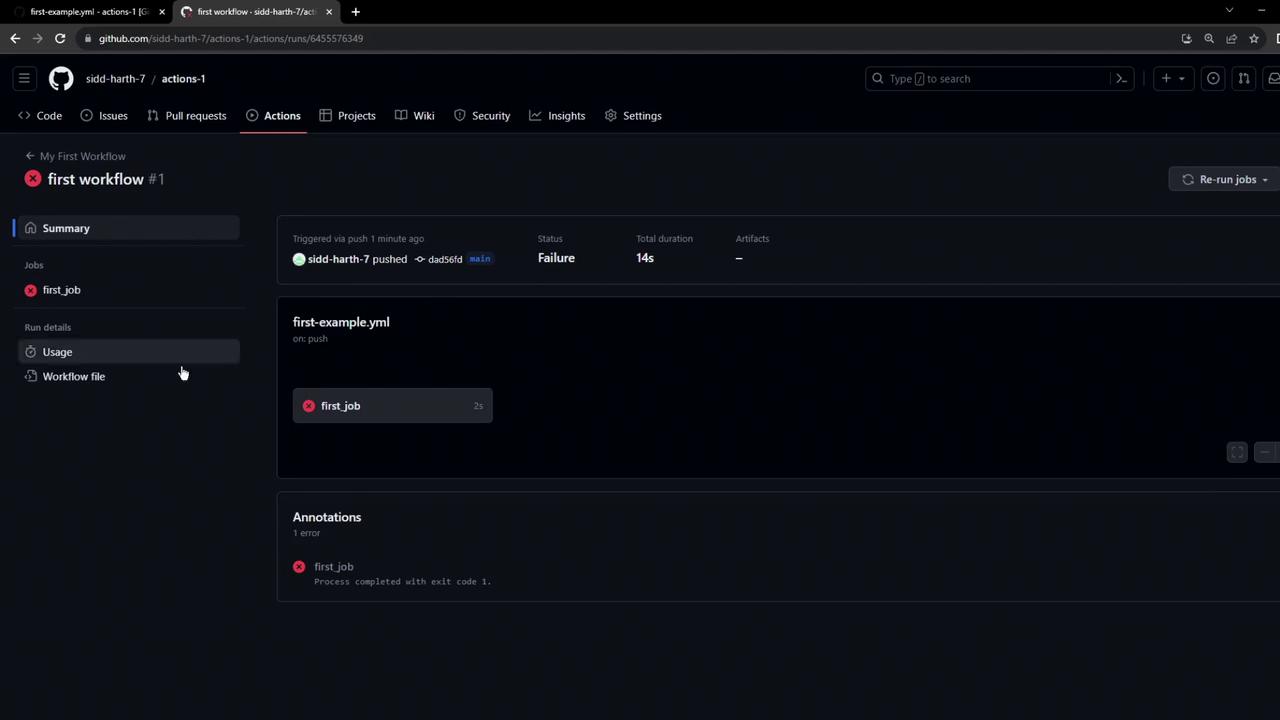
Click your workflow to see its status:
## Step 7: Inspect and Debug the Job
Open the job logs to review each step. You’ll see setup messages followed by your custom commands:
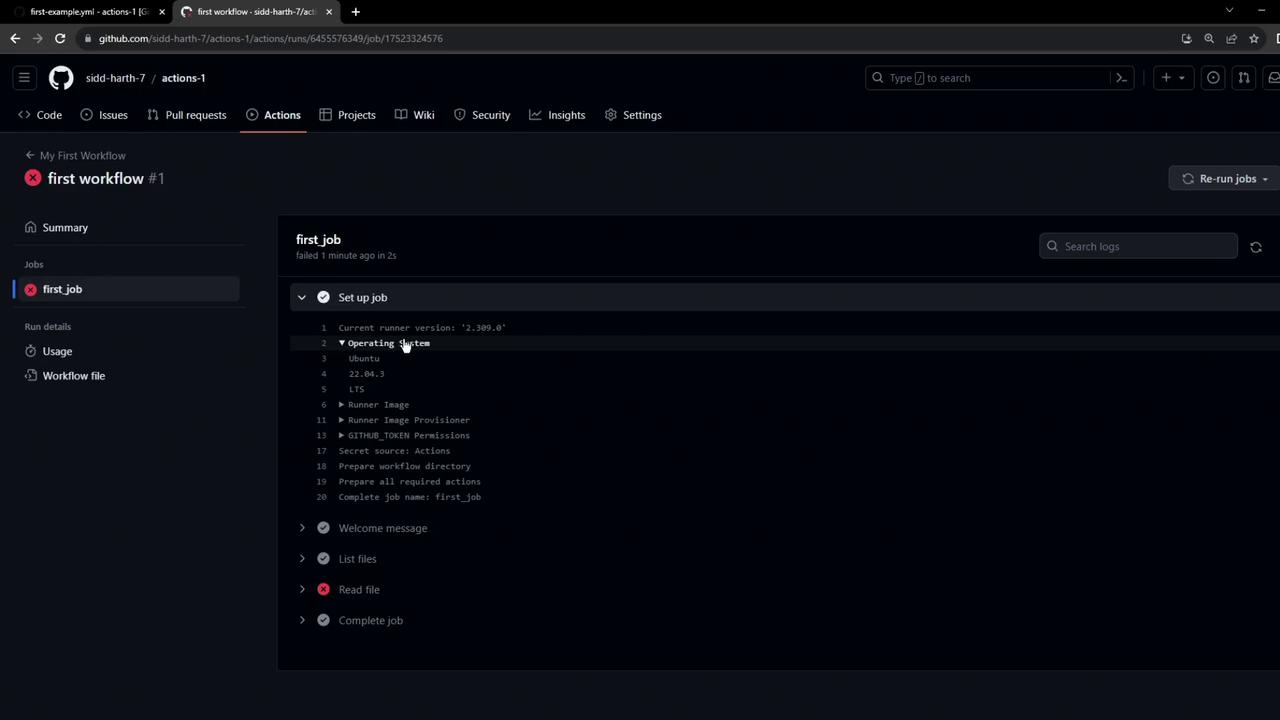
By default, the runner does **not** check out your repository. Without your code present, the `ls` and `cat` commands will fail.
## Fixing the Checkout Step
To resolve missing files, insert the official checkout action at the top of your steps:
```yaml theme={null}
steps:
- name: Checkout repository
uses: actions/checkout@v3
# ...rest of your steps
```
This ensures your workflow has access to the project files before running commands.
## What's Next?
* Explore advanced [GitHub Actions triggers](https://docs.github.com/actions/using-workflows/events-that-trigger-workflows).
* Integrate matrix builds, secrets, and environment variables.
* Deploy to cloud services using official actions for AWS, Azure, or GCP.
## Links and References
* [GitHub Actions Documentation](https://docs.github.com/actions)
* [actions/checkout@v3](https://github.com/actions/checkout)
* [VS Code Marketplace: GitHub Actions Extension](https://marketplace.visualstudio.com/items?itemName=GitHub.vscode-pull-request-github)