> ## Documentation Index
> Fetch the complete documentation index at: https://notes.kodekloud.com/llms.txt
> Use this file to discover all available pages before exploring further.
# Adding a workflow status badge
> This guide explains how to generate and embed workflow status badges in your GitHub repository for real-time CI/CD visibility.
A workflow status badge provides real-time visibility into your CI/CD pipeline directly from your README or any Markdown page. This guide walks you through generating and embedding badges for one or multiple GitHub Actions workflows.
## 1. Generate the Badge Markdown
1. Navigate to your repository on GitHub and click the **Actions** tab.
2. Select the workflow you want to badge (e.g., `vault-demo`).
3. In the workflow overview, click **Create status badge**.
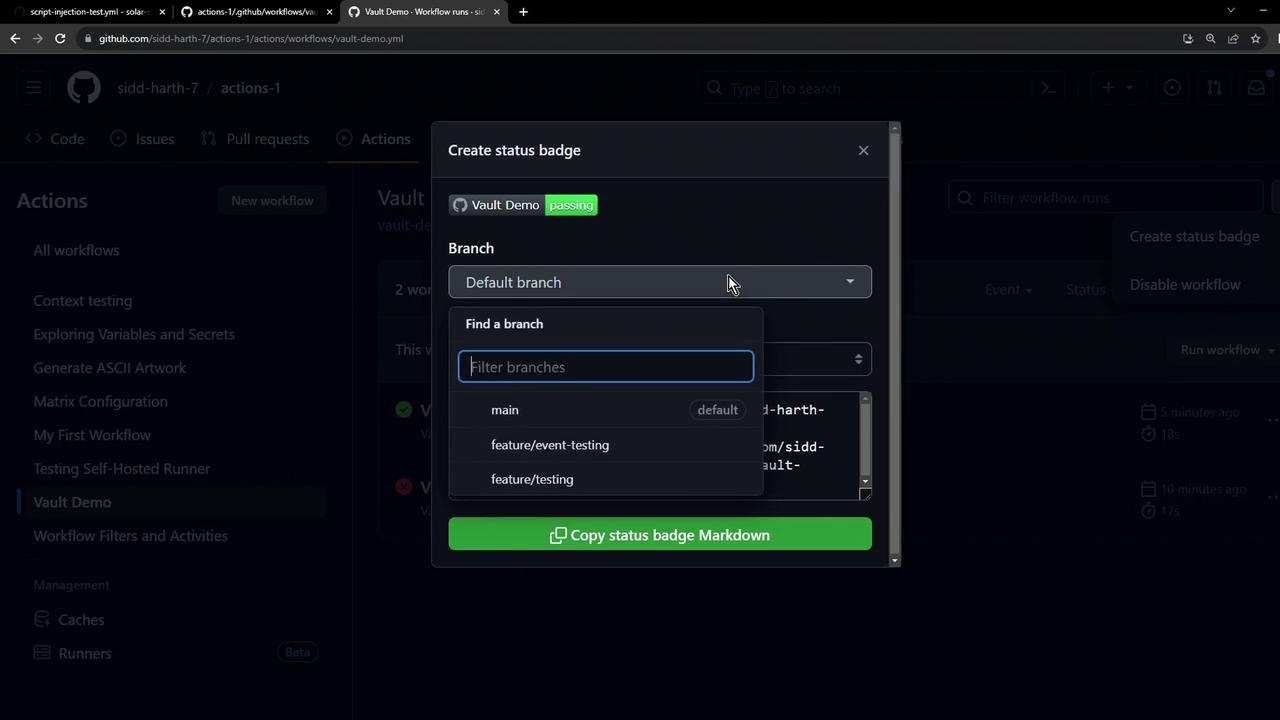
By default, GitHub uses your default branch (often `main`). You can switch branches or filter by event types before copying the badge snippet.
## 2. Embed the Badge in Markdown
Copy the Markdown snippet provided by GitHub and paste it into your `README.md` (or any `.md` file):
```markdown theme={null}
[](https://github.com/sidd-harth-7/actions-1/actions/workflows/vault-demo.yml)
```
| Parameter | Example | Purpose |
| ------------- | ----------------------------------------------- | --------------------------------------- |
| Workflow name | `Vault Demo` | The label displayed alongside the badge |
| SVG URL | `https://github.com/…/vault-demo.yml/badge.svg` | Renders the badge image |
| Link URL | `https://github.com/…/vault-demo.yml` | Directs to the workflow runs page |
Save and commit your changes. The badge will update automatically to reflect the latest workflow status.
## 3. Track Multiple Workflows
To monitor additional workflows, repeat **Step 1** and **Step 2** for each workflow. For example:
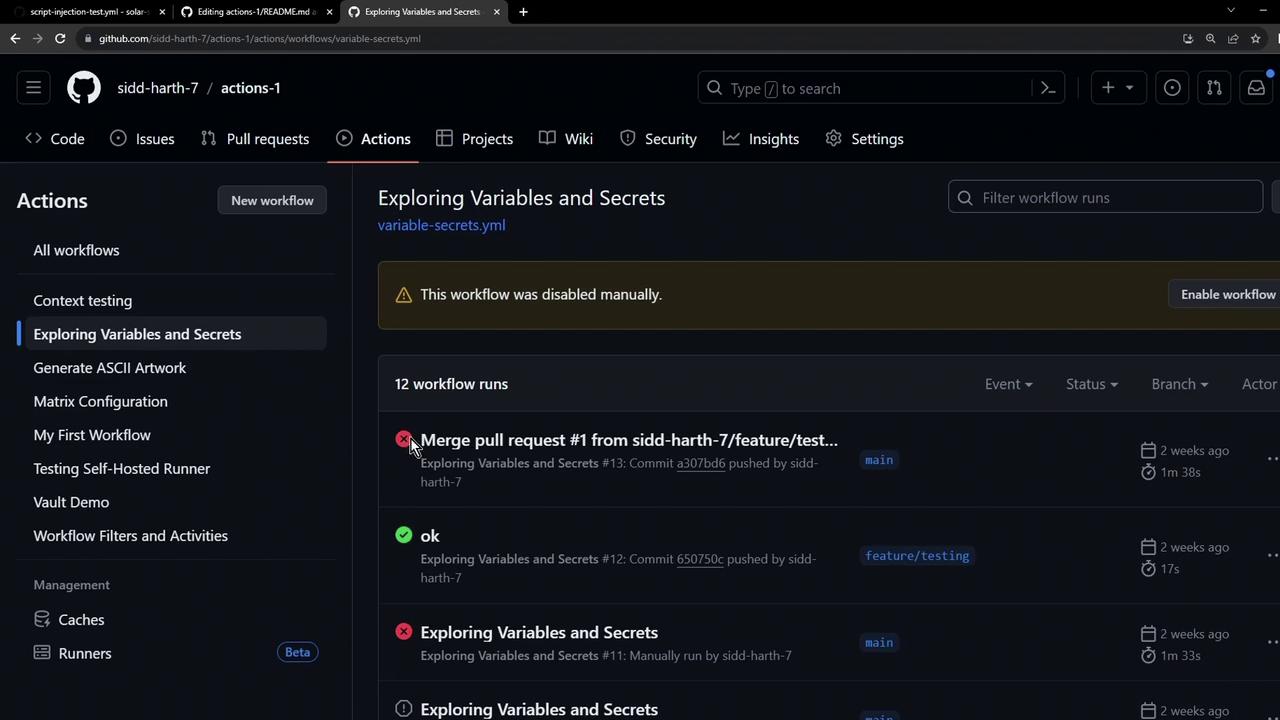
Each workflow adds its own badge, allowing you to display an overview of all your pipelines at a glance.
If you’re updating only your README, consider adding `[skip ci]` to your commit message to avoid triggering CI workflows unnecessarily.
## Additional Resources
* [GitHub Actions Documentation](https://docs.github.com/en/actions)
* [Adding a workflow status badge](https://docs.github.com/en/actions/managing-workflow-runs/adding-a-workflow-status-badge)
* [Mastering Markdown Guide](https://guides.github.com/features/mastering-markdown/)