> ## Documentation Index
> Fetch the complete documentation index at: https://notes.kodekloud.com/llms.txt
> Use this file to discover all available pages before exploring further.
# Installing a Self Hosted Runner
> This guide explains how to set up a self-hosted GitHub Actions runner on a Linux repository.
This guide walks you through attaching a self-hosted runner directly to your GitHub repository. While organization- and enterprise-level runners are possible, this tutorial focuses on repository-level setup for Linux.
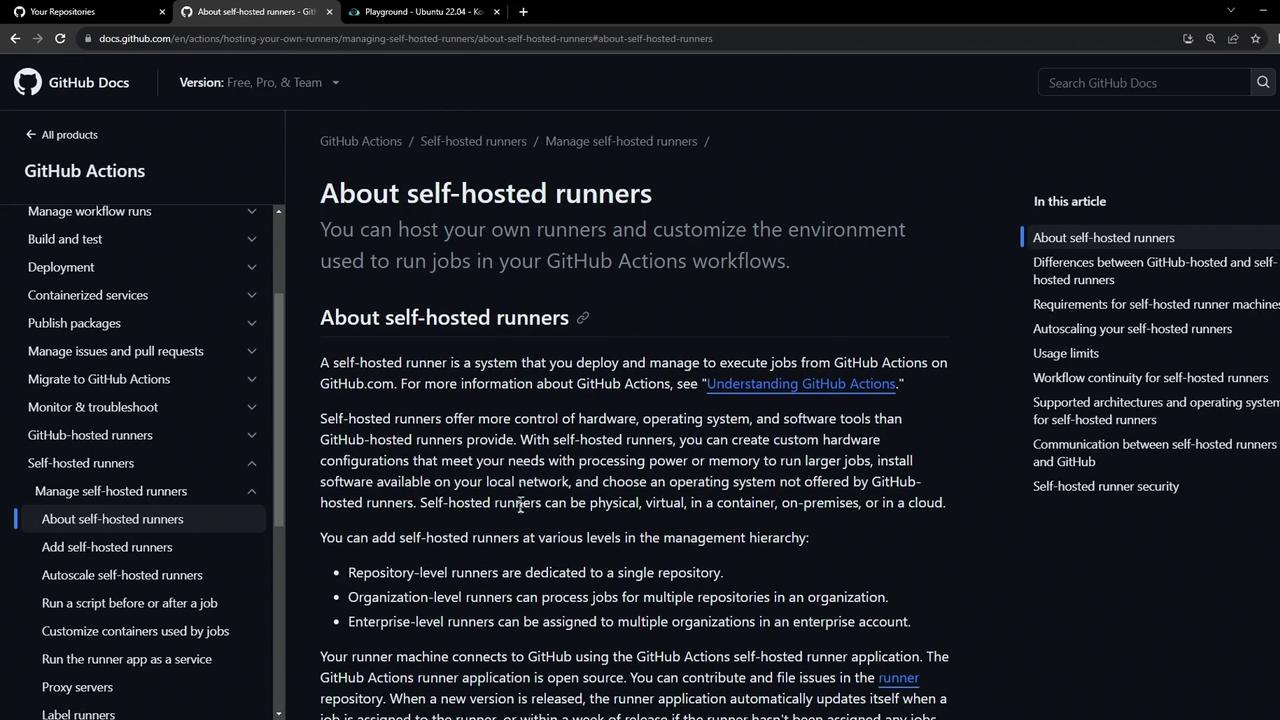
Refer to the official GitHub docs for detailed requirements, auto-scaling, limits, and best practices: [Hosting your own runners](https://docs.github.com/en/actions/hosting-your-own-runners/using-self-hosted-runners).
## 1. Add a New Self-Hosted Runner in GitHub
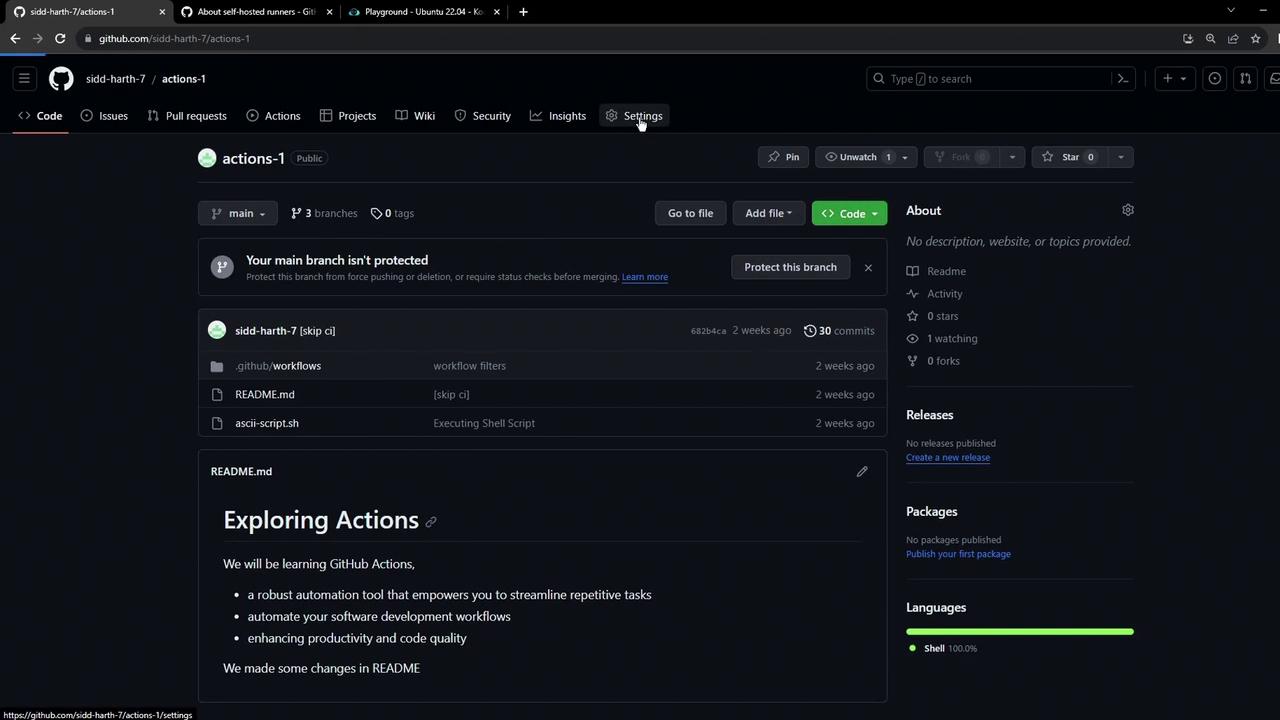
1. In your repository, go to **Settings** → **Actions** → **Runners**.
2. Click **New self-hosted runner**.
3. Select **Linux** as the OS and **x64** as the architecture. GitHub then displays the setup commands.
### Available Runner Platforms
| Operating System | Architecture |
| ---------------- | ------------ |
| Linux | x64 |
| macOS | x64, ARM |
| Windows | x64, ARM |
## 2. Install the Runner on Your Linux VM
Open a terminal and execute:
```bash theme={null}
# 1. Create and enter a directory for the runner
mkdir actions-runner && cd actions-runner
# 2. Download the latest runner package
curl -o actions-runner-linux-x64-2.310.2.tar.gz -L \
https://github.com/actions/runner/releases/download/v2.310.2/actions-runner-linux-x64-2.310.2.tar.gz
# 3. (Optional) Verify checksum
echo "fb23a1c715ea0c501fa60beefcf295e26cfbbf849f3 actions-runner-linux-x64-2.310.2.tar.gz" \
| sha256sum --check
# 4. Unpack the archive
tar xzf ./actions-runner-linux-x64-2.310.2.tar.gz
```
Ensure your VM meets the [runner requirements](https://docs.github.com/en/actions/hosting-your-own-runners/adding-self-hosted-runners#self-hosted-runner-requirements): at least 2 CPU cores, 8 GB RAM, and Docker if you plan on containerized jobs.
After extraction, verify the scripts:
```bash theme={null}
ls
# bin config.sh env.sh externals run-helper.cmd.template \
# run-helper.sh.template run.sh safe_sleep.sh
```
## 3. Configure the Runner
Use the registration token provided in the GitHub UI:
```bash theme={null}
./config.sh --url https://github.com/your-username/your-repo \
--token YOUR_TOKEN_HERE
```
By default, running the runner as root is disabled for security. To override (at your own risk), export:
```bash theme={null}
export RUNNER_ALLOW_RUNASROOT=1
```
Follow the interactive prompts:
```text theme={null}
GitHub Actions self-hosted runner registration
✓ Connected to GitHub
Enter the name of runner group: [Default]
Enter name of runner: [press Enter for ubuntu-host] prod-ubuntu-runner
Labels: self-hosted, Linux, X64
Enter additional labels (comma-separated): [skip]
✓ Runner successfully added
✓ Runner connection is good
Enter work folder name: [press Enter for _work]
```
## 4. Verify the Runner in GitHub
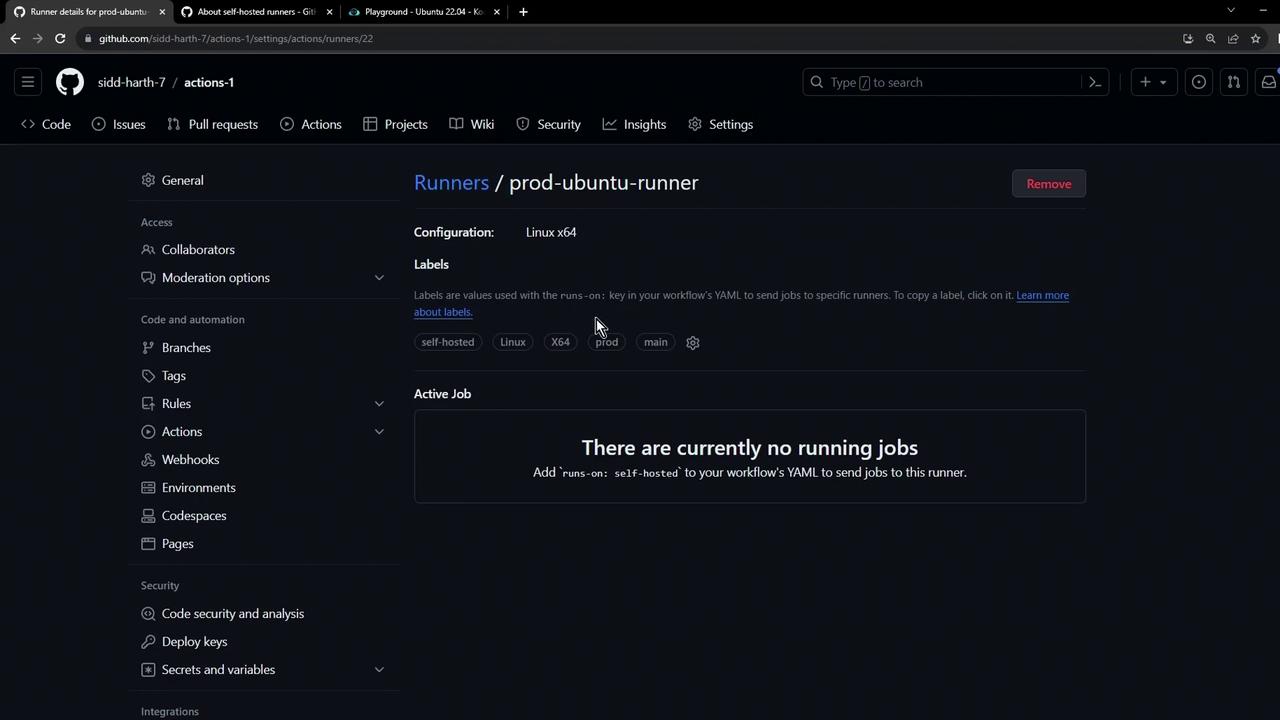
Return to **Settings** → **Actions** → **Runners** and refresh. You should see `prod-ubuntu-runner` listed (initially offline):
## 5. Start the Runner
Launch the runner process:
```bash theme={null}
./run.sh
```
Sample output:
```bash theme={null}
Current runner version: '2.310.2'
2023-10-24 14:51:44Z: Listening for Jobs
```
After a moment, refresh the GitHub **Runners** page—it should display **online** and **idle**, ready to accept jobs.
***
## Links and References
* [GitHub Actions Self-Hosted Runners](https://docs.github.com/en/actions/hosting-your-own-runners/using-self-hosted-runners)
* [GitHub Actions Runner Releases](https://github.com/actions/runner/releases)
* [Runner Requirements](https://docs.github.com/en/actions/hosting-your-own-runners/adding-self-hosted-runners#self-hosted-runner-requirements)