> ## Documentation Index
> Fetch the complete documentation index at: https://notes.kodekloud.com/llms.txt
> Use this file to discover all available pages before exploring further.
# ArgoCD Vault Plugin CLI
> This guide explains how to use the ArgoCD Vault Plugin to fetch secrets from HashiCorp Vault and generate Kubernetes manifest files.
This guide demonstrates how the ArgoCD Vault Plugin connects with HashiCorp Vault to fetch secrets and generate Kubernetes manifest files by replacing placeholders with actual secret data.
***
## Overview
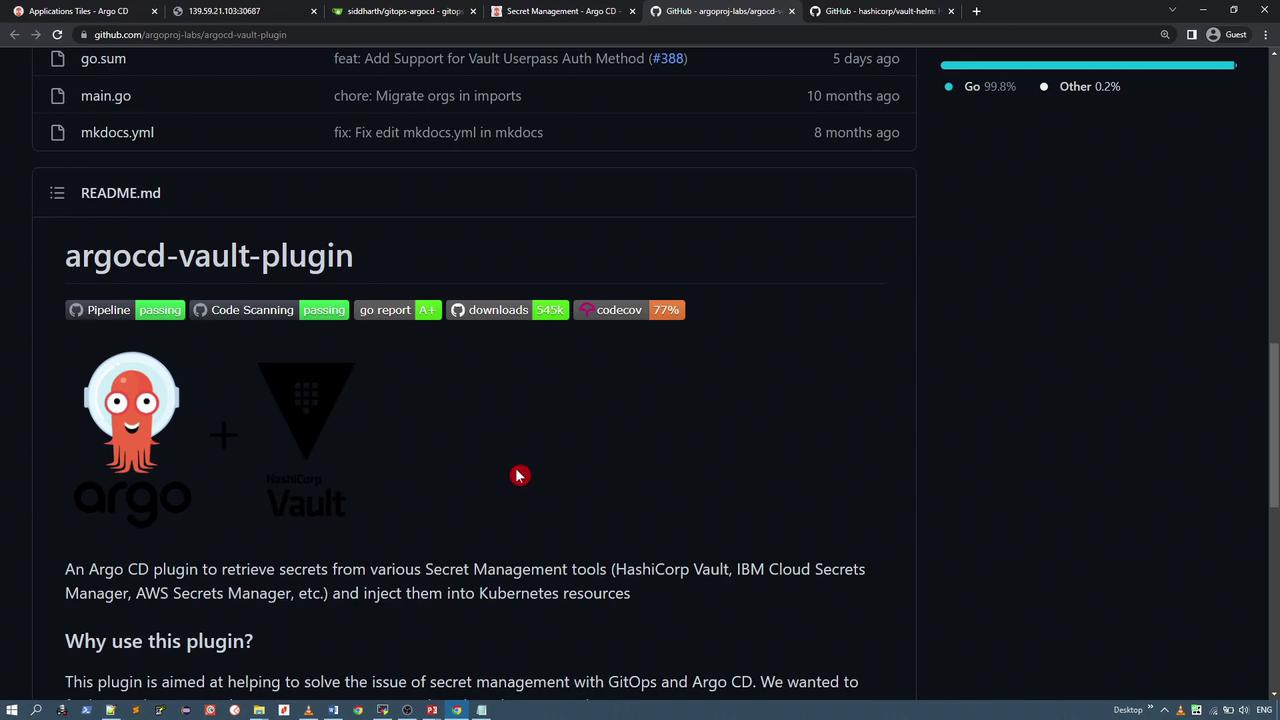
The ArgoCD Vault Plugin is a Git repository tool that retrieves secrets from various secret management systems, including HashiCorp Vault, IBM Cloud Secret Manager, and AWS Secret Manager. In this demo, we will focus on integrating with HashiCorp Vault.
***
## Setting Up HashiCorp Vault
To get started, you need to deploy a Vault instance where you can add and later retrieve secrets. For this demo, we will deploy Vault using the HashiCorp Vault Helm chart and manage the deployment via ArgoCD.
### Installing Vault via Helm
Follow these steps to install Vault with Helm:
1. Add the HashiCorp Helm repository:
```bash theme={null}
helm repo add hashicorp https://helm.releases.hashicorp.com
# "hashicorp" has been added to your repositories
```
2. Install Vault:
```bash theme={null}
helm install vault hashicorp/vault
```
3. Create an ArgoCD application for the Vault Helm chart. For this example, we deploy version 0.16.0 into the namespace “vault-demo.” Modify the Vault configuration to disable data storage by setting `server.datastore.enabled` to false and change the UI service type to NodePort to access the Vault UI through a browser.
For instance, your Vault configuration snippet might resemble:
```bash theme={null}
ui = true
listener "tcp" {
tls_disable = 1
address = "[::]:8200"
cluster_address = "[::]:8201"
}
storage "consul" {
path = "vault"
address = "HOST_IP:8500"
}
```
And update the service configuration with:
```yaml theme={null}
apiVersion: v1
kind: Service
metadata:
name: vault-app
spec:
type: NodePort
ports:
- name: http
port: 8200
targetPort: 8200
- name: https-internal
port: 8201
targetPort: 8201
selector:
app.kubernetes.io/instance: vault-app
app.kubernetes.io/name: vault
component: server
```
After synchronizing the application, multiple resources will be created. The Vault pod may be in a progressing state until Vault is fully initialized.

***
### Accessing and Initializing Vault
After the Vault application is deployed, check the “vault-demo” namespace to verify the running resources:
```bash theme={null}
# List all resources in the vault-demo namespace
kubectl -n vault-demo get all
# Example output:
# NAME READY STATUS RESTARTS AGE
# pod/vault-app-0 0/1 Running 0 54s
# pod/vault-app-agent-injector-6947cc4648-wd9dt 1/1 Running 0 54s
#
# NAME TYPE CLUSTER-IP EXTERNAL-IP PORT(S) AGE
# service/vault-app ClusterIP 10.110.125.148 8200/TCP,8201/TCP 54s
# service/vault-app-agent-injector-svc ClusterIP 10.104.23.127 443/TCP 54s
# service/vault-app-internal ClusterIP None 8200/TCP,8201/TCP 54s
#
# NAME READY UP-TO-DATE AVAILABLE AGE
# deployment.apps/vault-app-agent-injector 1/1 1 1 54s
#
# NAME DESIRED CURRENT READY AGE
# replicaset.apps/vault-app-agent-injector-6947cc4648 1 1 1 54s
#
# NAME READY AGE
# statefulset.apps/vault-app 0/1 54s
```
If the Vault service does not reflect the NodePort settings, update the service manifest manually as described above. Once updated, you can access the Vault UI using the assigned NodePort (e.g., port 31986).
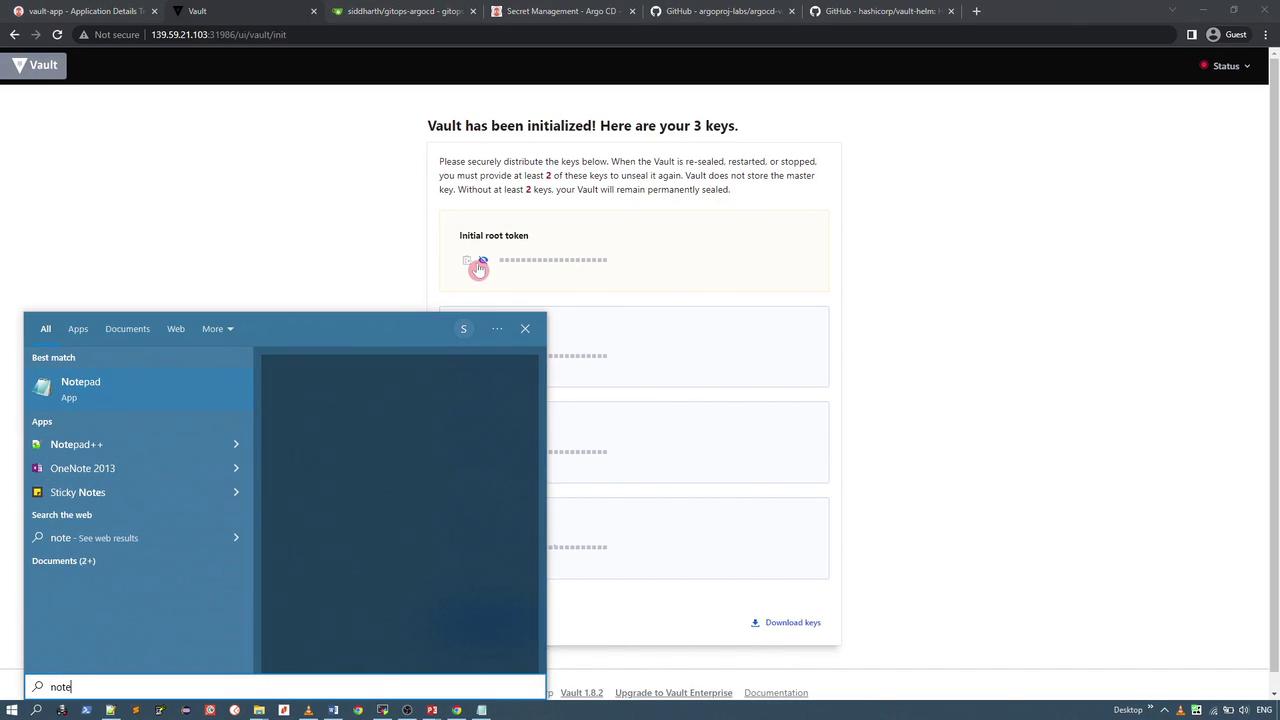
Next, initialize Vault via the UI. When initializing, choose three key shares with a threshold of at least two keys required to unseal. Save the initial root token and unseal keys securely.
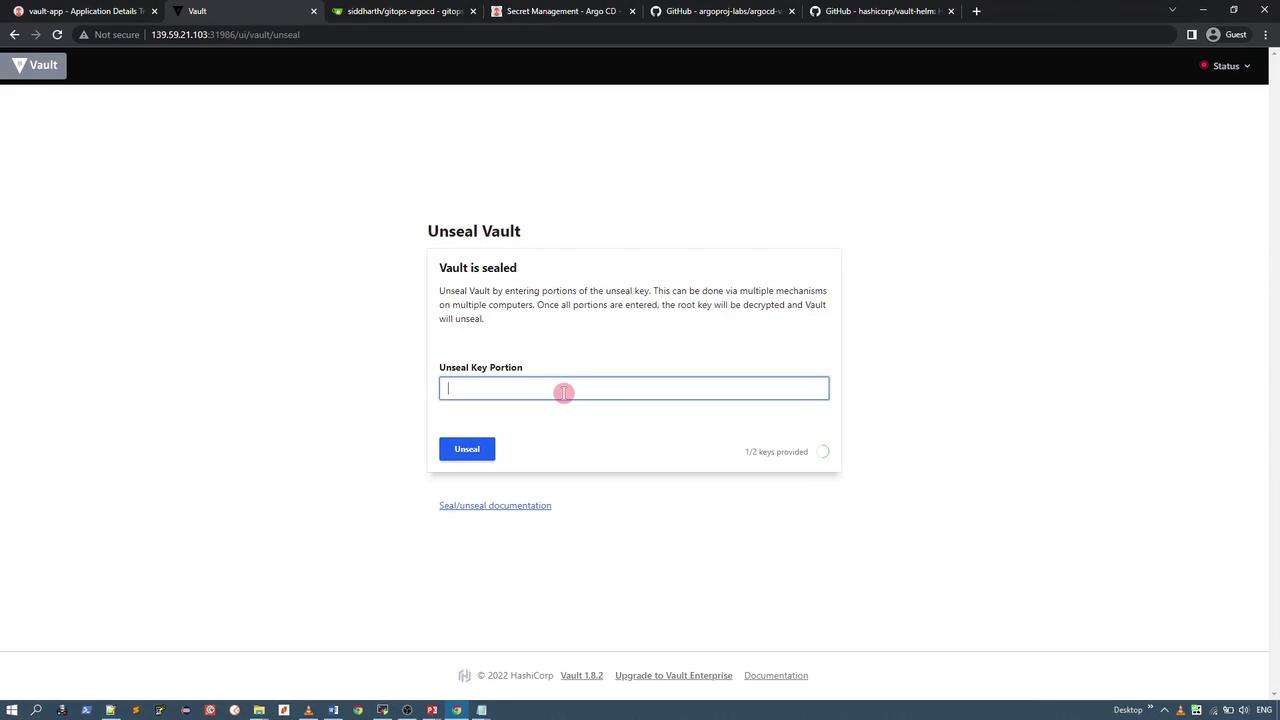
Unseal Vault by entering two of the keys in the UI:
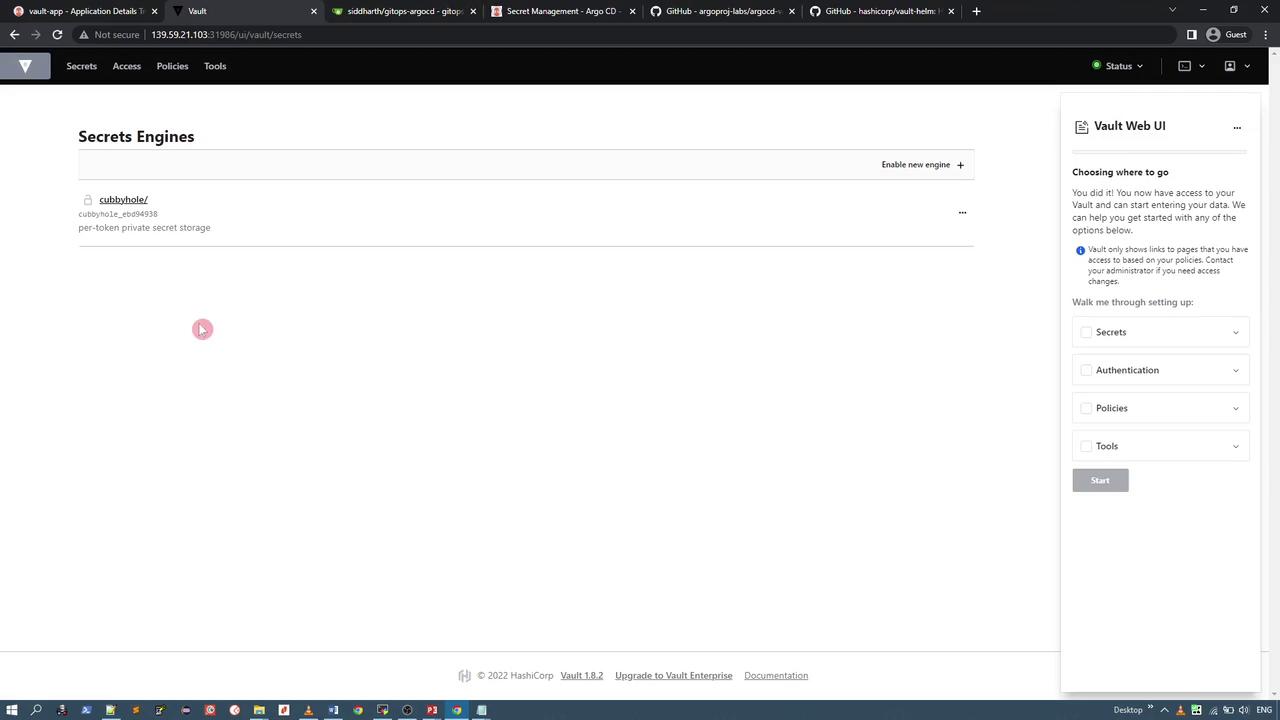
Finally, log in using the default token authentication—the root token saved earlier. By default, only the "cubbyhole" secret engine is enabled.
***
## Enabling a Key-Value Secret Engine and Creating Secrets
To store application credentials, enable the KV (key-value) secret engine and create a secret:
1. In the Vault UI, enable a new secret engine.
2. Choose the key-value secret engine (version 2).
3. Set the engine path to `credentials` using default configurations.
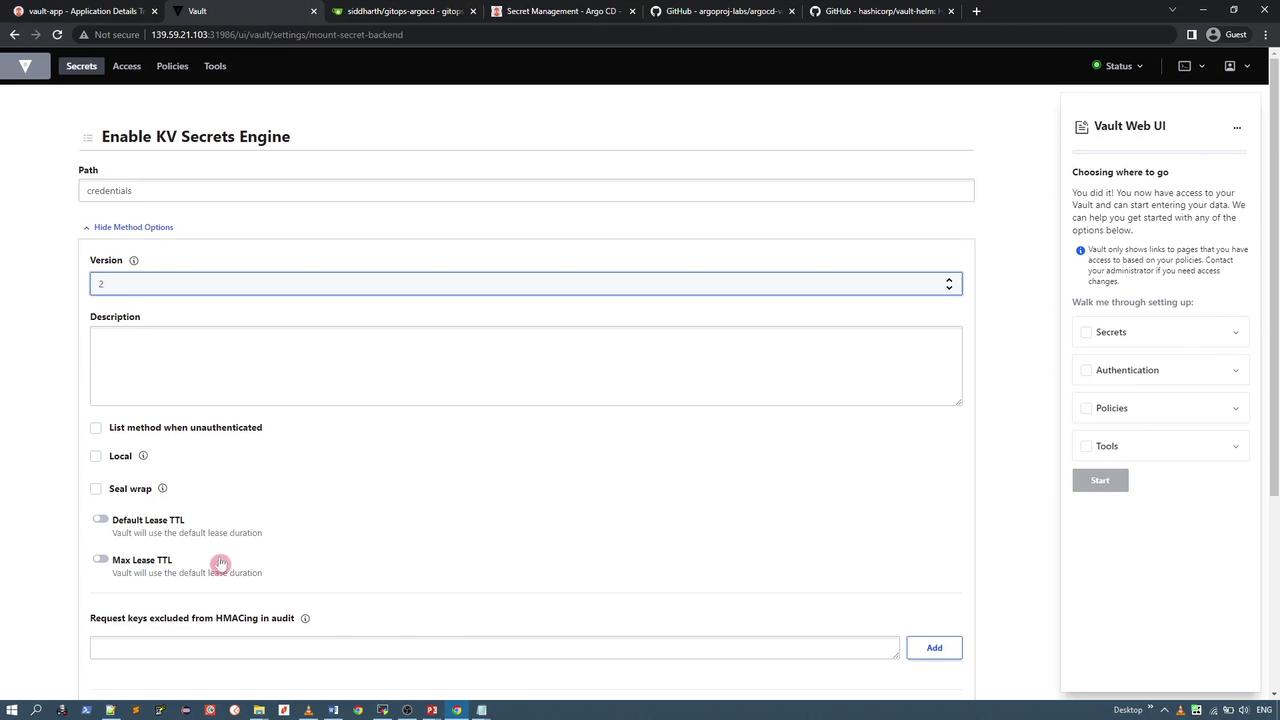
Within the `credentials` secret engine, add a new secret under a specific path (for example, `app`) with the following fields:
* username (e.g., your name suffixed with `-vault` for demo purposes)
* password (e.g., `secure-password-vault`)
* API key (a random string)

After saving, verify that the secret is stored under the `credentials/app` path:

***
## Using the ArgoCD Vault Plugin
Once Vault is running, initialized, unsealed, and holds your secret data, you can use the ArgoCD Vault Plugin to access these credentials.
### Defining a Kubernetes Secret Manifest
To automatically retrieve secrets, define a Kubernetes Secret manifest with an annotation that instructs the plugin where to fetch the Vault data. For example, if your secret is stored at `credentials/app`, your manifest should be configured like this:
```yaml theme={null}
kind: Secret
apiVersion: v1
metadata:
name: app-crds
annotations:
avp.kubernetes.io/path: "credentials/data/app"
type: Opaque
stringData:
apikey:
username:
password:
```
The plugin replaces each placeholder (the values between `<` and `>`) with the actual secret data from Vault and outputs a valid manifest, encoding values in Base64 if necessary.
***
### Local Installation of the ArgoCD Vault Plugin
For local testing outside of ArgoCD, follow these steps to install the ArgoCD Vault Plugin:
1. Install via Homebrew:
```bash theme={null}
brew install argocd-vault-plugin
```
2. Alternatively, download the Linux binary from GitHub:
```bash theme={null}
wget https://github.com/argoproj-labs/argocd-vault-plugin/releases/download/v1.12.0/argocd-vault-plugin_1.12.0_linux_amd64
chmod +x argocd-vault-plugin_1.12.0_linux_amd64
mv argocd-vault-plugin_1.12.0_linux_amd64 /usr/local/bin/argocd-vault-plugin
```
3. Verify the installation:
```bash theme={null}
argocd-vault-plugin version
# Expected output:
# argocd-vault-plugin v1.12.0 (9c7288a5b2d395fea19c1100f2cd07b547cc1ee2) BuildDate: 2022-07-08T13:27:45Z
```
The plugin supports commands such as `generate`, `completion`, and `help`. The `generate` command is used to replace placeholder values in your secret manifest with actual data from Vault.
### Creating the Secret Manifest
Store your Kubernetes Secret manifest into a file, for example, `secret.yaml`:
```yaml theme={null}
kind: Secret
apiVersion: v1
metadata:
name: app-crds
annotations:
avp.kubernetes.io/path: "credentials/data/app"
type: Opaque
stringData:
apikey:
username:
password:
```
Using `stringData` here allows plain text entries, which are then encoded as needed, avoiding manual Base64 encoding.
### Configuring Vault Connection
Create an environment file (e.g., `vault.env`) that contains the necessary Vault configuration parameters:
```plaintext theme={null}
VAULT_ADDR=http://localhost:31986
VAULT_TOKEN=s.0nqTxN3rmQcoKku7DX87bWz
AVP_TYPE=vault
AVP_AUTH_TYPE=token
```
Make sure to adjust the `VAULT_ADDR` and `VAULT_TOKEN` to match your Vault instance. The `AVP_TYPE` should be set to `vault` and `AVP_AUTH_TYPE` to `token` for this demo setup.
### Generating the Manifest
Run the following command to generate the final Kubernetes manifest with secrets fetched from Vault:
```bash theme={null}
argocd-vault-plugin generate -c vault.env - < secret.yaml
```
The output will be a complete manifest with all placeholder values replaced by the actual secrets, similar to:
```yaml theme={null}
apiVersion: v1
kind: Secret
metadata:
annotations:
avp.kubernetes.io/path: credentials/data/app
name: app-crds
stringData:
apiKey: 5FGJVasdnjl-yidis67-asdkasd
password: secure-password-vault
username: siddharth-vault
type: Opaque
```
This manifest is now ready for deployment into your Kubernetes cluster.
***
## Conclusion
In this guide, we covered the deployment of HashiCorp Vault using Helm, enabling a key-value secret engine, and storing application credentials. We then demonstrated how to use the ArgoCD Vault Plugin locally to generate a Kubernetes Secret manifest populated with secrets from Vault. In the next demo, you will learn how to configure ArgoCD to automatically generate these manifests when an application is created.
Thank you for following along.