GitOps with ArgoCD
Bitnami Sealed Secrets 2
In this guide, you'll learn how to use Bitnami Sealed Secrets to securely commit secrets to any public or private Git repository. We will cover installing the Sealed Secrets controller via Helm and using the kubeseal CLI to encrypt Kubernetes secrets before pushing them to Git.
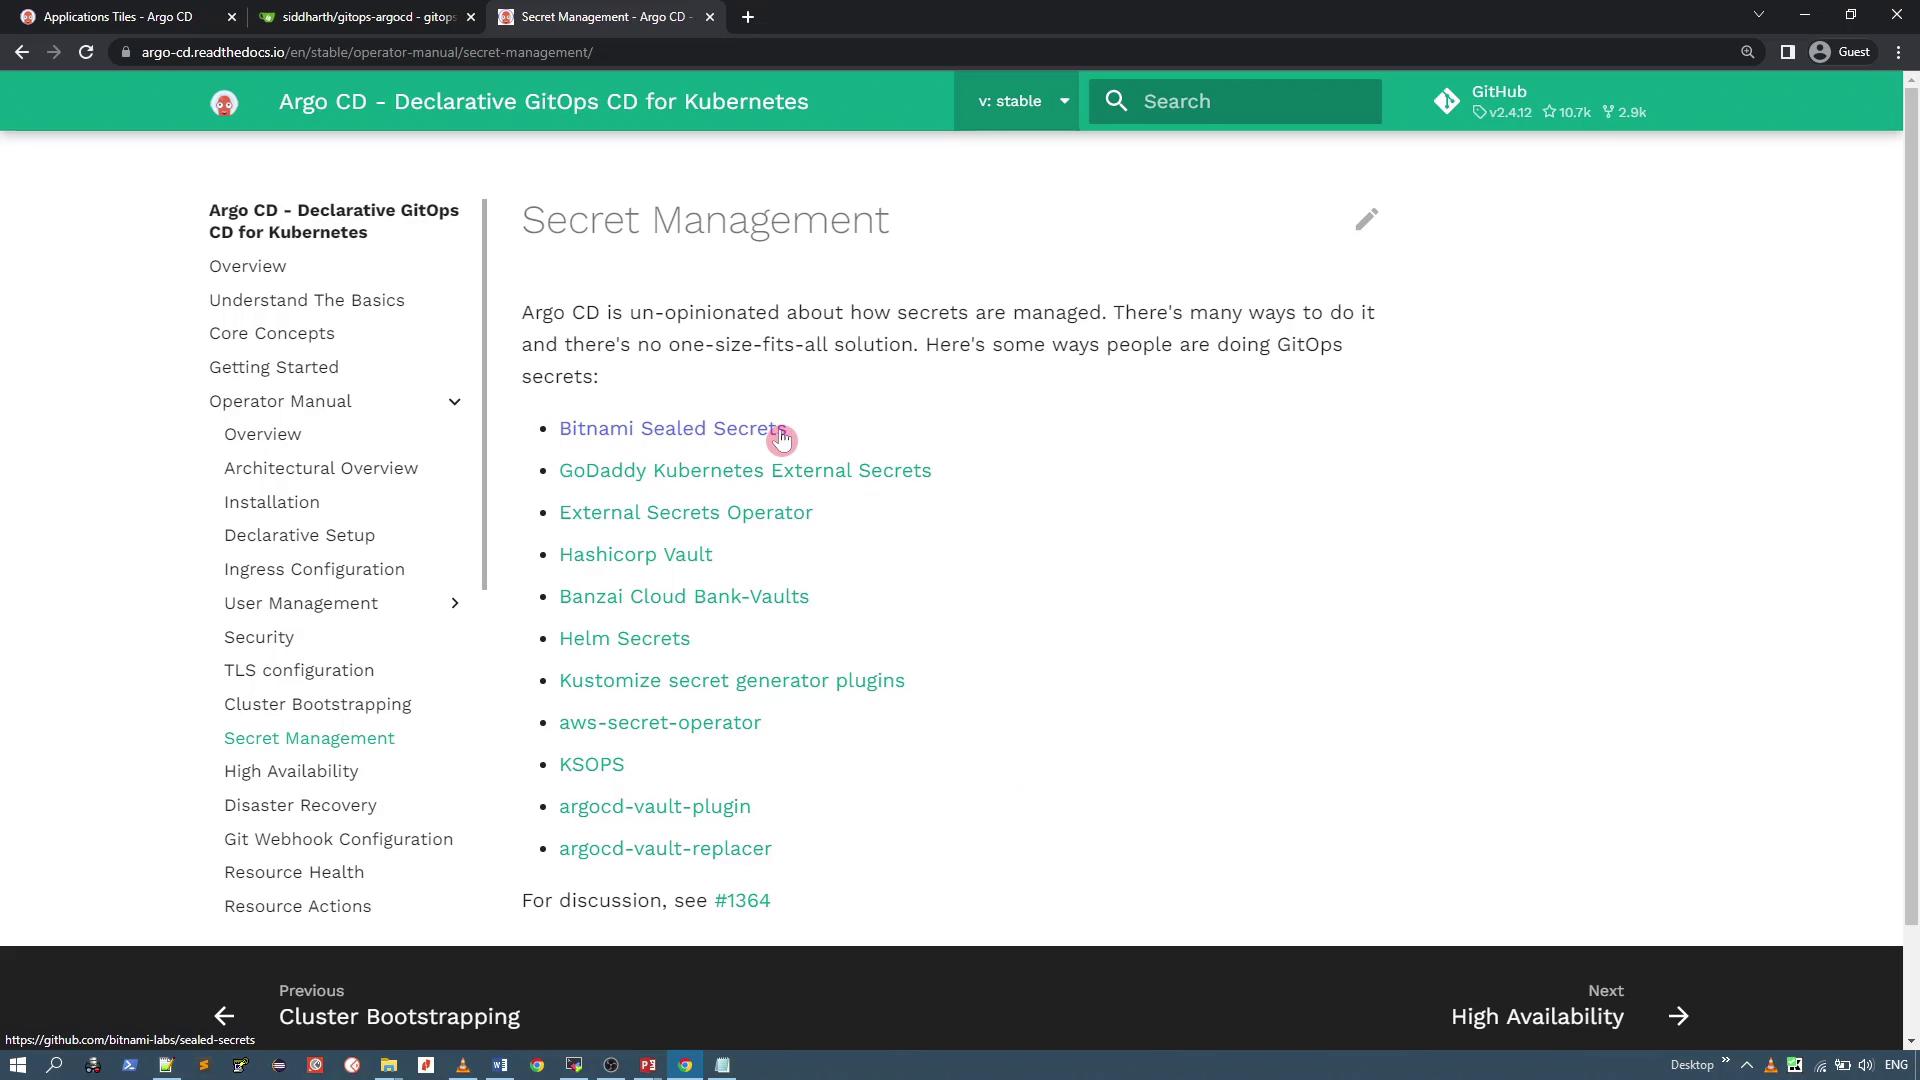
Let's begin by exploring the available documentation. The Argo CD documentation offers several secret management options. Although Argo CD does not mandate a specific method, this article focuses on Bitnami Sealed Secrets (with a brief mention of the Argo CD Vault plugin, which integrates with HashiCorp Vault).
Reviewing the Git Repository
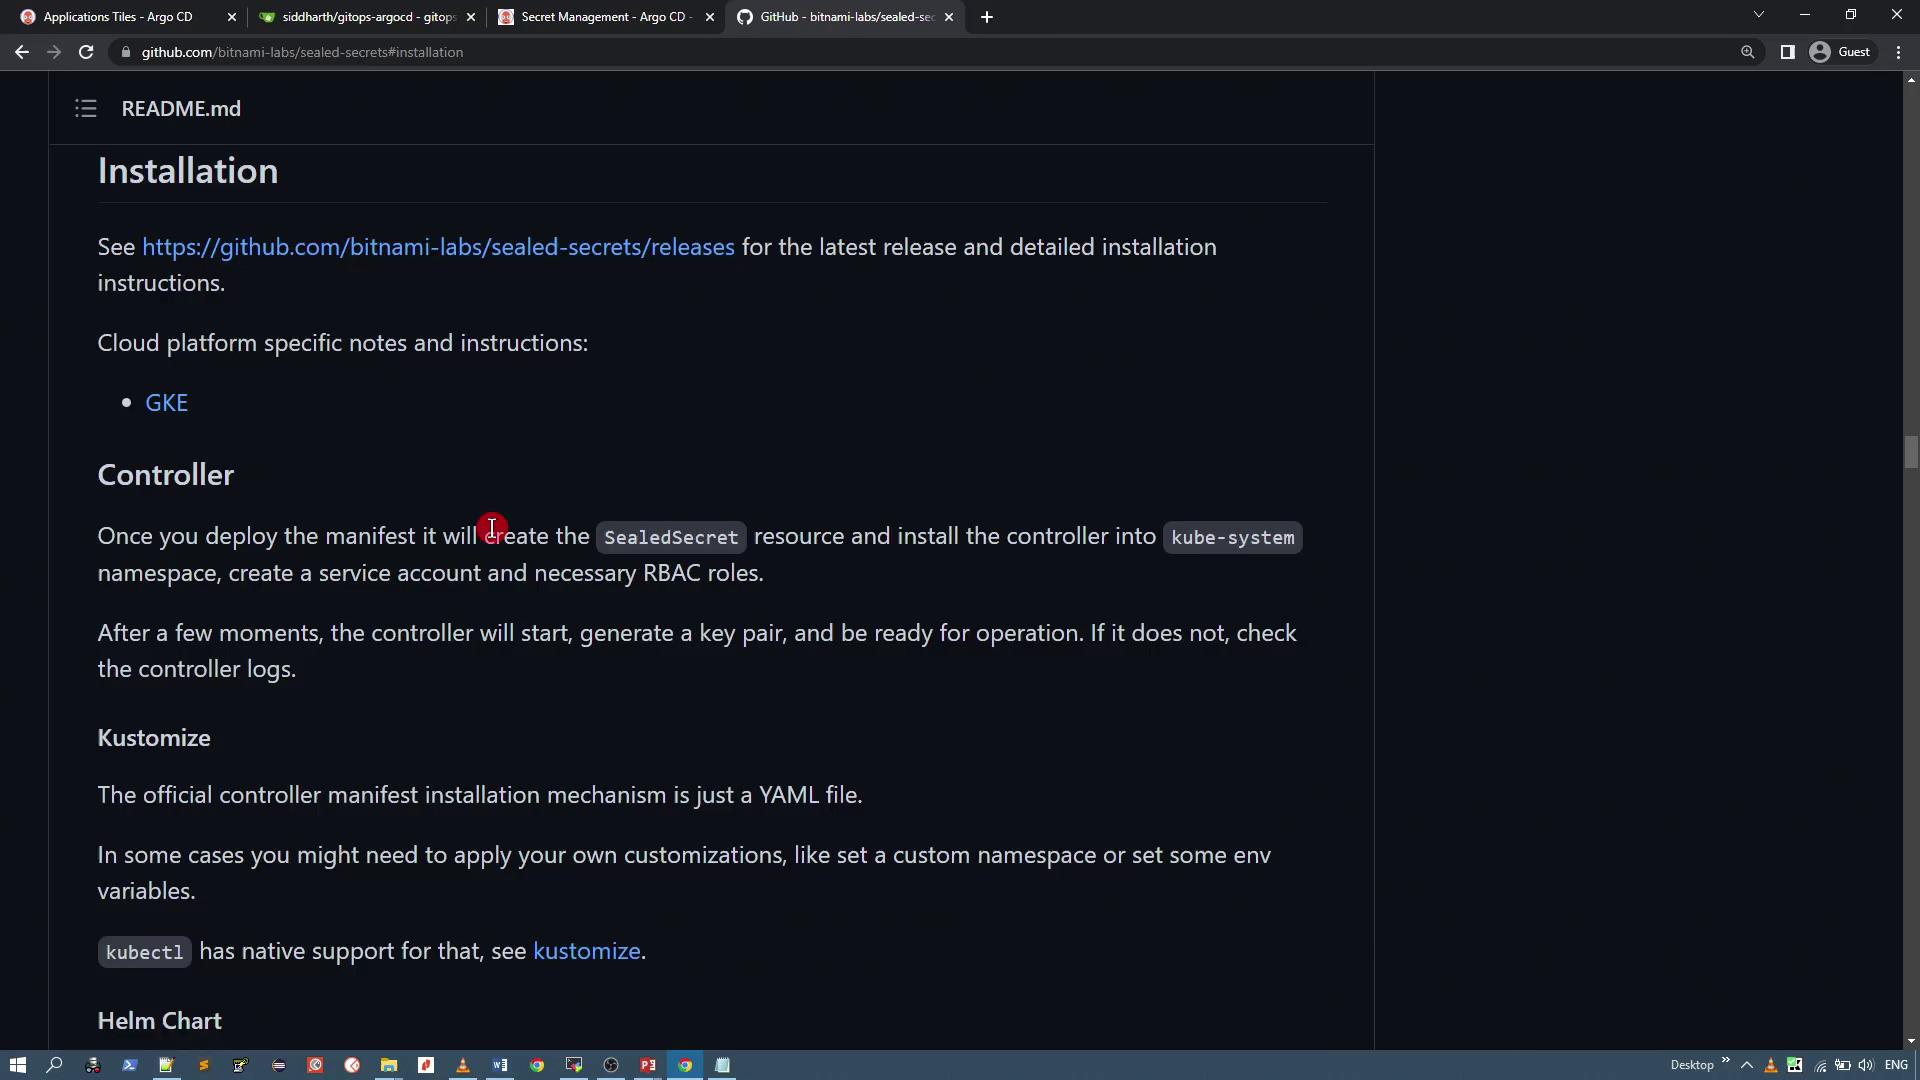
The Bitnami Sealed Secrets project is hosted on GitHub. Let’s take a look at the repository to review the installation instructions and related files.
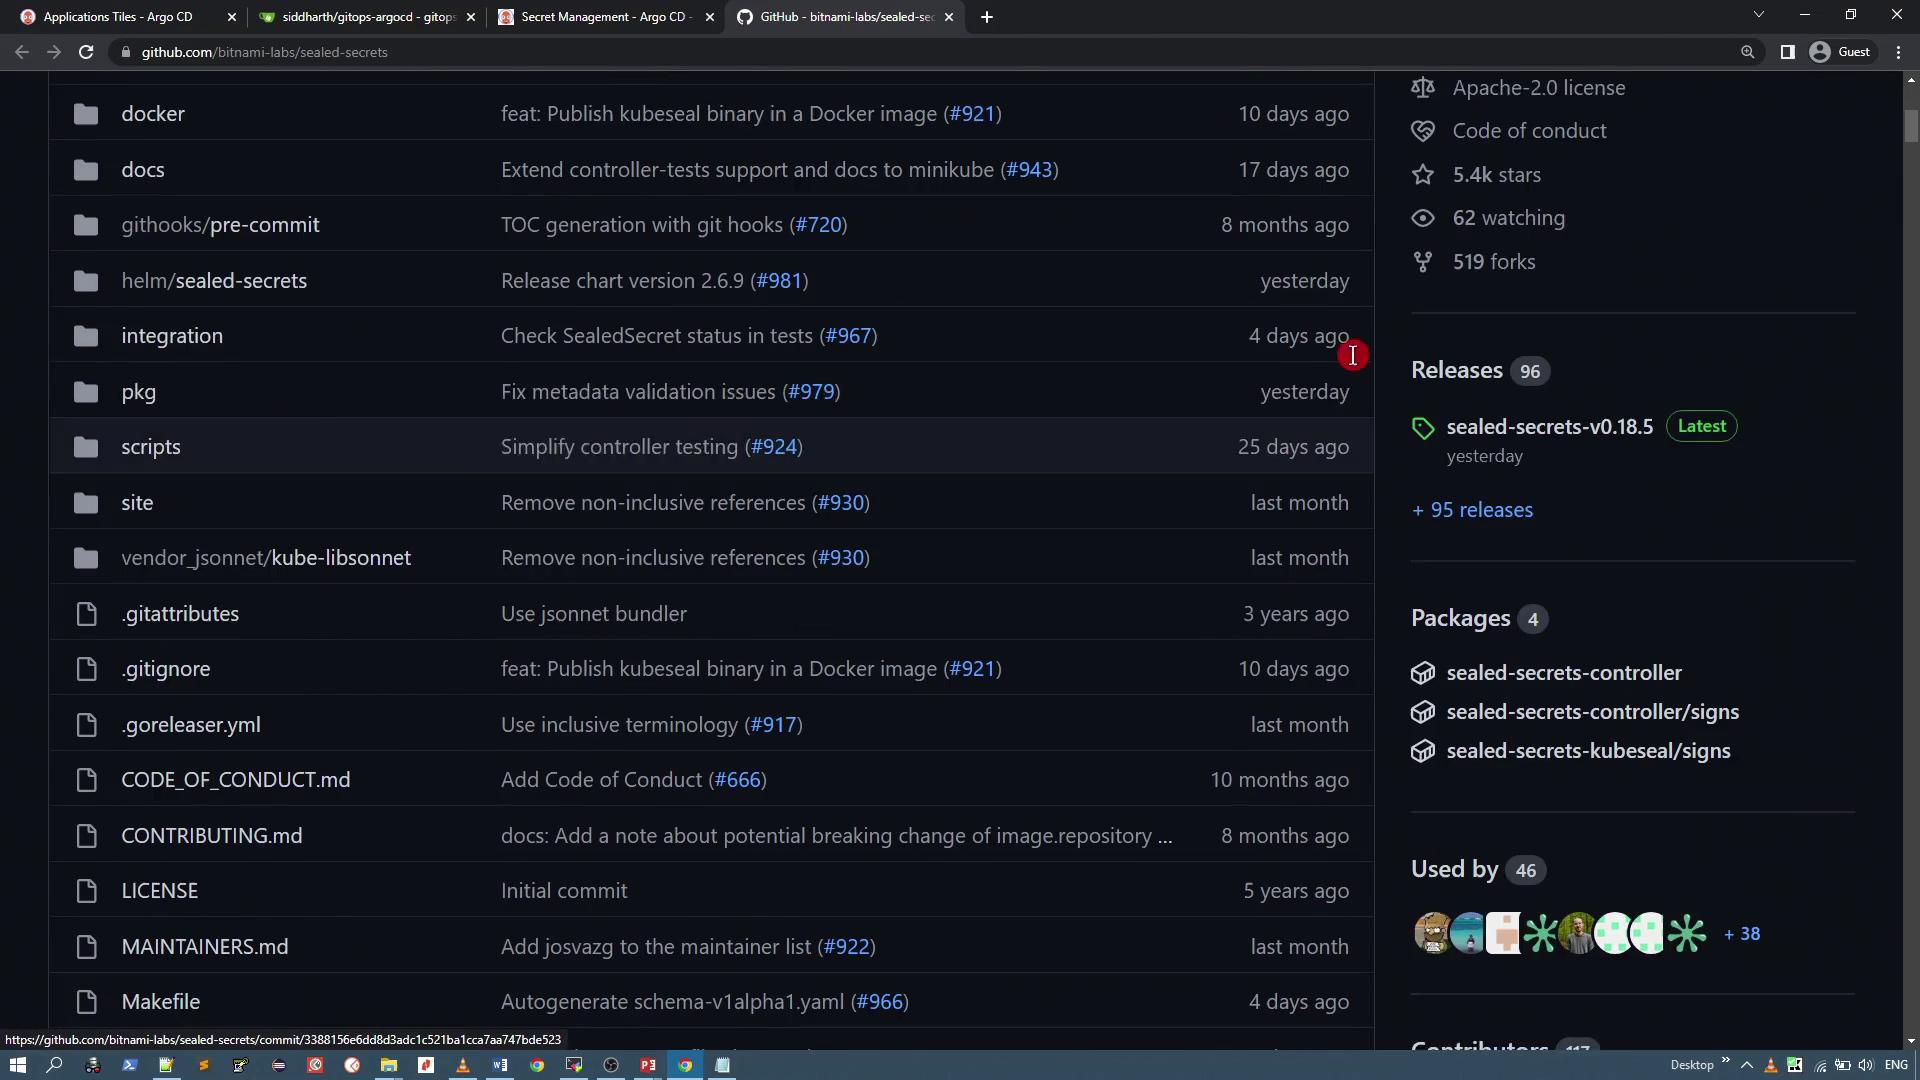
Focus on the recommended installation process which uses the Helm chart.
Installing Sealed Secrets via Argo CD
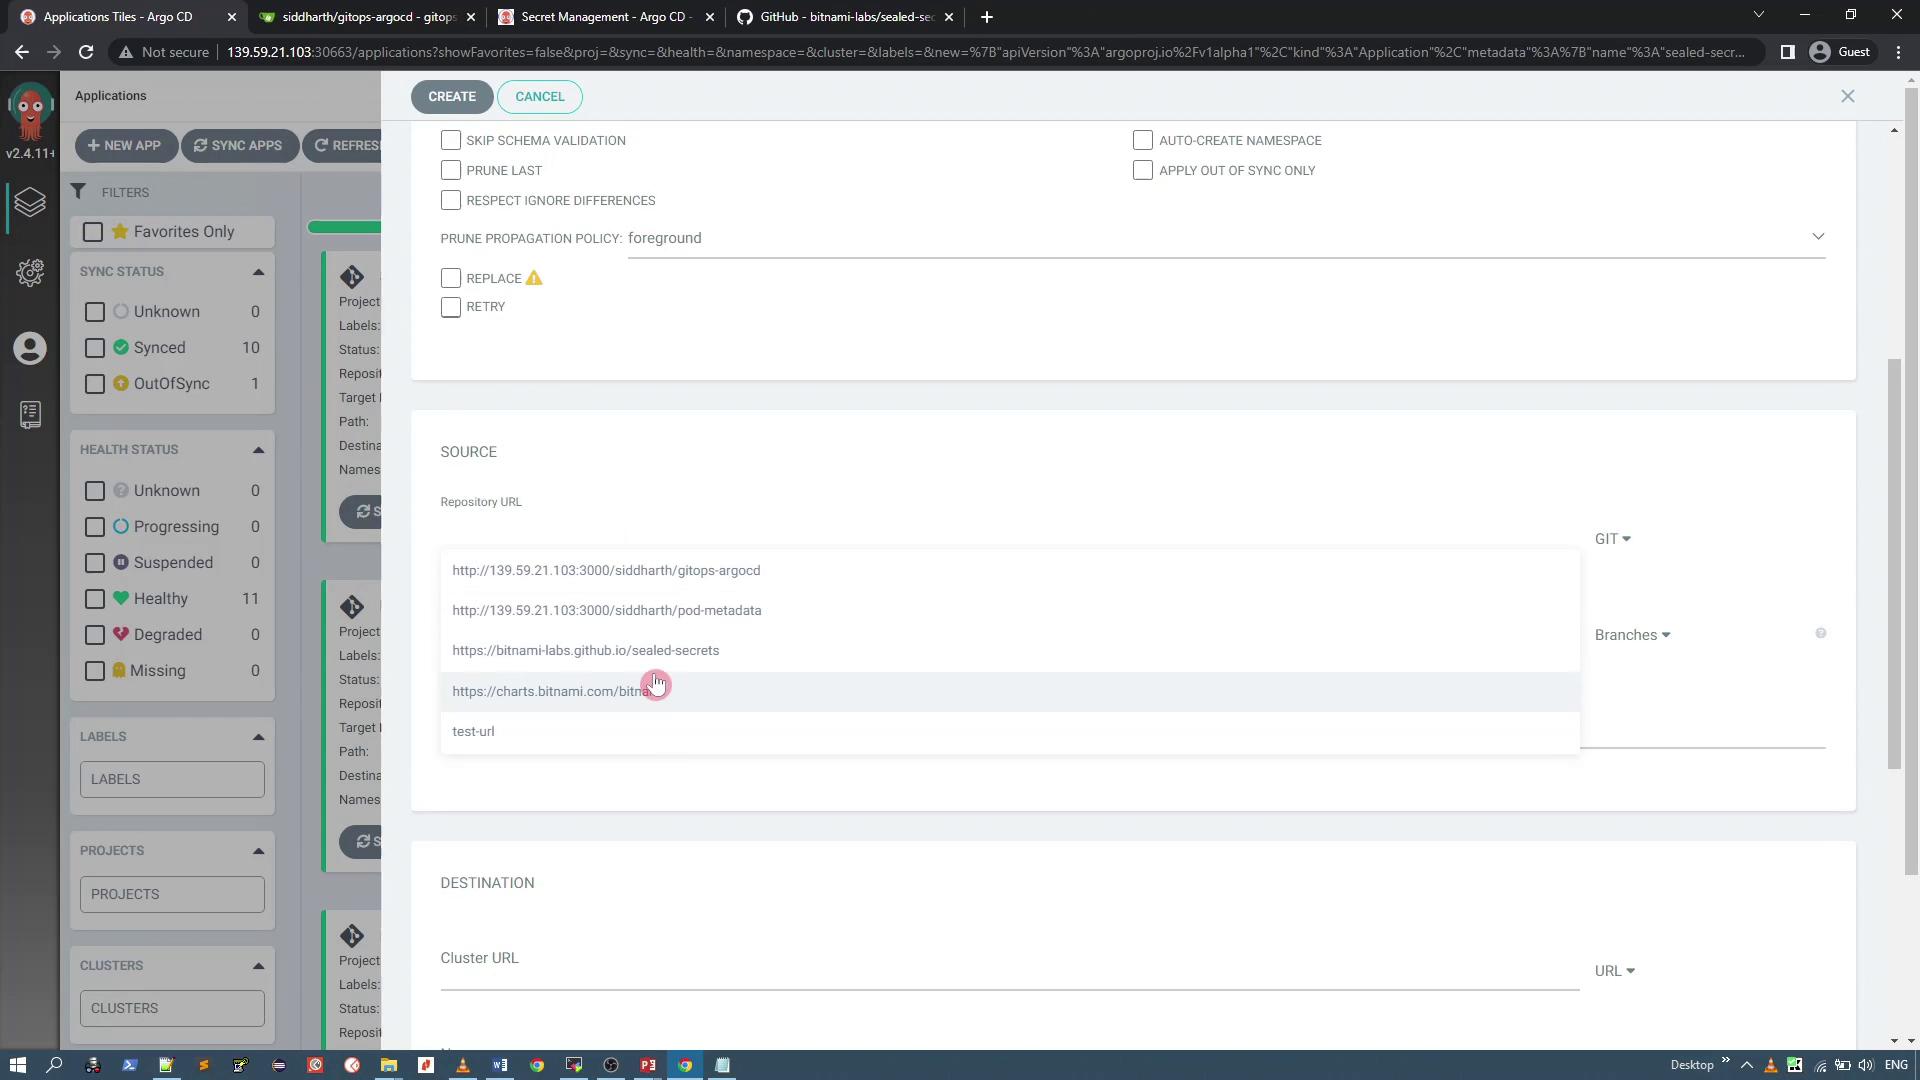
First, add the Helm repository URL for Sealed Secrets to Argo CD. While you might deploy the Helm chart with the Helm CLI, this guide uses Argo CD for GitOps management.
Run the following command to add the Helm repository:
helm repo add sealed-secrets https://bitnami-labs.github.io/sealed-secrets
Next, create a new Argo CD application to manage the Helm chart. Name the application (for example, “Sealed Secrets”), choose the default project, and ensure the installation targets the kube-system namespace. For demonstration purposes, we will use version 2.2.0 of the Helm chart while keeping the default chart values.
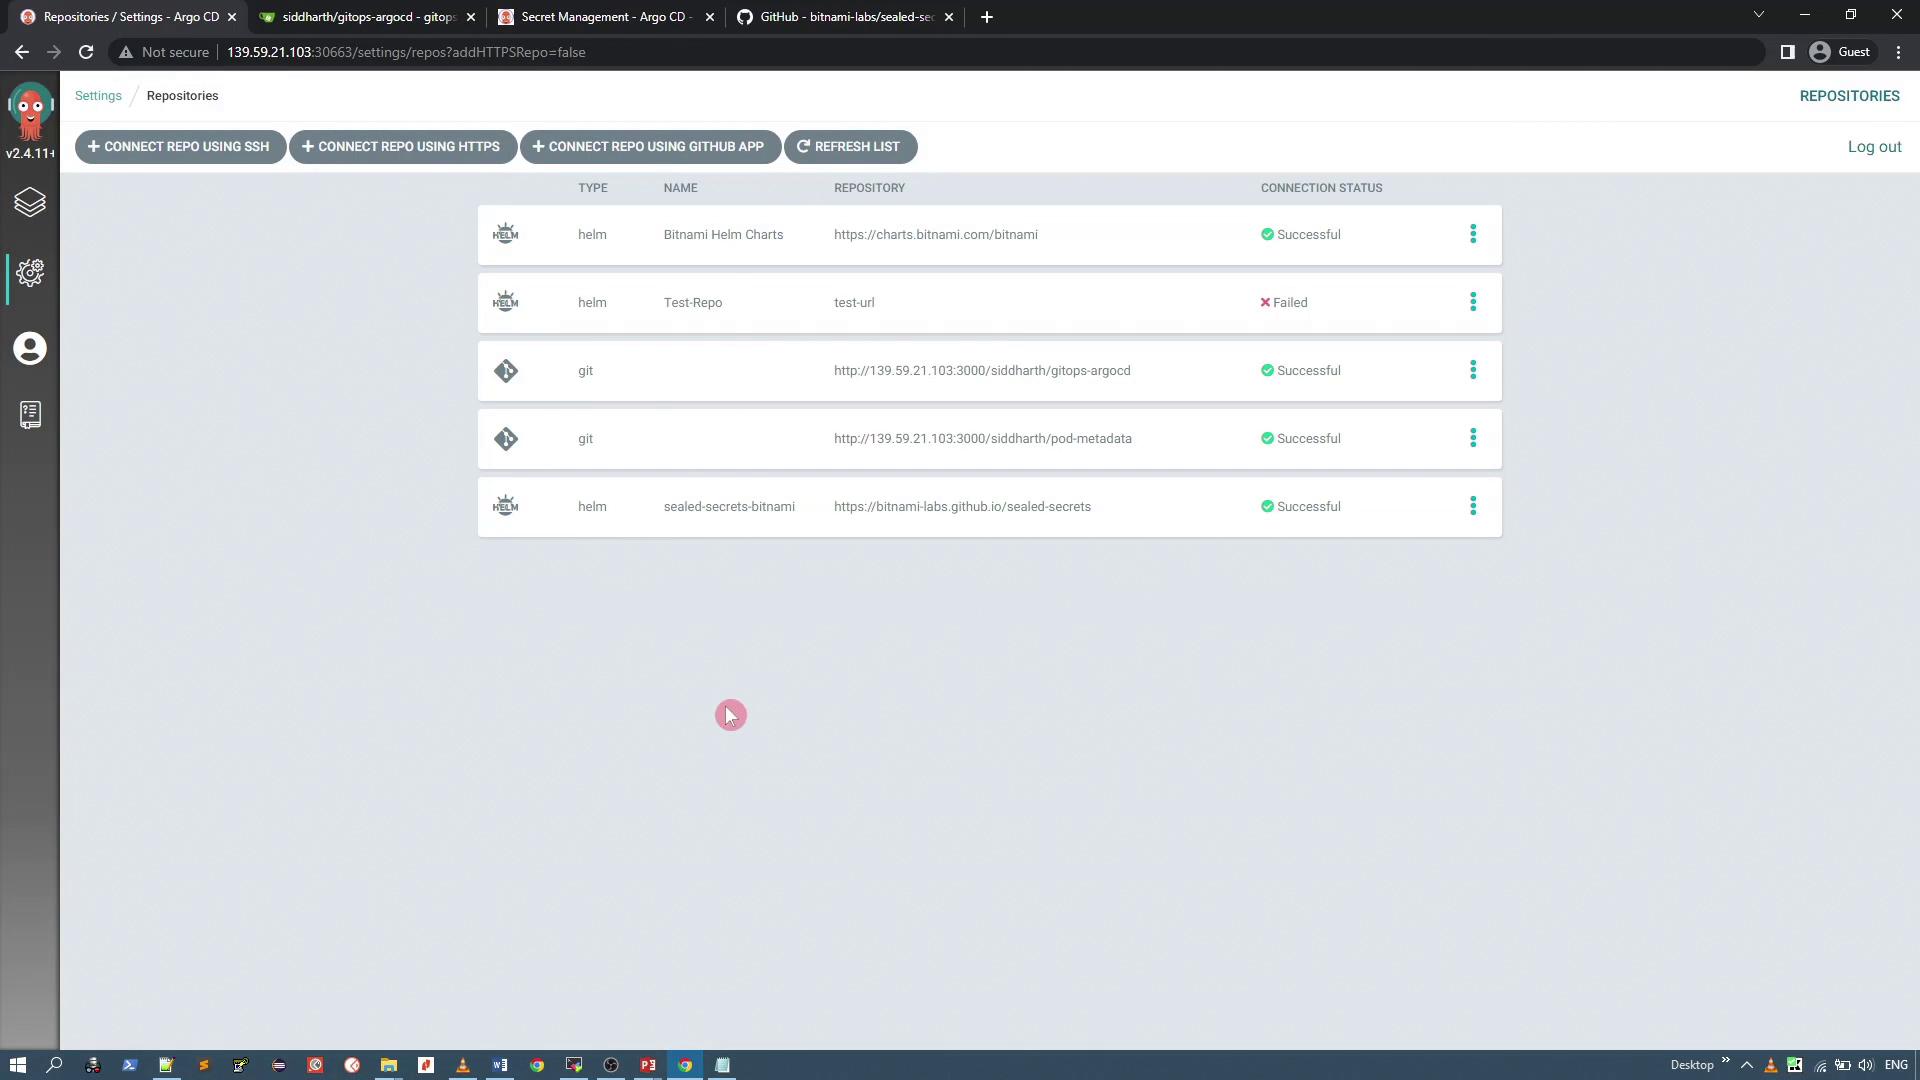
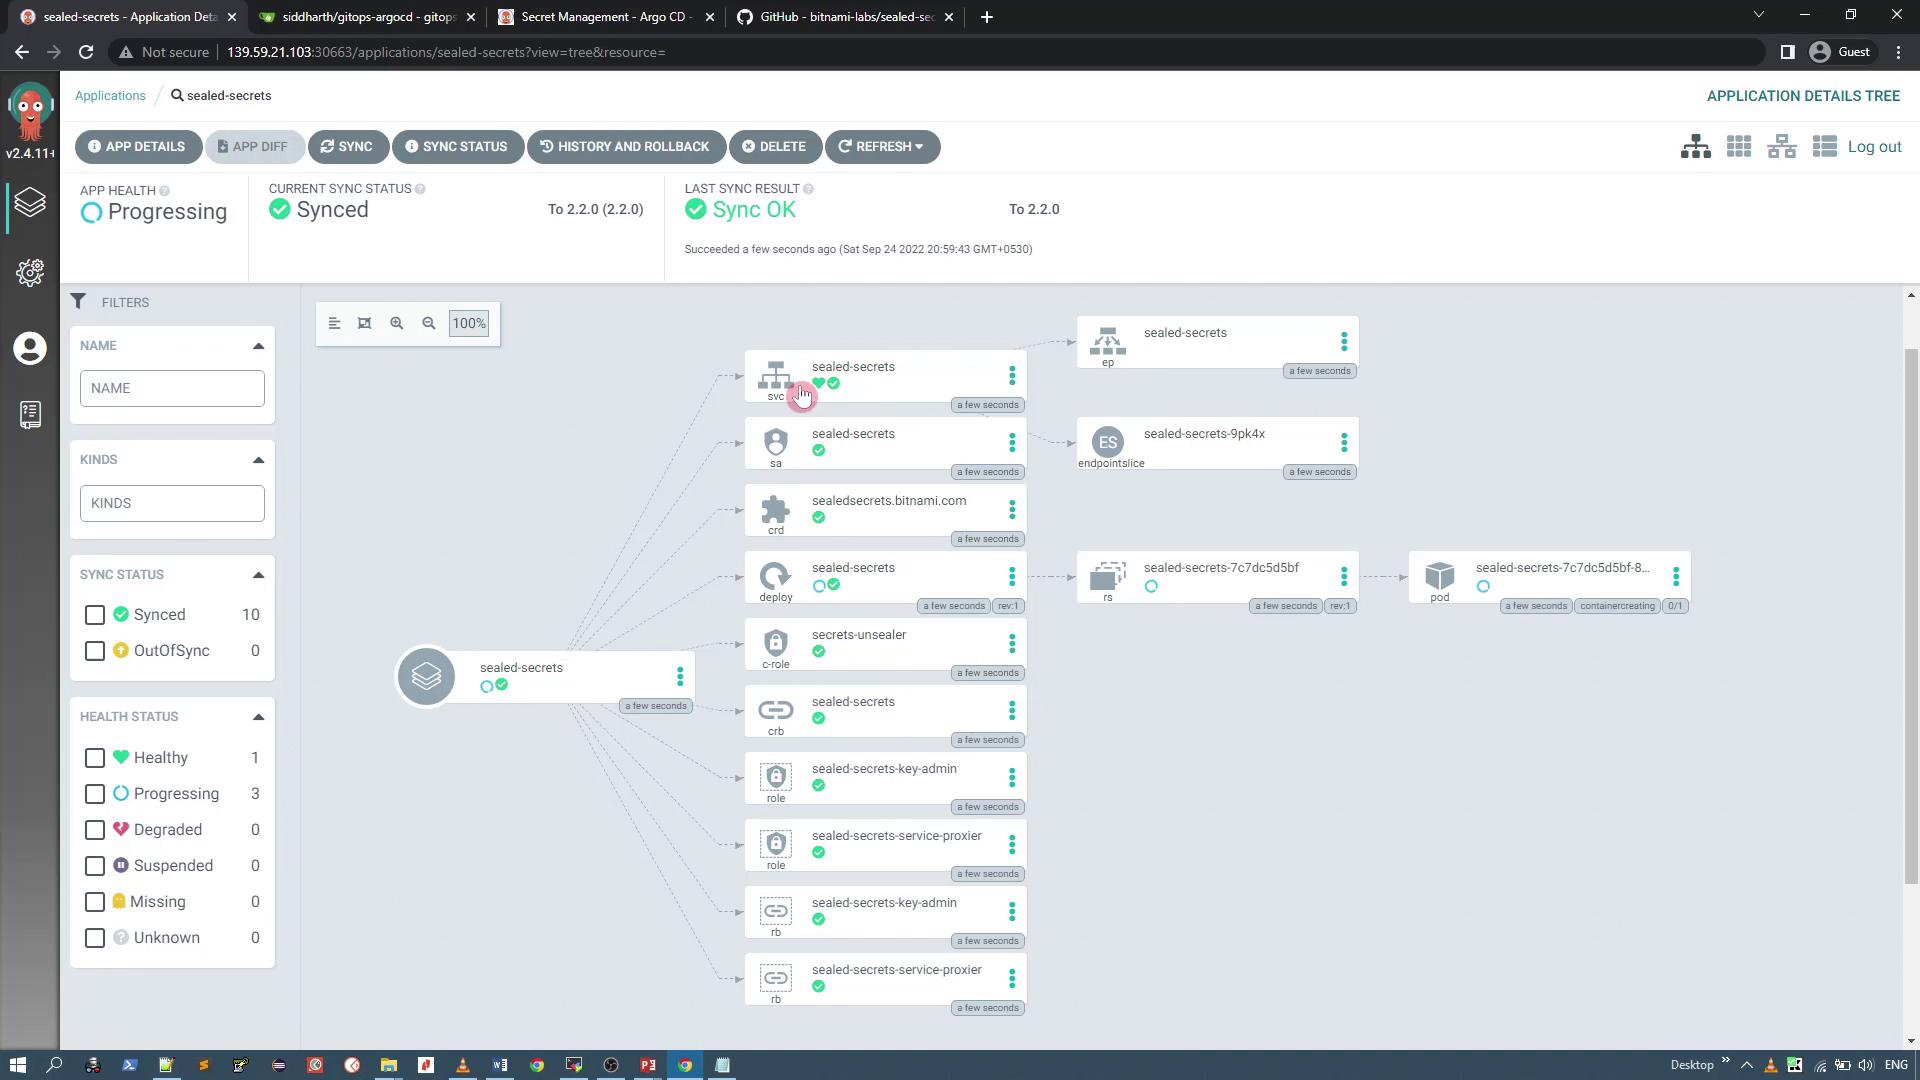
After configuring the new application, proceed to create it.
When you create the application, you will notice several resources being scheduled for creation, such as services, service accounts, CRDs, pods, cluster roles, role bindings, and more.
To verify the created resources in your Kubernetes cluster, run:
kubectl -n kube-system get all | grep -i sealed
You should see a pod, service, deployment, and replicaset, as well as one Sealed Secret key:
kubectl -n kube-system get all | grep -i sealed
kubectl -n kube-system get secrets | grep -i sealed
Installing the kubeseal CLI
Next, install the kubeseal CLI, which encrypts your secrets. You can install it using one of the following methods:
helm install sealed-secrets -n {allocated-namespace} sealed-secrets/sealed-secrets --skip-crds -f config.yaml

brew install kubeseal

port install kubeseal

nix-env -iA nixpkgs.kubeseal
The CLI communicates with the Sealed Secrets controller (running in kube-system) to perform the encryption. If needed, download the binary manually. For example, to download version 0.18.0:
wget https://github.com/bitnami-labs/sealed-secrets/releases/download/v0.18.0/kubeseal-0.18.0-linux-amd64.tar.gz
tar -xvzf kubeseal-0.18.0-linux-amd64.tar.gz kubeseal
sudo install -m 755 kubeseal /usr/local/bin/kubeseal
Replace the placeholders with the appropriate release tag and version as needed.
Verify your installation by checking the Sealed Secrets status:
kubectl -n kube-system get all | grep -i sealed
kubectl -n kube-system get secrets | grep -i sealed
Encrypting Secrets
After installing the kubeseal CLI, you can create and encrypt Kubernetes secrets. For instance, to encrypt a secret from input data, run:
echo -n bar | kubectl create secret generic mysecret --dry-run=client --from-file=foo=/dev/stdin -o json > mysecret.json
kubeseal < mysecret.json > mysealedsecret.json
kubectl create -f mysealedsecret.json
kubectl get secret mysecret
This sequence encrypts your secret, preparing it for safe storage in Git.
For a more involved example with multiple key-value pairs, create a secret like so:
kubectl create secret generic aws-crds-k8s -o yaml --dry-run=client \
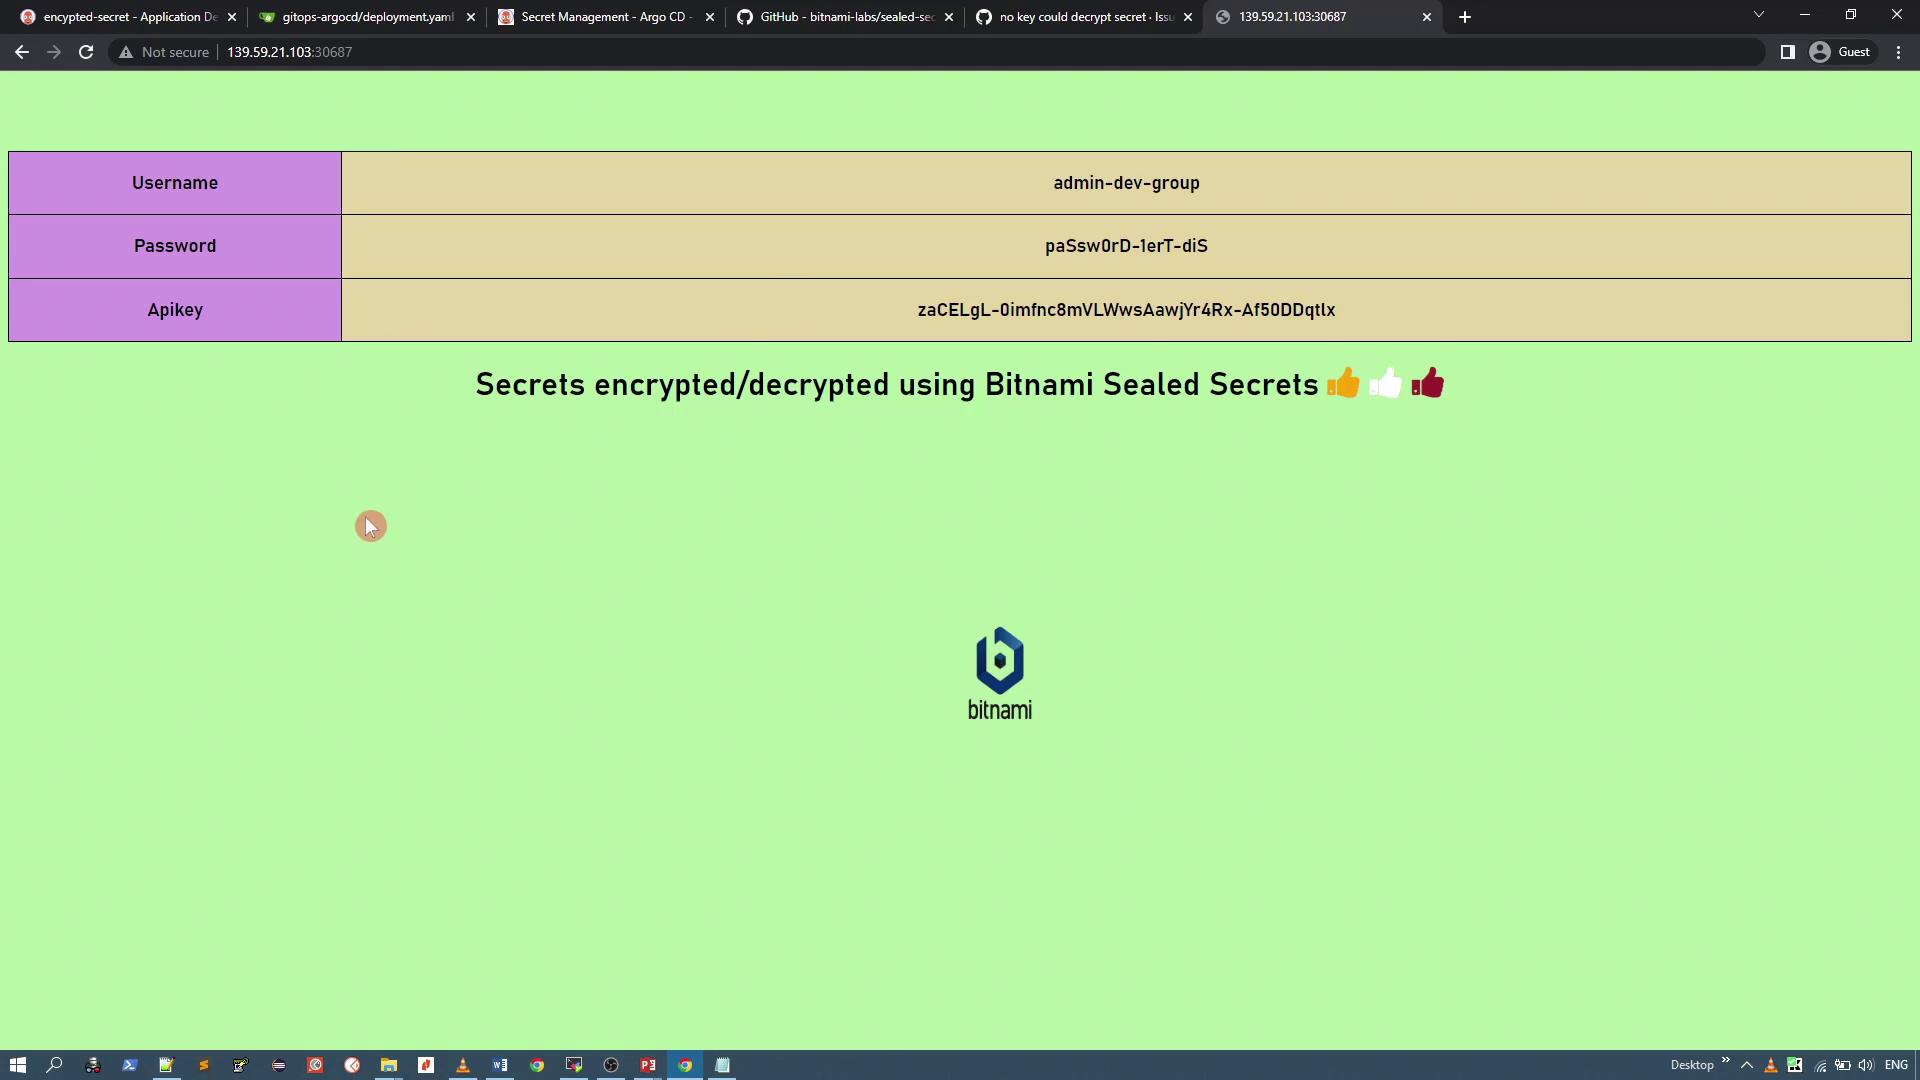
--from-literal=username=admin-dev-group \
--from-literal=password=paSw0rd-1erT-diS \
--from-literal=apikey=zaCELgL-oimfnc8mVLwvsAawjr4Rx-Af50DDqtlx > aws-crds-k8s.yaml
cat aws-crds-k8s.yaml
The generated YAML manifest will base64 encode the values, which alone is not secure. You must encrypt it with kubeseal.
Before encrypting the YAML file, retrieve the TLS certificate from the Sealed Secrets controller:
kubectl -n kube-system get secrets sealed-secrets-keywg9bk -o json | jq -r '.data."tls.crt"' | base64 -d > sealedSecret.crt
Now, encrypt your secret using the certificate and set the scope to "cluster-wide" (allowing usage in any namespace):
kubeseal --cert sealedSecret.crt --scope cluster-wide -o yaml < aws-crds-k8s.yaml > aws-crds-sealed.yaml
Review the resulting YAML file. It will contain an encryptedData section with the encrypted values and can be safely pushed into your Git repository.
Deploying Sealed Secrets with GitOps
Once you have the SealedSecret YAML file (e.g., aws-crds-sealed.yaml), add it to your GitOps repository. When Argo CD synchronizes the repository, the Sealed Secrets controller in your cluster automatically decrypts the secret and creates a standard Kubernetes Secret in the target namespace.
Here's an example of what a decrypted secret might look like:
apiVersion: v1
data:
  apikey: <base64-encoded-encrypted-value>
  password: <base64-encoded-encrypted-value>
  username: <base64-encoded-encrypted-value>
kind: Secret
metadata:
  annotations:
    sealedsecrets.bitnami.com/cluster-wide: "true"
  name: app-crds
  namespace: default
  ownerReferences:
  - apiVersion: bitnami.com/v1alpha1
    controller: true
    kind: SealedSecret
    name: app-crds
type: Opaque
Verify the secret creation in the default namespace with:
kubectl -n default get secrets
Mounting the Secret in a Deployment
Your application can consume the decrypted secret by mounting it as a volume. The following example deployment YAML mounts the secret named app-crds:
apiVersion: apps/v1
kind: Deployment
metadata:
  name: secret-app
  labels:
    app: secret-app
spec:
  replicas: 1
  selector:
    matchLabels:
      app: secret-app
  template:
    metadata:
      labels:
        app: secret-app
    spec:
      containers:
      - name: secret-app
        image: siddharth67/secrets:bitnami
        imagePullPolicy: Always
        volumeMounts:
        - name: app-secret-vol
          mountPath: "/app/crds"
          readOnly: true
      volumes:
      - name: app-secret-vol
        secret:
          secretName: app-crds
When the application starts, it will access secret data at the specified mount path (for example, /app/crds/username, /app/crds/password, /app/crds/apikey).
Note
Ensure that the volume mounts and volumes sections are uncommented and correctly configured. In one demonstration, the application logged warnings about missing files because the volume mount was commented out.
Verifying the Installation with Argo CD
Create a new Argo CD application for your GitOps repository, which contains both your SealedSecret and deployment manifests. For example, if your repository holds the encrypted secret (e.g., aws-crds-sealed.yaml or renamed as required), set the target namespace appropriately (e.g., default). When you synchronize the application in Argo CD, the Sealed Secrets controller unseals the secret, and the application pod begins using the secret data.

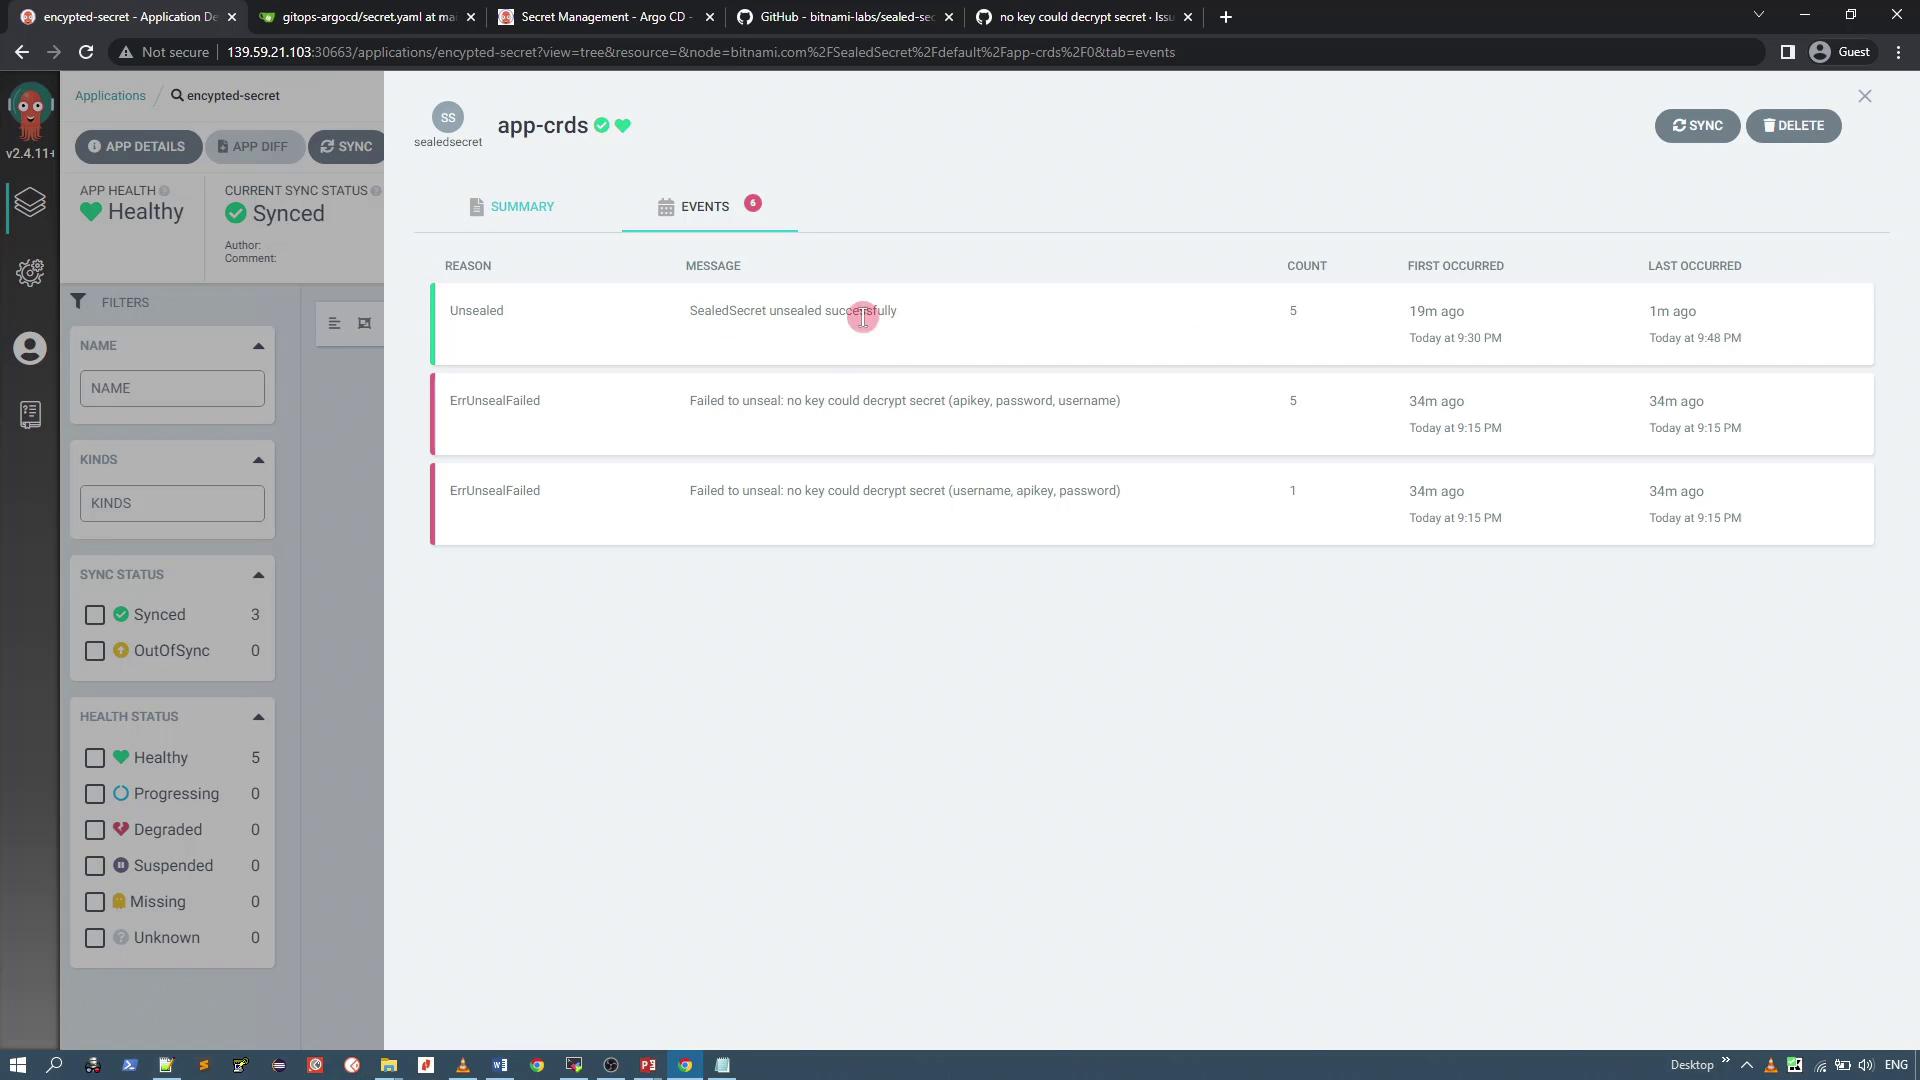
If you encounter an error such as “cannot get sealed secret service: services 'sealed-secrets-controller' not found,” verify that the Sealed Secrets controller is running in the kube-system namespace. In some cases, issues auto-resolve after a brief period.
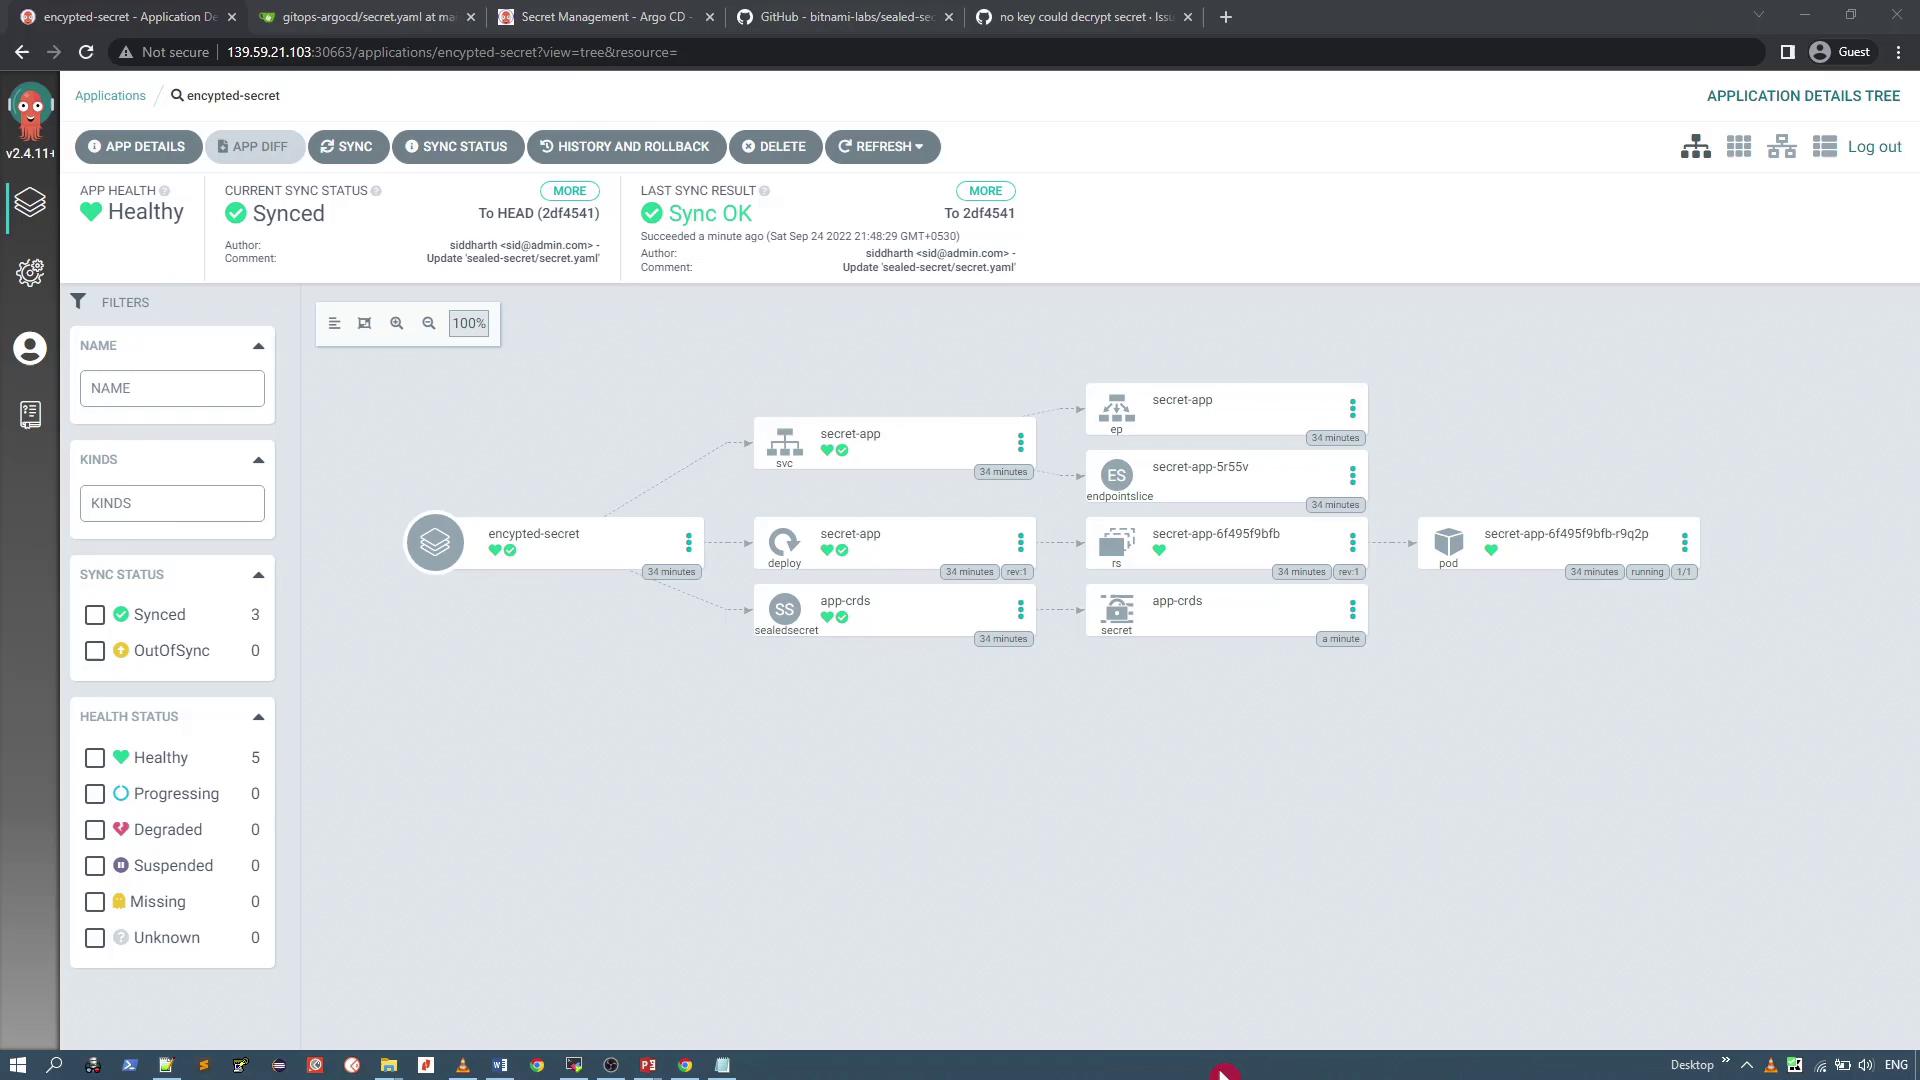
Events shown on the secret management dashboard confirm that the sealed secret was eventually unsealed and the secret resource created:
Summary
- Install the Sealed Secrets controller in the
kube-systemnamespace using the Helm chart. - Install the kubeseal CLI and download the controller’s public TLS certificate.
- Create a Kubernetes secret manifest and encrypt it with kubeseal using the
--scope cluster-wideoption. - Push the generated SealedSecret YAML to your GitOps repository.
- Use Argo CD to synchronize the repository; the Sealed Secrets controller will automatically decrypt the secret.
- Mount the decrypted secret within your application deployment.
Below are key YAML snippets used throughout this process:
Deployment YAML (with mounted secret):
apiVersion: apps/v1
kind: Deployment
metadata:
  name: secret-app
  labels:
    app: secret-app
spec:
  replicas: 1
  selector:
    matchLabels:
      app: secret-app
  template:
    metadata:
      labels:
        app: secret-app
    spec:
      containers:
      - name: secret-app
        image: siddharth67/secrets:bitnami
        imagePullPolicy: Always
        volumeMounts:
        - name: app-secret-vol
          mountPath: "/app/crds"
          readOnly: true
      volumes:
      - name: app-secret-vol
        secret:
          secretName: app-crds
SealedSecret YAML (example):
apiVersion: bitnami.com/v1alpha1
kind: SealedSecret
metadata:
  name: app-crds
  annotations:
    sealedsecrets.bitnami.com/cluster-wide: "true"
spec:
  encryptedData:
    apikey: AgBLS5eS02LEZ006eRhB1n39um2vSF94EtzFw7gMOTxIGqfa9+PHMhtCsXgXAzjLFe7eXq0LPMgGaodydCUP3QsfR1S7tU4dzpzJGVLAXGPMGJ7Bm8gkGkmGLPb6MFqTrywnflTkZQ4KCGBtxW0N0LV6cZ6D6PM8420Bjhr/eRaD5nqfEAeAydUqh7uTgLQ5fM65wd...
    password: AgApC/16eJ3Kva5M54832gFuIqr0j08tCt2AtUxh81EwiJAsKuc5EzJqWenky35Jux2d6PM8420Bjhr/rEaD5nqfEAeAydUqh7uTgLQ5fM65wd...
    username: AgDVCvYcGkVZionXz95JY6dC2BzTXo7XvGIpZbm2EyHt6oRDYByxIb59G12L5cb9fpk7pTTL8=
  template:
    metadata:
      name: app-crds
      annotations:
        sealedsecrets.bitnami.com/cluster-wide: "true"
Finally, access the service (for example, a NodePort service) to verify that your application picks up the unsealed secret values. In one demonstration, the application output revealed the plaintext secret as intended when accessed via a browser or using curl on the exposed port.
This completes our walkthrough on securing secrets with Bitnami Sealed Secrets in a GitOps workflow. Happy securing!
Watch Video
Watch video content