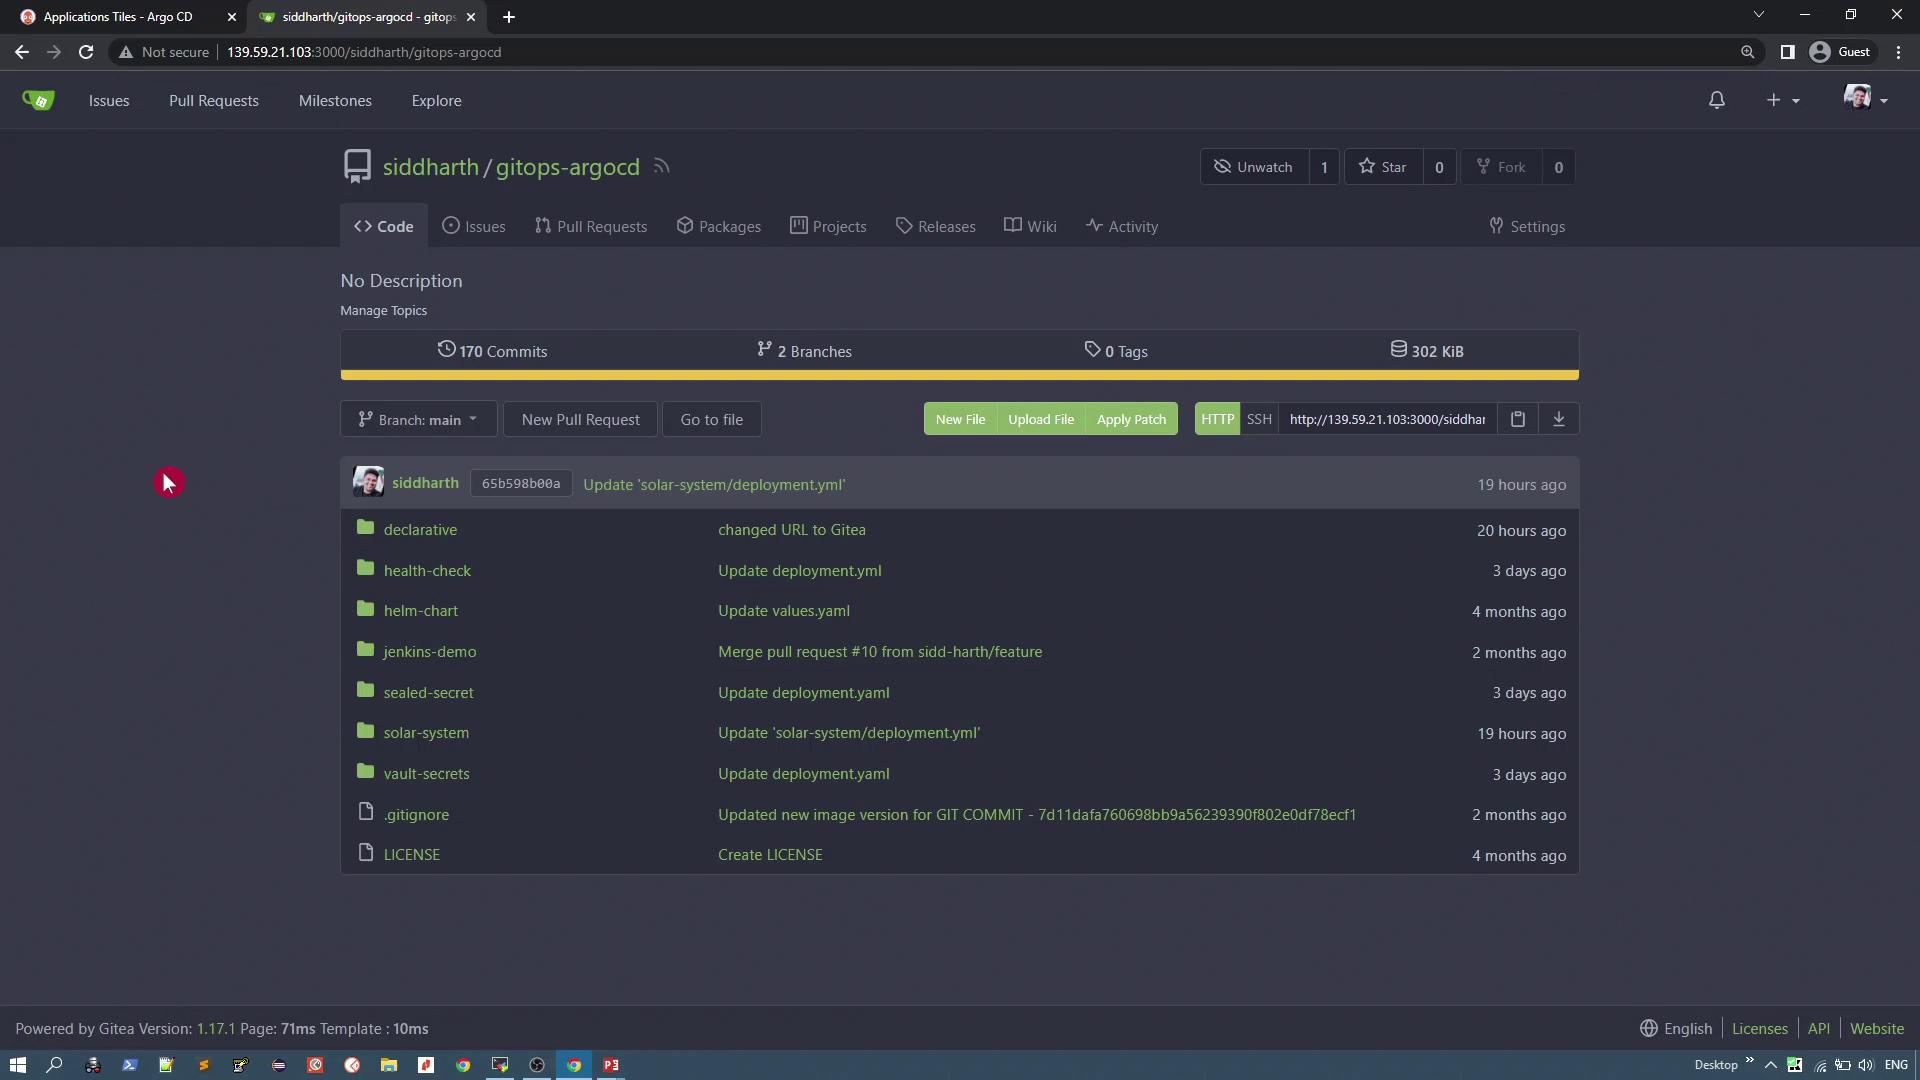
solar system directory to find two Kubernetes manifests:
- Deployment Manifest: Configures a deployment that uses a custom image (version v3), deployed as a single replica, and exposes port 80.
- Service Manifest: Exposes the application via a NodePort.
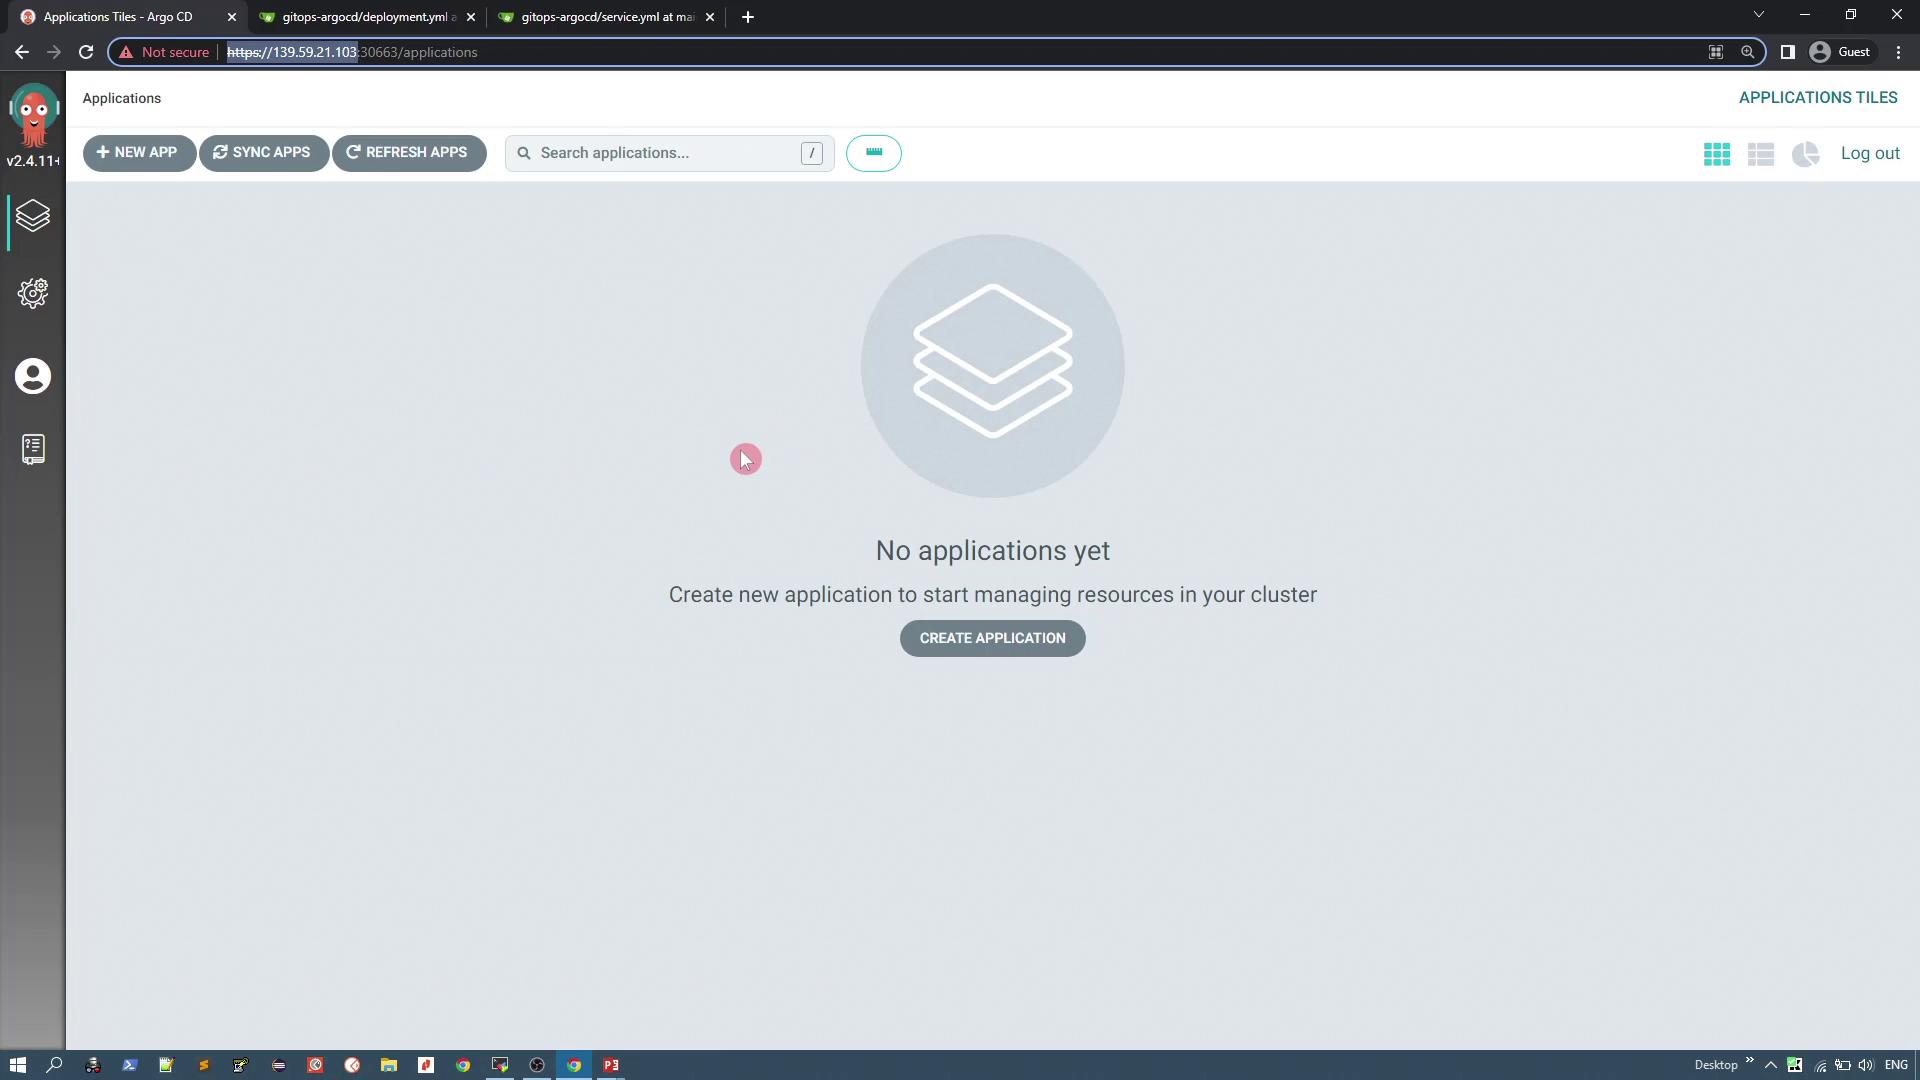
Creating the ArgoCD Application
To create an application using the ArgoCD UI:- Click on + New App.
- Enter an application name (for example, “solar-system-app-1”).
- Select an ArgoCD project. By default, the “default” project is available.
- Choose the synchronization policy. For this guide, select Manual.
- Under Source Settings, select the repository you previously configured.
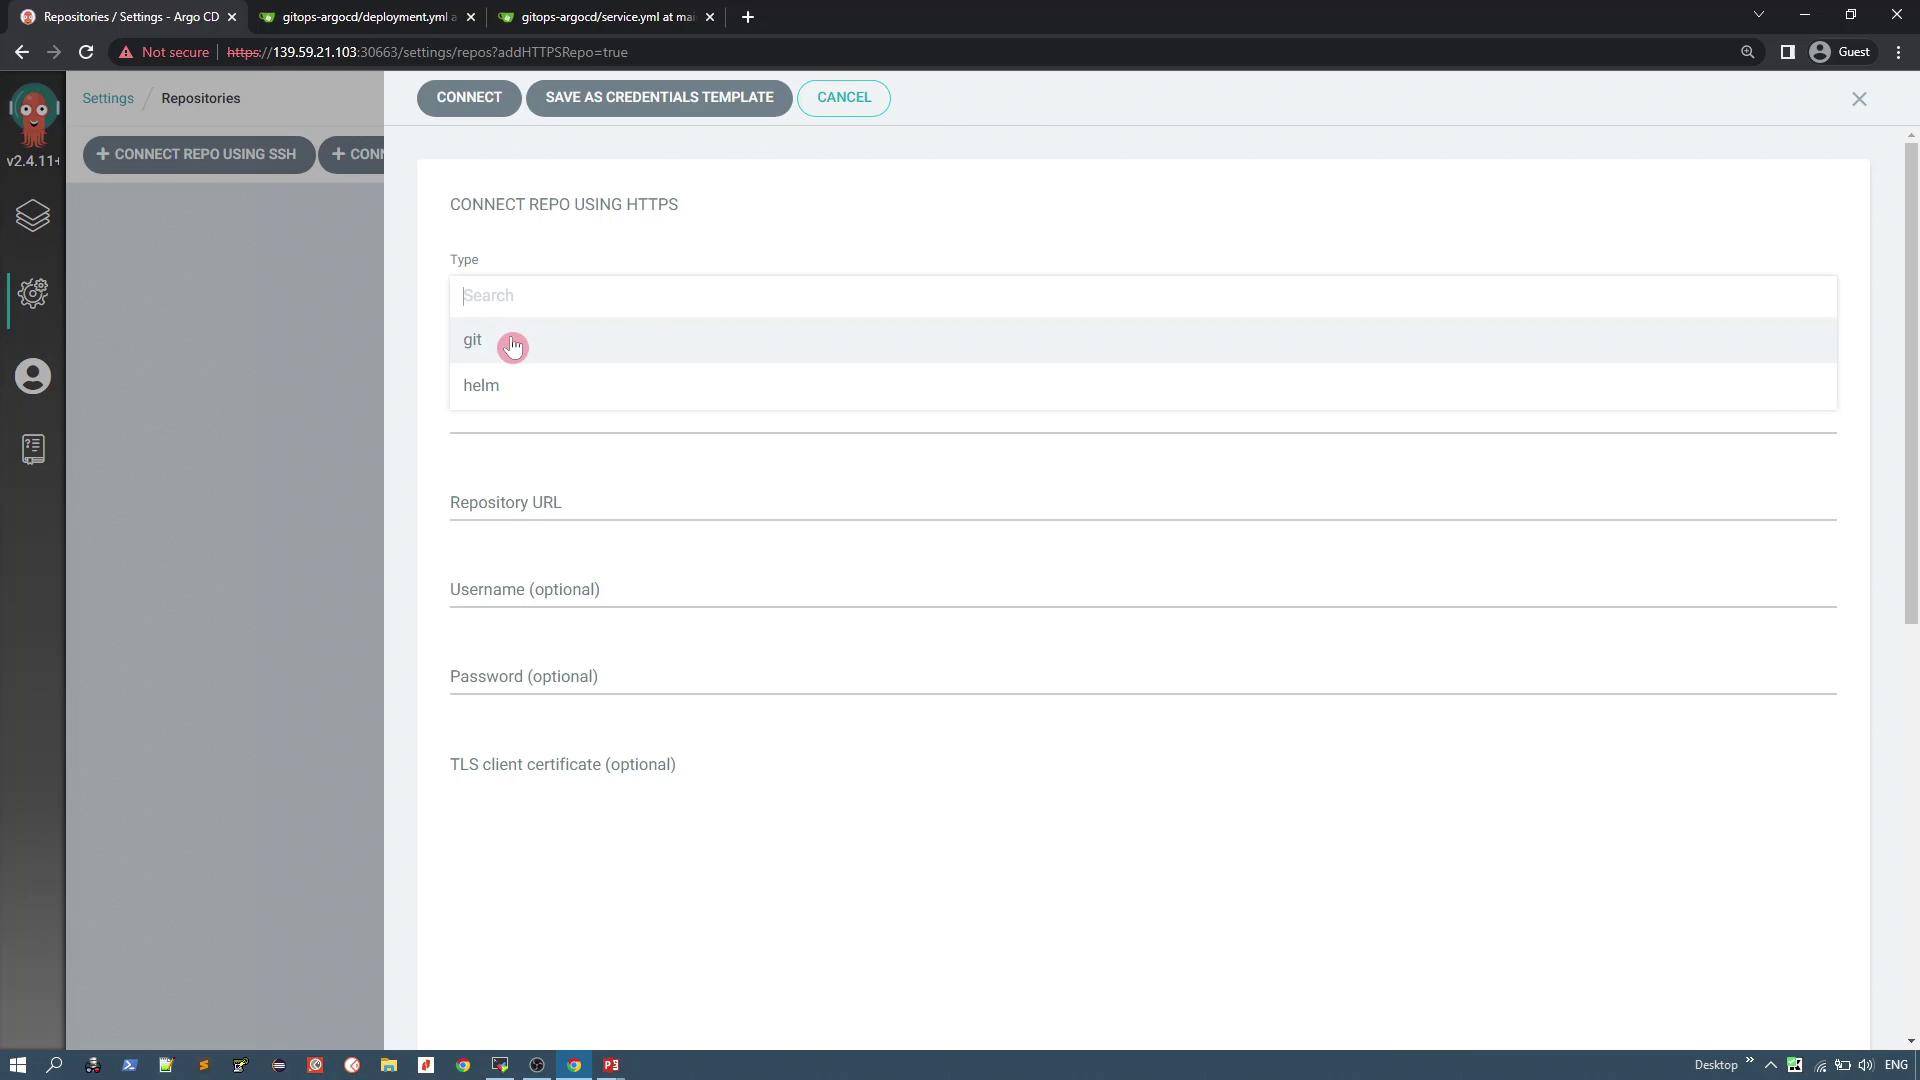
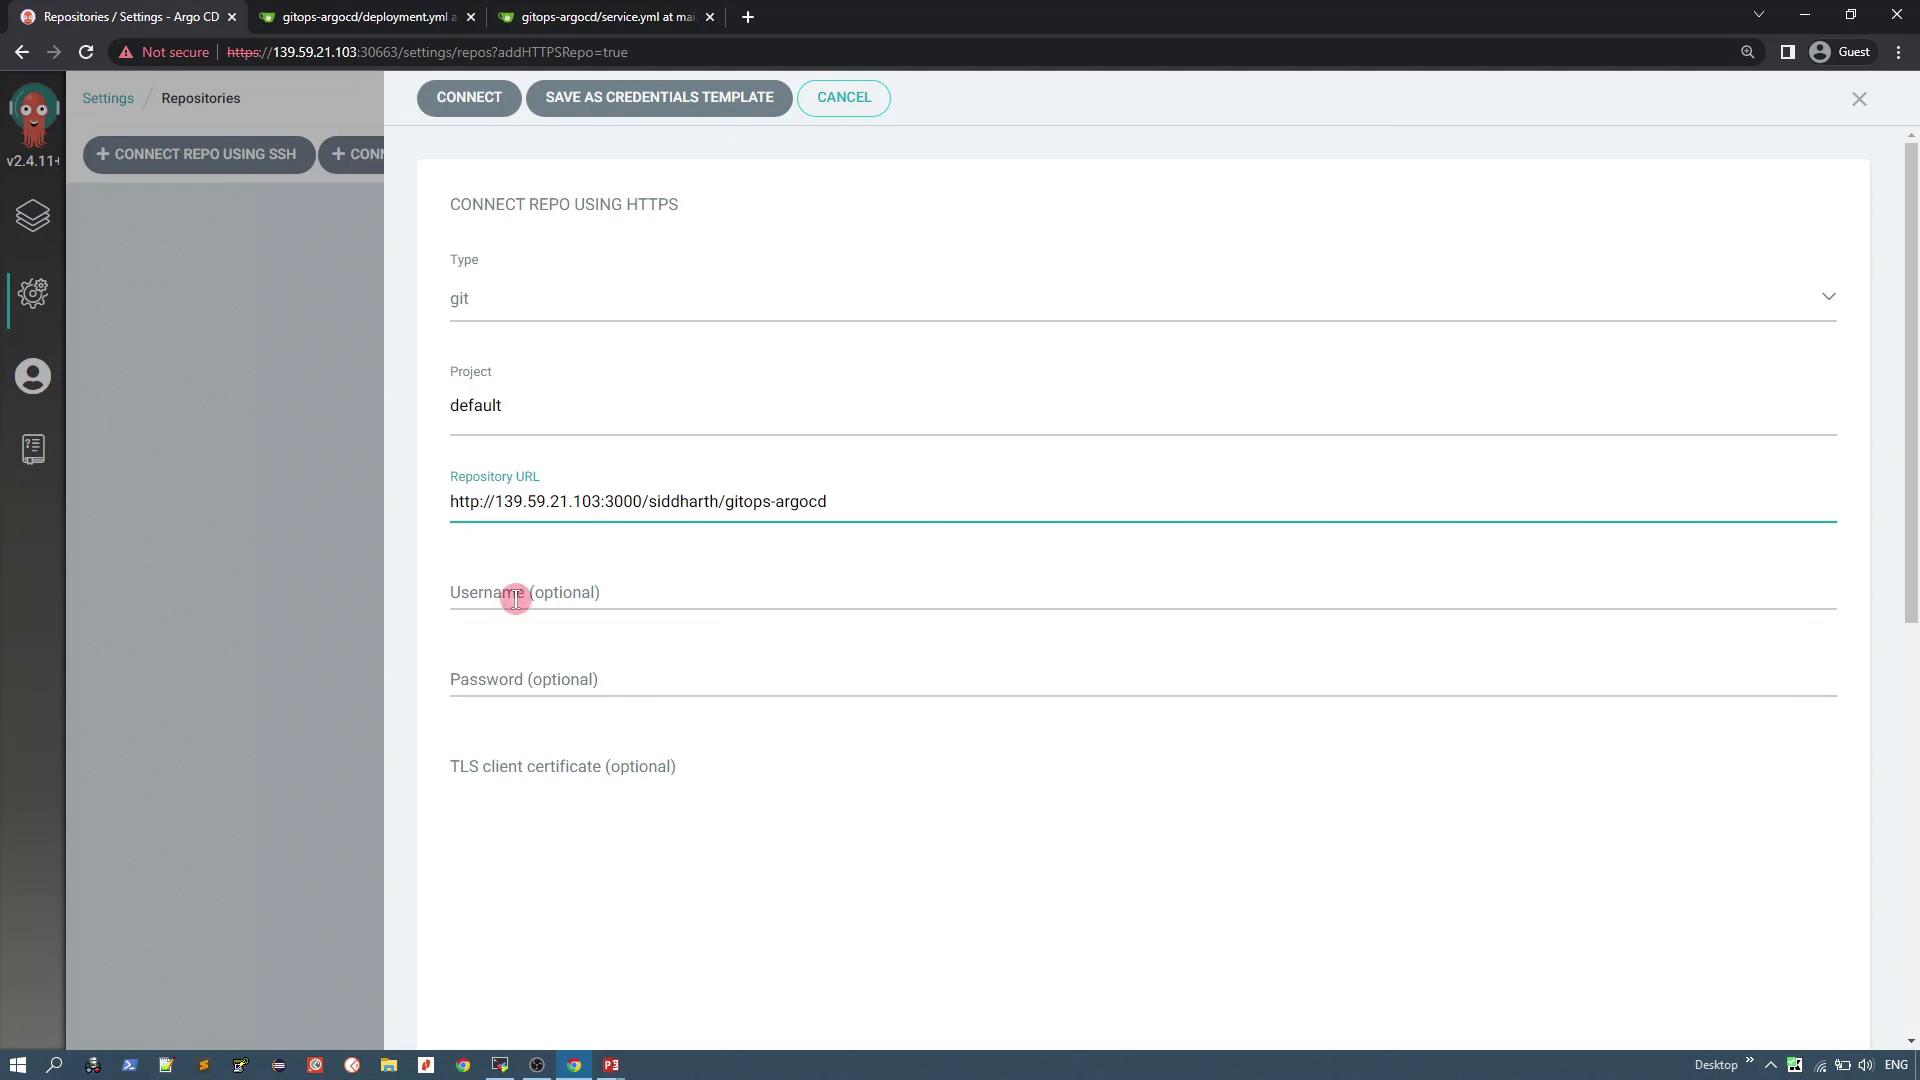
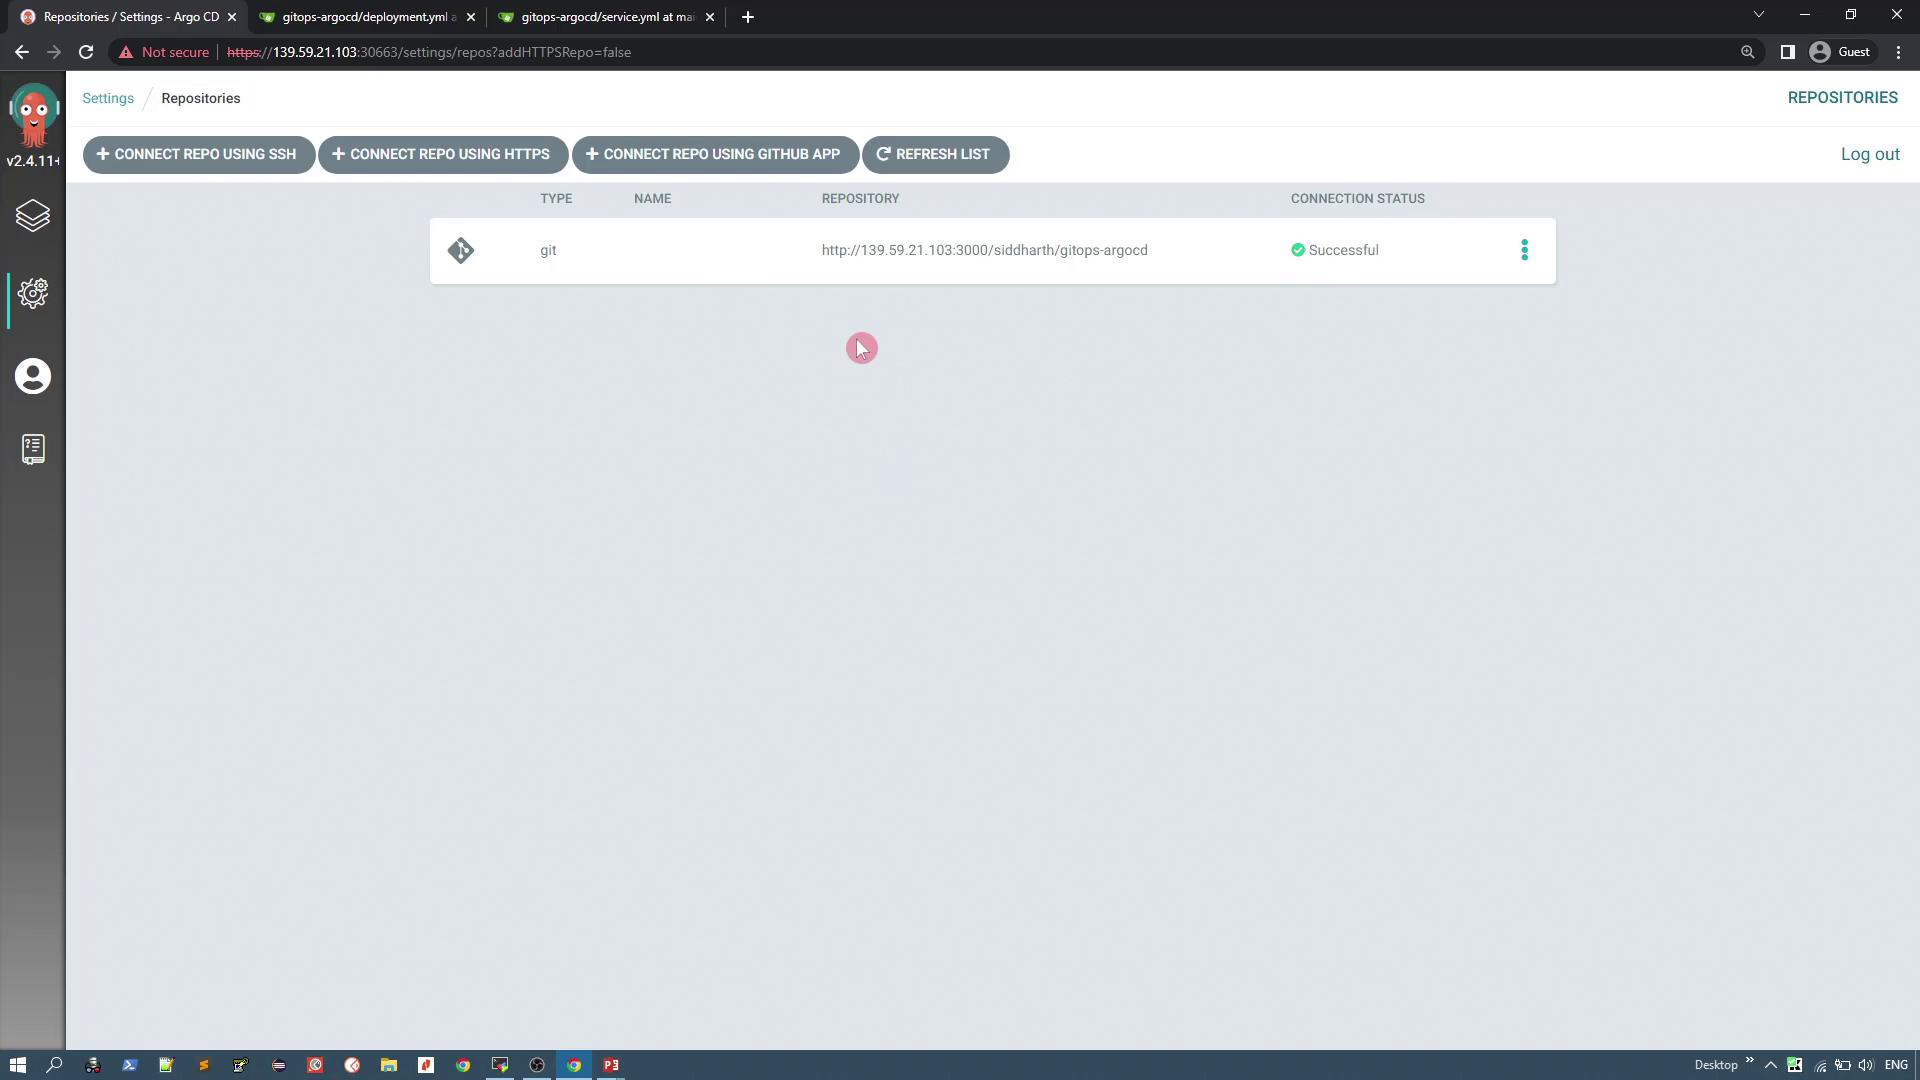
- Under Source Configuration, select the repository you connected.
- Set the Path to the
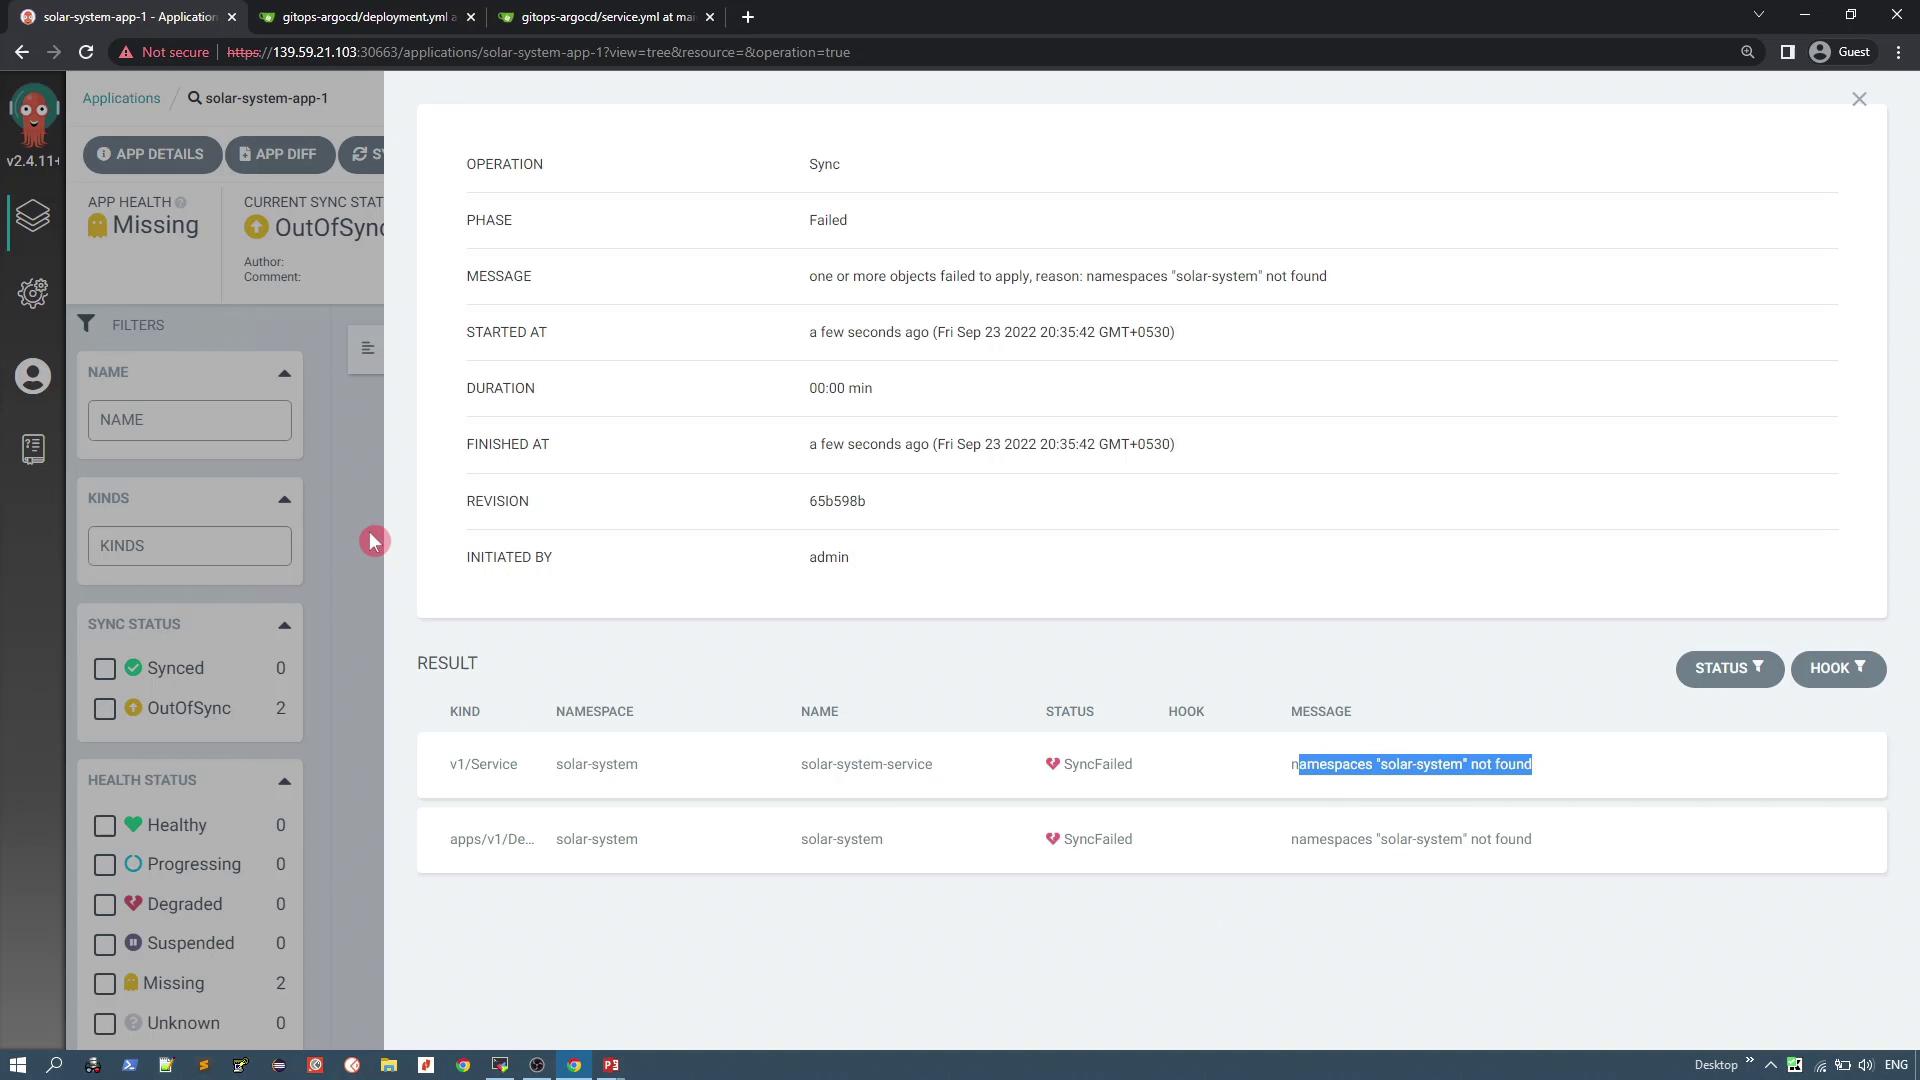
solar systemdirectory within your repository. - Configure the Destination by selecting the Kubernetes cluster where ArgoCD is installed and specifying a namespace (e.g., “solar-system”). You can opt to auto-create the namespace during synchronization if it does not exist.
- Leave additional plugin or directory options at their default values.
- Click Create.

Synchronizing the Application
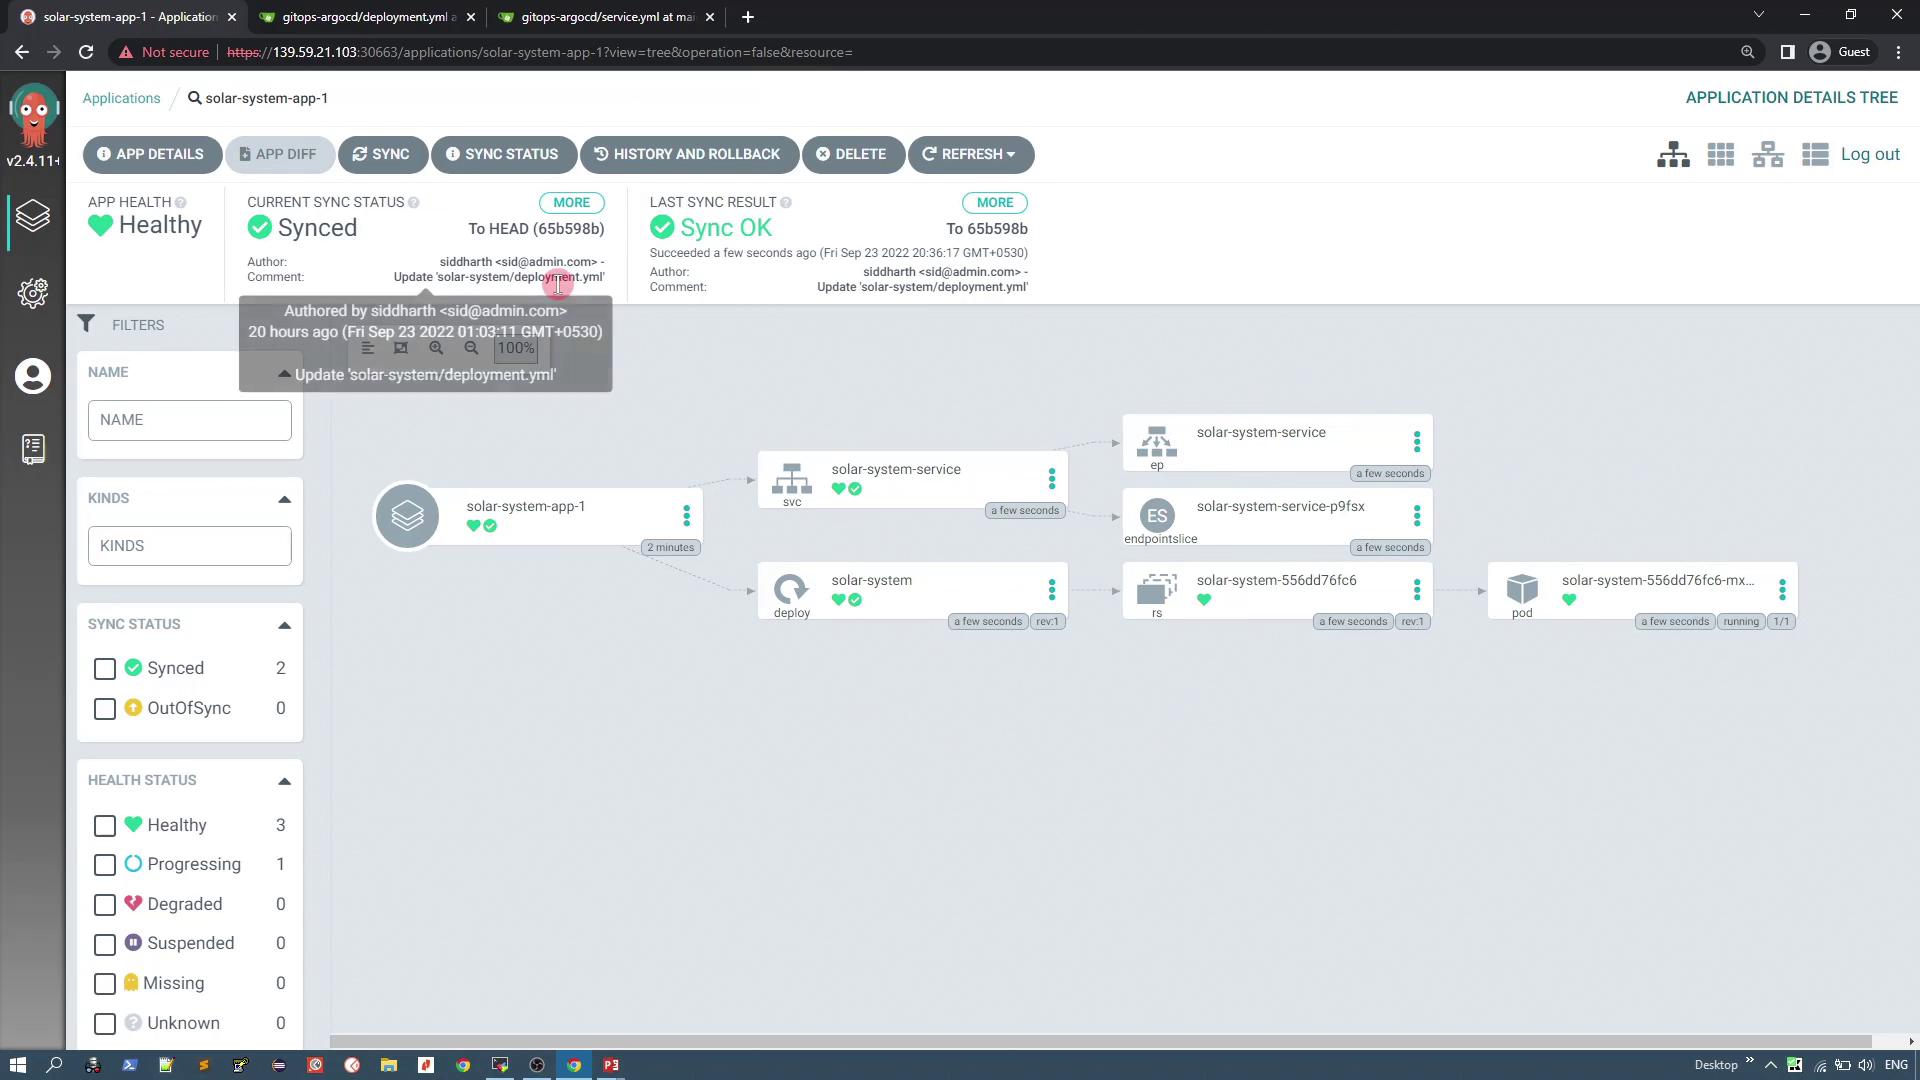
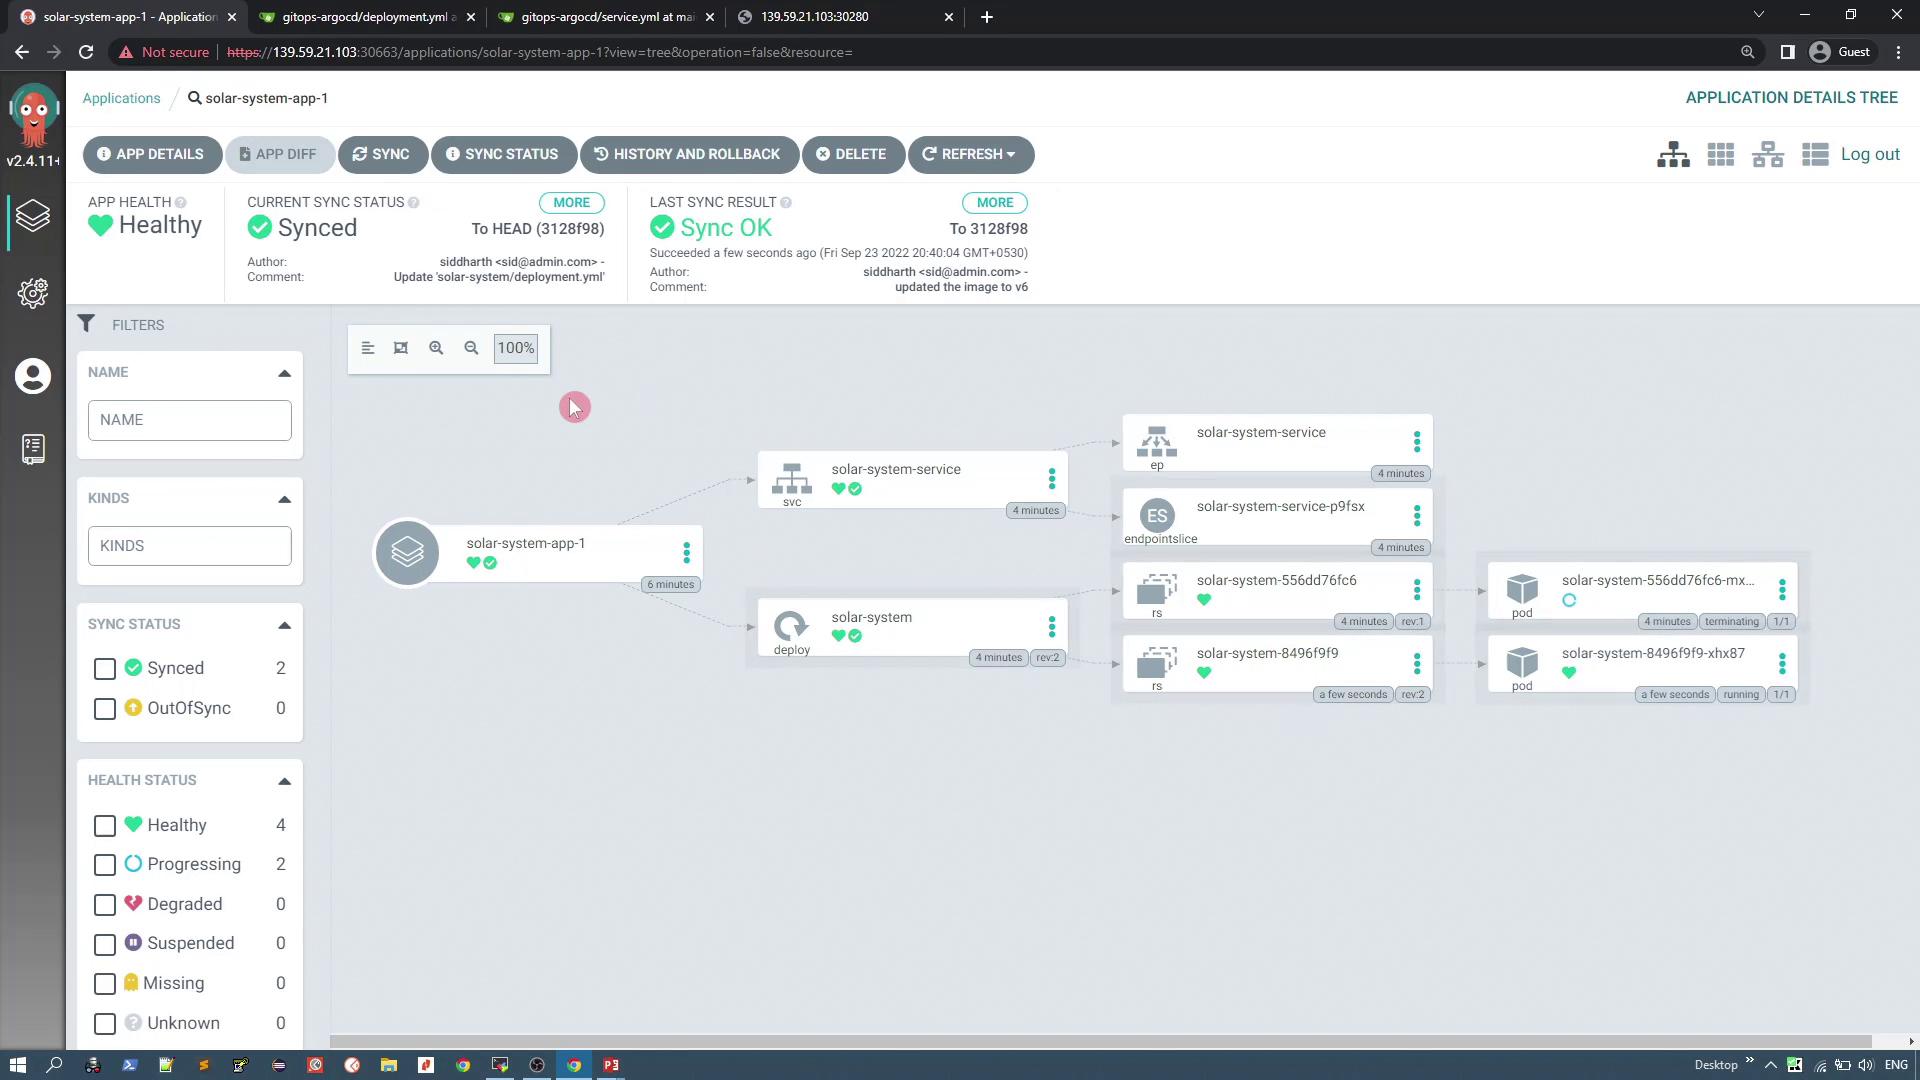
To deploy the application:- Click the Sync button in the ArgoCD UI.
- ArgoCD will detect two Kubernetes resources from your Git repository: the deployment and the service.
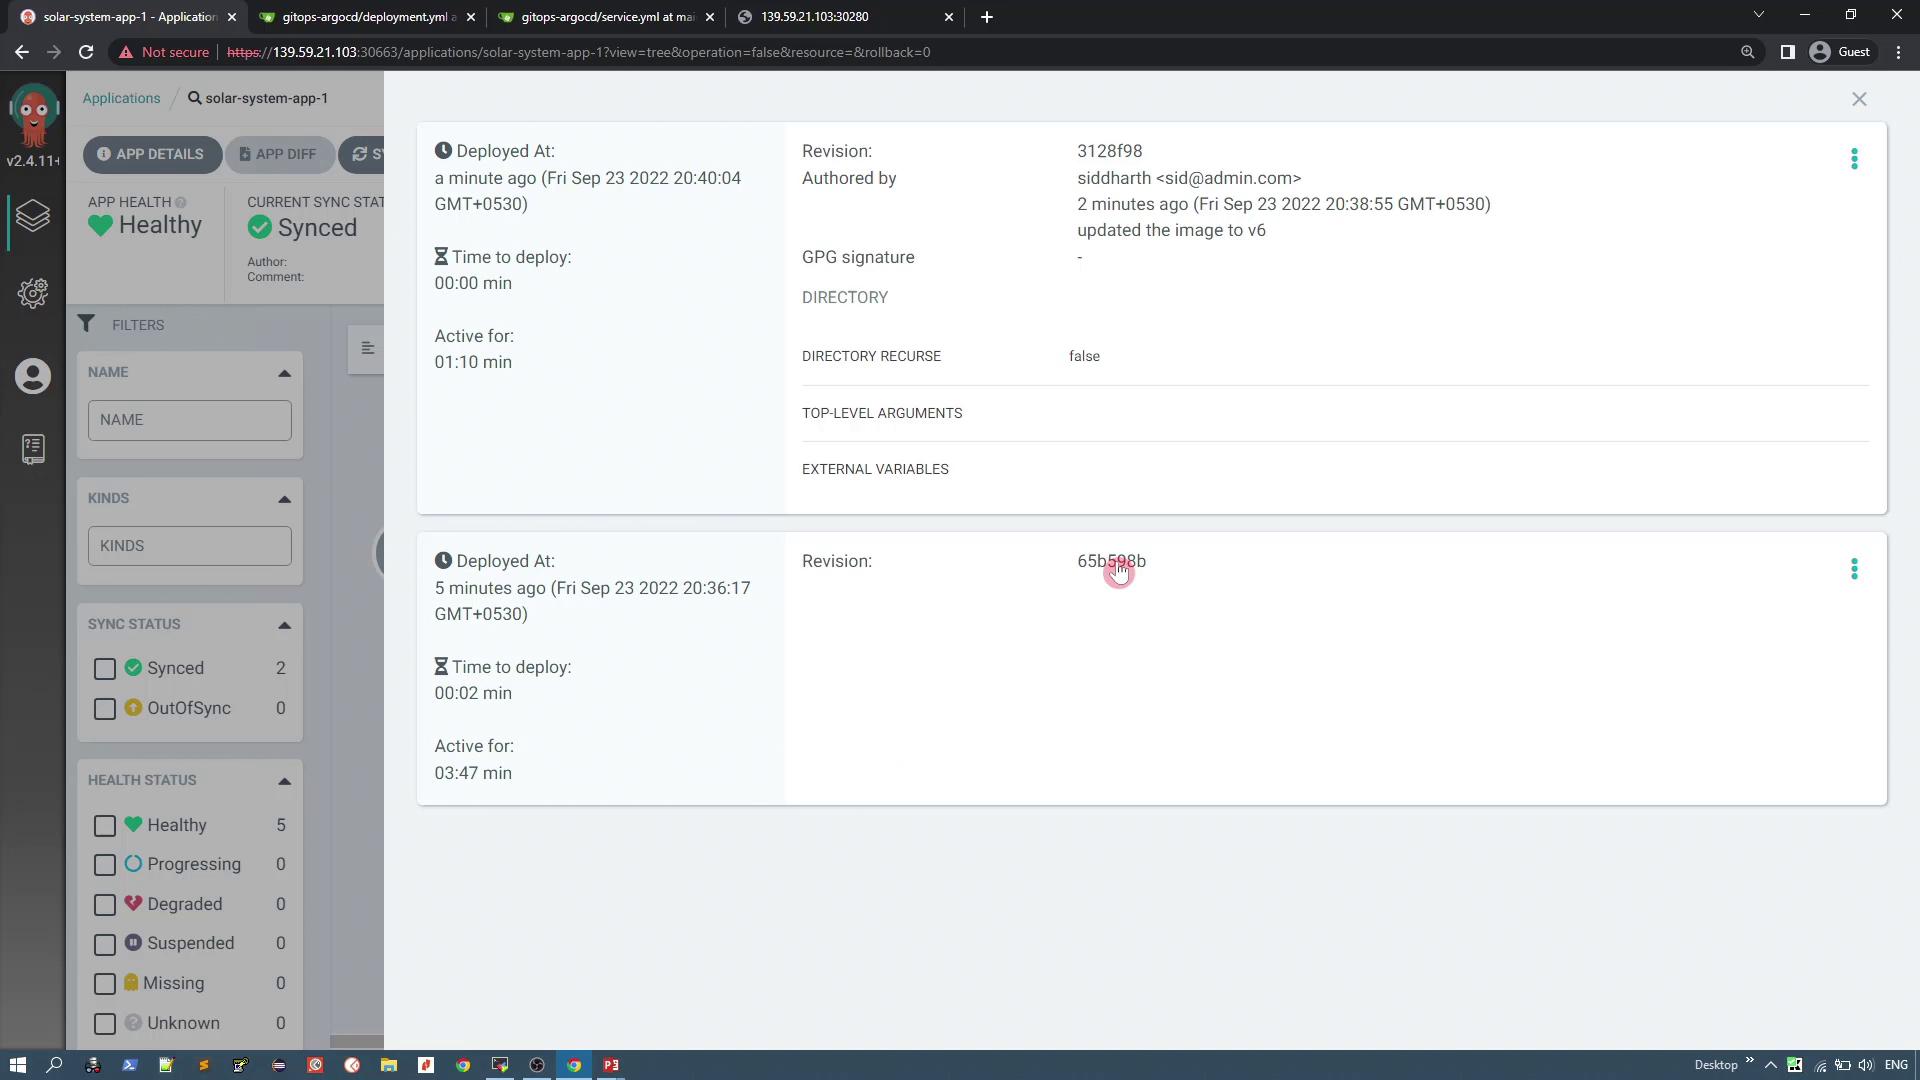
Updating the Application Image
To simulate an update, modify the deployment manifest in your Git repository to change the image version from v3 to v6 (which displays six planets). Edit the deployment manifest as follows: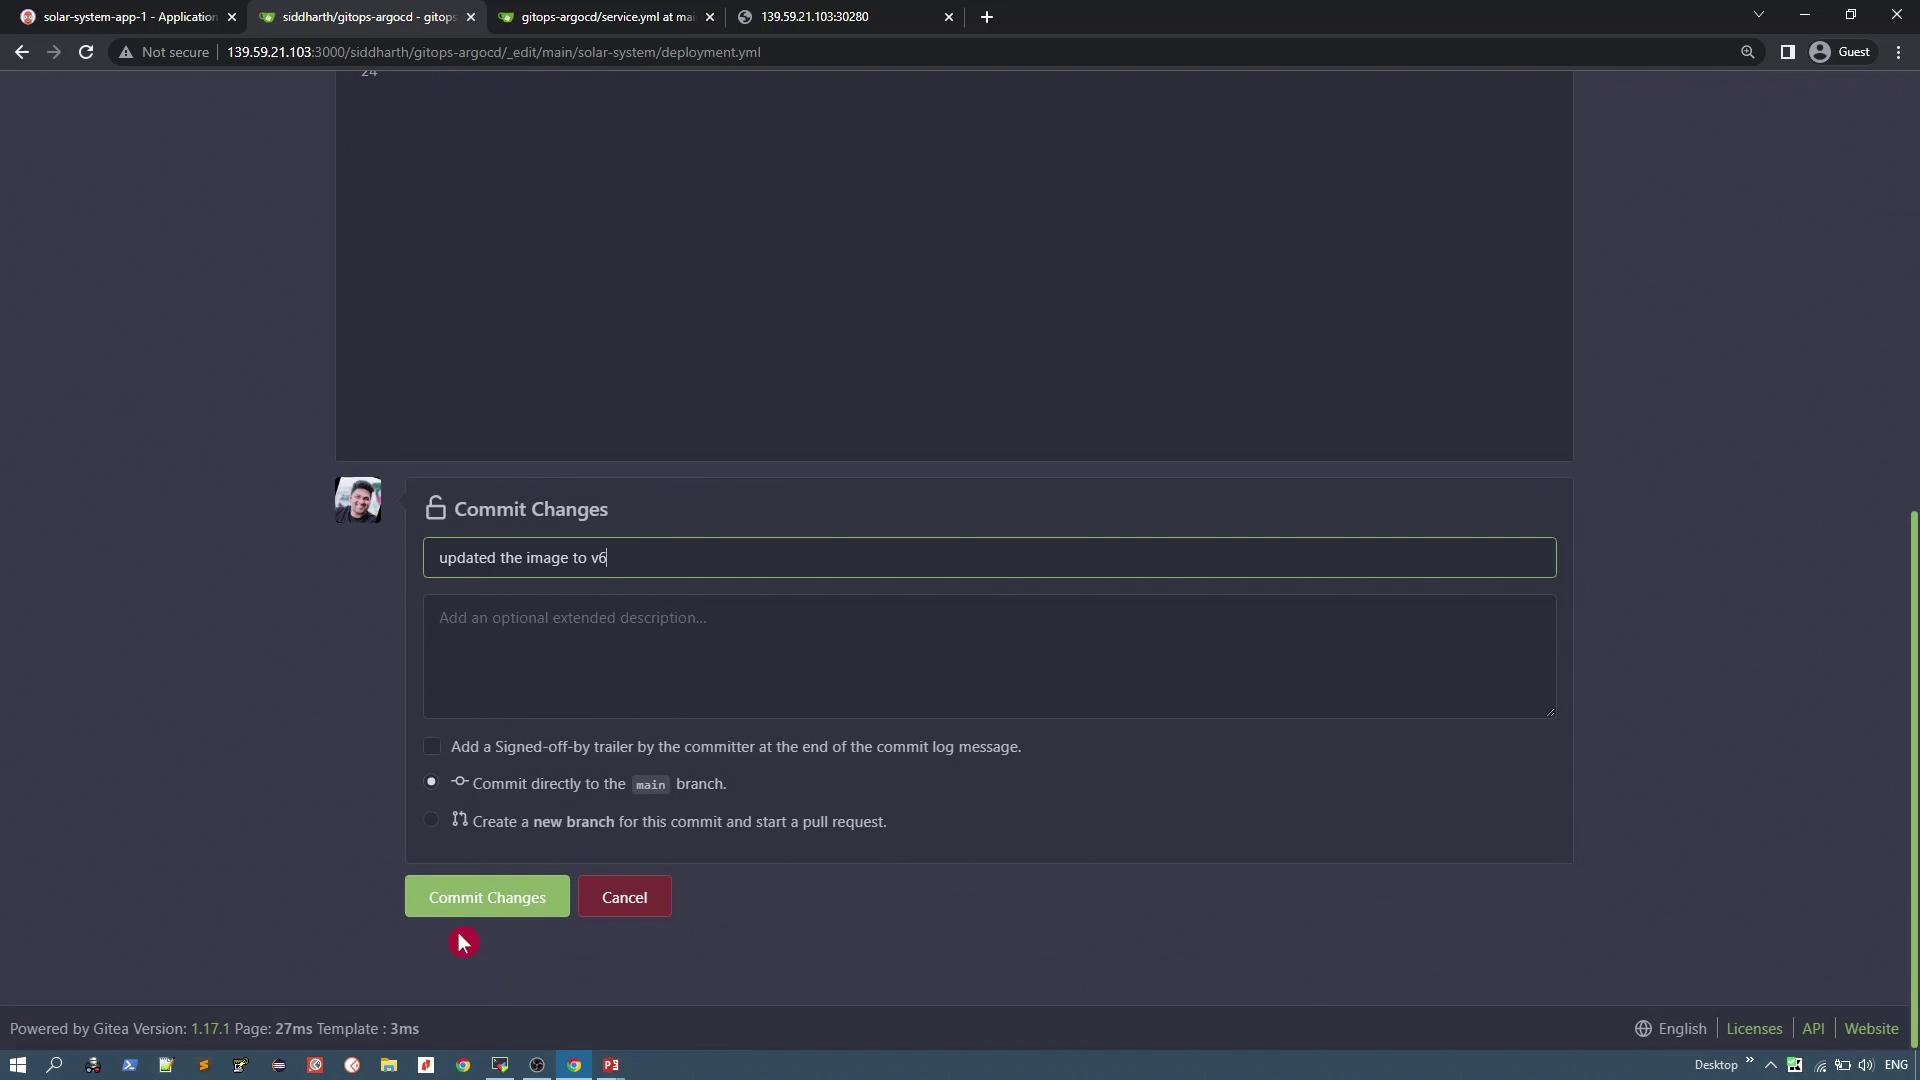
Deleting the Application
To delete the application in ArgoCD:- Delete the application via the ArgoCD UI.
- All the associated Kubernetes resources (deployment, replica set, pod, and service) are automatically removed from the cluster.
- Note that the target namespace (e.g., “solar-system”) remains intact.