> ## Documentation Index
> Fetch the complete documentation index at: https://notes.kodekloud.com/llms.txt
> Use this file to discover all available pages before exploring further.
# DEMO FluxCD Installation
> This guide covers the installation of FluxCD on a Kubernetes cluster using Docker Desktop and Visual Studio Code.
In this guide, you’ll install FluxCD on a single-node Kubernetes cluster running in Docker Desktop (WSL2) using Visual Studio Code. We’ll cover:
* Installing the Flux CLI
* Bootstrapping Flux with GitHub
* Verifying in-cluster components
Ensure you have the following set up:
* Docker Desktop with **Kubernetes** enabled ([Docker Desktop Docs](https://docs.docker.com/desktop/))
* `kubectl` configured
* A GitHub account
* Visual Studio Code (or your preferred editor/terminal)
## 1. Environment Overview
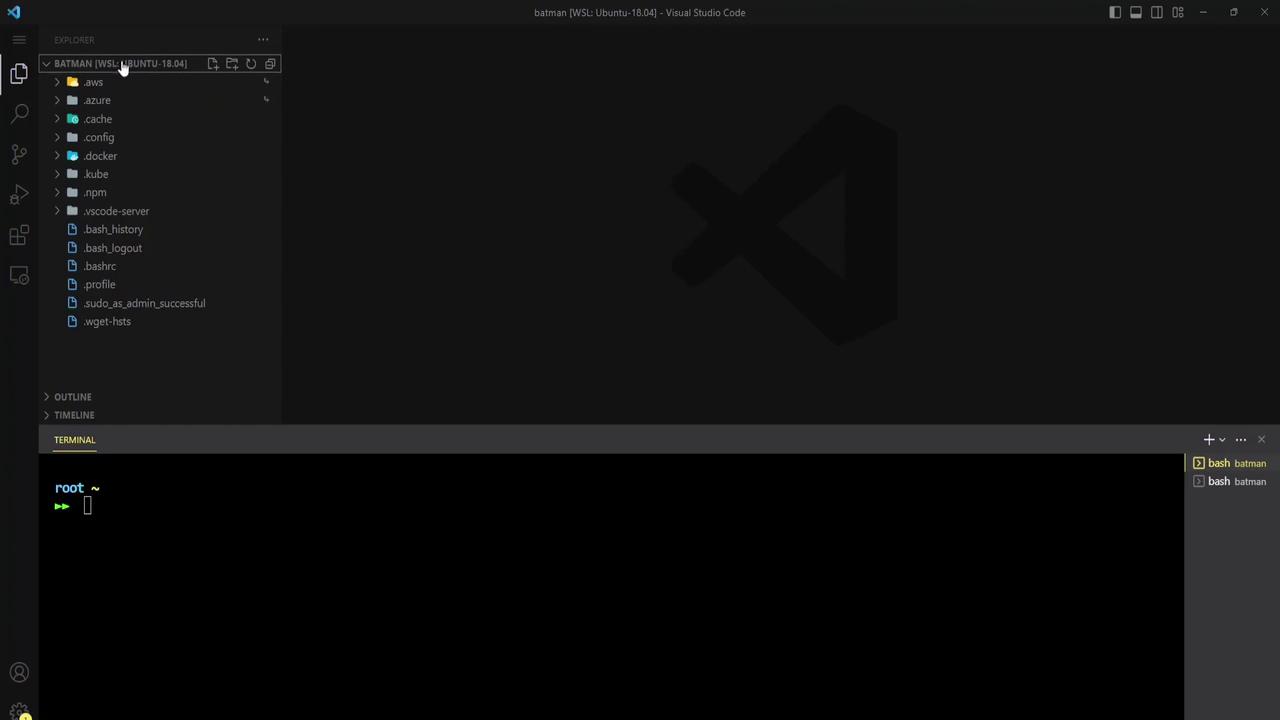
You should see something like this when you open VS Code in WSL2:
## 2. Start a Sample Container
First, launch a test container to ensure Docker is running:
```bash theme={null}
docker run -d -p 80:80 docker/getting-started
```
## 3. Enable Kubernetes in Docker Desktop
Open Docker Desktop settings, navigate to **Kubernetes**, and enable it:
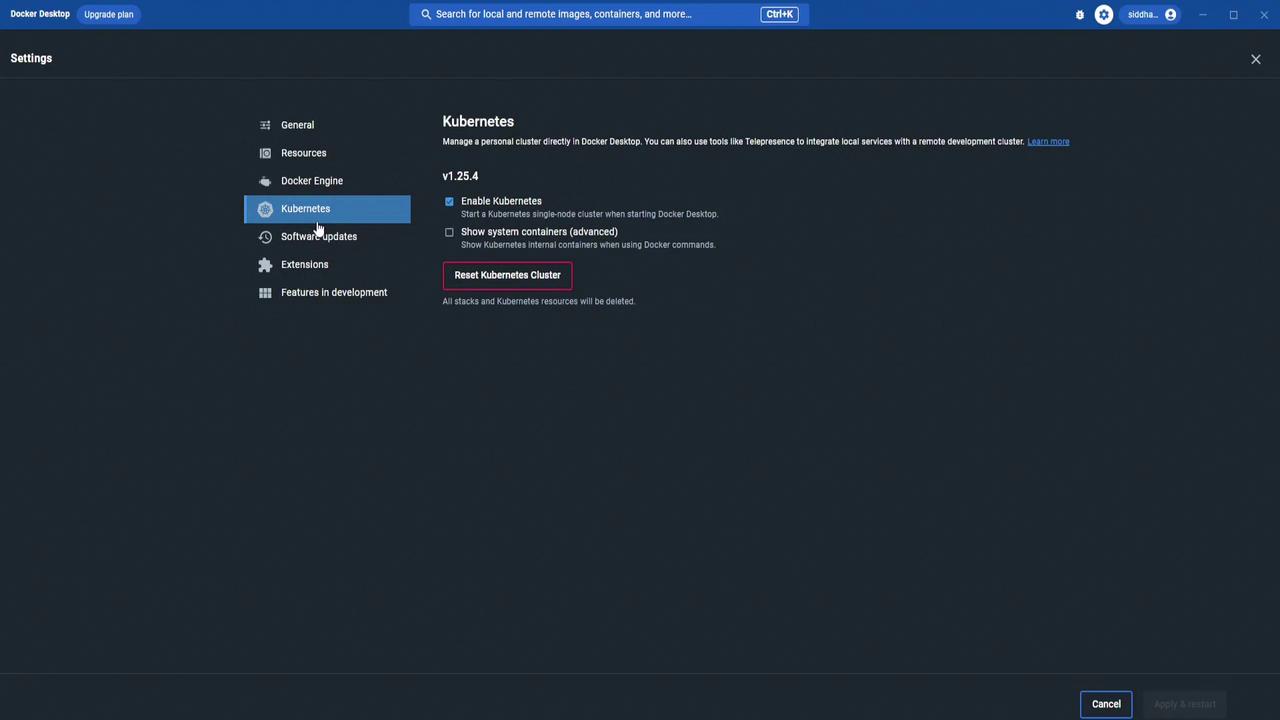
Verify the single-node cluster is Ready:
```bash theme={null}
kubectl get nodes
# NAME STATUS ROLES AGE VERSION
# docker-desktop Ready control-plane 3d22h v1.25.4
```
## 4. Install the Flux CLI
Check if Flux is already installed:
```bash theme={null}
flux --version
# Command 'flux' not found
```
Install using the official script:
```bash theme={null}
curl -s https://fluxcd.io/install.sh | sudo bash
```
Expected output:
```text theme={null}
[INFO] Downloading metadata https://api.github.com/repos/fluxcd/flux2/releases/latest
[INFO] Using 0.41.2 as release
[INFO] Installing flux to /usr/local/bin/flux
```
Confirm the CLI is available:
```bash theme={null}
flux --version
# flux version 0.41.2
```
No server components exist yet:
```bash theme={null}
flux version
# ✗ no deployments found in flux-system namespace
```
List current namespaces:
```bash theme={null}
kubectl get namespace
# NAME STATUS AGE
# default Active 3d22h
# kube-node-lease Active 3d22h
# kube-public Active 3d22h
# kube-system Active 3d22h
```
## 5. Bootstrap Flux on Kubernetes
Flux uses `flux bootstrap` to install controllers and generate GitOps manifests. The installation docs list several Git providers:
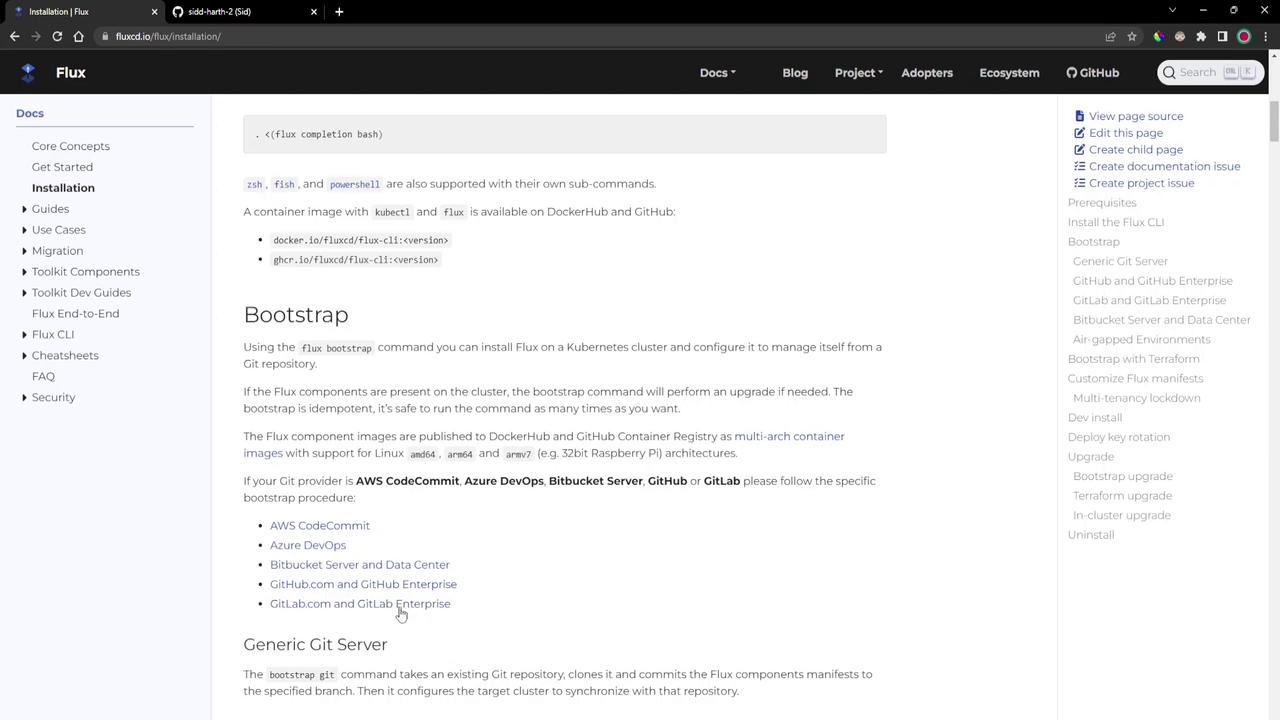
In this demo, we’ll use GitHub.
### 5.1 Create a GitHub Personal Access Token
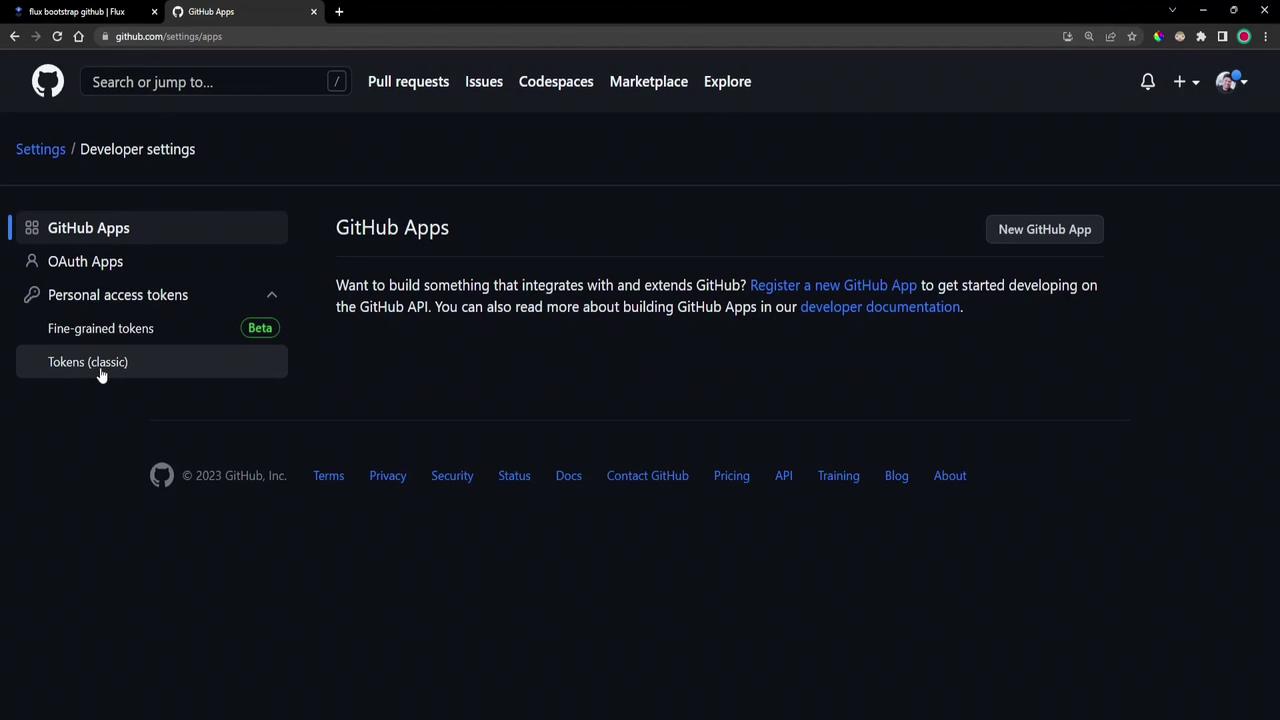
1. Go to **Developer settings** → **Personal access tokens** → **Tokens (classic)**.
2. Click **Generate new token**, select **repo** scope, and create it:
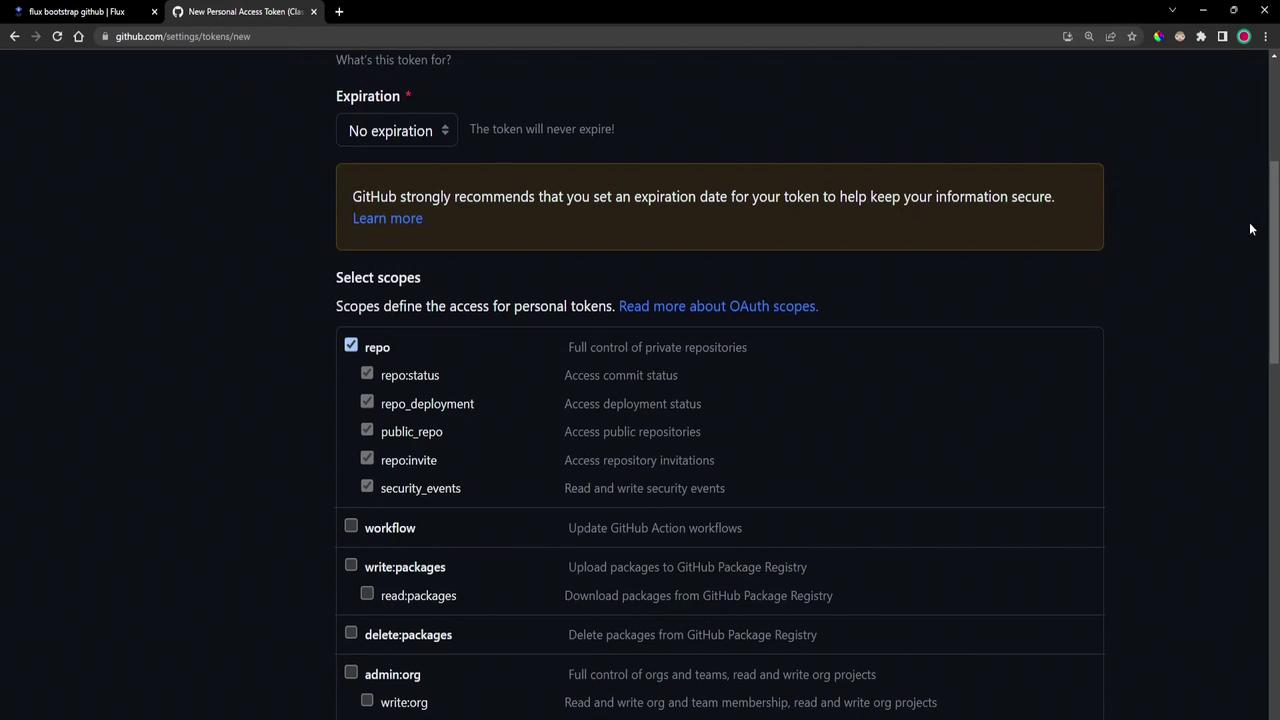
Store your GitHub token safely. Never commit it to a public repo or share it in plaintext.
### 5.2 Run `flux bootstrap`
Export the token and bootstrap Flux to your GitHub repo:
```bash theme={null}
export GITHUB_TOKEN=
flux bootstrap github \
--owner=sidd-harth-2 \
--repository=block-buster \
--path=flux-clusters/dev-cluster \
--personal=true \
--private=false
```
What happens during bootstrap:
* Flux connects to GitHub and creates (or clones) the repo
* Component manifests install into the `flux-system` namespace
* A deploy key and Kubernetes `Secret` are created
* Sync manifests are committed to GitHub
* Flux controllers reconcile their configuration
On success, you’ll see:
```text theme={null}
✔ cloned repository
✔ generating component manifests
✔ installing components in "flux-system" namespace
✔ reconciled sync configuration
✔ confirming components are healthy
all components are healthy
```
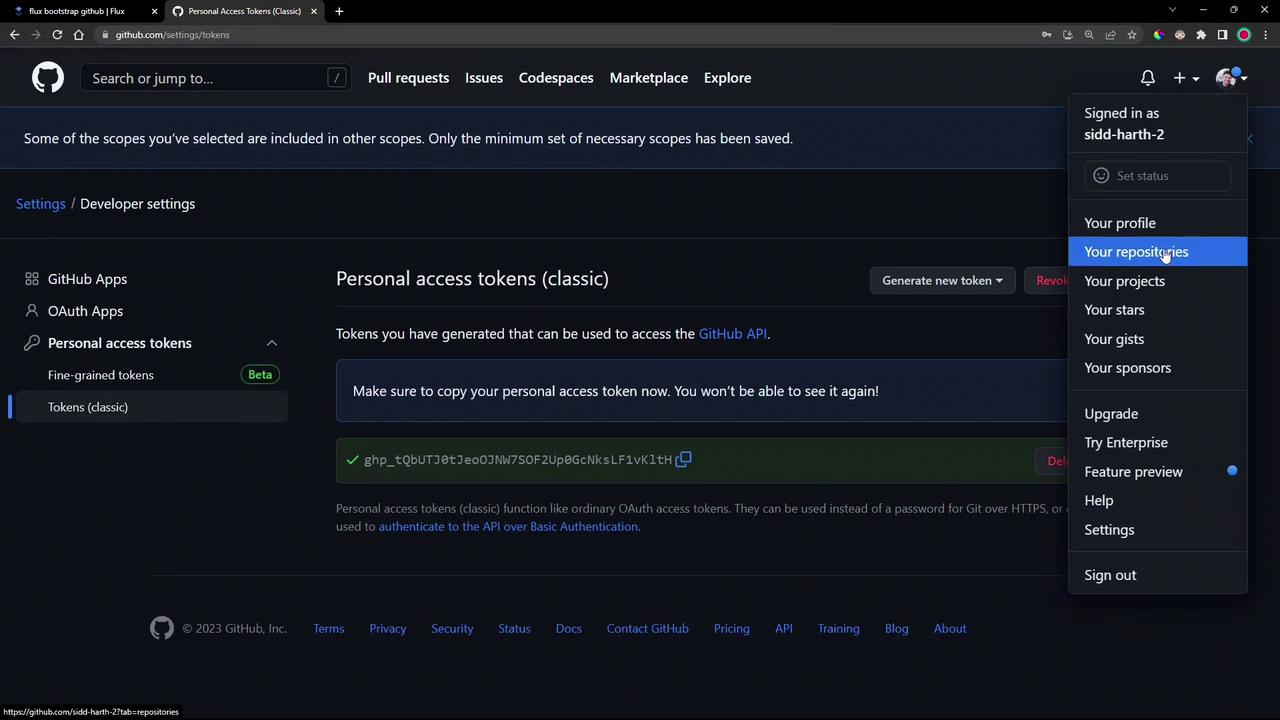
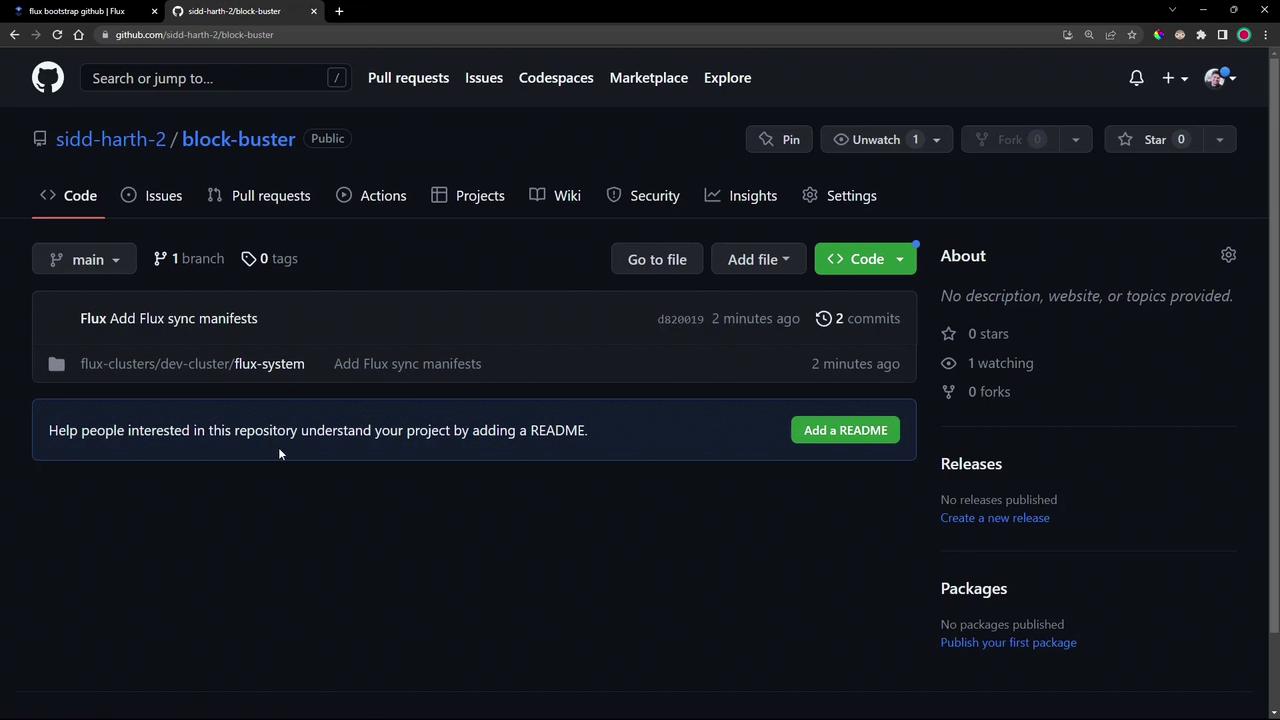
Check your GitHub account for the new repository and the token list:
## 6. Clone and Inspect the Bootstrap Repository
View the GitOps manifests Flux created:
```bash theme={null}
git clone https://github.com/sidd-harth-2/block-buster.git
cd block-buster
```
Inside `flux-clusters/dev-cluster/flux-system`, the `gotk-components.yaml` contains definitions for the `flux-system` namespace, CRDs, and controller deployments:
```yaml theme={null}
apiVersion: v1
kind: Namespace
metadata:
name: flux-system
labels:
app.kubernetes.io/part-of: flux
app.kubernetes.io/version: v0.41.2
---
apiVersion: apiextensions.k8s.io/v1
kind: CustomResourceDefinition
metadata:
name: alerts.notification.toolkit.fluxcd.io
...
```
## 7. Verify In-Cluster Components
Ensure everything is running properly:
```bash theme={null}
kubectl get namespace flux-system
kubectl -n flux-system get all
# Lists pods, deployments, services for source-, helm-, kustomize-, notification-controllers
kubectl -n flux-system get secret flux-system
# Contains deploy key data
kubectl get crds | grep -i flux
# alerts.notification.toolkit.fluxcd.io 2023-04-05T19:16:44Z
# gitrepositories.source.toolkit.fluxcd.io 2023-04-05T19:16:44Z
# ...
```
Finally, check the versions of the CLI and controllers:
```bash theme={null}
flux version
# flux version 0.41.2
# helm-controller: v0.31.2
# kustomize-controller: v0.35.1
# notification-controller: v0.33.0
# source-controller: v0.36.1
```
| Controller | Version |
| ----------------------- | ------- |
| Flux CLI | 0.41.2 |
| Helm Controller | v0.31.2 |
| Kustomize Controller | v0.35.1 |
| Notification Controller | v0.33.0 |
| Source Controller | v0.36.1 |
## Next Steps
You now have Flux installed and bootstrapped with GitHub. In a future post, we’ll explore how to configure and manage GitOps sync manifests for your applications.
***
## Links and References
* [Flux CLI Installation](https://fluxcd.io/docs/installation/#install-the-flux-cli)
* [Flux Bootstrap GitHub](https://fluxcd.io/docs/installation/#bootstrap)
* [Kubernetes Basics](https://kubernetes.io/docs/concepts/overview/what-is-kubernetes/)
* [Docker Desktop Documentation](https://docs.docker.com/desktop/)