> ## Documentation Index
> Fetch the complete documentation index at: https://notes.kodekloud.com/llms.txt
> Use this file to discover all available pages before exploring further.
# DEMO Initialize DockerHub
> This article provides a walkthrough to connect Kubernetes deployment to Docker Hub and automate updates using Flux GitOps.
In this walkthrough, you’ll connect your Kubernetes deployment to Docker Hub and automate updates via Flux GitOps. We’ll cover:
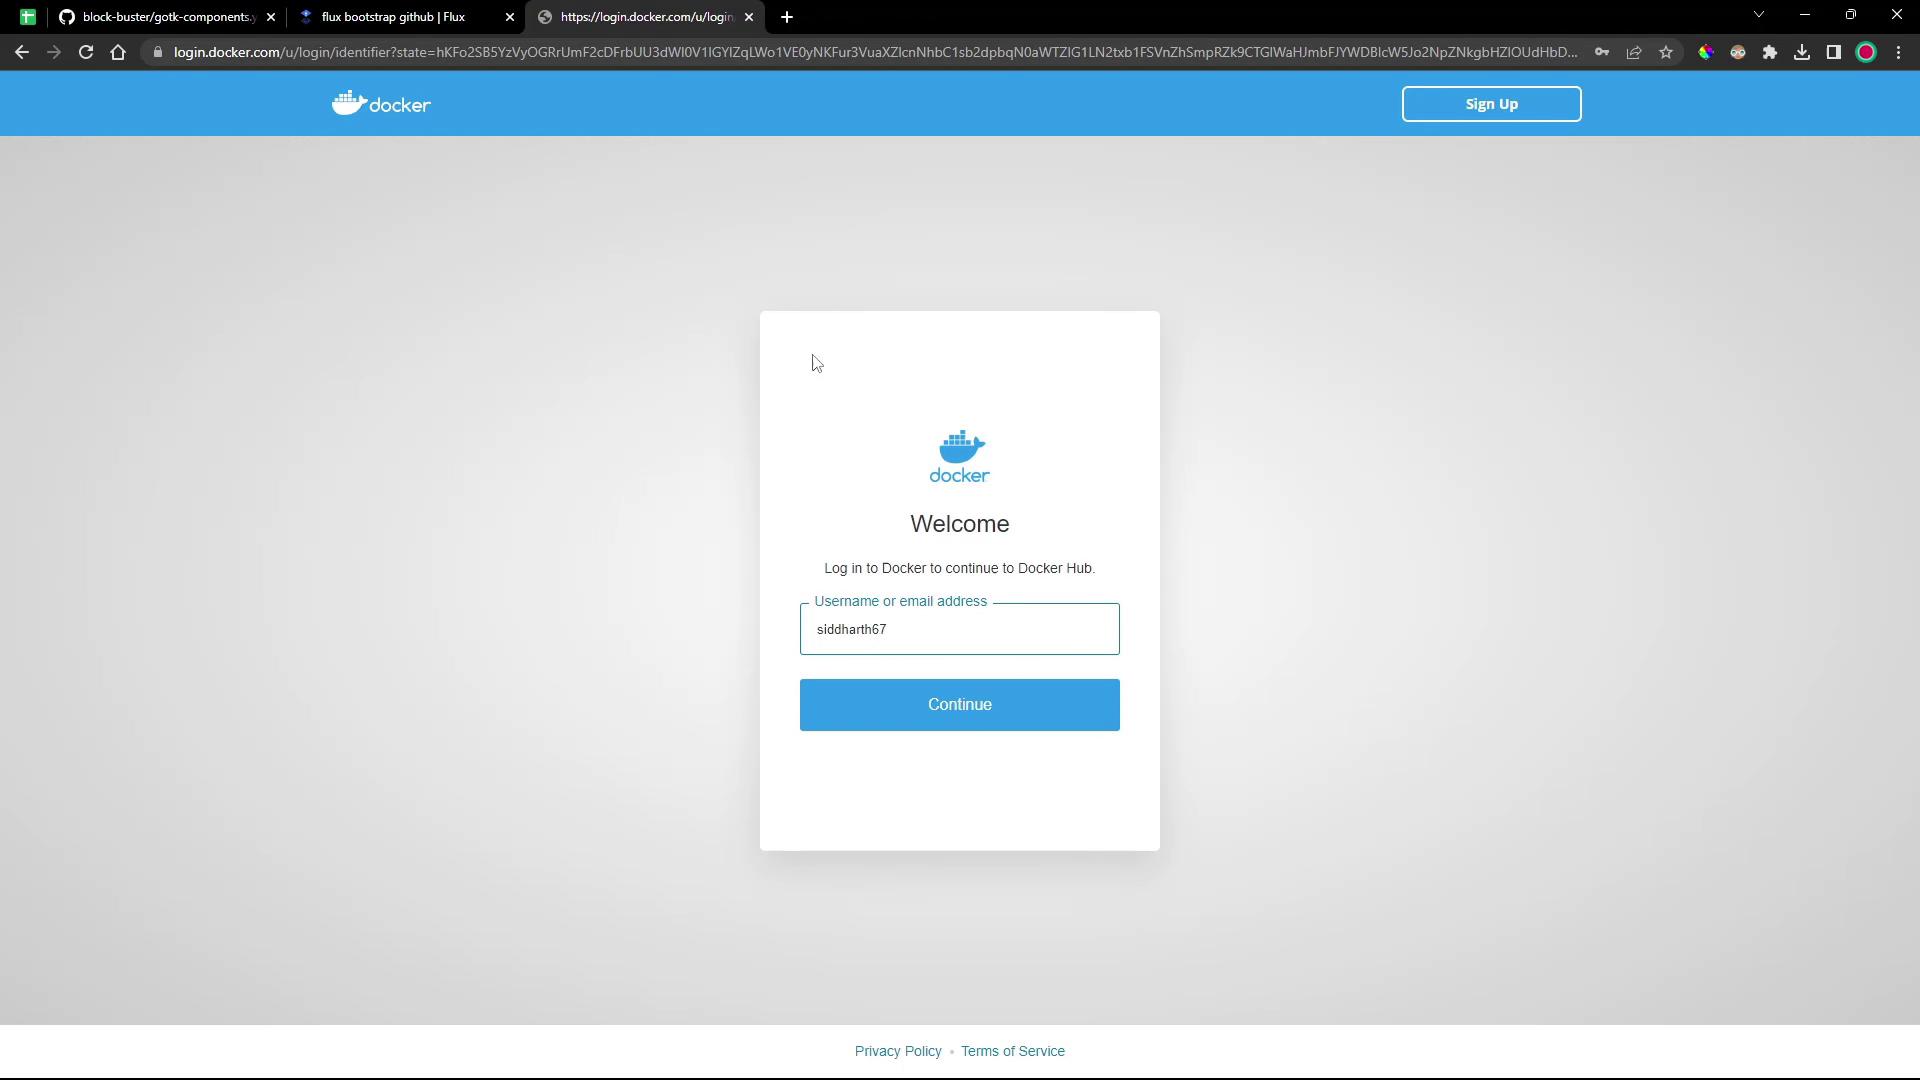
1. Logging in to Docker Hub
2. Pulling an existing image
3. Retagging and pushing to your account
4. Updating the Kubernetes Deployment manifest
5. Deploying via Flux
6. Verifying the live application
## Prerequisites
| Requirement | Purpose |
| --------------------------------------- | ------------------------------------ |
| Docker Hub account (free tier) | Host and manage container images |
| Docker CLI installed | Build, pull, push, and manage images |
| Clone of the `bb-app-source` repository | Source manifests for the application |
***
## 1. Log in to Docker Hub
First, clear any existing sessions and then authenticate:
```bash theme={null}
docker logout
docker login
# Enter your Docker ID and password or access token
# Username:
# Password:
# Login Succeeded
```
For security, use a Docker Hub [access token](https://docs.docker.com/docker-hub/access-tokens/) instead of your account password.
***
## 2. Pull the Base Image
Fetch the pre-built Block Buster image from the original repository:
```bash theme={null}
docker pull siddharth67/block-buster-dev:7.8.0
# 7.8.0: Pulling from siddharth67/block-buster-dev
# Digest: sha256:cf54e2a9efad47898d8ae12a3956b2ce7dbc69f239a22804ee78f691
# Status: Image is up to date for docker.io/siddharth67/block-buster-dev:7.8.0
```
***
## 3. Retag and Push to Your Docker Hub
Tag the image under your own namespace and push:
```bash theme={null}
docker tag \
siddharth67/block-buster-dev:7.8.0 \
/bb-app-flex-demo:7.8.0
docker push /bb-app-flex-demo:7.8.0
# Pushing layers to /bb-app-flex-demo
# latest: digest: sha256:cfc54e2a396562b2ce7dbc69f239a22804e78f691 size: 3662
```
Replace `` consistently. Never commit credentials or tokens into Git repositories.
After a successful push, confirm that the `bb-app-flex-demo` repository with tag `7.8.0` appears in your Docker Hub account.
***
## 4. Update the Kubernetes Deployment Manifest
Switch to the `8-demo` branch and edit the deployment to reference your image:
```bash theme={null}
cd ../bb-app-source/
git checkout 8-demo
```
Open `deployment.yaml` and update the container image:
```yaml theme={null}
apiVersion: apps/v1
kind: Deployment
metadata:
name: blockbuster
namespace: dev
spec:
replicas: 1
selector:
matchLabels:
app: blockbuster
template:
metadata:
labels:
app: blockbuster
spec:
containers:
- name: app
image: /bb-app-flex-demo:7.8.0
imagePullPolicy: Always
resources:
requests:
memory: "10Mi"
cpu: "100m"
```
Commit and push your change:
```bash theme={null}
git add deployment.yaml
git commit -m "chore: update image to /bb-app-flex-demo:7.8.0"
git push origin 8-demo
```
***
## 5. Deploy with Flux
In your Flux cluster repository, create a GitRepository source and Kustomization:
```bash theme={null}
cd ../block-buster/flux-clusters/dev-cluster
# Define the Git source tracking the 8-demo branch
flux create source git bb-app-source \
--url https://github.com/sidd-harth-2/bb-app-source \
--branch 8-demo \
--interval 1m \
--export > bb-app-source.yaml
# Create a Kustomization to apply manifests from the source
flux create kustomization bb-app-kustomize \
--source GitRepository/bb-app-source \
--path ./manifests \
--prune true \
--interval 1m \
--target-namespace dev \
--export > bb-app-kustomize.yaml
# Apply the Flux resources
kubectl apply -f bb-app-source.yaml
kubectl apply -f bb-app-kustomize.yaml
```
Trigger an immediate reconciliation and verify:
```bash theme={null}
flux reconcile source git flux-system
flux reconcile kustomization flux-system
kubectl get ns
# NAME STATUS AGE
# dev Active 1m
kubectl -n dev get all
# Confirm the blockbuster Deployment, Service, Pod, etc.
```
***
## 6. Verify the Application
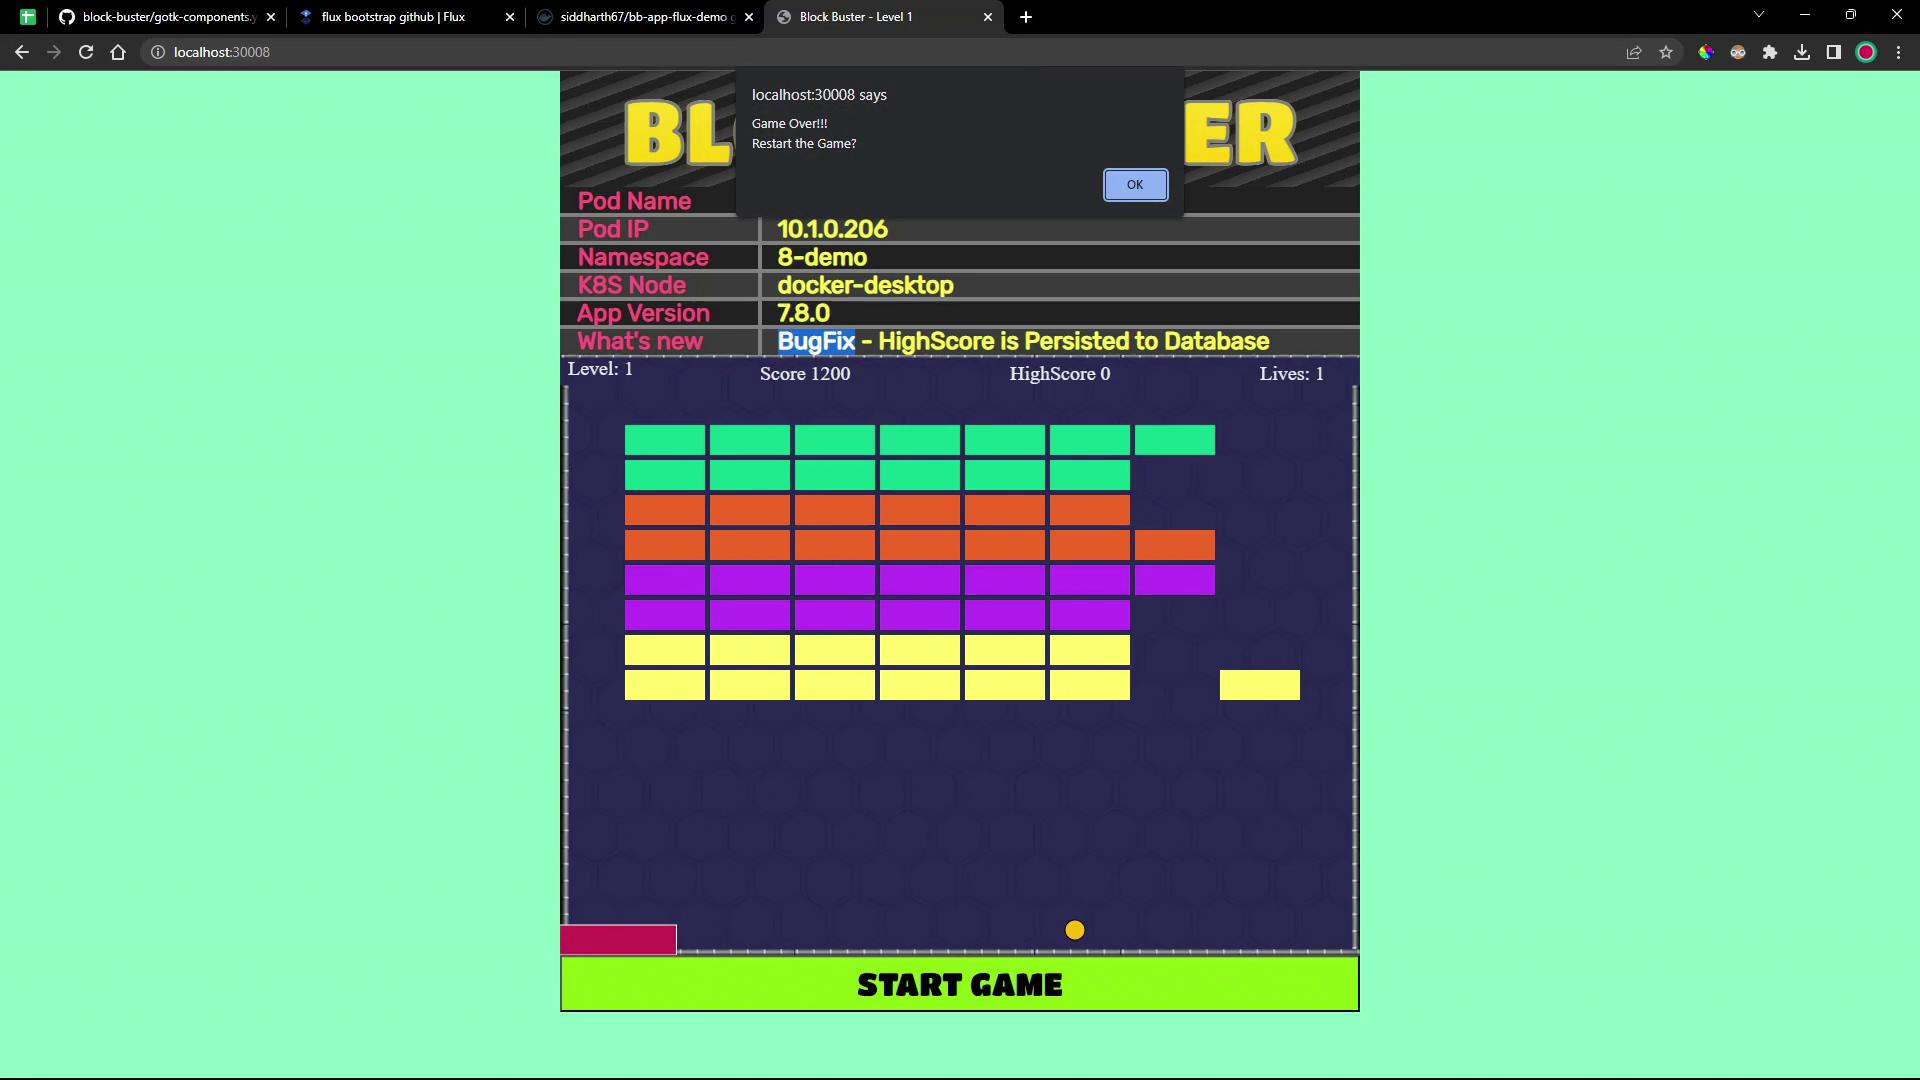
Point your browser to the NodePort (e.g., `localhost:30008`) and confirm the high score persistence in version 7.8.0:
***
You’ve now integrated Docker Hub with Kubernetes and automated your deployment using Flux GitOps. Next up: creating a `FluxRepository` to track image updates and automate version bumps.
## Links and References
* [Docker Hub Documentation](https://docs.docker.com/)
* [Flux GitOps](https://fluxcd.io/)
* [Kubernetes Basics](https://kubernetes.io/docs/concepts/overview/what-is-kubernetes/)