> ## Documentation Index
> Fetch the complete documentation index at: https://notes.kodekloud.com/llms.txt
> Use this file to discover all available pages before exploring further.
# Automate service deployment of login microservice via codepipeline
> Automates deploying a login microservice to AWS ECS via CodePipeline, creating imagedefinitions.json and adding an ECS Deploy stage for continuous deployment
Welcome back. We’ve already split the monolith into microservices. In this lesson we’ll finish by automating the login microservice’s service deployment using AWS CodePipeline and Amazon ECS.
What you’ll accomplish
* Ensure the build creates an `imagedefinitions.json` artifact required by ECS.
* Add a Deploy stage to the login microservice pipeline that uses the Amazon ECS deploy action.
* Verify the new deployment in the ECS console and confirm healthy tasks behind the load balancer.
Prerequisites
* You already have a working login microservice repository and a CodePipeline with Source and Build stages.
* You have an ECS cluster and service (task definition with a container name) configured to run the login microservice.
* You have access to the AWS Console and Cloud9 (or any editor) to update files and push commits.
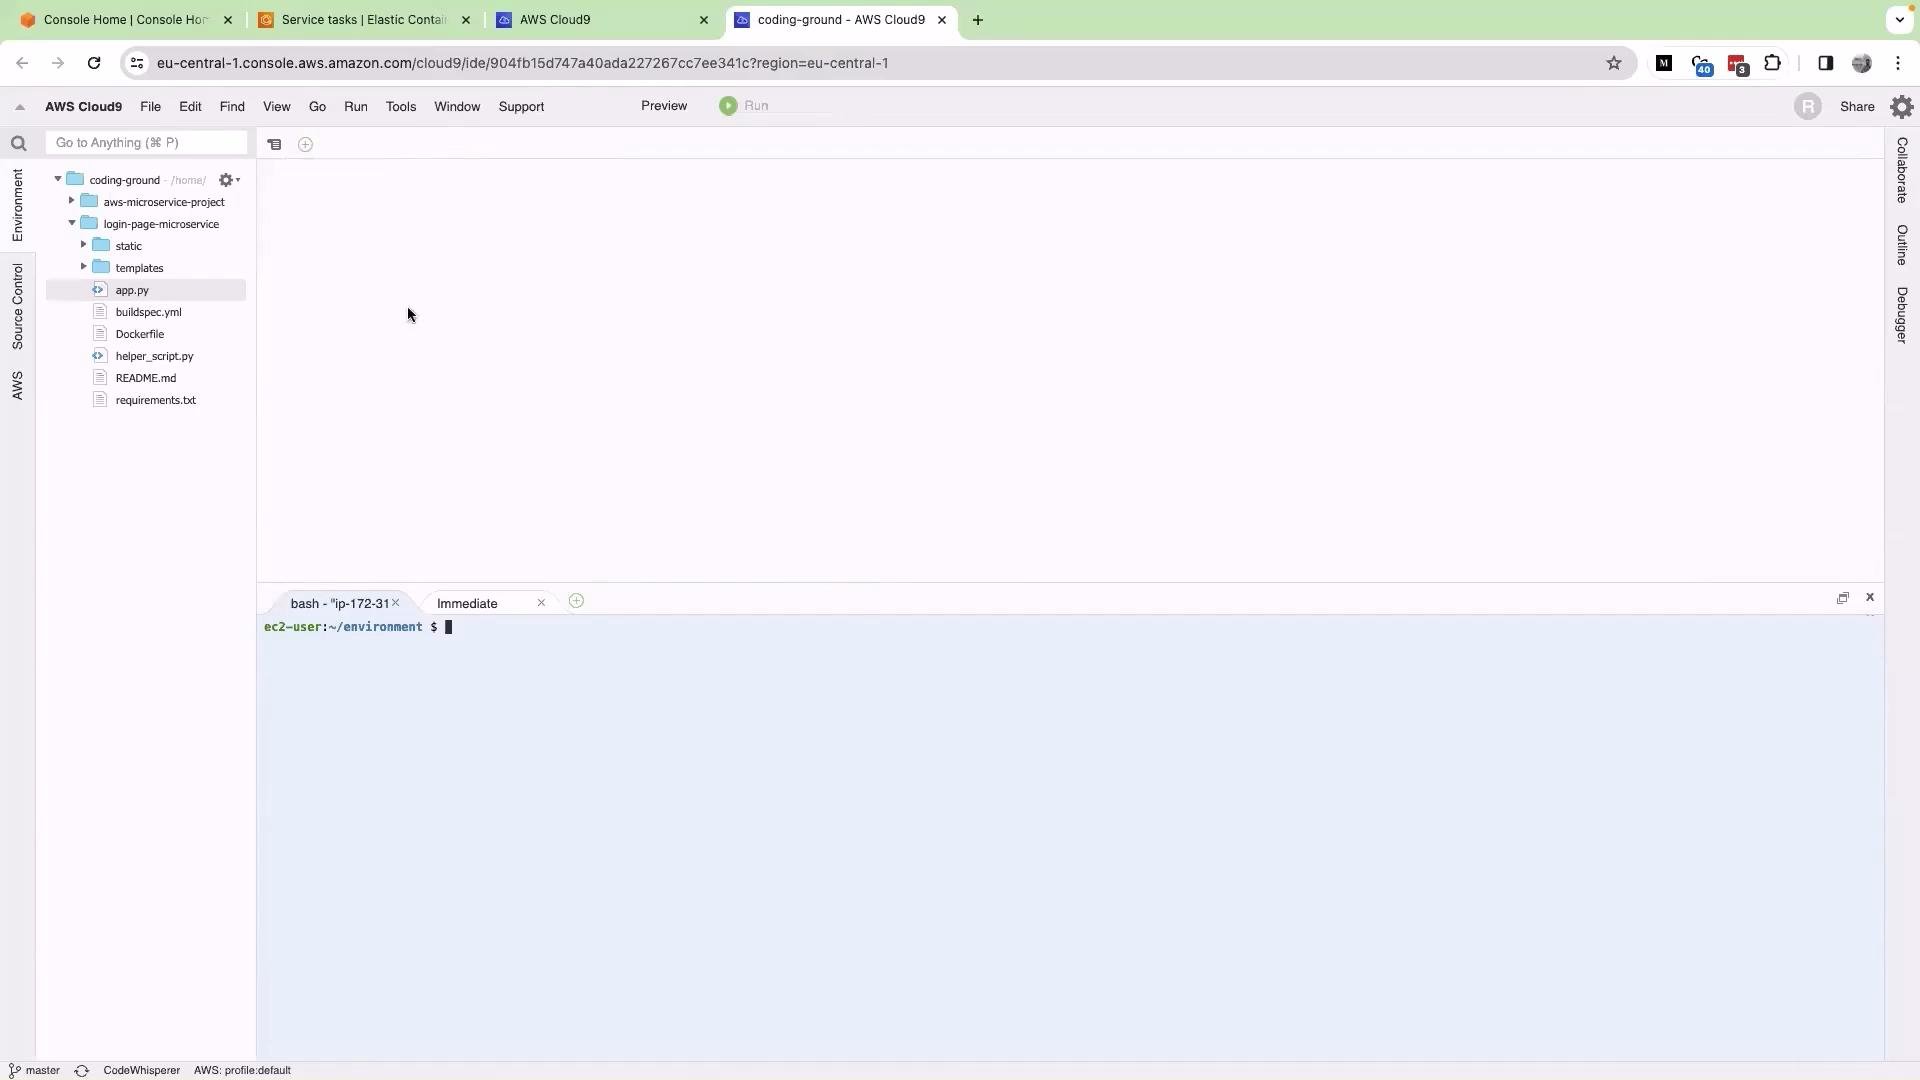
Open Cloud9 and edit buildspec.yml
* In the AWS Console, open Cloud9, close open files, and open the `buildspec.yml` file.
 Why `imagedefinitions.json` is required
* Amazon ECS’s CodePipeline action expects `imagedefinitions.json` in the Build artifact. This file maps the container name from your task definition to the pushed ECR image URI so ECS can update the service with the new image.
Example content of `imagedefinitions.json`:
```json theme={null}
[
{
"name": "login-app-container",
"imageUri": "123456789012.dkr.ecr.us-east-1.amazonaws.com/login-app:latest"
}
]
```
Add `imagedefinitions.json` creation to `buildspec.yml`
* Add (or update) a `post_build` step that writes `imagedefinitions.json` using the built image URI (typically available in an environment variable such as `$IMAGE_URI`).
Add or update this snippet in `buildspec.yml`:
```yaml theme={null}
post_build:
commands:
- printf '[{"name":"login-app-container","imageUri":"%s"}]' "$IMAGE_URI" > imagedefinitions.json
- cat imagedefinitions.json
```
* Replace `login-app-container` with the exact container name from your ECS task definition.
* Save the file.
Update the login UI (optional small change)
* Make a minor UI tweak to confirm deployment behavior. For example, ensure the login button text shows "Login" and add basic styling.
Example style block to include in the template:
```css theme={null}
```
Commit and push the changes
From the Cloud9 terminal (or your local environment), commit and push:
```bash theme={null}
cd login-page-microservice/
git status
git add .
git commit -m "Update buildspec and login UI"
git push origin master
```
(Replace `master` with your branch name if different.)
Open CodePipeline and add the Deploy stage
* In the AWS Console, go to CodePipeline and locate the `login-page-microservice` pipeline.
Why `imagedefinitions.json` is required
* Amazon ECS’s CodePipeline action expects `imagedefinitions.json` in the Build artifact. This file maps the container name from your task definition to the pushed ECR image URI so ECS can update the service with the new image.
Example content of `imagedefinitions.json`:
```json theme={null}
[
{
"name": "login-app-container",
"imageUri": "123456789012.dkr.ecr.us-east-1.amazonaws.com/login-app:latest"
}
]
```
Add `imagedefinitions.json` creation to `buildspec.yml`
* Add (or update) a `post_build` step that writes `imagedefinitions.json` using the built image URI (typically available in an environment variable such as `$IMAGE_URI`).
Add or update this snippet in `buildspec.yml`:
```yaml theme={null}
post_build:
commands:
- printf '[{"name":"login-app-container","imageUri":"%s"}]' "$IMAGE_URI" > imagedefinitions.json
- cat imagedefinitions.json
```
* Replace `login-app-container` with the exact container name from your ECS task definition.
* Save the file.
Update the login UI (optional small change)
* Make a minor UI tweak to confirm deployment behavior. For example, ensure the login button text shows "Login" and add basic styling.
Example style block to include in the template:
```css theme={null}
```
Commit and push the changes
From the Cloud9 terminal (or your local environment), commit and push:
```bash theme={null}
cd login-page-microservice/
git status
git add .
git commit -m "Update buildspec and login UI"
git push origin master
```
(Replace `master` with your branch name if different.)
Open CodePipeline and add the Deploy stage
* In the AWS Console, go to CodePipeline and locate the `login-page-microservice` pipeline.
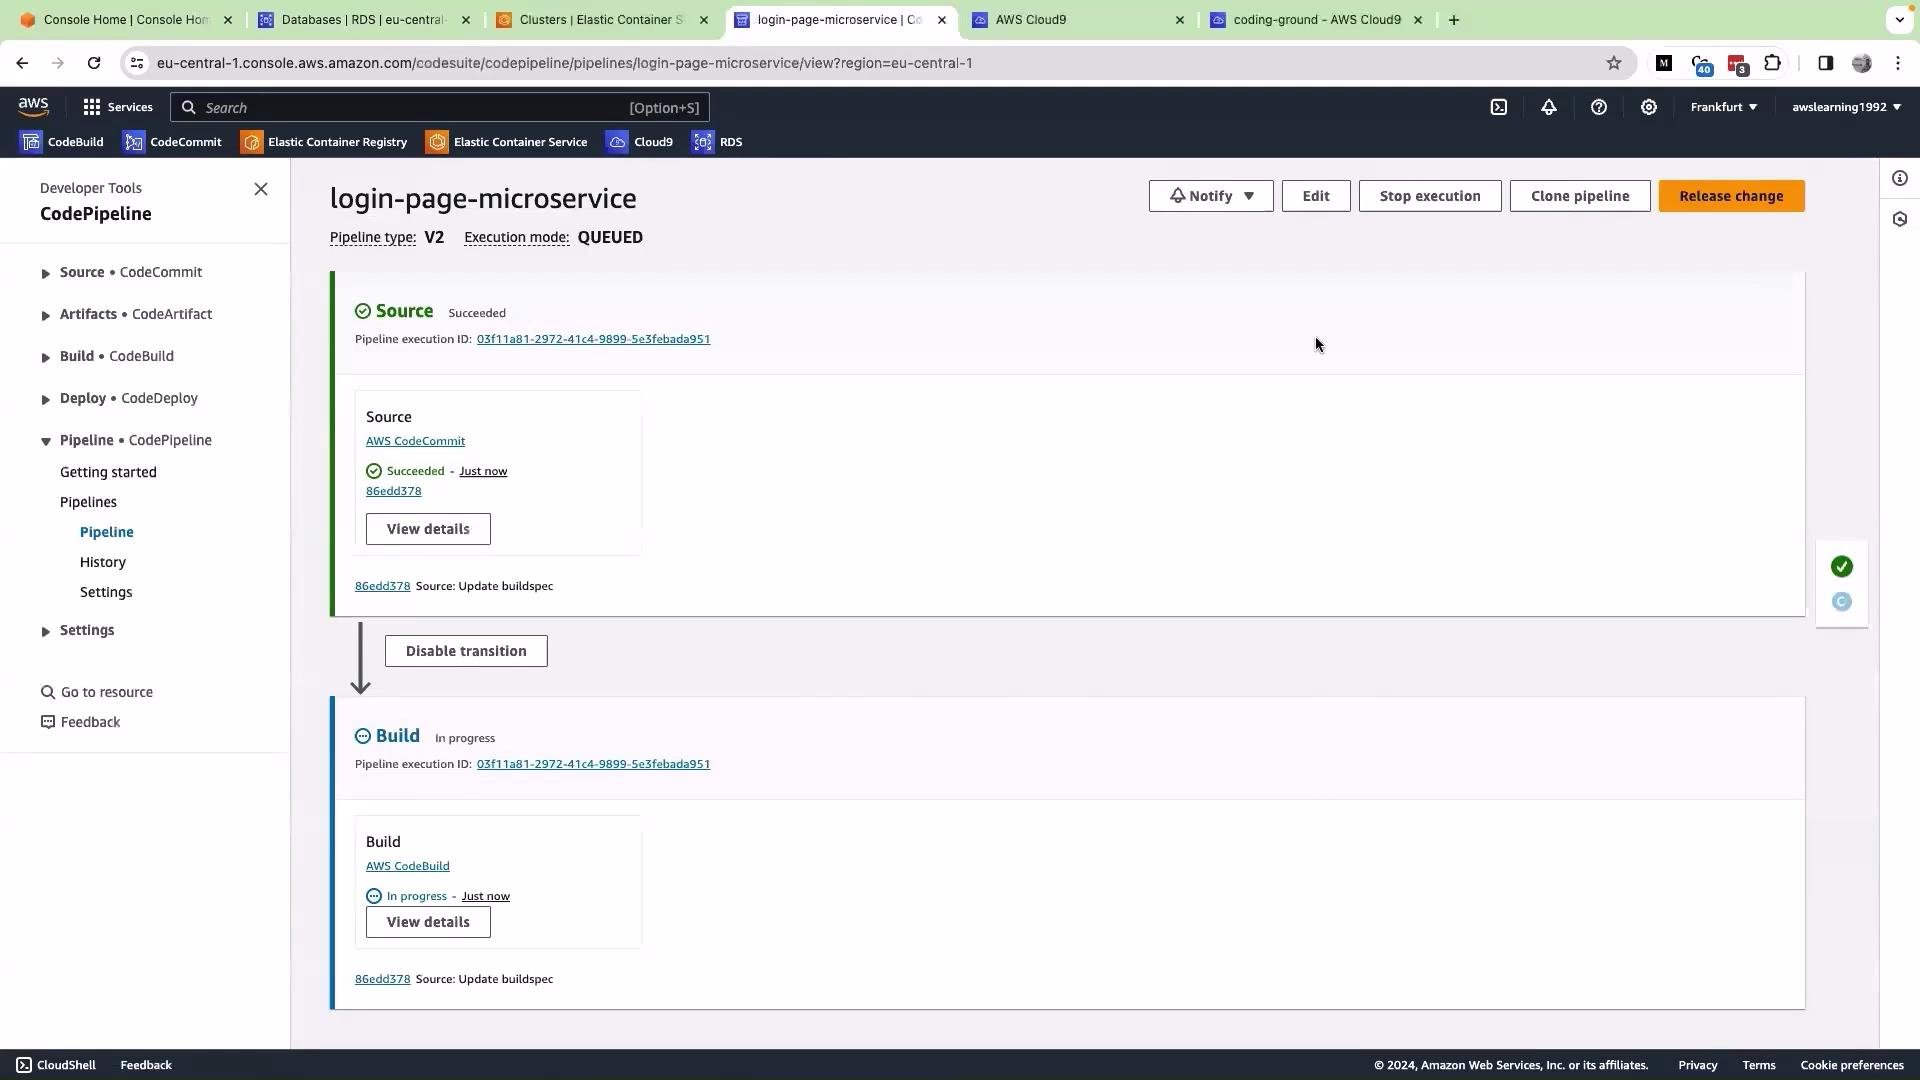
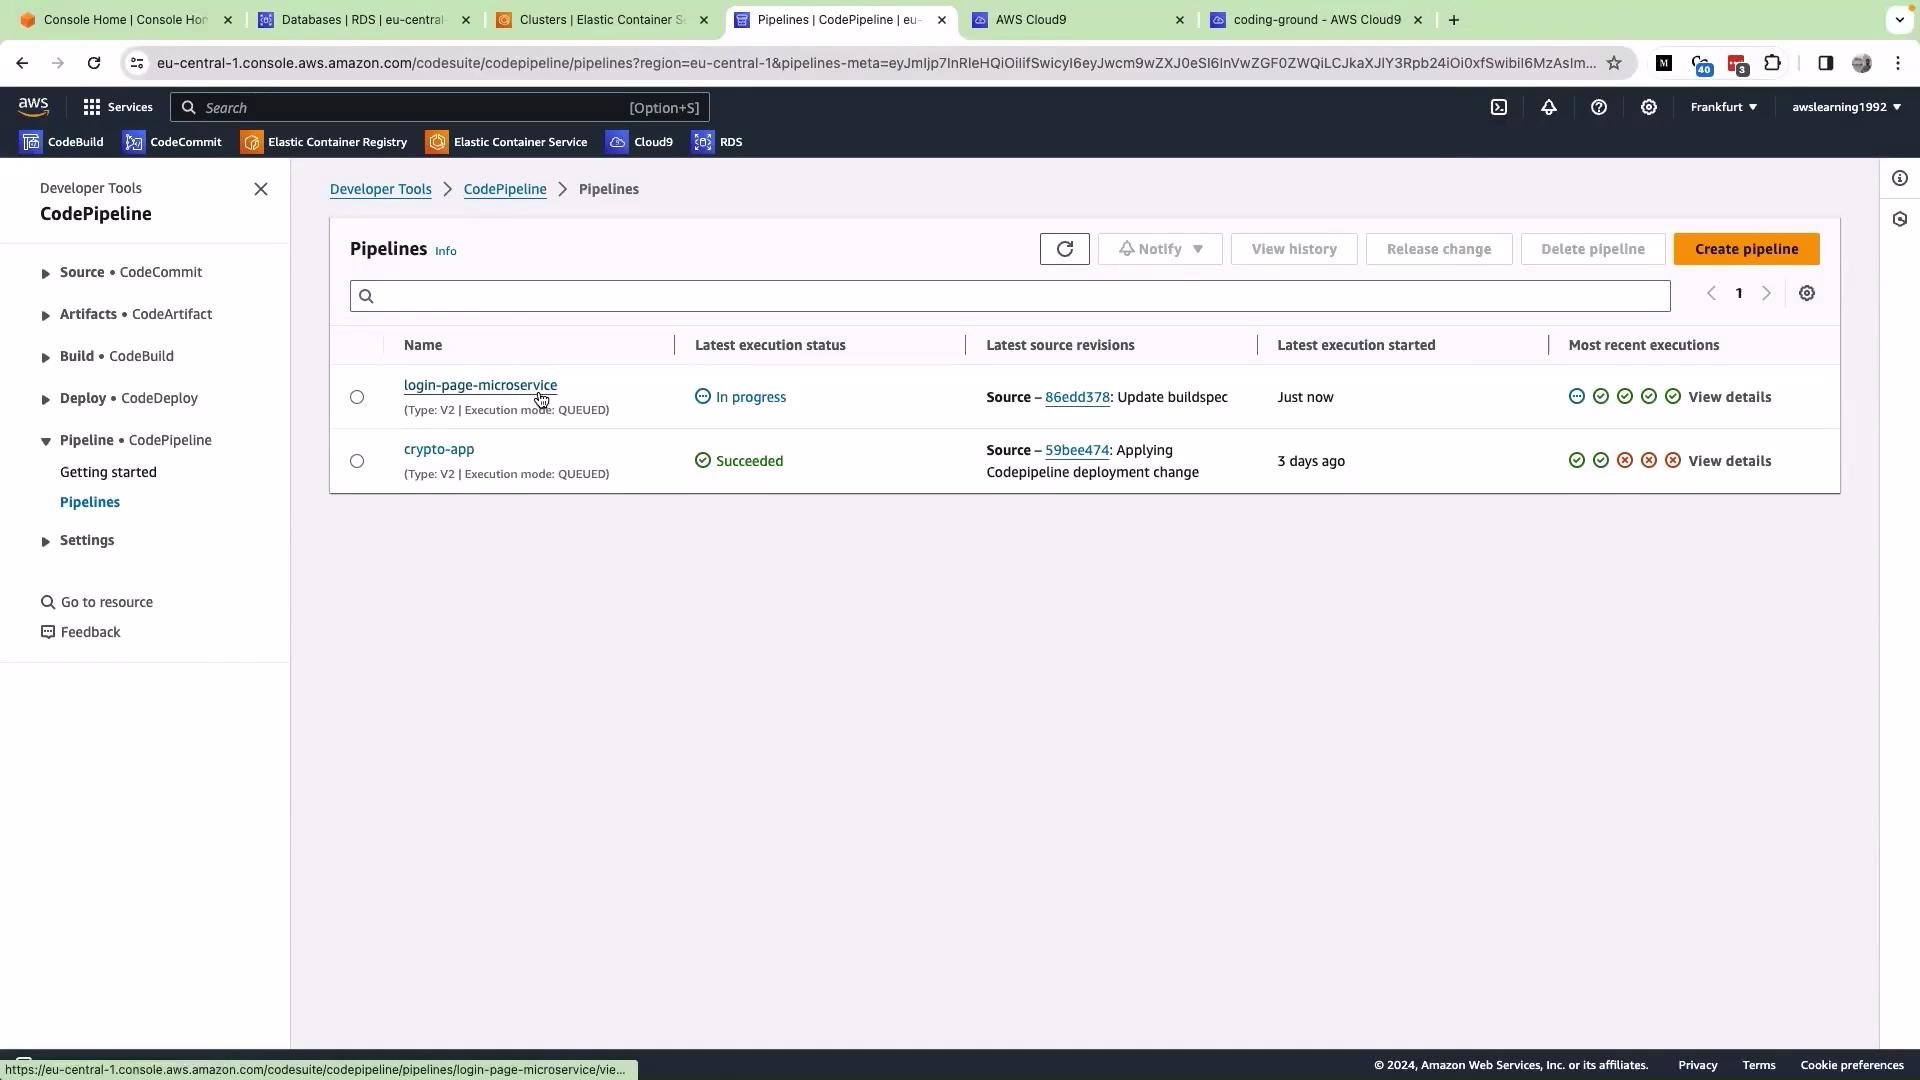 * You’ll notice this pipeline currently has Source and Build stages only. Wait for the running execution to finish, then click Edit.
 Step-by-step: adding the Deploy stage
1. Click Add stage and name it `Deploy`.
2. In the Deploy stage, click Add action group → Add action.
3. Set Action provider to `Amazon ECS`.
4. For Input artifact, choose the Build artifact (often named something like `BuildArtifact` or `AppBuildArtifact`) — this artifact must contain `imagedefinitions.json`. Do not select the Source artifact.
5. Select the target ECS cluster (for example, `production-cluster`) and the service (for example, `login-app-microservice`).
6. Set the Image definitions file name to `imagedefinitions.json`.
7. Click Done and Save the pipeline.
Trigger a release
* Back in the pipeline, click Release change to start a new execution. Leave defaults and confirm.
Troubleshooting a failed Deploy action
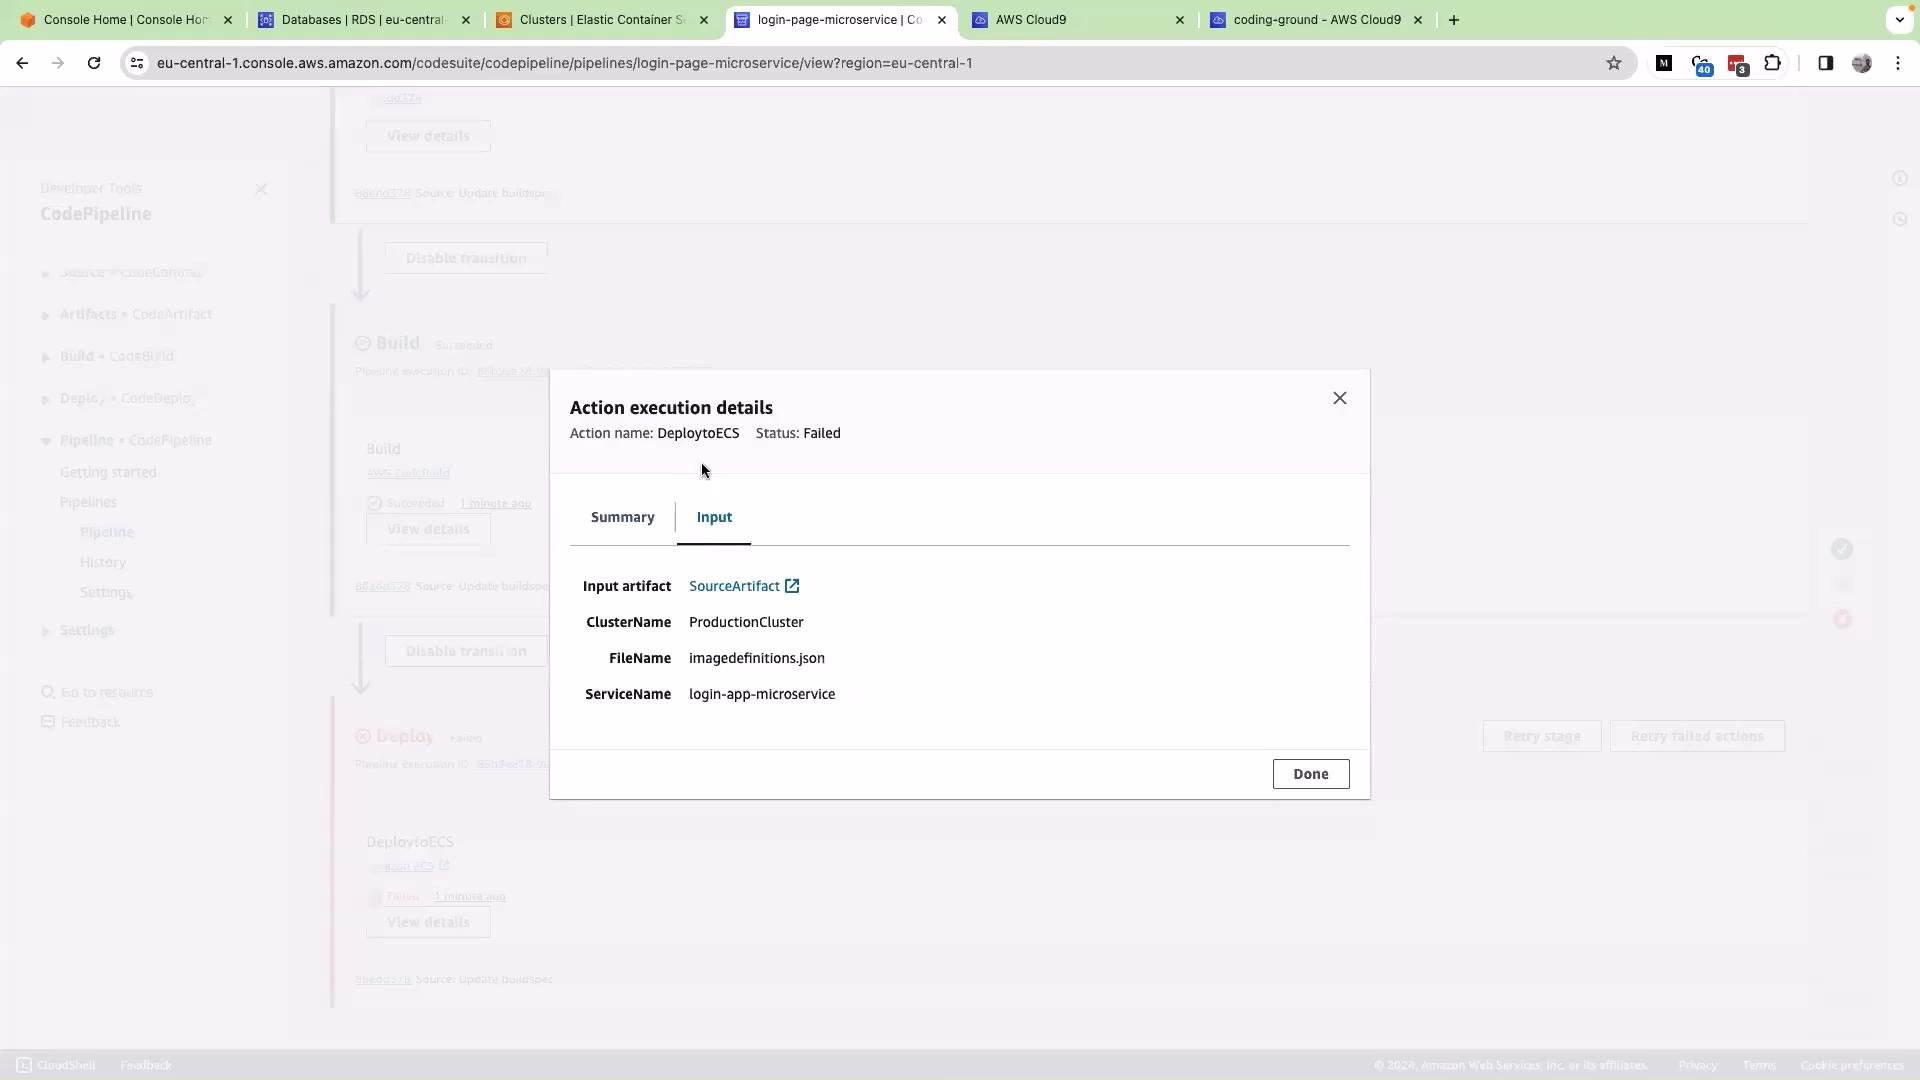
* If the deploy action fails, inspect the action execution details to find the cause (most commonly the pipeline cannot locate `imagedefinitions.json`).
Step-by-step: adding the Deploy stage
1. Click Add stage and name it `Deploy`.
2. In the Deploy stage, click Add action group → Add action.
3. Set Action provider to `Amazon ECS`.
4. For Input artifact, choose the Build artifact (often named something like `BuildArtifact` or `AppBuildArtifact`) — this artifact must contain `imagedefinitions.json`. Do not select the Source artifact.
5. Select the target ECS cluster (for example, `production-cluster`) and the service (for example, `login-app-microservice`).
6. Set the Image definitions file name to `imagedefinitions.json`.
7. Click Done and Save the pipeline.
Trigger a release
* Back in the pipeline, click Release change to start a new execution. Leave defaults and confirm.
Troubleshooting a failed Deploy action
* If the deploy action fails, inspect the action execution details to find the cause (most commonly the pipeline cannot locate `imagedefinitions.json`).
 Common causes and fixes
| Symptom | Likely cause | Fix |
| --------------------------------------- | --------------------------------------------------------- | --------------------------------------------------------------------------------------------------------------------------------------- |
| `imagedefinitions.json` not found | Deploy action uses Source artifact or wrong artifact | Edit the Deploy action and set Input artifact to the Build artifact that contains `imagedefinitions.json` |
| `imagedefinitions.json` content invalid | `post_build` did not write the file or wrote invalid JSON | Verify `post_build` commands in `buildspec.yml`, ensure `$IMAGE_URI` is set, and check `cat imagedefinitions.json` output in build logs |
| Deploy action permission errors | CodePipeline or ECS action lacks permissions | Confirm the pipeline role has permissions to update ECS services and access ECR images |
Verify action details
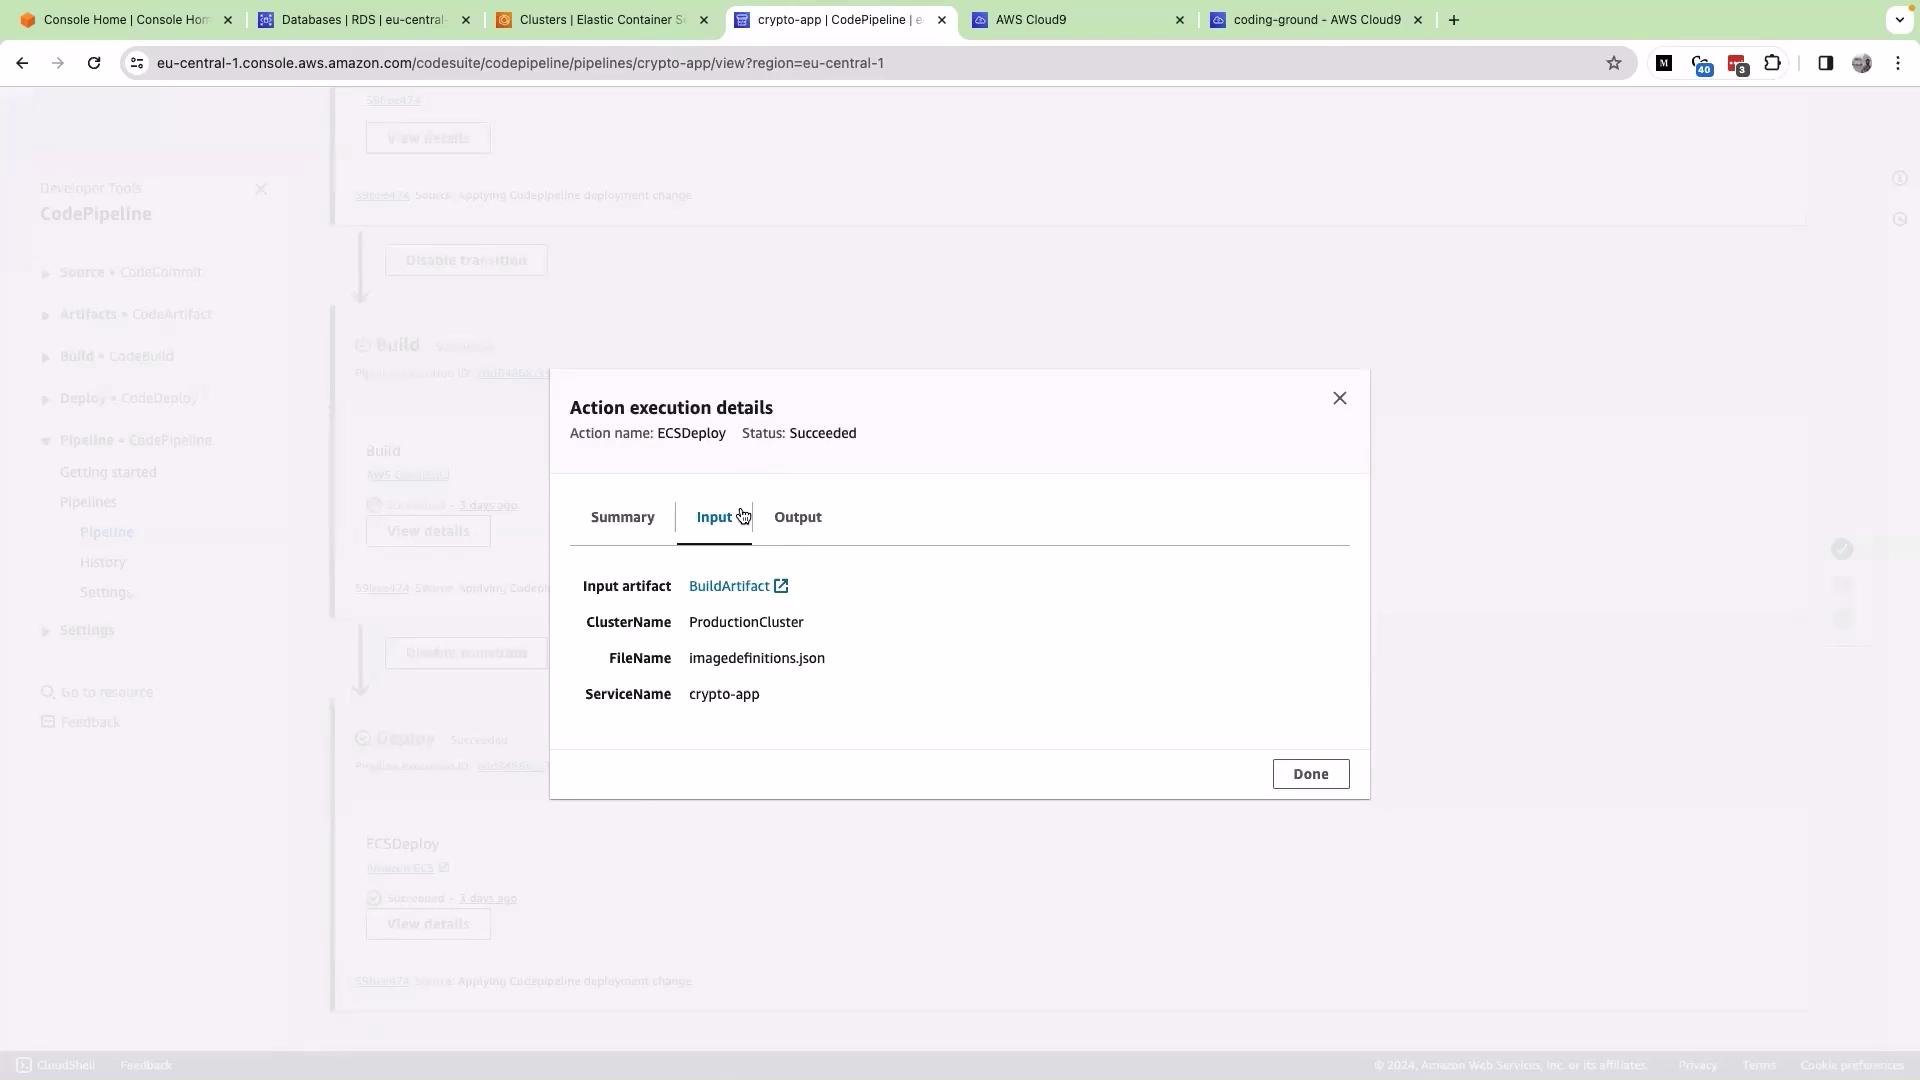
* Inspect a successful pipeline’s Deploy action to confirm it uses the Build artifact and points to the correct cluster/service and file name.
Common causes and fixes
| Symptom | Likely cause | Fix |
| --------------------------------------- | --------------------------------------------------------- | --------------------------------------------------------------------------------------------------------------------------------------- |
| `imagedefinitions.json` not found | Deploy action uses Source artifact or wrong artifact | Edit the Deploy action and set Input artifact to the Build artifact that contains `imagedefinitions.json` |
| `imagedefinitions.json` content invalid | `post_build` did not write the file or wrote invalid JSON | Verify `post_build` commands in `buildspec.yml`, ensure `$IMAGE_URI` is set, and check `cat imagedefinitions.json` output in build logs |
| Deploy action permission errors | CodePipeline or ECS action lacks permissions | Confirm the pipeline role has permissions to update ECS services and access ECR images |
Verify action details
* Inspect a successful pipeline’s Deploy action to confirm it uses the Build artifact and points to the correct cluster/service and file name.
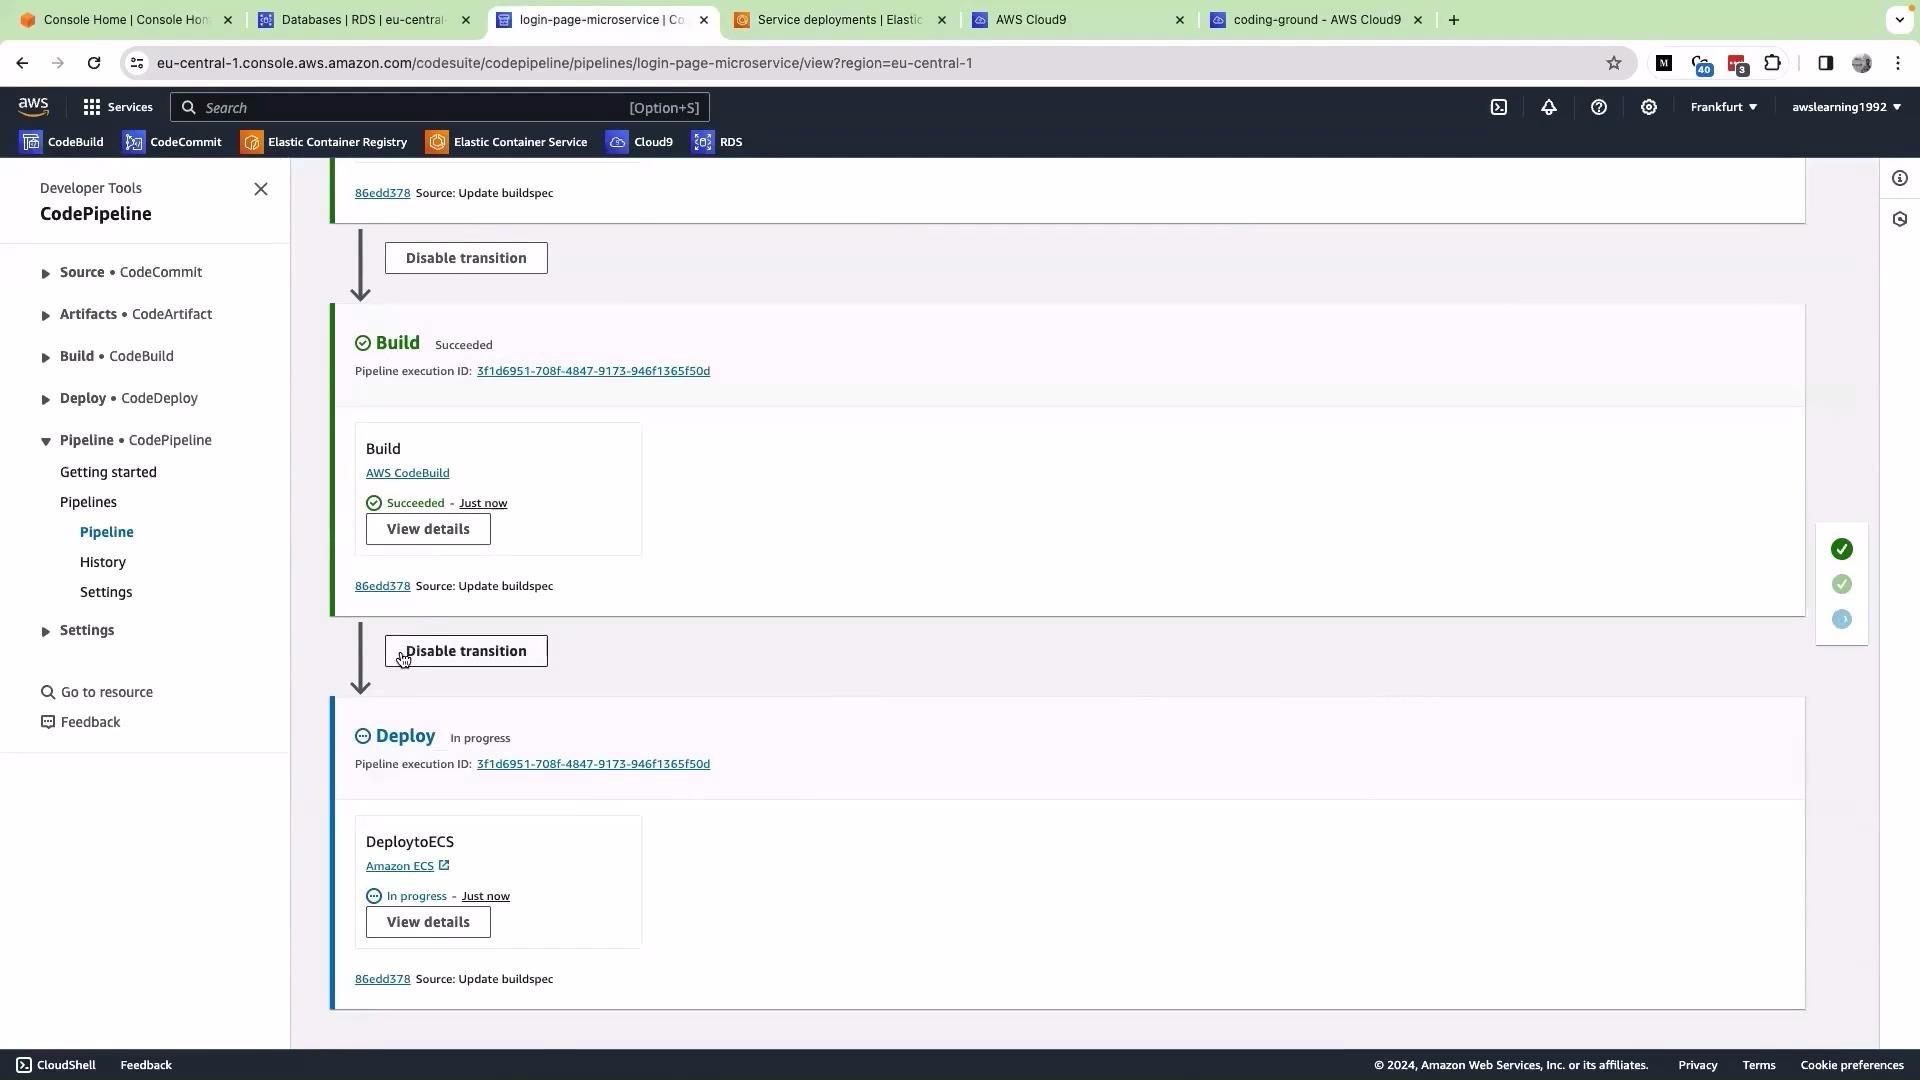
 Pipeline progress and deployment verification
* After releasing a change, the pipeline should move from Build to Deploy.
Pipeline progress and deployment verification
* After releasing a change, the pipeline should move from Build to Deploy.
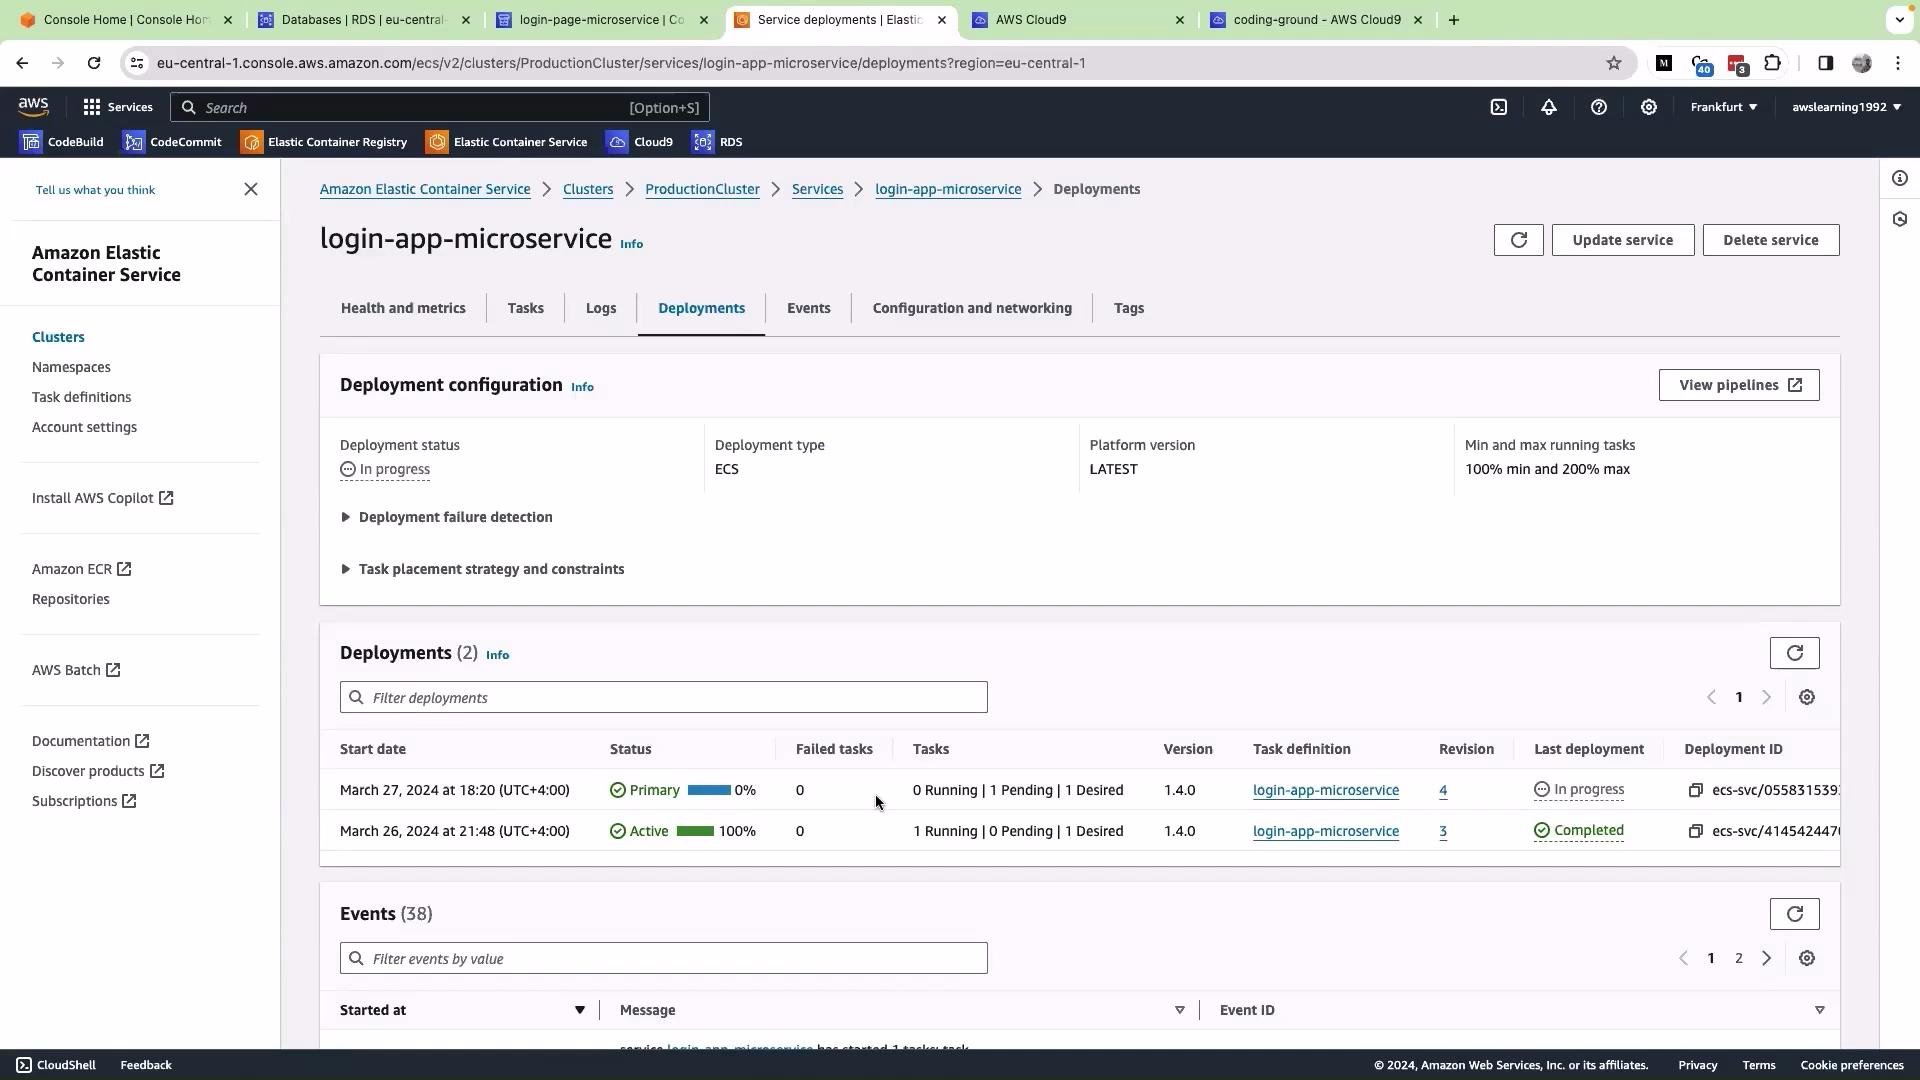
 * Open the ECS console, navigate to the login service, and check the Deployments tab for the new deployment initiated by CodePipeline.
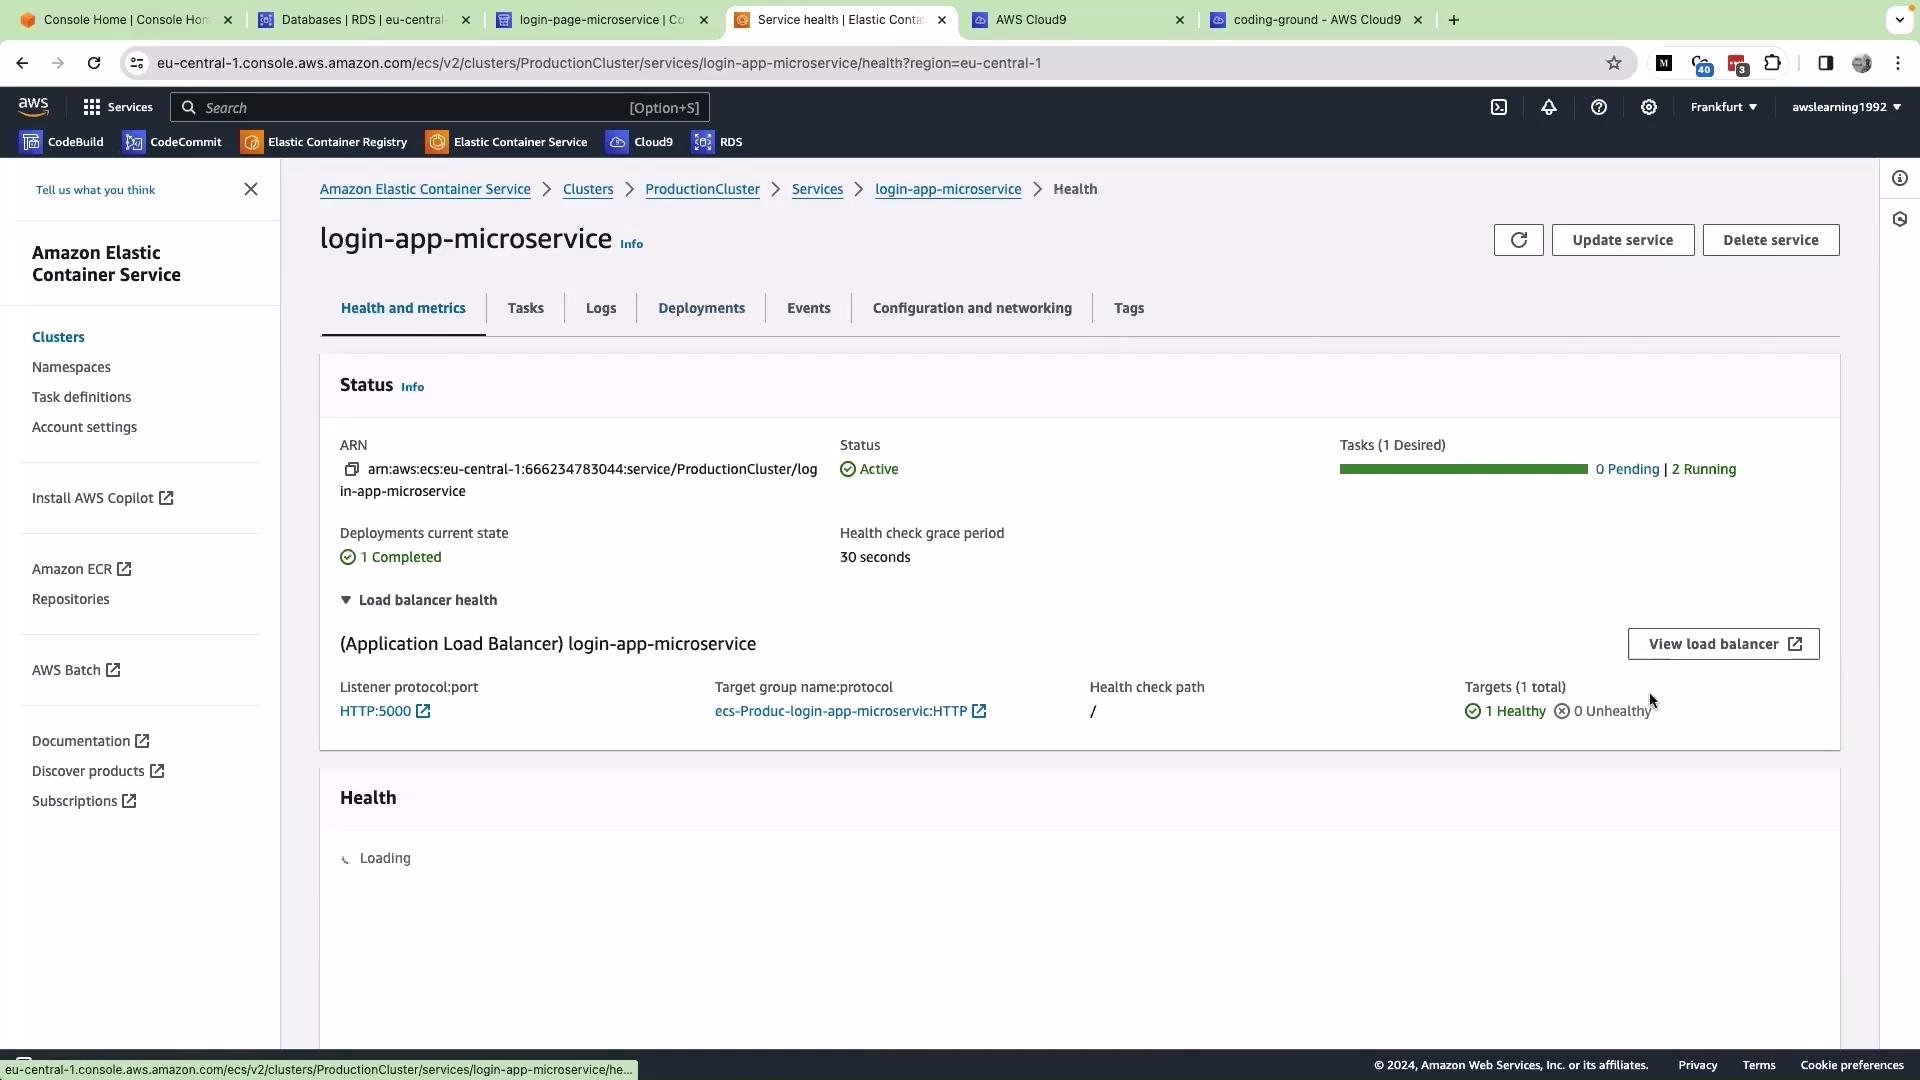
 * Wait for the new task to reach healthy status. Inspect the target group behind the load balancer to view health checks and target registration.
 * Copy the load balancer DNS into a browser and refresh. During a rolling deployment you may observe requests temporarily split between the old and new tasks until the older task is drained. This is expected behavior for healthy rolling releases.
Pause automatic deploys (optional)
* To temporarily prevent automatic deployments, disable the transition from Build to Deploy in CodePipeline. Re-enable it later and provide a reason in the dialog.
Key reminder
When adding the ECS Deploy action, always select the Build artifact as the input and ensure `imagedefinitions.json` is created in the Build stage. This is the most common cause of ECS deploy failures in CodePipeline.
Next steps
* Optionally commit simultaneous updates for the login microservice and other microservices (like the product app) to confirm both pipelines build and deploy independently.
* Review IAM roles used by CodePipeline, CodeBuild, and ECS to verify least-privilege access for automated deployments.
Links and references
* [AWS CodePipeline documentation](https://docs.aws.amazon.com/codepipeline/latest/userguide/welcome.html)
* [Amazon ECS deployment types and options](https://docs.aws.amazon.com/AmazonECS/latest/developerguide/deployment-types.html)
* [Buildspec reference for AWS CodeBuild](https://docs.aws.amazon.com/codebuild/latest/userguide/build-spec-ref.html)
* [Amazon ECR user guide](https://docs.aws.amazon.com/AmazonECR/latest/userguide/what-is-ecr.html)
This completes the automation: committing to your Git repository should now trigger a pipeline that builds the image and deploys it to ECS automatically.
* Copy the load balancer DNS into a browser and refresh. During a rolling deployment you may observe requests temporarily split between the old and new tasks until the older task is drained. This is expected behavior for healthy rolling releases.
Pause automatic deploys (optional)
* To temporarily prevent automatic deployments, disable the transition from Build to Deploy in CodePipeline. Re-enable it later and provide a reason in the dialog.
Key reminder
When adding the ECS Deploy action, always select the Build artifact as the input and ensure `imagedefinitions.json` is created in the Build stage. This is the most common cause of ECS deploy failures in CodePipeline.
Next steps
* Optionally commit simultaneous updates for the login microservice and other microservices (like the product app) to confirm both pipelines build and deploy independently.
* Review IAM roles used by CodePipeline, CodeBuild, and ECS to verify least-privilege access for automated deployments.
Links and references
* [AWS CodePipeline documentation](https://docs.aws.amazon.com/codepipeline/latest/userguide/welcome.html)
* [Amazon ECS deployment types and options](https://docs.aws.amazon.com/AmazonECS/latest/developerguide/deployment-types.html)
* [Buildspec reference for AWS CodeBuild](https://docs.aws.amazon.com/codebuild/latest/userguide/build-spec-ref.html)
* [Amazon ECR user guide](https://docs.aws.amazon.com/AmazonECR/latest/userguide/what-is-ecr.html)
This completes the automation: committing to your Git repository should now trigger a pipeline that builds the image and deploys it to ECS automatically.