> ## Documentation Index
> Fetch the complete documentation index at: https://notes.kodekloud.com/llms.txt
> Use this file to discover all available pages before exploring further.
# Connecting login microservice with product microservice
> Connecting a login microservice to a product microservice by redirecting authenticated users to the product load balancer using environment variables and CI/CD deployment verification
Goal: after users successfully authenticate with the login microservice, redirect them to the product microservice running behind its own load balancer. This preserves service boundaries so each microservice can be developed, built, and deployed independently.
Overview
* Copy the product microservice load balancer DNS name from the AWS console.
* Update the login microservice code to redirect authenticated users to the product service endpoint.
* Push the change to trigger your CI/CD pipeline (build → image → deploy).
* Verify the integration by logging in and confirming the redirect.
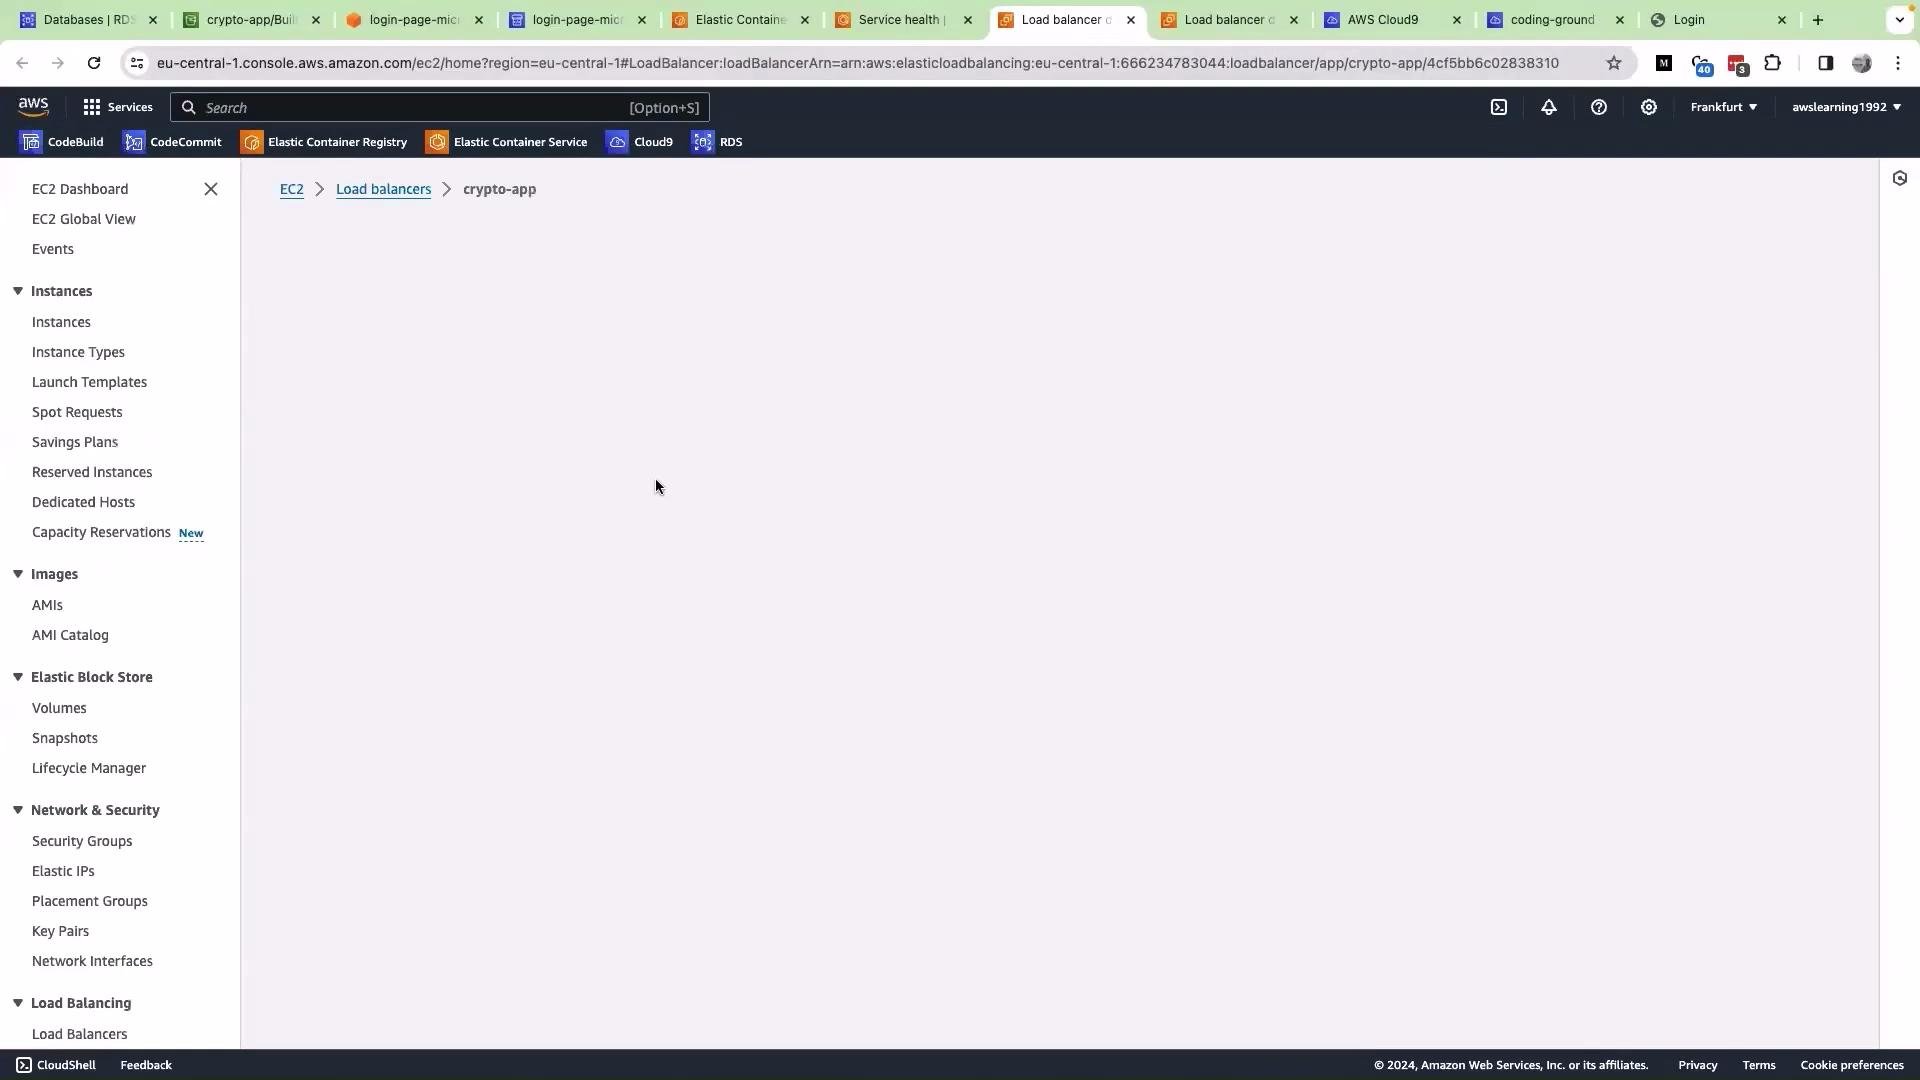
Step 1 — Get the product load balancer DNS
Copy the product service's load balancer DNS (ELB/ALB) from the AWS Console and append the appropriate path (for example `/welcome` or `/welcome-page`) to use as the redirect target.
 Step 2 — Update the login microservice code (Flask example)
In your login microservice repository (for example, in [Cloud9](https://aws.amazon.com/cloud9/)), open `app.py` and update the login POST handler so that on successful authentication it redirects to the product microservice load balancer URL.
Below is an improved example that:
* uses an environment variable for the product URL (so you avoid hard-coding in source),
* shows the login route and redirect handler,
* keeps the login flow simple for clarity.
```python theme={null}
import os
from flask import Flask, request, redirect, url_for
app = Flask(__name__)
# Configure the product service endpoint via env var:
# e.g. export PRODUCT_URL="http://crypto-app-882103207.eu-central-1.elb.amazonaws.com:5000/welcome"
PRODUCT_URL = os.environ.get('PRODUCT_URL', 'http://crypto-app-882103207.eu-central-1.elb.amazonaws.com:5000/welcome')
@app.route('/login', methods=['POST'])
def login_post():
email = request.form.get('email')
password = request.form.get('password')
conn = get_db_connection()
user = None
if conn:
cursor = conn.cursor()
cursor.execute("SELECT * FROM users WHERE email = %s AND password = %s", (email, password))
user = cursor.fetchone()
conn.close()
if user:
# Redirect to the product microservice endpoint configured via PRODUCT_URL
return redirect(PRODUCT_URL)
# Authentication failed — redirect back to login page
return redirect(url_for('login'))
if __name__ == '__main__':
app.run(debug=True, host="0.0.0.0", port=5000)
```
Do not hard-code external service URLs or secrets in production code. Use environment variables, a configuration system, or service discovery (e.g., AWS Cloud Map or Route 53). Never store plaintext passwords — use a secure password hashing mechanism such as `bcrypt` and validate credentials by comparing hashes.
Step 3 — Commit and push your change (trigger CI/CD)
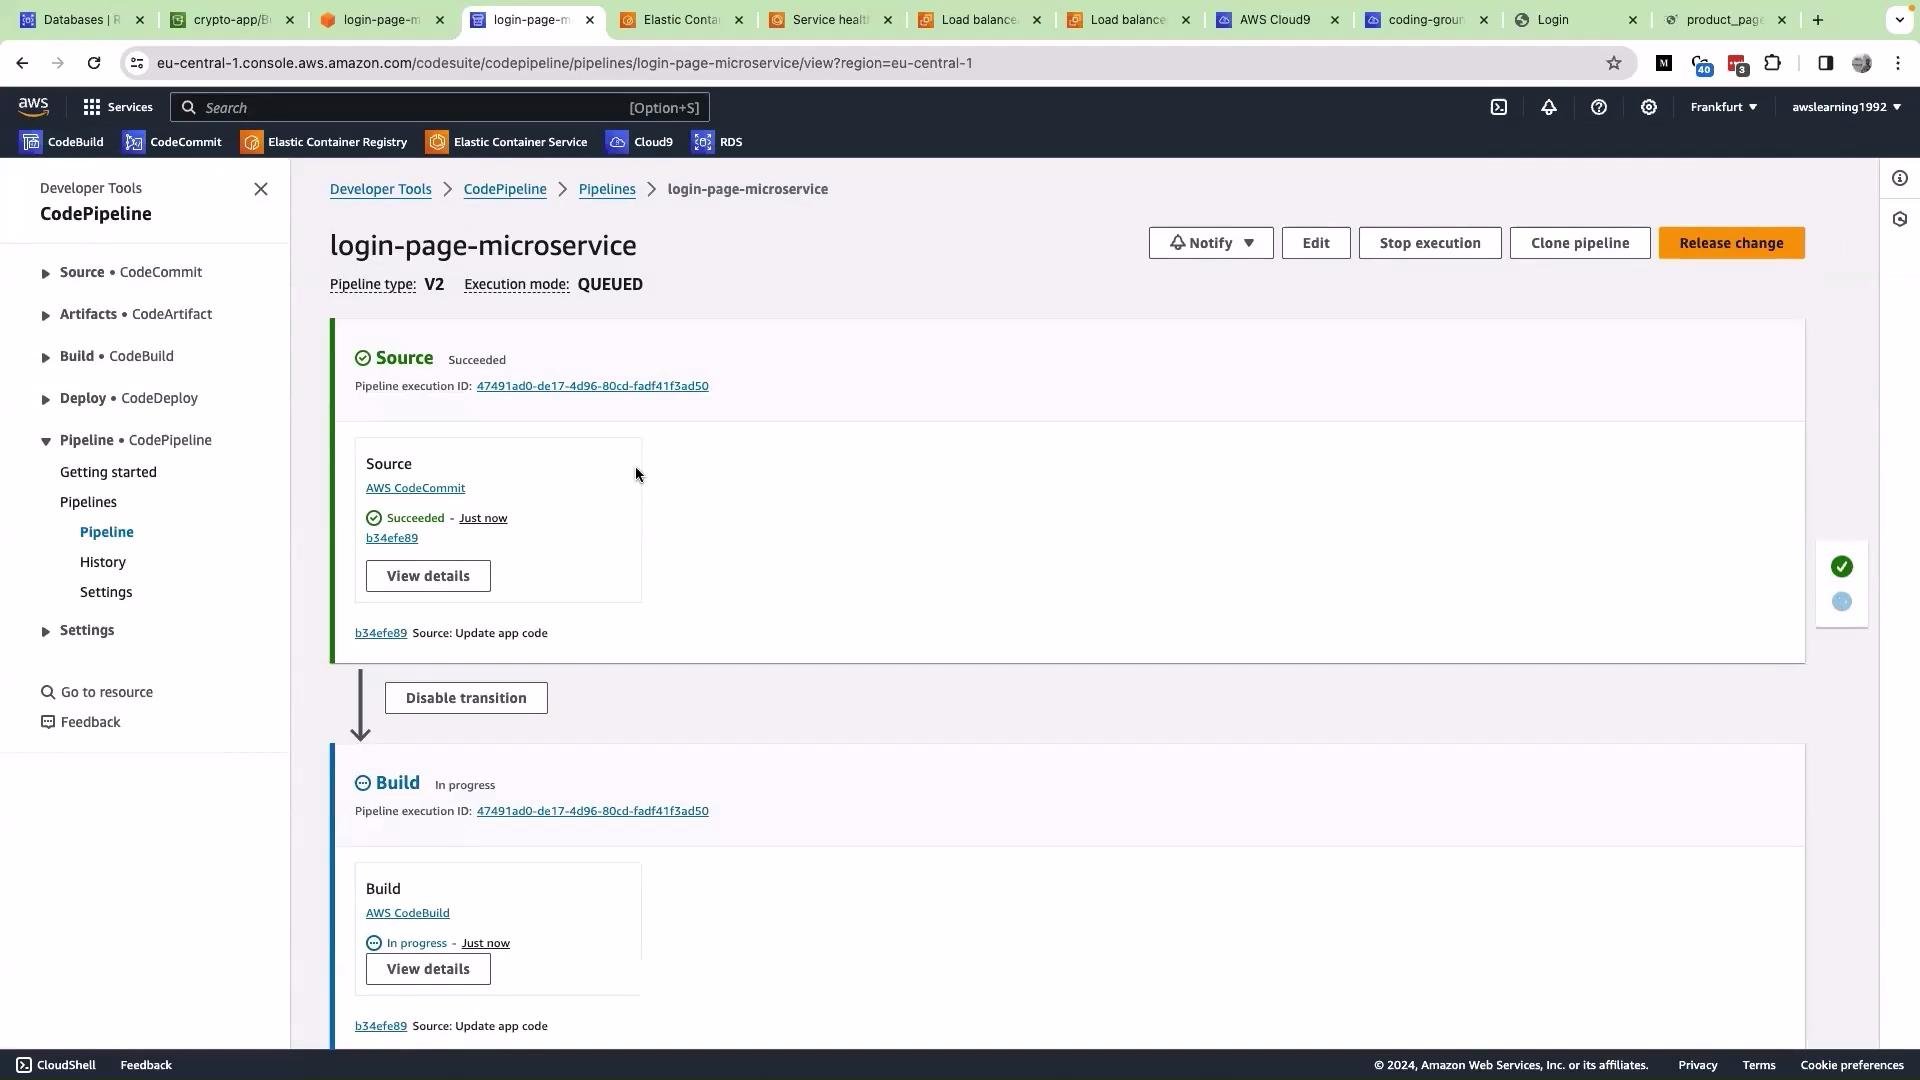
Commit the change and push to the repository branch monitored by your pipeline (for example `master` or `main`). This will trigger your CI/CD pipeline (e.g., AWS CodePipeline) to build a new Docker image and deploy the updated login service.
```bash theme={null}
git add app.py
git commit -m "Update login: redirect to product microservice after successful login"
git push origin master
```
Watch the pipeline build/deploy in the AWS Console to confirm the new image is built and a new task is started.
Step 2 — Update the login microservice code (Flask example)
In your login microservice repository (for example, in [Cloud9](https://aws.amazon.com/cloud9/)), open `app.py` and update the login POST handler so that on successful authentication it redirects to the product microservice load balancer URL.
Below is an improved example that:
* uses an environment variable for the product URL (so you avoid hard-coding in source),
* shows the login route and redirect handler,
* keeps the login flow simple for clarity.
```python theme={null}
import os
from flask import Flask, request, redirect, url_for
app = Flask(__name__)
# Configure the product service endpoint via env var:
# e.g. export PRODUCT_URL="http://crypto-app-882103207.eu-central-1.elb.amazonaws.com:5000/welcome"
PRODUCT_URL = os.environ.get('PRODUCT_URL', 'http://crypto-app-882103207.eu-central-1.elb.amazonaws.com:5000/welcome')
@app.route('/login', methods=['POST'])
def login_post():
email = request.form.get('email')
password = request.form.get('password')
conn = get_db_connection()
user = None
if conn:
cursor = conn.cursor()
cursor.execute("SELECT * FROM users WHERE email = %s AND password = %s", (email, password))
user = cursor.fetchone()
conn.close()
if user:
# Redirect to the product microservice endpoint configured via PRODUCT_URL
return redirect(PRODUCT_URL)
# Authentication failed — redirect back to login page
return redirect(url_for('login'))
if __name__ == '__main__':
app.run(debug=True, host="0.0.0.0", port=5000)
```
Do not hard-code external service URLs or secrets in production code. Use environment variables, a configuration system, or service discovery (e.g., AWS Cloud Map or Route 53). Never store plaintext passwords — use a secure password hashing mechanism such as `bcrypt` and validate credentials by comparing hashes.
Step 3 — Commit and push your change (trigger CI/CD)
Commit the change and push to the repository branch monitored by your pipeline (for example `master` or `main`). This will trigger your CI/CD pipeline (e.g., AWS CodePipeline) to build a new Docker image and deploy the updated login service.
```bash theme={null}
git add app.py
git commit -m "Update login: redirect to product microservice after successful login"
git push origin master
```
Watch the pipeline build/deploy in the AWS Console to confirm the new image is built and a new task is started.
 Step 4 — Test the integration
Follow these steps to validate the login → product redirect:
| Task | How to perform |
| ------------------------ | ---------------------------------------------------------------------------------------------------------------------- |
| Open the login page | Use the login microservice load balancer URL in your browser |
| Invalid credentials test | Try an incorrect email/password — you should remain on the login page |
| Retrieve valid user | Query the DB to get a valid user record:
Step 4 — Test the integration
Follow these steps to validate the login → product redirect:
| Task | How to perform |
| ------------------------ | ---------------------------------------------------------------------------------------------------------------------- |
| Open the login page | Use the login microservice load balancer URL in your browser |
| Invalid credentials test | Try an incorrect email/password — you should remain on the login page |
| Retrieve valid user | Query the DB to get a valid user record:
`sql
select * from users;` |
| Successful login | Login with valid credentials — you should be redirected to the product microservice (the `PRODUCT_URL` you configured) |
Expected result: after a successful login, the browser should redirect to the product microservice endpoint (e.g. `http://.../welcome`), demonstrating that the two services are connected but still independently deployable.
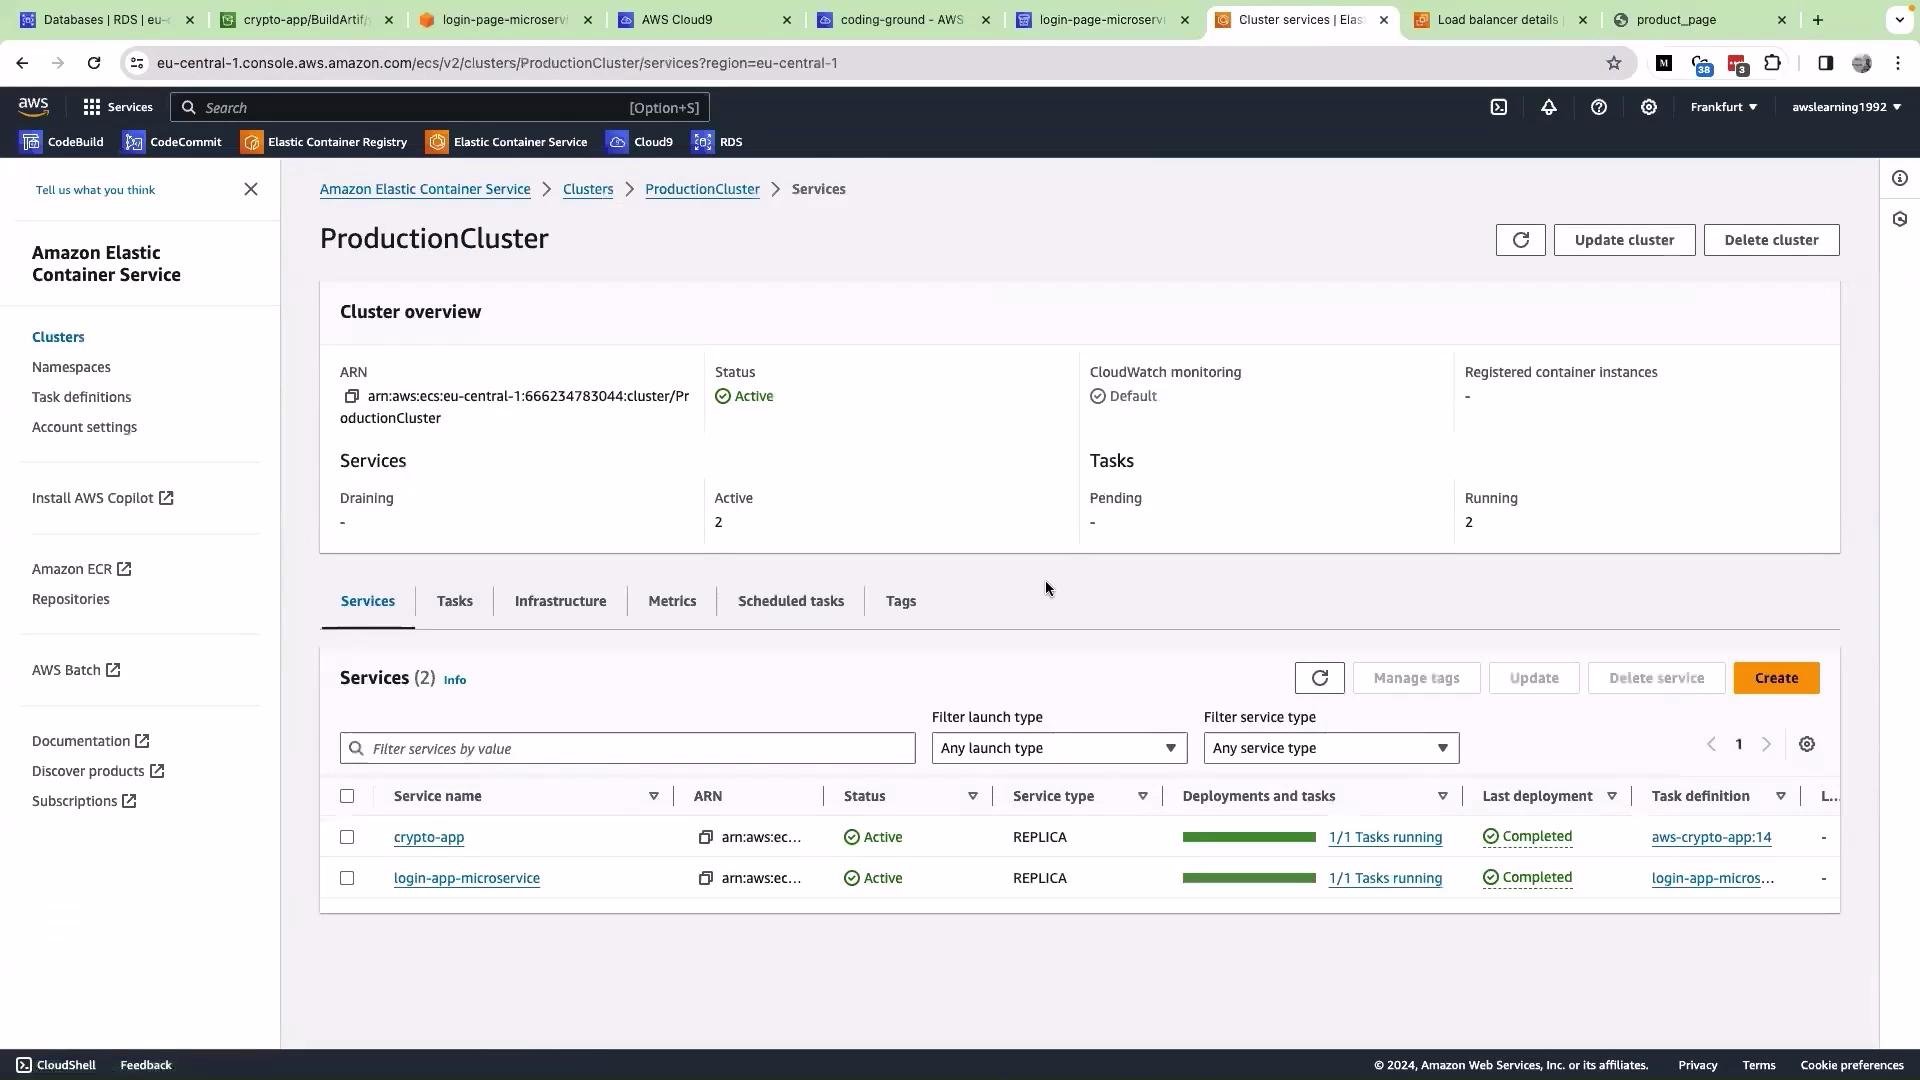
Step 5 — Confirm services are running in ECS
Verify both microservices are running in your cluster (for example, an Amazon ECS cluster). You should see the product service (crypto-app) and the login service (login-app-microservice) as separate services with running tasks.
 Links and references
* [AWS Cloud9](https://aws.amazon.com/cloud9/) — in-browser IDE for editing your microservice code.
* [AWS CodePipeline (CI/CD)](https://learn.kodekloud.com/user/courses/aws-codepipeline-ci-cd-pipeline) — example pipeline for build and deploy.
* [Amazon ECS](https://learn.kodekloud.com/user/courses/amazon-elastic-container-service-aws-ecs) — container orchestration to run microservice tasks.
* [Route 53](https://aws.amazon.com/route53/) — for managing DNS names instead of hard-coded ELB URLs.
* [bcrypt documentation](https://bcrypt.readthedocs.io/en/latest/) — use for secure password hashing.
By redirecting authenticated users to the product microservice load balancer, the login service remains decoupled from the product implementation. This enables independent development, testing, and deployment. For production, prefer configuration via environment variables, DNS-based routing (Route 53), or a service discovery mechanism rather than embedding ELB URLs in source code.
This completes the connection between the login and product microservices. Teams can now iterate independently while users are routed between services after authentication.
Links and references
* [AWS Cloud9](https://aws.amazon.com/cloud9/) — in-browser IDE for editing your microservice code.
* [AWS CodePipeline (CI/CD)](https://learn.kodekloud.com/user/courses/aws-codepipeline-ci-cd-pipeline) — example pipeline for build and deploy.
* [Amazon ECS](https://learn.kodekloud.com/user/courses/amazon-elastic-container-service-aws-ecs) — container orchestration to run microservice tasks.
* [Route 53](https://aws.amazon.com/route53/) — for managing DNS names instead of hard-coded ELB URLs.
* [bcrypt documentation](https://bcrypt.readthedocs.io/en/latest/) — use for secure password hashing.
By redirecting authenticated users to the product microservice load balancer, the login service remains decoupled from the product implementation. This enables independent development, testing, and deployment. For production, prefer configuration via environment variables, DNS-based routing (Route 53), or a service discovery mechanism rather than embedding ELB URLs in source code.
This completes the connection between the login and product microservices. Teams can now iterate independently while users are routed between services after authentication.