> ## Documentation Index
> Fetch the complete documentation index at: https://notes.kodekloud.com/llms.txt
> Use this file to discover all available pages before exploring further.
# Review of existing code
> Concise review of a Flask microservice project, highlighting app.py routes, repository structure, local testing, Dockerization, and AWS deployment preparations.
Welcome — in this lesson we'll quickly review the existing application code to understand the project structure and the main Flask app behavior. This concise overview prepares you for containerizing and deploying the app to AWS.
We use the AWS Cloud9 IDE in this walkthrough. If you work in CloudLabs, you'll use Cloud9 or a similar development environment.
In Cloud9 the repository `aws-microservice-project` is already available. Expanding the project shows several files and folders. The primary application logic lives in `app.py`.
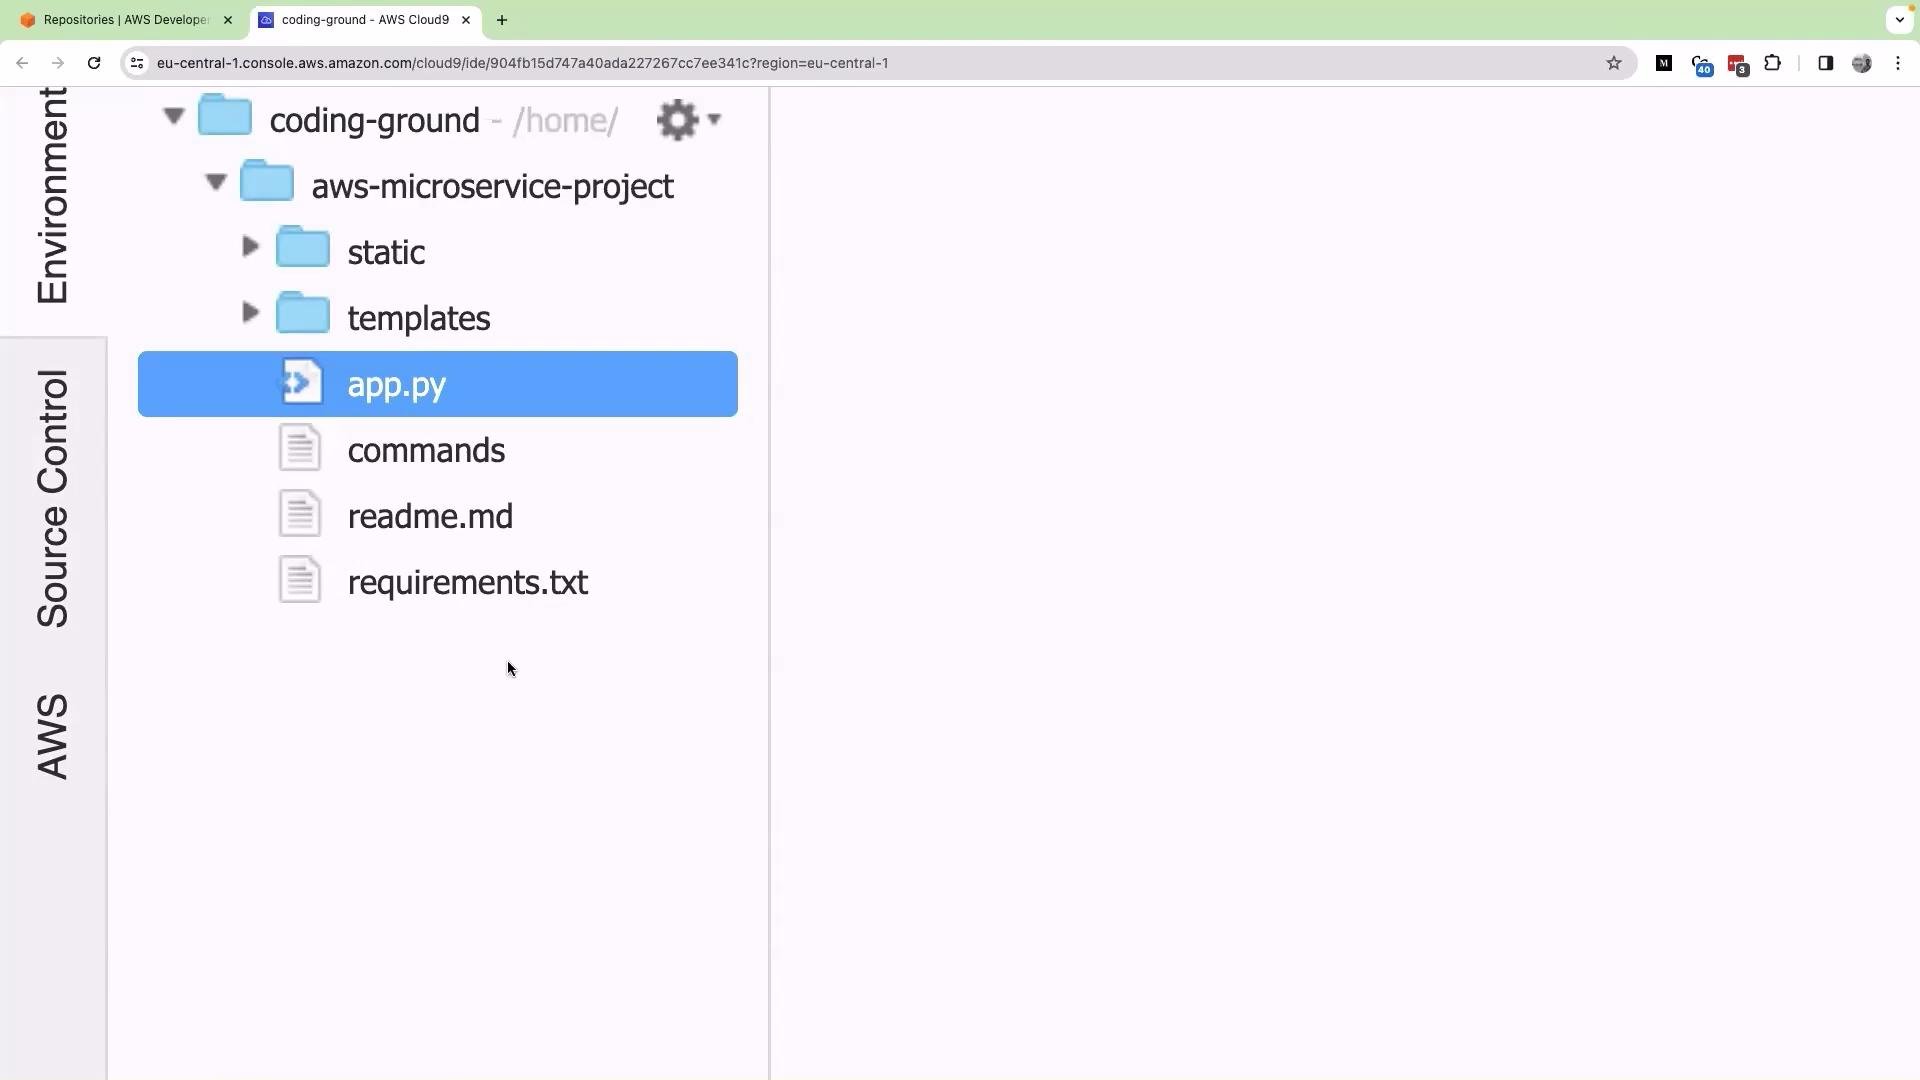 Repository layout (high level)
| File / Folder | Purpose | Notes / Example |
| ------------------ | ---------------------- | ------------------------------------------------------ |
| `app.py` | Main Flask application | Primary focus for deployment and CI/CD work |
| `requirements.txt` | Python dependencies | Used to install packages in virtualenv or Docker image |
| `README` | Project documentation | Setup and run instructions |
| `templates/` | HTML templates | Rendered by Flask with `render_template()` |
| `static/` | Images, CSS, JS | Served as static assets by Flask |
For the purposes of deployment and CI/CD, we will mainly modify and test `app.py` and `requirements.txt`. The `templates` and `static` folders are front-end assets typically managed by frontend engineers; we only need to run or serve them during testing.
What to expect in app.py
Opening `app.py` reveals a concise Flask application. It may include a default username/password for local testing and implements a small set of routes that together provide a simple order flow:
* A login (default) page
* A product listing / welcome page
* A place-order page for a selected product
* A `/submit_order` endpoint that accepts form submissions
Example: the submit endpoint reads form fields from a POST request:
```python theme={null}
@app.route('/submit_order', methods=['POST'])
def submit_order():
product_id = request.form['product_id']
name = request.form['name']
address = request.form['address']
quantity = request.form['quantity']
# process the order (business logic omitted here)
return "Order received", 200
```
Using `request.form['field']` raises a `KeyError` if the form field is missing. Prefer `request.form.get('field')` plus explicit validation to avoid runtime errors and improve security.
Route flow (user experience)
1. A user starts at the login page.
2. Successful login redirects to the product/welcome page (product listing).
3. Selecting a product opens the place-order page for that product.
4. Submitting the form posts to `/submit_order`, which processes the order and returns confirmation.
Tips for DevOps / local testing
You do not need to understand every line of business logic to deploy the app, but you should be able to run and test it locally. Typical steps include:
* Create and activate a Python virtual environment.
* Install dependencies from `requirements.txt` (for local runs) or add them into a Docker image.
* Run the Flask app in Cloud9 (or your IDE) to verify the UI and endpoints.
* Containerize the app with Docker and test the container locally.
* Verify endpoints (e.g., login, product list, place-order, `/submit_order`) behave as expected.
Suggested commands (examples)
* Install dependencies:
```bash theme={null}
python3 -m venv venv
source venv/bin/activate
pip install -r requirements.txt
```
* Run locally (development server):
```bash theme={null}
export FLASK_APP=app.py
flask run --host=0.0.0.0 --port=5000
```
* Build and run Docker (example):
```bash theme={null}
docker build -t aws-microservice-project .
docker run -p 5000:5000 aws-microservice-project
```
Course roadmap (what we’ll cover next)
* Setting up Cloud9 and the development environment for Flask
* Running and testing the app locally (end-to-end)
* Dockerizing the application and preparing deployment artifacts for AWS
* (Later) CI/CD pipelines and deploying the container to AWS services
Links and references
* [Flask Documentation](https://flask.palletsprojects.com/)
* [Docker Documentation](https://docs.docker.com/)
* [AWS Cloud9](https://aws.amazon.com/cloud9/)
This review is your blueprint for preparing the app for deployment. Proceed to the next lesson where we run and validate the application locally.
Repository layout (high level)
| File / Folder | Purpose | Notes / Example |
| ------------------ | ---------------------- | ------------------------------------------------------ |
| `app.py` | Main Flask application | Primary focus for deployment and CI/CD work |
| `requirements.txt` | Python dependencies | Used to install packages in virtualenv or Docker image |
| `README` | Project documentation | Setup and run instructions |
| `templates/` | HTML templates | Rendered by Flask with `render_template()` |
| `static/` | Images, CSS, JS | Served as static assets by Flask |
For the purposes of deployment and CI/CD, we will mainly modify and test `app.py` and `requirements.txt`. The `templates` and `static` folders are front-end assets typically managed by frontend engineers; we only need to run or serve them during testing.
What to expect in app.py
Opening `app.py` reveals a concise Flask application. It may include a default username/password for local testing and implements a small set of routes that together provide a simple order flow:
* A login (default) page
* A product listing / welcome page
* A place-order page for a selected product
* A `/submit_order` endpoint that accepts form submissions
Example: the submit endpoint reads form fields from a POST request:
```python theme={null}
@app.route('/submit_order', methods=['POST'])
def submit_order():
product_id = request.form['product_id']
name = request.form['name']
address = request.form['address']
quantity = request.form['quantity']
# process the order (business logic omitted here)
return "Order received", 200
```
Using `request.form['field']` raises a `KeyError` if the form field is missing. Prefer `request.form.get('field')` plus explicit validation to avoid runtime errors and improve security.
Route flow (user experience)
1. A user starts at the login page.
2. Successful login redirects to the product/welcome page (product listing).
3. Selecting a product opens the place-order page for that product.
4. Submitting the form posts to `/submit_order`, which processes the order and returns confirmation.
Tips for DevOps / local testing
You do not need to understand every line of business logic to deploy the app, but you should be able to run and test it locally. Typical steps include:
* Create and activate a Python virtual environment.
* Install dependencies from `requirements.txt` (for local runs) or add them into a Docker image.
* Run the Flask app in Cloud9 (or your IDE) to verify the UI and endpoints.
* Containerize the app with Docker and test the container locally.
* Verify endpoints (e.g., login, product list, place-order, `/submit_order`) behave as expected.
Suggested commands (examples)
* Install dependencies:
```bash theme={null}
python3 -m venv venv
source venv/bin/activate
pip install -r requirements.txt
```
* Run locally (development server):
```bash theme={null}
export FLASK_APP=app.py
flask run --host=0.0.0.0 --port=5000
```
* Build and run Docker (example):
```bash theme={null}
docker build -t aws-microservice-project .
docker run -p 5000:5000 aws-microservice-project
```
Course roadmap (what we’ll cover next)
* Setting up Cloud9 and the development environment for Flask
* Running and testing the app locally (end-to-end)
* Dockerizing the application and preparing deployment artifacts for AWS
* (Later) CI/CD pipelines and deploying the container to AWS services
Links and references
* [Flask Documentation](https://flask.palletsprojects.com/)
* [Docker Documentation](https://docs.docker.com/)
* [AWS Cloud9](https://aws.amazon.com/cloud9/)
This review is your blueprint for preparing the app for deployment. Proceed to the next lesson where we run and validate the application locally.