> ## Documentation Index
> Fetch the complete documentation index at: https://notes.kodekloud.com/llms.txt
> Use this file to discover all available pages before exploring further.
# Demo Starting the Consul Process Using Dev Mode
> This article covers starting a Consul server in dev mode and bootstrapping AWS EC2 instances into a Consul cluster.
Welcome to the first lab of this course. In this lesson, we’ll cover two main tasks:
1. Starting a Consul server in **dev mode** on your local machine
2. Bootstrapping two AWS EC2 instances into a Consul cluster
Throughout the course, we’ll reuse these servers so you can follow along and observe how the cluster evolves.
***
## 1. Running Consul in Dev Mode
Running Consul in **dev mode** is intended for local testing only. Data is ephemeral and not suitable for production.
### Start the Dev Agent
Open PowerShell (or your preferred shell) and launch the Consul agent:
```bash theme={null}
consul agent -dev
```
You should see output similar to:
```text theme={null}
2021-02-10T16:03:43.762-0500 [INFO] agent.leader: started routine: routine="federation state anti-entropy"
2021-02-10T16:03:43.763-0500 [DEBUG] agent.server: successfully established leadership: duration=19.001ms
2021-02-10T16:03:43.817-0500 [INFO] agent: Synced node info
2021-02-10T16:03:45.177-0500 [DEBUG] agent: Node info in sync
```
### Verify the Local Agent
In a new shell, confirm the agent is running:
```bash theme={null}
consul members
```
You’ll see a single-node entry. Then open your browser to explore the Consul UI:
[http://127.0.0.1:8500](http://127.0.0.1:8500)
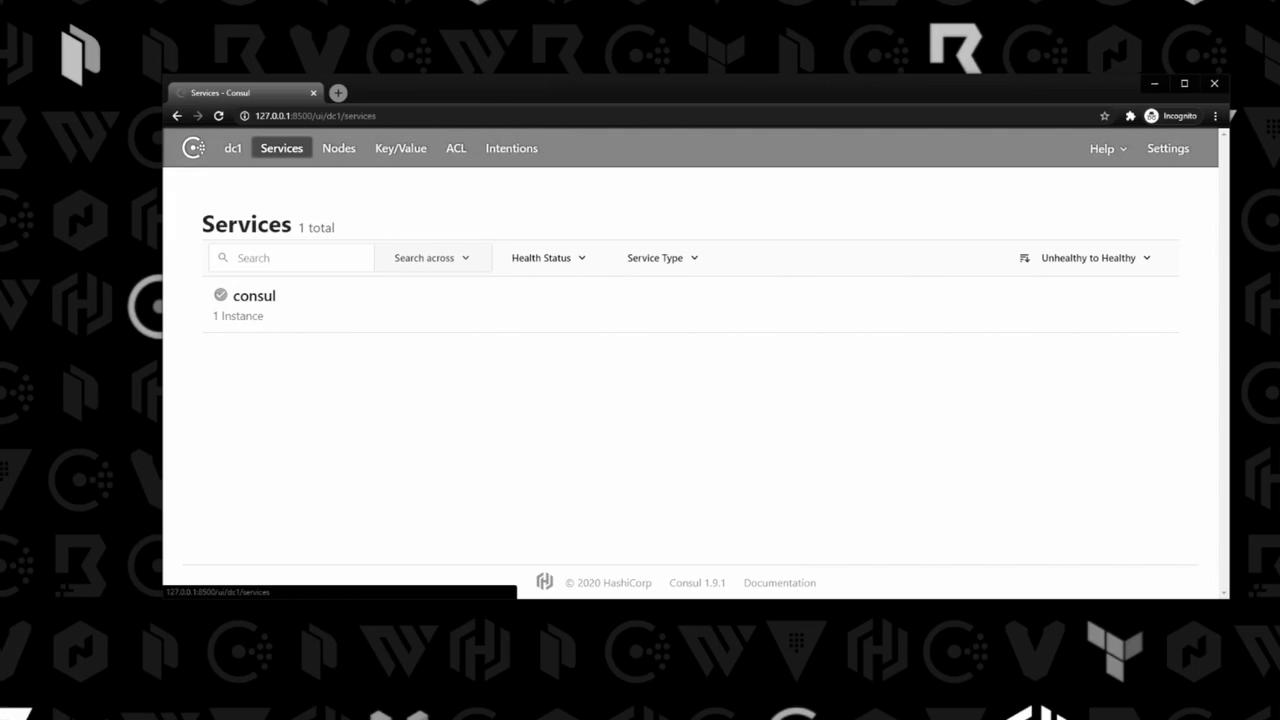
To stop the agent, press `Ctrl+C` in the shell where it’s running.
***
## 2. Preparing AWS EC2 Instances
I’ve provisioned two EC2 instances and used Packer to install Consul under `/usr/local/bin`. Let’s verify everything:
```bash theme={null}
# Check Consul version
consul version
```
```text theme={null}
Consul v1.9.3+ent
Revision bd0dc9e5d
Protocol 2 spoken by default, understands 2 to 3
```
```bash theme={null}
# Confirm the binary in PATH
ls /usr/local/bin
```
```text theme={null}
consul
```
```bash theme={null}
# List systemd service files
ls /etc/systemd/system
```
```text theme={null}
consul.service consul-snapshot.service basic.target.wants ...
```
You should see both `consul.service` and `consul-snapshot.service`.
***
## 3. Reviewing the Systemd Service File
Open `/etc/systemd/system/consul.service` to inspect how Consul is managed:
```ini theme={null}
[Unit]
Description="HashiCorp Consul - A service mesh solution"
Documentation=https://www.consul.io/
Requires=network-online.target
After=network-online.target
ConditionFileNotEmpty=/etc/consul.d/config.hcl
[Service]
Type=notify
User=consul
Group=consul
ExecStart=/usr/local/bin/consul agent -config-file=/etc/consul.d/config.hcl
ExecReload=/usr/local/bin/consul reload
KillMode=process
Restart=on-failure
LimitNOFILE=65536
[Install]
WantedBy=multi-user.target
```
This unit ensures Consul starts after networking is available and points to our main configuration file.
***
## 4. Reviewing the Consul Configuration (Node A)
Below is the JSON-based configuration at `/etc/consul.d/config.hcl` for **node A** (`10.0.101.110`):
```json theme={null}
{
"log_level": "INFO",
"node_name": "consul-node-a",
"server": true,
"ui": true,
"leave_on_terminate": true,
"data_dir": "/etc/consul.d/data",
"datacenter": "us-east-1",
"client_addr": "0.0.0.0",
"bind_addr": "10.0.101.110",
"advertise_addr": "10.0.101.110",
"retry_join": ["10.0.101.248"],
"enable_syslog": true,
"performance": {
"raft_multiplier": 1
}
}
```
Key configuration parameters:
| Parameter | Description |
| ----------- | -------------------------------------------- |
| server | Enables server mode |
| ui | Activates the built-in web UI |
| retry\_join | List of peer addresses for automatic joining |
| data\_dir | Location for Raft logs and state |
| bind\_addr | Network interface for cluster communication |
***
## 5. Starting Consul on Both Nodes
Open required ports (8300–8302, 8500, 8600) in your security groups before proceeding.
### Node A
```bash theme={null}
sudo systemctl start consul
```
### Node B
On the second instance (`10.0.101.248`), the `/etc/consul.d/config.hcl` is identical except for IP addresses and `node_name`:
```json theme={null}
{
"node_name": "consul-node-b",
"bind_addr": "10.0.101.248",
"advertise_addr": "10.0.101.248",
"retry_join": ["10.0.101.110"],
...
}
```
Start the service:
```bash theme={null}
sudo systemctl start consul
```
### Verify Cluster Membership
Run on either node:
```bash theme={null}
consul members
```
```text theme={null}
Node Address Status Type Build Protocol DC Segment
consul-node-a 10.0.101.110:8301 alive server 1.9.3+ent 2 us-east-1
consul-node-b 10.0.101.248:8301 alive server 1.9.3+ent 2 us-east-1
```
| Node | Address | Status | Type |
| ------------- | ----------------- | ------ | ------ |
| consul-node-a | 10.0.101.110:8301 | alive | server |
| consul-node-b | 10.0.101.248:8301 | alive | server |
Because of the `retry_join` settings, both servers automatically discover each other and form a cluster.
***
That concludes this lab. You’ve learned how to:
* Run Consul in **dev mode** locally
* Prepare EC2 instances and verify Consul installation
* Inspect systemd service and configuration files
* Bootstrap a two-node Consul server cluster on AWS
***
## Links and References
* [Consul Documentation](https://www.consul.io/docs)
* [Consul Agent Overview](https://www.consul.io/docs/agent)
* [Consul Web UI](https://www.consul.io/docs/ui)
* [AWS EC2 Documentation](https://docs.aws.amazon.com/ec2/)
* [Packer by HashiCorp](https://www.packer.io/)
* [Systemd Service Files Best Practices](https://www.consul.io/docs/platforms/systemd)