Always run Consul on an odd number of voting server nodes (3, 5, 7, or 9). This ensures proper quorum and automatic leader election.
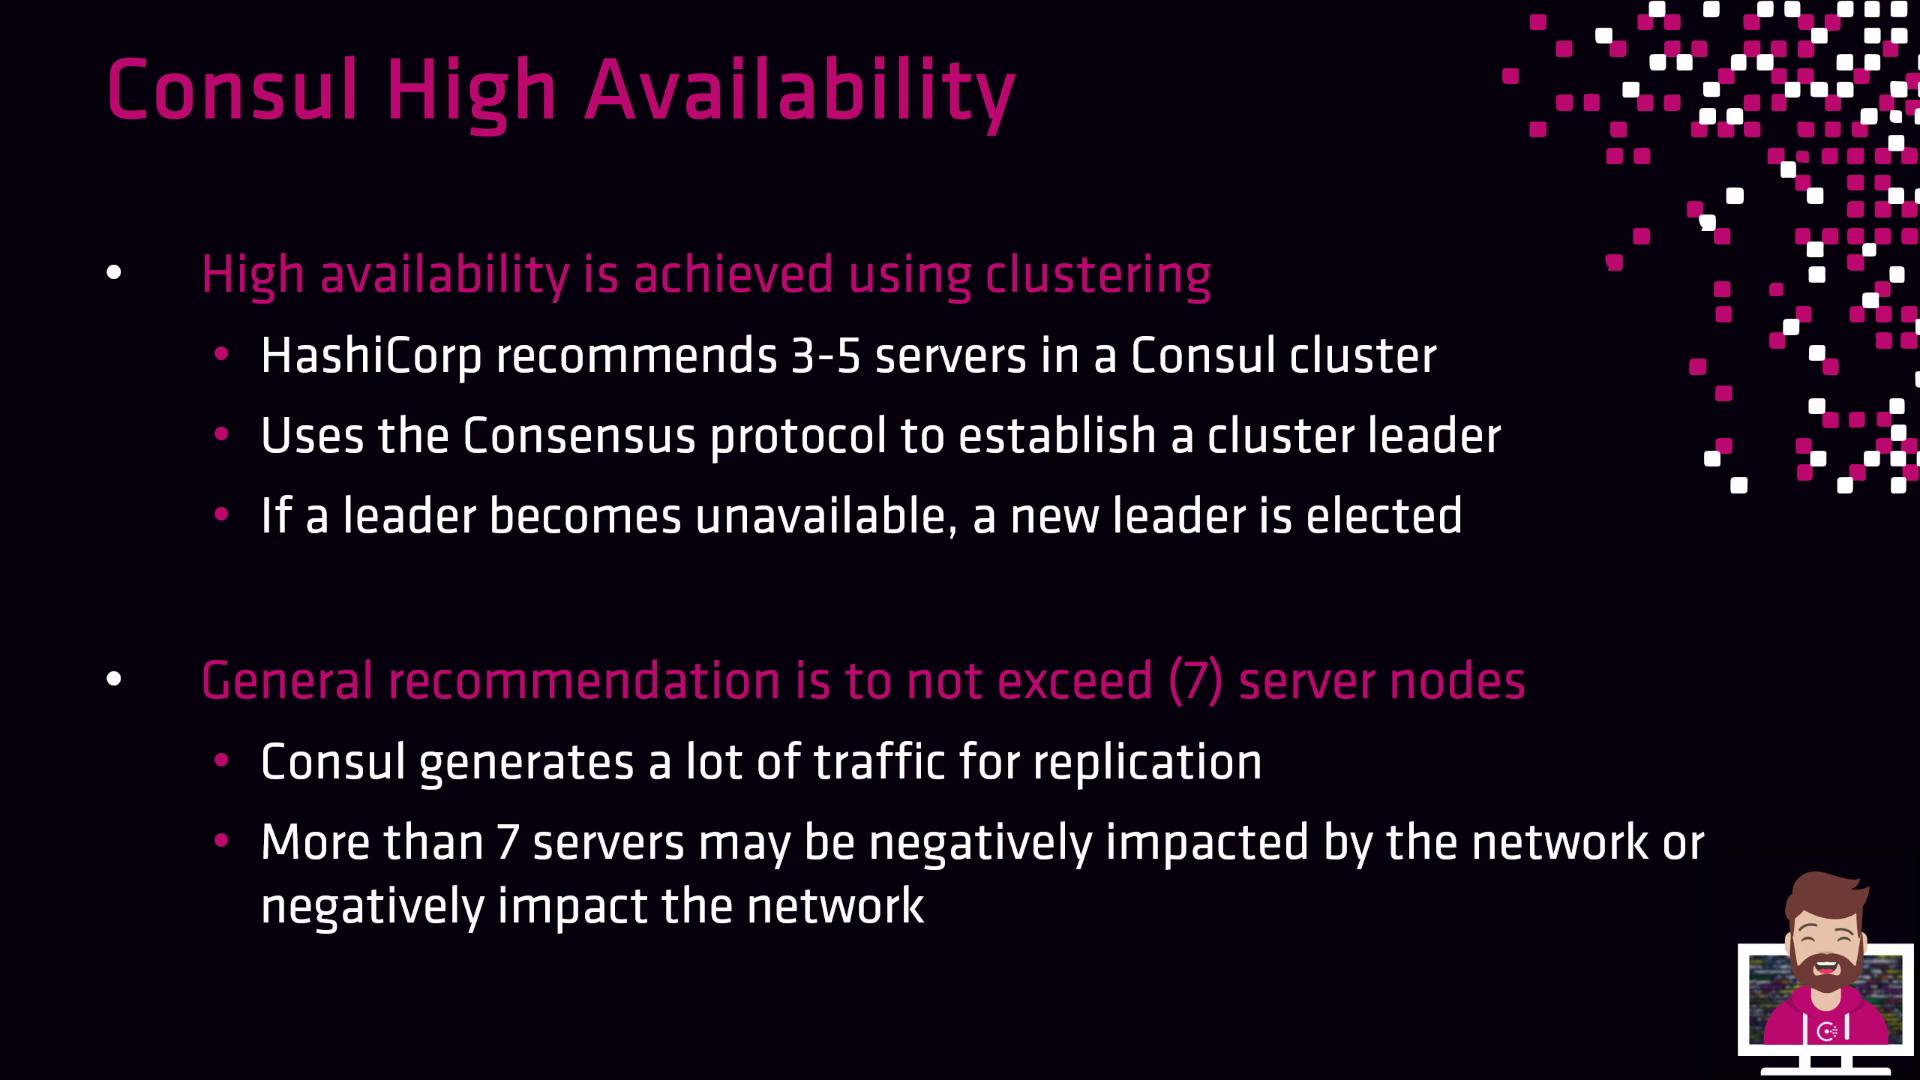
Recommended Cluster Sizes
HashiCorp recommends running Consul with three to five servers by default. Larger clusters (up to seven or nine nodes) can be used but may introduce additional replication overhead. Below is a quick reference:| Cluster Size | Quorum Size | Failure Tolerance | Typical Use Case |
|---|---|---|---|
| 3 | 2 | 1 | Small dev/QA or lightweight production |
| 5 | 3 | 2 | Most production environments |
| 7 | 4 | 3 | Large-scale deployments with extra redundancy |
| 9 | 5 | 4 | Extremely high-scale use cases (specialized needs) |
Clusters larger than nine voting nodes often suffer from increased replication traffic, which can degrade performance. Only scale beyond nine nodes for very specific requirements.
Fault Tolerance and Quorum
Fault tolerance in Consul is determined by the number of voting server nodes. When a leader fails, the remaining voting members hold an election to choose a new leader—provided a quorum is still available.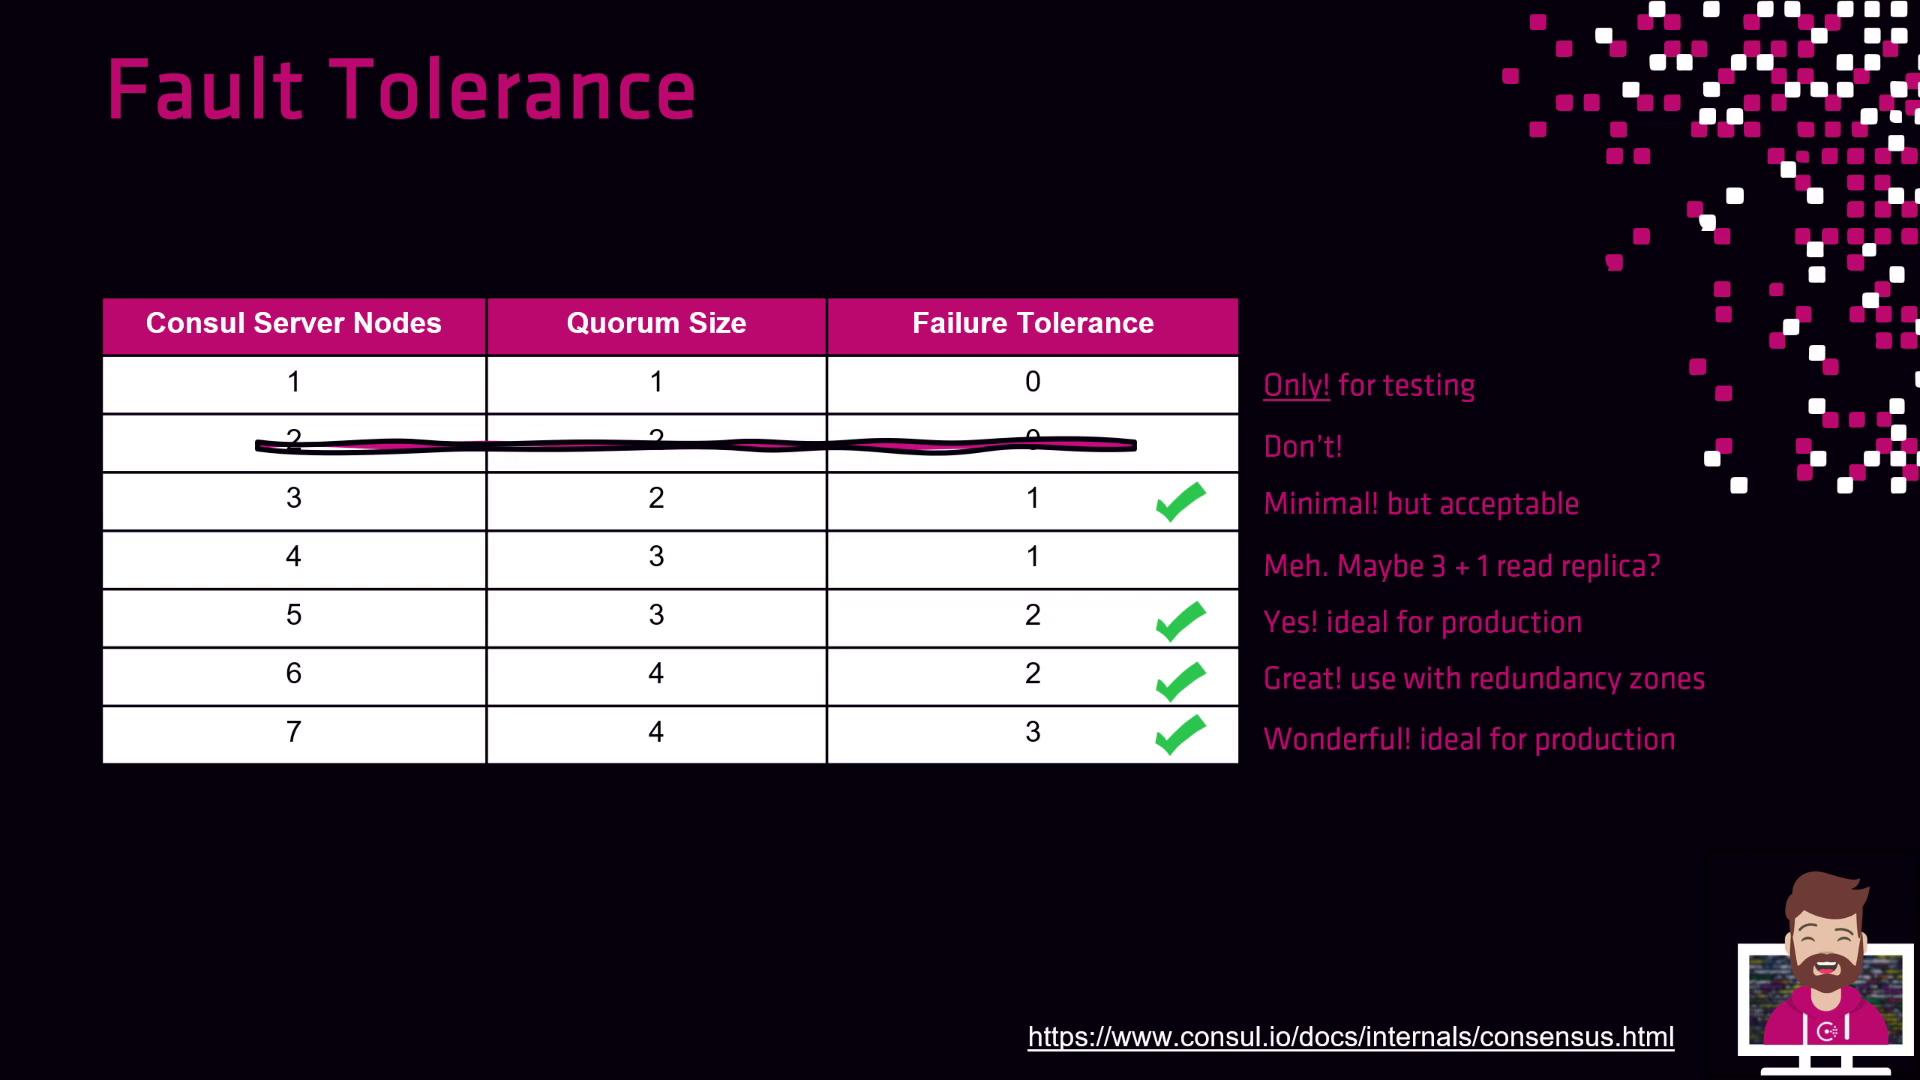
- Quorum size: 1
- Failure tolerance: 0
- Use case: Testing or demos only; no redundancy.
- Quorum size: 2
- Failure tolerance: 0
- Use case: Still cannot tolerate failures; avoid in production.
- Quorum size: 2
- Failure tolerance: 1
- Use case: Small dev/QA or lightweight production. During rolling upgrades, redundancy is temporarily reduced as each node goes offline.
- Quorum size: 3
- Failure tolerance: 1
- Use case: Only useful if the fourth server is configured as a non-voting member (read replica).
- Quorum size: 3
- Failure tolerance: 2
- Use case: Standard production workloads; lose up to two servers without impacting service.
- Voting members: 3 (one per AZ)
- Failure tolerance: Depends on zone configuration
- Use case: Multi-AZ public cloud deployments with Enterprise; non-voting peers are promoted on failure, maintaining cross-zone quorum.
- Quorum size: 4
- Failure tolerance: 2
- Use case: Behaves like a five-node cluster unless you explicitly configure redundancy zones.
- Quorum size: 4
- Failure tolerance: 3
- Use case: High redundancy at the cost of increased replication traffic and operational overhead.
Key Recommendations
- Stick with odd numbers of servers: 3, 5, or 7.
- Use 3 nodes for development or small-scale testing.
- Choose 5 nodes for most production workloads, especially across two fault domains or availability zones.
- In Enterprise multi-AZ setups, consider 6 nodes with redundancy zones for enhanced failure tolerance.
- Avoid clusters larger than 9 nodes unless you have specific scaling requirements.