> ## Documentation Index
> Fetch the complete documentation index at: https://notes.kodekloud.com/llms.txt
> Use this file to discover all available pages before exploring further.
# Demo Using Tokens with the Consul UI
> This tutorial explains how to authenticate to the Consul UI using an ACL token for managing access control.
In this tutorial, you’ll learn how to authenticate to the HashiCorp Consul UI with an ACL token. Once logged in, you can perform write operations—such as creating or modifying tokens, roles, and policies—directly from the interface.
## Overview
By default, the Consul UI provides read-only access to services, nodes, the Key/Value store, and cluster status. To enable write operations—like managing ACLs and service intentions—you must turn on ACL enforcement and log in with a valid token. This demo walks you through using the bootstrap (master) token to unlock full ACL management capabilities in the UI.
* A running Consul cluster with ACL enforcement enabled
* A valid bootstrap (master) token
* Browser access to the Consul UI (usually http\://\:8500/ui/)
## 1. Logging In with an ACL Token
1. Navigate to the Consul UI in your browser.
2. Select the **ACL** tab. If you’re not authenticated, you’ll see:
**You are not authorized. You must be granted permissions to access this data.**
3. Click **Login**. When prompted, paste your bootstrap token and submit.
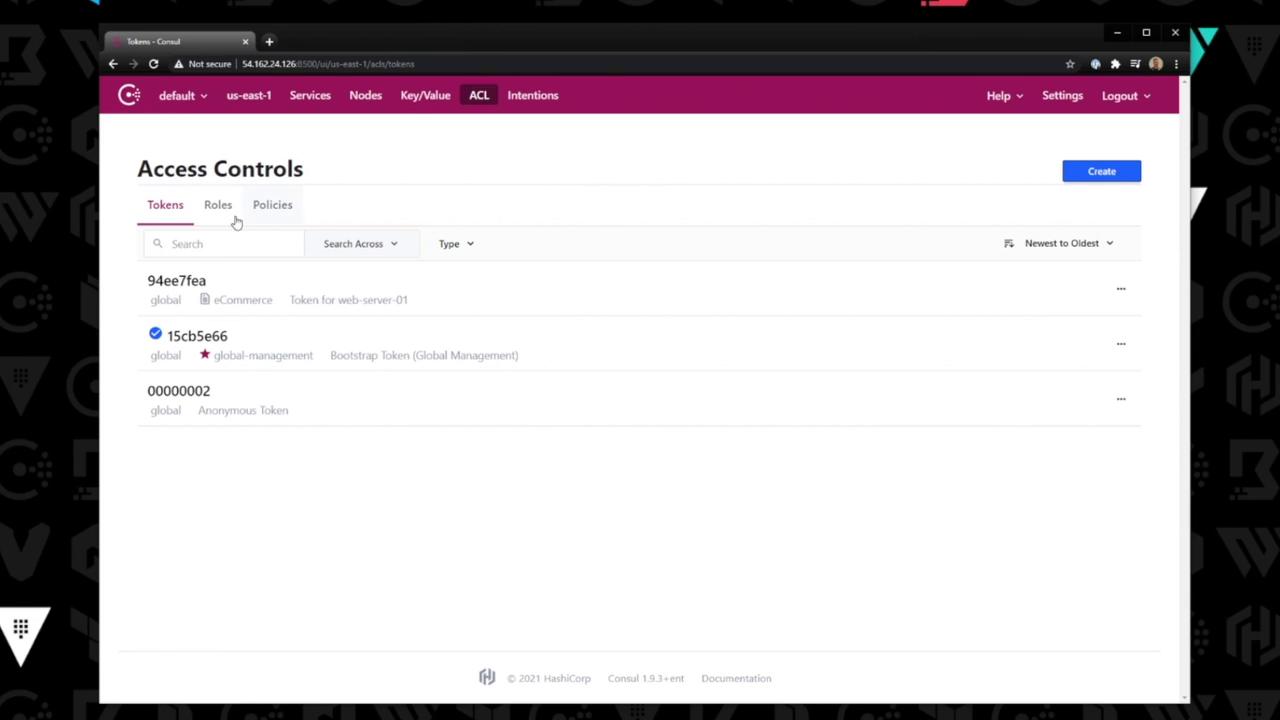
4. After successful authentication, the ACL management interface loads:
Treat your bootstrap token like a root credential. Avoid sharing it or embedding it in scripts. Always store tokens in a secure vault or use a short-lived token for day-to-day operations.
## 2. Managing ACL Entities
Once logged in, the **ACL** section exposes three main entities:
| Entity | Description | UI Actions |
| -------- | ------------------------------------------- | ------------------------- |
| Tokens | Create, revoke, and modify ACL tokens | New Token, Revoke, Edit |
| Roles | Group multiple policies under a single role | New Role, Assign Policies |
| Policies | Define fine-grained permission rules | New Policy, Edit, Clone |
### Creating and Editing
* To **create** a token or role, click **New Token** or **New Role** in the corresponding tab.
* To **edit** an existing policy (e.g., `e-commerce`), switch to **Policies**, select the policy, and update its HCL or JSON definitions.
## 3. Example: Editing a Policy
1. Click the **Policies** tab.
2. Select the `e-commerce` policy from the list.
3. Modify the rules in the editor pane and click **Save**.
4. Verify changes by assigning the policy to a role or creating a token scoped to it.
## Conclusion
In this lesson, you authenticated to the Consul UI using a bootstrap token and explored how to manage ACL tokens, roles, and policies directly from the interface. With these capabilities, you can enforce robust security policies and streamline access control operations.
## Links and References
* [Consul UI Guide](https://www.consul.io/docs/ui)
* [Access Control List (ACL) Overview](https://www.consul.io/docs/security/acl)
* [Official Consul Documentation](https://www.consul.io/docs)