HashiCorp Certified: Consul Associate Certification
Secure Services with Basic ACLs
Objective 8 Section Recap
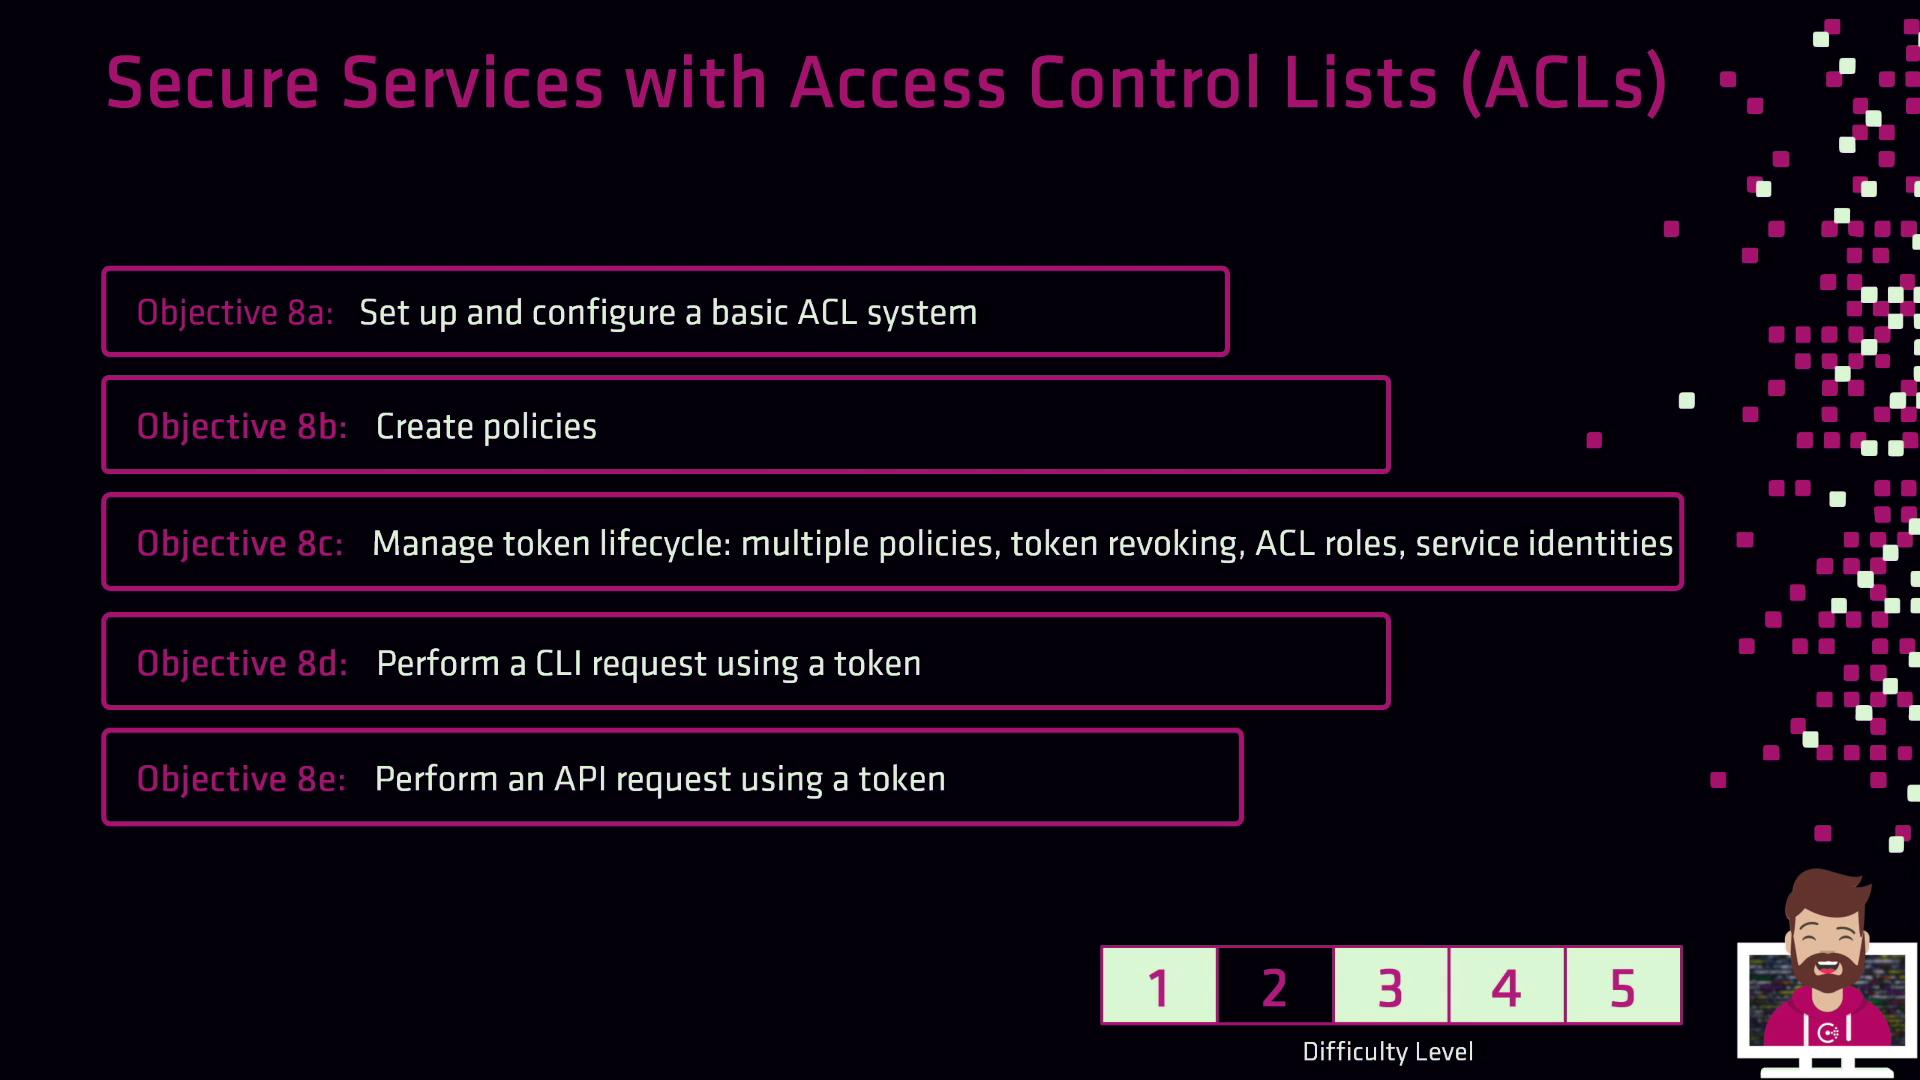
In this section, we reviewed how to secure your services using HashiCorp Consul’s Access Control List (ACL) system. You’ll walk away with a clear understanding of bootstrapping ACLs, defining policies, managing token lifecycles, and authenticating requests.
Key Topics Overview
| Topic | Description |
|---|---|
| ACL Bootstrapping | Enable ACLs, initialize the management token, and verify ACL-enabled mode |
| Policy Creation | Write ACL policies in HCL or JSON; apply them via UI, CLI, and HTTP API |
| Token Lifecycle | Create multi-policy, role-attached, and service-identity tokens; set expirations; revoke tokens |
| Authentication Methods | Use CLI flags or CONSUL_HTTP_TOKEN, HTTP headers (X-Consul-Token or Authorization), and UI |
Detailed Recap
1. Bootstrapping and Configuration
- Enable ACL enforcement in your Consul configuration.
- Initialize the ACL system to generate the management token.
- Confirm ACL mode with:
consul acl status
Note
If you’re running Consul in a cluster, ensure all agents join with -enable-agent and share the same ACL configuration.
2. Creating and Managing Policies
- Define policies in HCL or JSON syntax.
- Apply policies with the CLI:
consul acl policy create -name "web-policy" -rules @web-policy.hcl - Or via HTTP API:
PUT /v1/acl/policy - You can also manage policies inside the Consul UI under Access Control → Policies.
3. Token Lifecycle Management
- Create Tokens: single-policy, multi-policy, role-attached, or service-identity tokens.
consul acl token create -description "service-xyz" -policy-name web-policy - Set Expiration: use the
-expire-timeflag for time-to-live. - Revocation: revoke unused or compromised tokens immediately:
consul acl token revoke <token_id>
Warning
Always revoke tokens as soon as they’re no longer needed to minimize security risks.
4. Authenticating Requests
- CLI:
Or passexport CONSUL_HTTP_TOKEN=<your-token> consul kv put foo bar--token=<your-token>. - HTTP API: include the header:
orX-Consul-Token: <your-token>Authorization: Bearer <your-token> - UI: log in using a browser session token via Access Control → Tokens.

Next Steps
With these building blocks in place—bootstrapping ACLs, defining policies, issuing/revoking tokens, and authenticating requests—you’re ready to implement robust Service Mesh security in your environment.
Further Reading
Watch Video
Watch video content