> ## Documentation Index
> Fetch the complete documentation index at: https://notes.kodekloud.com/llms.txt
> Use this file to discover all available pages before exploring further.
# Demo PKI Secrets Engine
> This hands-on guide covers deploying a root Certificate Authority in Vault and issuing certificates through an intermediate CA.
Welcome to this hands-on guide for Vault’s PKI Secrets Engine. In this tutorial, you will:
* Deploy a root Certificate Authority (CA) in Vault
* Create and sign an intermediate CA
* Define a role for issuing certificates
* Request certificates from the intermediate CA
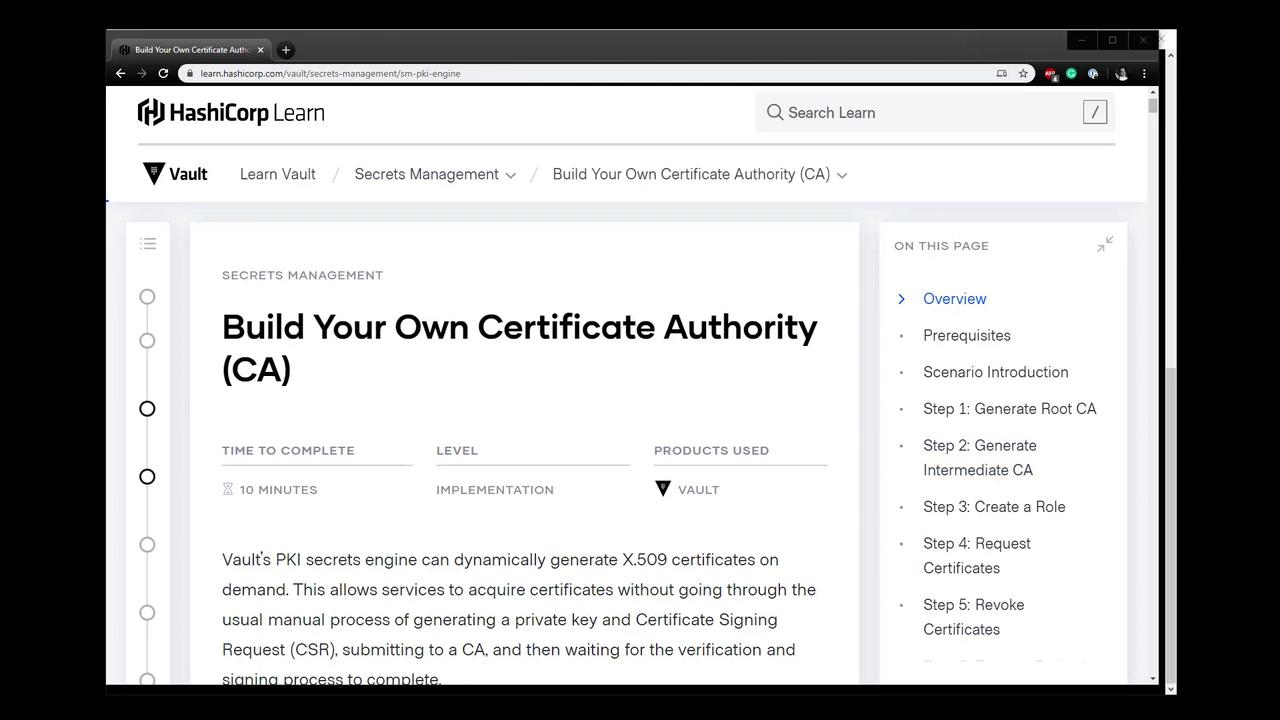
Follow along with the full HashiCorp Learn tutorial: [Building Your Own Certificate Authority (CA) Using Vault](https://learn.hashicorp.com/tutorials/vault/pki-engine).
* A running Vault cluster (we’ll use AWS).
* Vault CLI installed and authenticated.
* `jq` installed for JSON parsing.
## Step-by-Step Overview
| Step | Action | Path | TTL |
| ---- | ------------------------------------------------ | ---------- | --------------- |
| 1 | Enable Root PKI Engine | `pki/` | 87600h (10 yrs) |
| 2 | Generate Root Certificate | — | 87600h |
| 3 | Configure CA & CRL URLs | — | — |
| 4 | Enable Intermediate PKI Engine | `pki_int/` | 43800h (5 yrs) |
| 5 | Generate Intermediate CSR | — | — |
| 6 | Sign Intermediate CSR with Root | — | 43800h |
| 7 | Import Signed Intermediate Certificate | — | — |
| 8 | Create Certificate Role | `pki_int/` | 720h |
| 9 | Issue a Certificate from the Intermediate Engine | `pki_int/` | 24h (example) |
| 10 | View Engines & Certificates in the Vault UI | — | — |
***
## 1. Enable and Tune the Root PKI Engine
First, verify no PKI engine is enabled:
```bash theme={null}
vault secrets list
```
Enable the root PKI engine and set its maximum lease TTL to 10 years:
```bash theme={null}
vault secrets enable pki
vault secrets tune --max-lease-ttl=87600h pki
```
***
## 2. Generate the Root Certificate
Create an internal root CA certificate. This outputs only the PEM-format certificate:
```bash theme={null}
vault write -field=certificate pki/root/generate/internal \
common_name="vaultadvanced.com" ttl=87600h \
> ca_cert.crt
```
Confirm the file:
```bash theme={null}
ls -l ca_cert.crt
```
***
## 3. Configure CA and CRL Distribution URLs
Point Vault to the endpoints where clients can retrieve the issuing CA and CRL:
```bash theme={null}
vault write pki/config/urls \
issuing_certificates="http://127.0.0.1:8200/v1/pki/ca" \
crl_distribution_points="http://127.0.0.1:8200/v1/pki/crl"
```
***
## 4. Enable and Tune the Intermediate PKI Engine
Remove any existing intermediate engine, then enable a fresh one with a 5-year TTL:
```bash theme={null}
vault secrets disable pki_int
vault secrets enable -path=pki_int -description="Intermediate CA" pki
vault secrets tune --max-lease-ttl=43800h pki_int
```
***
## 5. Generate the Intermediate CSR
Have the intermediate engine generate a private key and CSR. Extract the CSR to a file:
```bash theme={null}
vault write -format=json pki_int/intermediate/generate/internal \
common_name="vaultadvanced.com Intermediate Authority" \
| jq -r '.data.csr' > pki_intermediate.csr
```
Verify both the CA and CSR files:
```bash theme={null}
ls -l ca_cert.crt pki_intermediate.csr
```
***
## 6. Sign the Intermediate CSR with the Root
Submit the CSR to the root engine and save the signed intermediate certificate:
```bash theme={null}
vault write -format=json pki/root/sign-intermediate \
csr=@pki_intermediate.csr ttl=43800h \
| jq -r '.data.certificate' > intermediate.cert.pem
```
***
## 7. Import the Signed Intermediate Certificate
Configure the intermediate engine to use its signed certificate:
```bash theme={null}
vault write pki_int/intermediate/set-signed \
certificate=@intermediate.cert.pem
```
***
## 8. Create a Role for Issuing Certificates
Define a role named `vaultadvanced` that can issue certificates for `vaultadvanced.com` and its subdomains:
```bash theme={null}
vault write pki_int/roles/vaultadvanced \
allowed_domains="vaultadvanced.com" \
allow_subdomains=true \
max_ttl="720h"
```
Verify the new role:
```bash theme={null}
vault read pki_int/roles/vaultadvanced
```
***
## 9. Issue a Certificate from the Intermediate
Request a certificate with a 24-hour TTL:
```bash theme={null}
vault write pki_int/issue/vaultadvanced \
common_name="learn.vaultadvanced.com" ttl="24h"
```
The `private_key` is only returned at issuance. Store it securely, as Vault will not retain it for later retrieval.
You can issue additional short-lived certificates, for example:
```bash theme={null}
vault write pki_int/issue/vaultadvanced \
common_name="atm01.vaultadvanced.com" ttl="1h"
```
***
## 10. View Engines and Certificates in the Vault Web UI
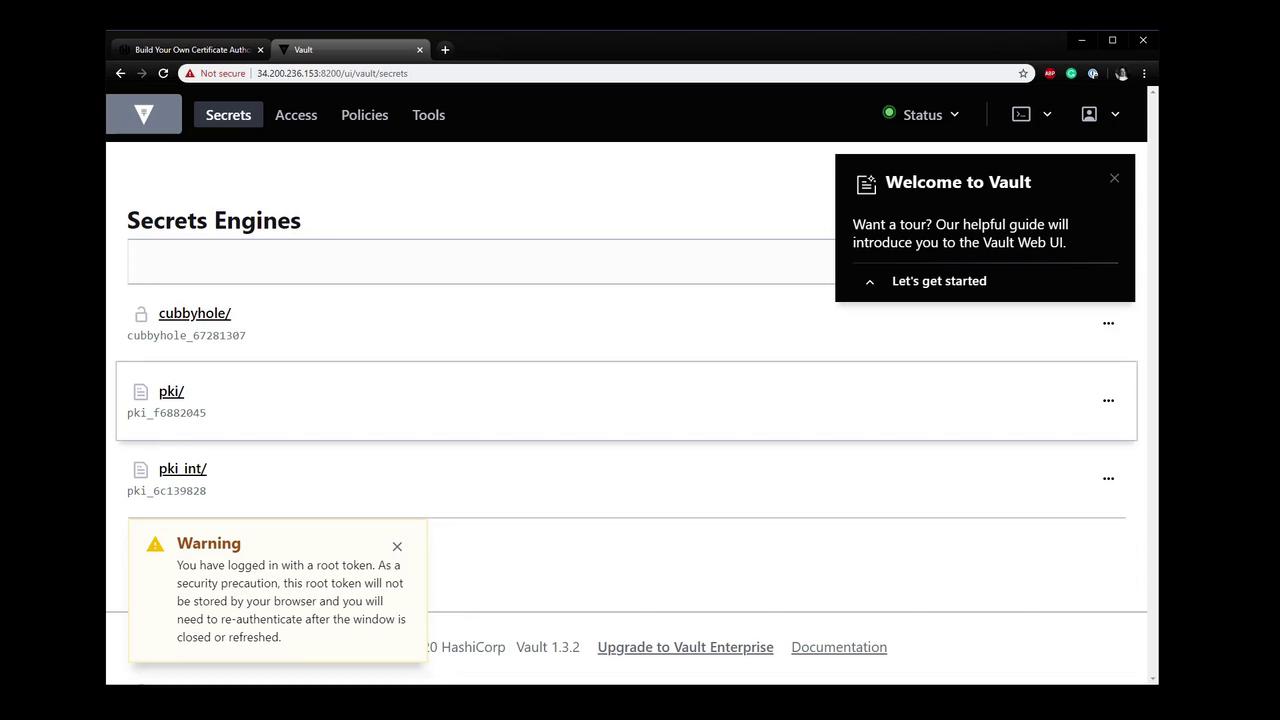
In the UI, navigate to **pki/** and **pki\_int/** to inspect roles and issued certificates (serial numbers only, no private keys).
***
## References
* [Vault PKI Secrets Engine](https://www.vaultproject.io/docs/secrets/pki)
* [Building Your Own Certificate Authority (CA) Using Vault](https://learn.hashicorp.com/tutorials/vault/pki-engine)
* [Vault CLI Installation](https://www.vaultproject.io/docs/commands)