> ## Documentation Index
> Fetch the complete documentation index at: https://notes.kodekloud.com/llms.txt
> Use this file to discover all available pages before exploring further.
# Demo Installing Vault using Packer
> This tutorial guides you through using Packer to create a custom AMI with Vault 1.7.1 pre-installed on AWS.
In this tutorial, you’ll use [Packer](https://www.packer.io/) to bake a custom Amazon Machine Image (AMI) with Vault 1.7.1 pre-installed. We’ll walk through cloning the repo, configuring the Packer template, downloading Vault, building the AMI, and launching an EC2 instance.

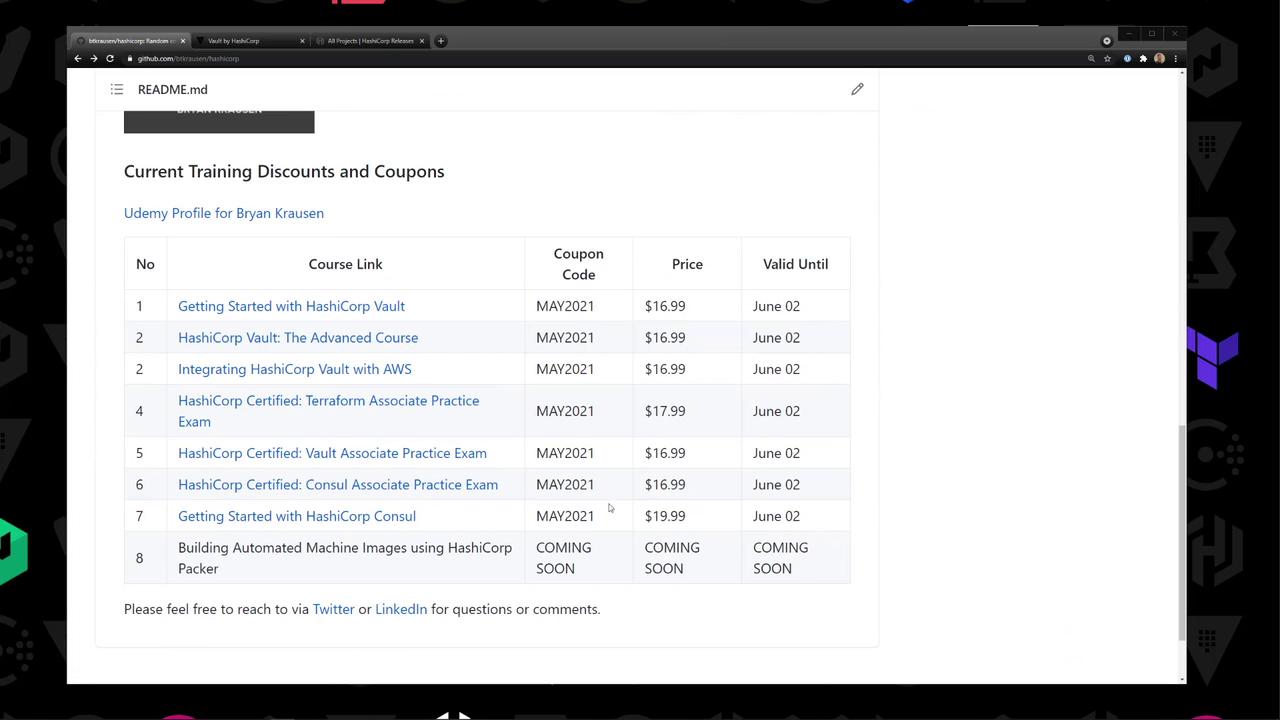
This repository (github.com/bryankrausen/hashicorp) contains all my HashiCorp training content—Terraform, Vault, Packer, and more—plus discount links and coupons.
## Repository Structure
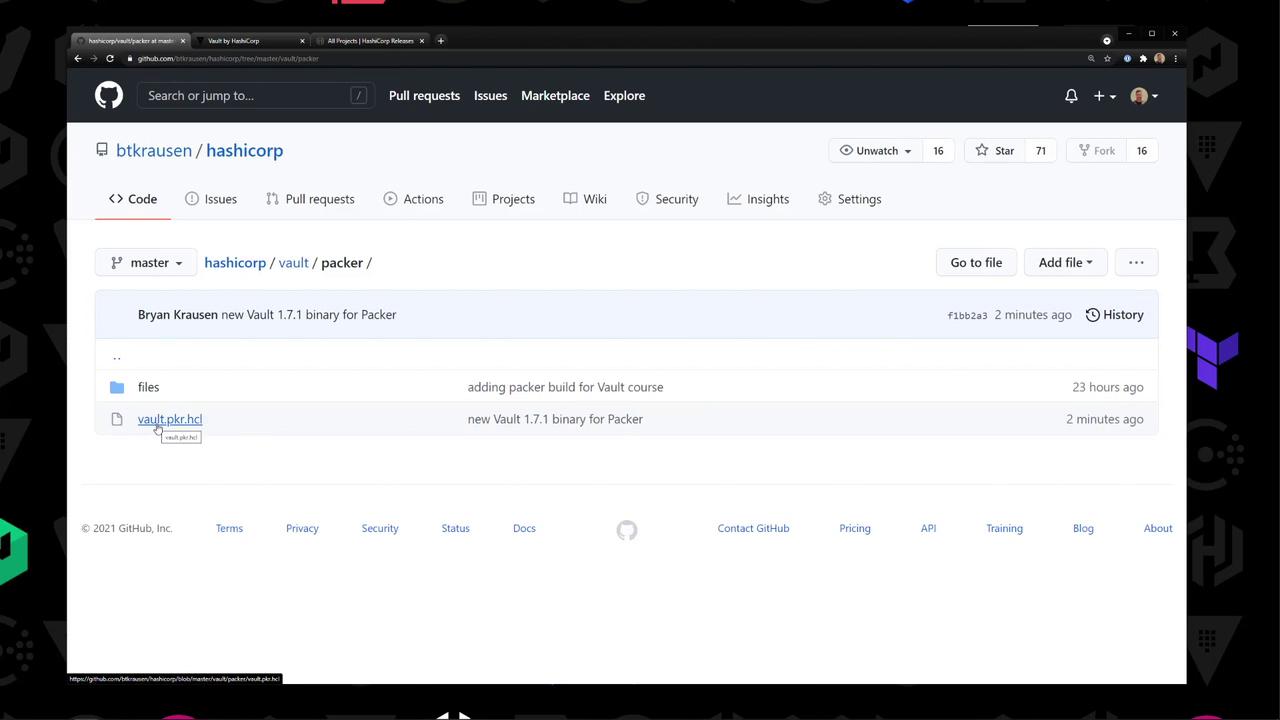
Navigate to the `vault/packer` directory. You’ll find:
‐ **vault.pkr.hcl**: Packer HCL2 template\
‐ **files/**: Vault configuration examples
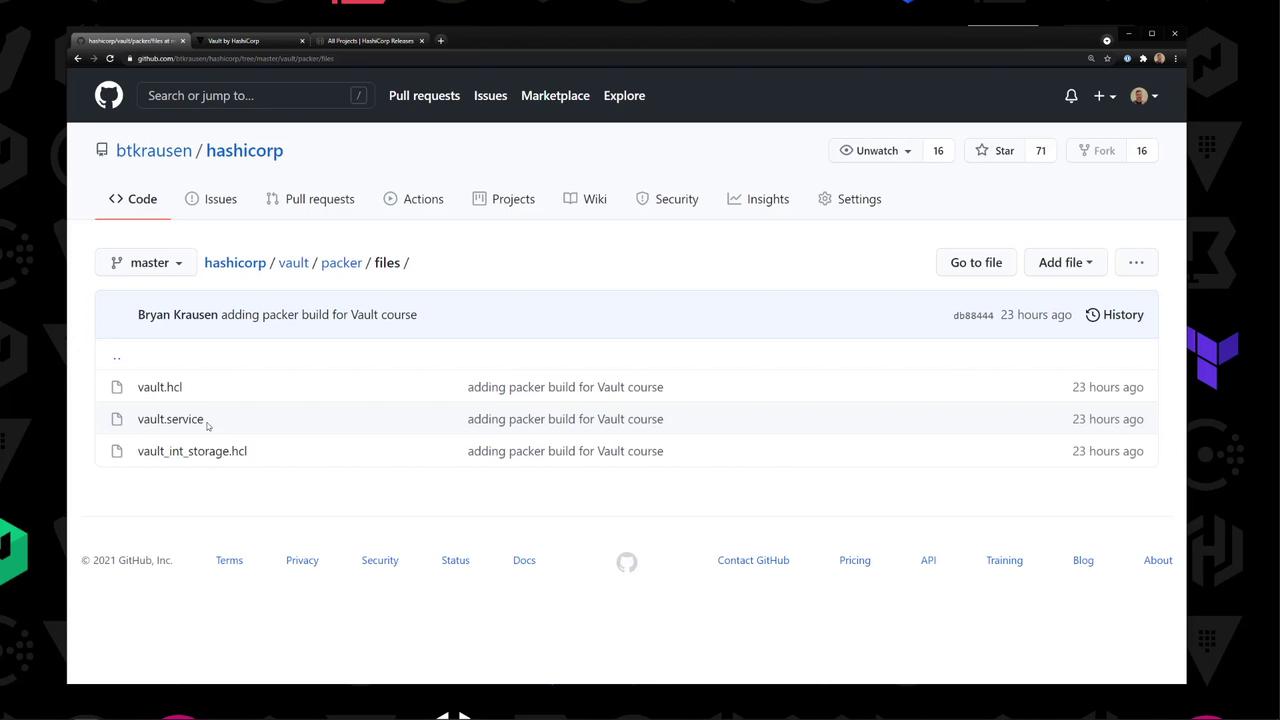
Inside `files/`:
| Filename | Description |
| ----------------------- | -------------------------------- |
| `vault.hcl` | Vault server configuration |
| `vault.service` | systemd unit file for Vault |
| `vault_int_storage.hcl` | Example using integrated storage |
## 1. Download Vault 1.7.1
Head to the official release page and grab the Linux ZIP:
```none theme={null}
https://releases.hashicorp.com/vault/1.7.1/vault_1.7.1_linux_amd64.zip
```
Example listing on the download page:
```text theme={null}
vault_1.7.1_SHA256SUMS
vault_1.7.1_linux_amd64.zip
vault_1.7.1_darwin_amd64.zip
…
```
Make sure to verify the SHA256 checksum to ensure file integrity.
## 2. Configure the Packer Template
Open `vault.pkr.hcl` and define:
1. **Variables** (AWS region, VPC/Subnet IDs, path to Vault ZIP)
2. **Data source** for Amazon Linux 2 AMI
3. **`amazon-ebs`** source block
4. **Provisioners** to upload and install Vault
```hcl theme={null}
variable "aws_region" {
type = string
default = env("AWS_REGION")
}
variable "vault_zip" {
type = string
default = "/path/to/vault_1.7.1_linux_amd64.zip"
}
variable "vpc_id" {
type = string
default = "vpc-xxxx"
}
variable "subnet_id" {
type = string
default = "subnet-xxxx"
}
data "aws_ami" "amazon_linux_2" {
most_recent = true
owners = ["amazon"]
filter {
name = "name"
values = ["amzn2-ami-hvm-*-x86_64-gp2"]
}
}
source "amazon-ebs" "vault-amzn2" {
region = var.aws_region
ami_name = "vault-amazonlinux2-{{timestamp}}"
instance_type = "t2.micro"
source_ami = data.aws_ami.amazon_linux_2.id
ssh_username = "ec2-user"
associate_public_ip_address = true
subnet_id = var.subnet_id
vpc_id = var.vpc_id
tags = {
Name = "HashiCorp Vault"
OS = "Amazon Linux 2"
}
}
build {
sources = ["source.amazon-ebs.vault-amzn2"]
provisioner "file" {
source = var.vault_zip
destination = "/tmp/vault.zip"
}
provisioner "file" {
source = "files/"
destination = "/tmp"
}
provisioner "shell" {
inline = [
"unzip /tmp/vault.zip -d /usr/local/bin",
"chmod +x /usr/local/bin/vault",
"mkdir -p /etc/vault.d",
"mv /tmp/vault.hcl /etc/vault.d/",
"mv /tmp/vault_int_storage.hcl /etc/vault.d/",
"mv /tmp/vault.service /etc/systemd/system/",
"systemctl daemon-reload",
"systemctl enable vault"
]
}
}
```
## 3. Set AWS Variables
Retrieve your VPC and Subnet IDs from the AWS VPC console:
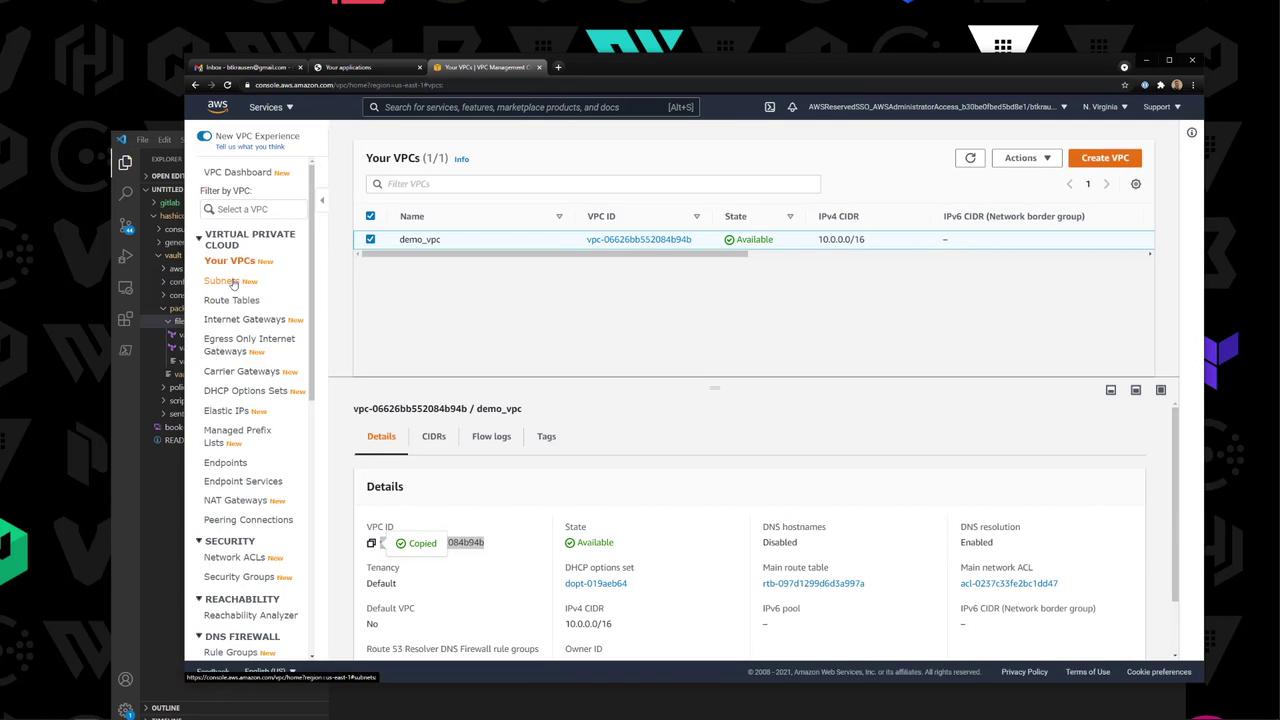
You can either update the `default` values in `vault.pkr.hcl` or pass them at build time:
```bash theme={null}
packer build \
-var aws_region=us-east-1 \
-var vpc_id=vpc-123456 \
-var subnet_id=subnet-abcdef \
vault.pkr.hcl
```
## 4. Validate & Build the AMI
```bash theme={null}
packer validate vault.pkr.hcl
packer build vault.pkr.hcl
```
Packer will launch a builder EC2 instance, upload your files, install Vault, and register a new AMI.
```bash theme={null}
amazon-ebs.vault-amzn2: Creating AMI: vault-amazonlinux2- from instance i-0b8...
...
amazon-ebs.vault-amzn2: Builds finished. The artifacts of successful builds are:
```
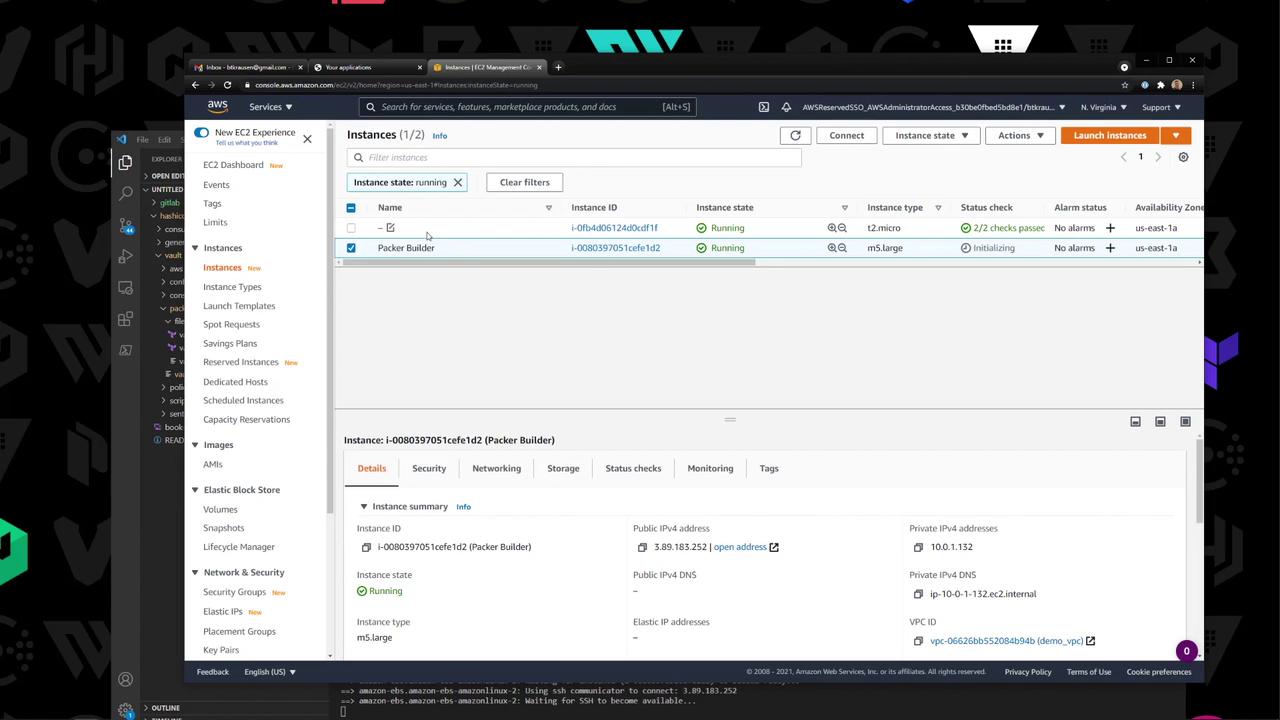
## 5. Verify the Builder Instance
In the EC2 console, watch the temporary Packer builder instance spin up and terminate:
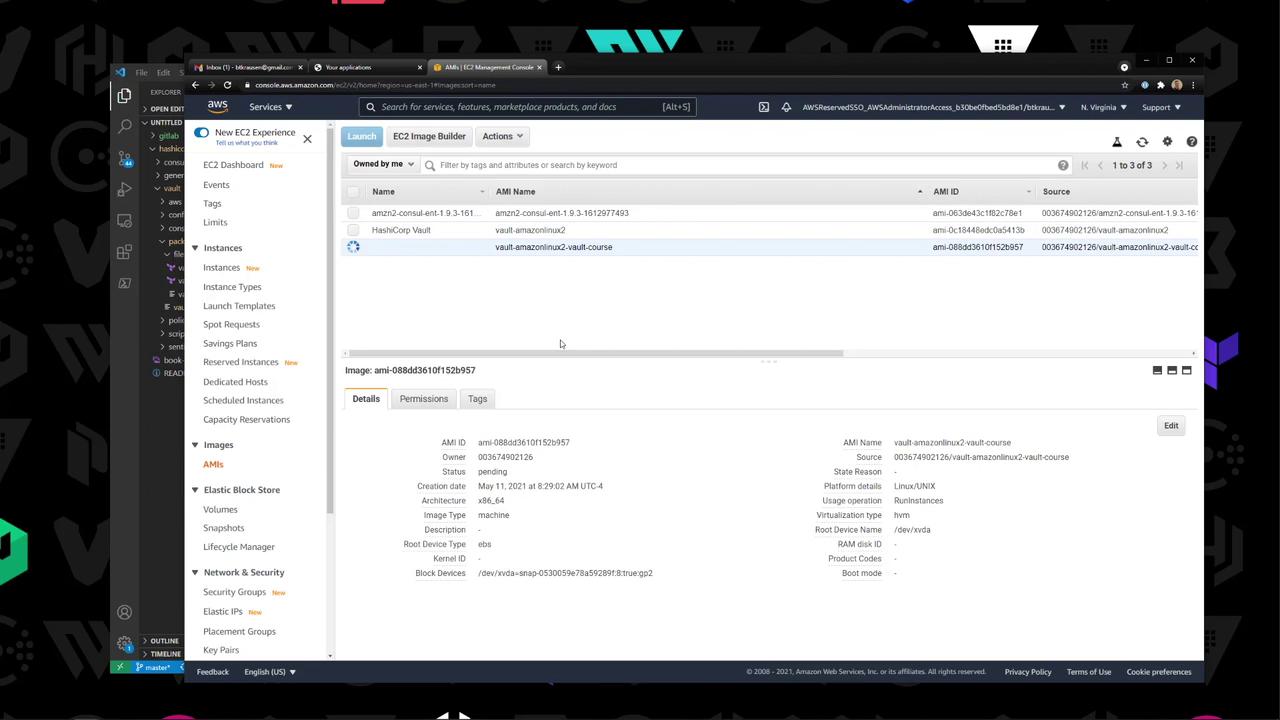
## 6. Check the New AMI
Under **EC2** → **AMIs**, confirm your `vault-amazonlinux2-*` AMI is available:
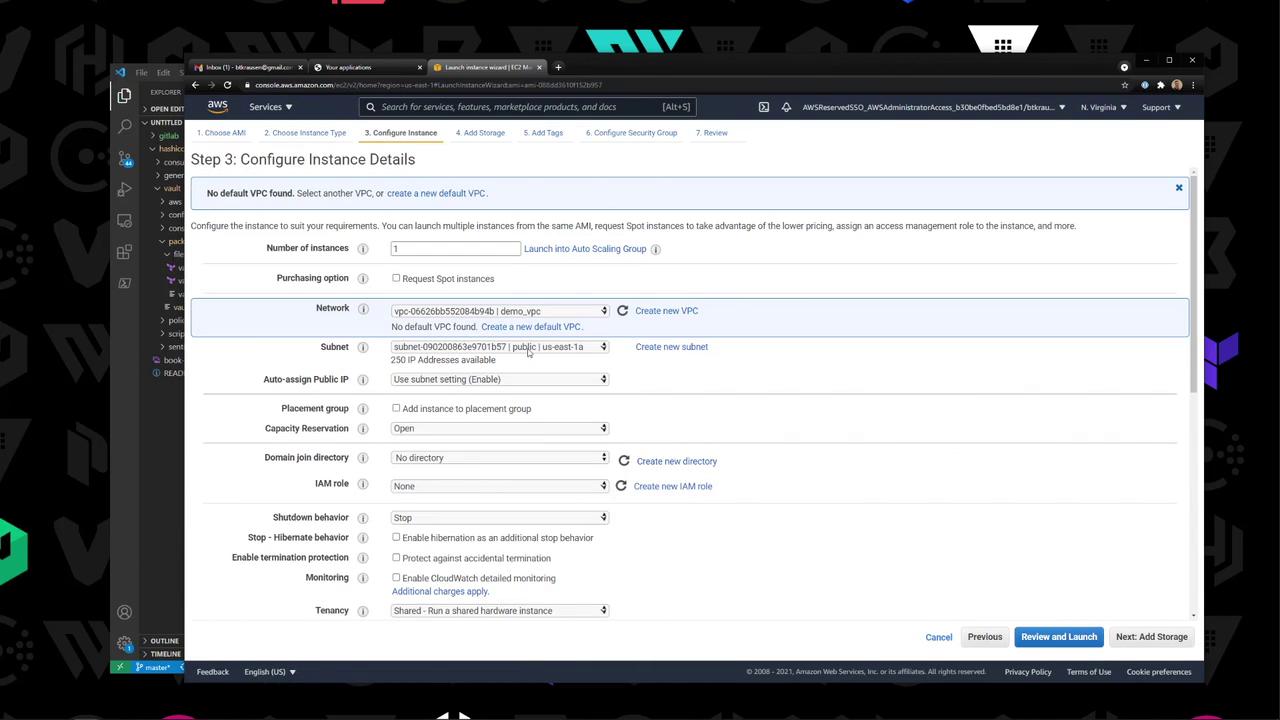
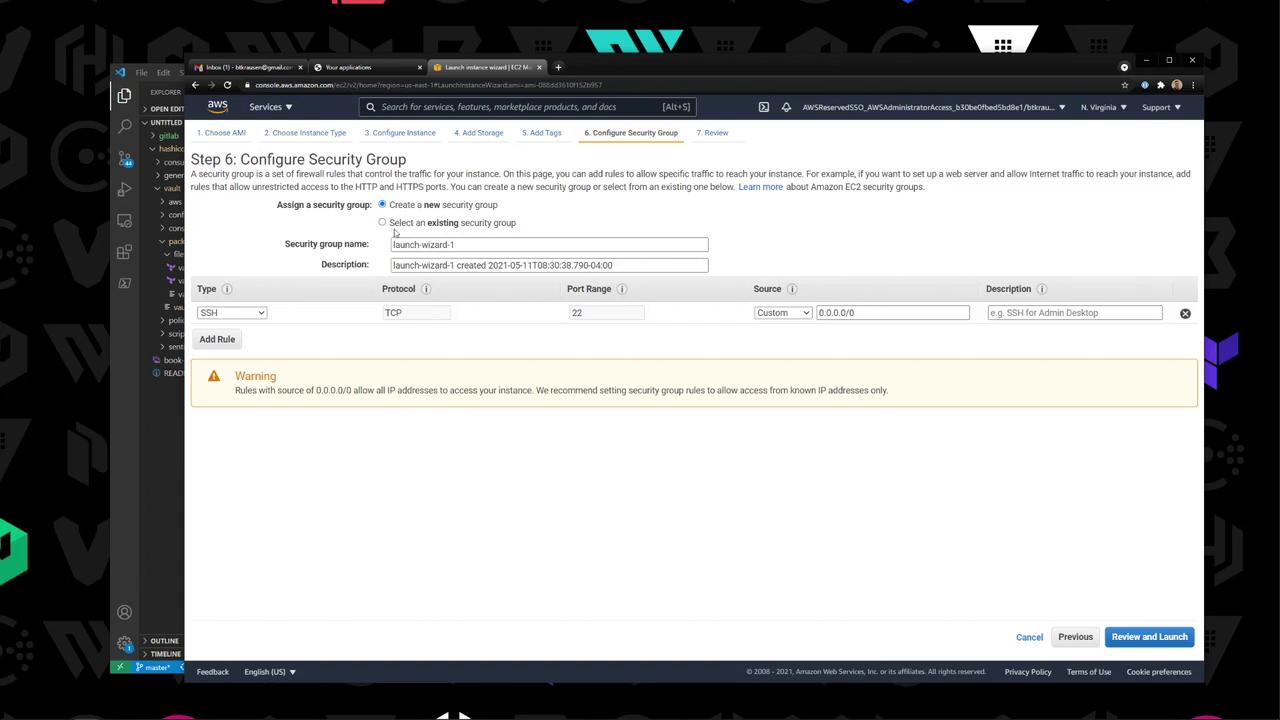
## 7. Launch & Validate an Instance
1. **Launch**: Select the custom AMI, choose T2 Micro, enable public IP.
2. **Security Group**: Open SSH (port 22) from your IP.
SSH into the new instance and verify Vault:
```bash theme={null}
ssh -i key.pem ec2-user@
sudo systemctl status vault
vault version
# Vault v1.7.1 (971142289796a60d0d96d0d06a0590e44e)
```
Congratulations—you now have a reusable AMI with Vault 1.7.1 installed!
***
## Links & References
* [Packer Documentation](https://www.packer.io/docs)
* [Vault 1.7.1 Release Notes](https://github.com/hashicorp/vault/blob/v1.7.1/CHANGELOG.md)
* [AWS EC2 User Guide](https://docs.aws.amazon.com/AWSEC2/latest/UserGuide/)