> ## Documentation Index
> Fetch the complete documentation index at: https://notes.kodekloud.com/llms.txt
> Use this file to discover all available pages before exploring further.
# Demo Disaster Recovery DR Replication
> This guide explains how to configure Disaster Recovery replication between two Vault Enterprise clusters.
In this guide, you’ll configure Disaster Recovery (DR) replication across two Vault Enterprise clusters. We assume both single-node clusters are already initialized, unsealed, and you’re logged in as root:
* **Primary** (10.1.101.199, tan background)
* **Secondary** (10.1.101.108, white background)
> DR replication requires Vault Enterprise; it is not supported in the open-source edition.
***
## 1. Check Current Replication Status
On the **primary** (10.1.101.199), confirm DR and performance replication are disabled:
```bash theme={null}
ec2-user@ip-10-1-101-199 vault]$ vault read sys/replication/status
Key Value
--- -----
dr map[mode:disabled]
performance map[mode:disabled]
```
***
## 2. Enable DR Replication on Primary
Enable DR replication in **primary** mode:
```bash theme={null}
ec2-user@ip-10-1-101-199 vault]$ vault write -force sys/replication/dr/primary/enable
WARNING! The following warnings were returned from Vault:
* This cluster is being enabled as a primary for replication. Vault will be unavailable for a brief period and will resume service shortly.
```
Enabling primary DR replication causes a short downtime. Plan accordingly for production environments.
Verify that DR is now **primary**:
```bash theme={null}
ec2-user@ip-10-1-101-199 vault]$ vault read sys/replication/status
Key Value
--- -----
dr map[cluster_id:65b5025a-b5ee-67de-6df6-6b2033dc75ed mode:primary state:running ...]
performance map[mode:disabled]
```
Or view as JSON:
```bash theme={null}
ec2-user@ip-10-1-101-199 vault]$ vault read -format=json sys/replication/status | jq
{
"data": {
"dr": {
"cluster_id": "65b5025a-b5ee-67de-d6f6-6b2033dc75ed",
"mode": "primary",
"state": "running",
"known_secondaries": [],
...
},
"performance": {"mode":"disabled"}
}
}
```
***
## 3. Generate a Secondary Token
Still on the **primary**, create a one-time wrapping token for the secondary:
```bash theme={null}
ec2-user@ip-10-1-101-199 vault]$ vault write -f sys/replication/dr/primary/secondary-token id=secondary-dallas
Key Value
--- -----
wrapping_token [C|JeHAiOjE2NTM0MTIxOTIsImlhdC1hIGB...]
wrapping_token_ttl 30m
wrapping_creation_path sys/replication/dr/primary/secondary-token
```
Copy the `wrapping_token` value (valid for 30 minutes).
***
## 4. Enable DR Replication on Secondary
Switch to the **secondary** (10.1.101.108) and join it to the primary:
```bash theme={null}
[root@ip-10-1-101-108 vault]# vault write -f sys/replication/dr/secondary/enable token=
WARNING! The following warnings were returned from Vault:
* Vault has successfully found secondary information; it may take a while to perform setup tasks. Vault will be unavailable until these tasks and initial sync complete.
```
Enabling DR on a secondary **will wipe any existing data**. Be sure this node is dedicated for DR replication.
***
## 5. Verify DR Status on Secondary
On the **secondary**, confirm replication is active:
```bash theme={null}
[root@ip-10-1-101-108 vault]# vault read -format=json sys/replication/status | jq
{
"data": {
"dr": {
"cluster_id": "65b5025a-b5ee-67de-6b2033dc75ed",
"mode": "secondary",
"state": "stream-wals",
"connection_state": "ready",
"secondary_id": "secondary-dallas",
"known_primary_cluster_addr": ["https://10.1.101.199:8201"],
...
},
"performance": {"mode":"disabled"}
}
}
```
> A DR secondary does **not** serve client requests—most paths are disabled.
***
## 6. Verify DR Status on Primary
Back on the **primary**, list known secondaries:
```bash theme={null}
[root@ip-10-1-101-199 vault]# vault read -format=json sys/replication/status | jq
{
"data": {
"dr": {
"mode": "primary",
"state": "running",
"known_secondaries": ["secondary-dallas"],
"secondaries": [
{
"api_address": "http://10.1.101.108:8200",
"cluster_address": "https://10.1.101.108:8201",
"connection_status": "connected",
"node_id": "secondary-dallas",
...
}
]
},
"performance": {"mode":"disabled"}
}
}
```
***
## 7. DR Replication in the UI
### Primary Cluster Dashboard
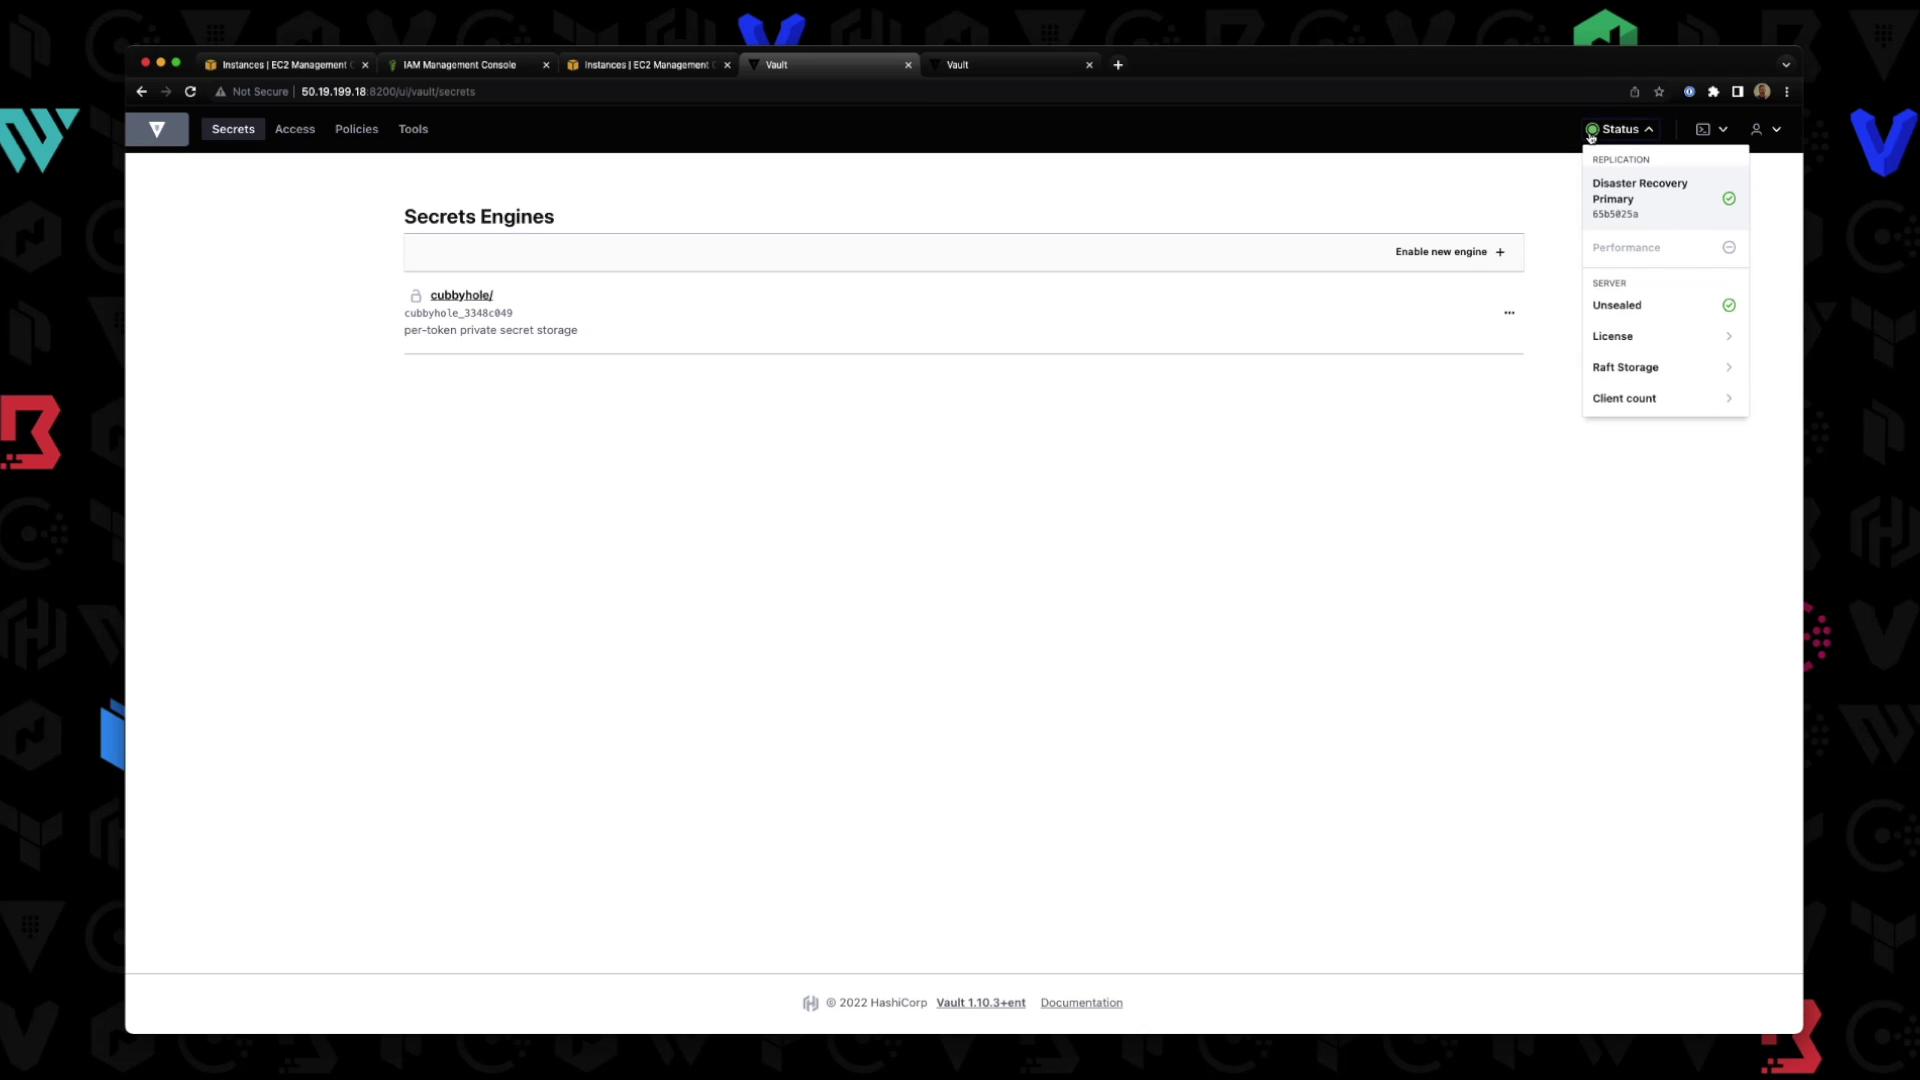
1. Log in to the primary UI and go to **Status → Disaster Recovery**.
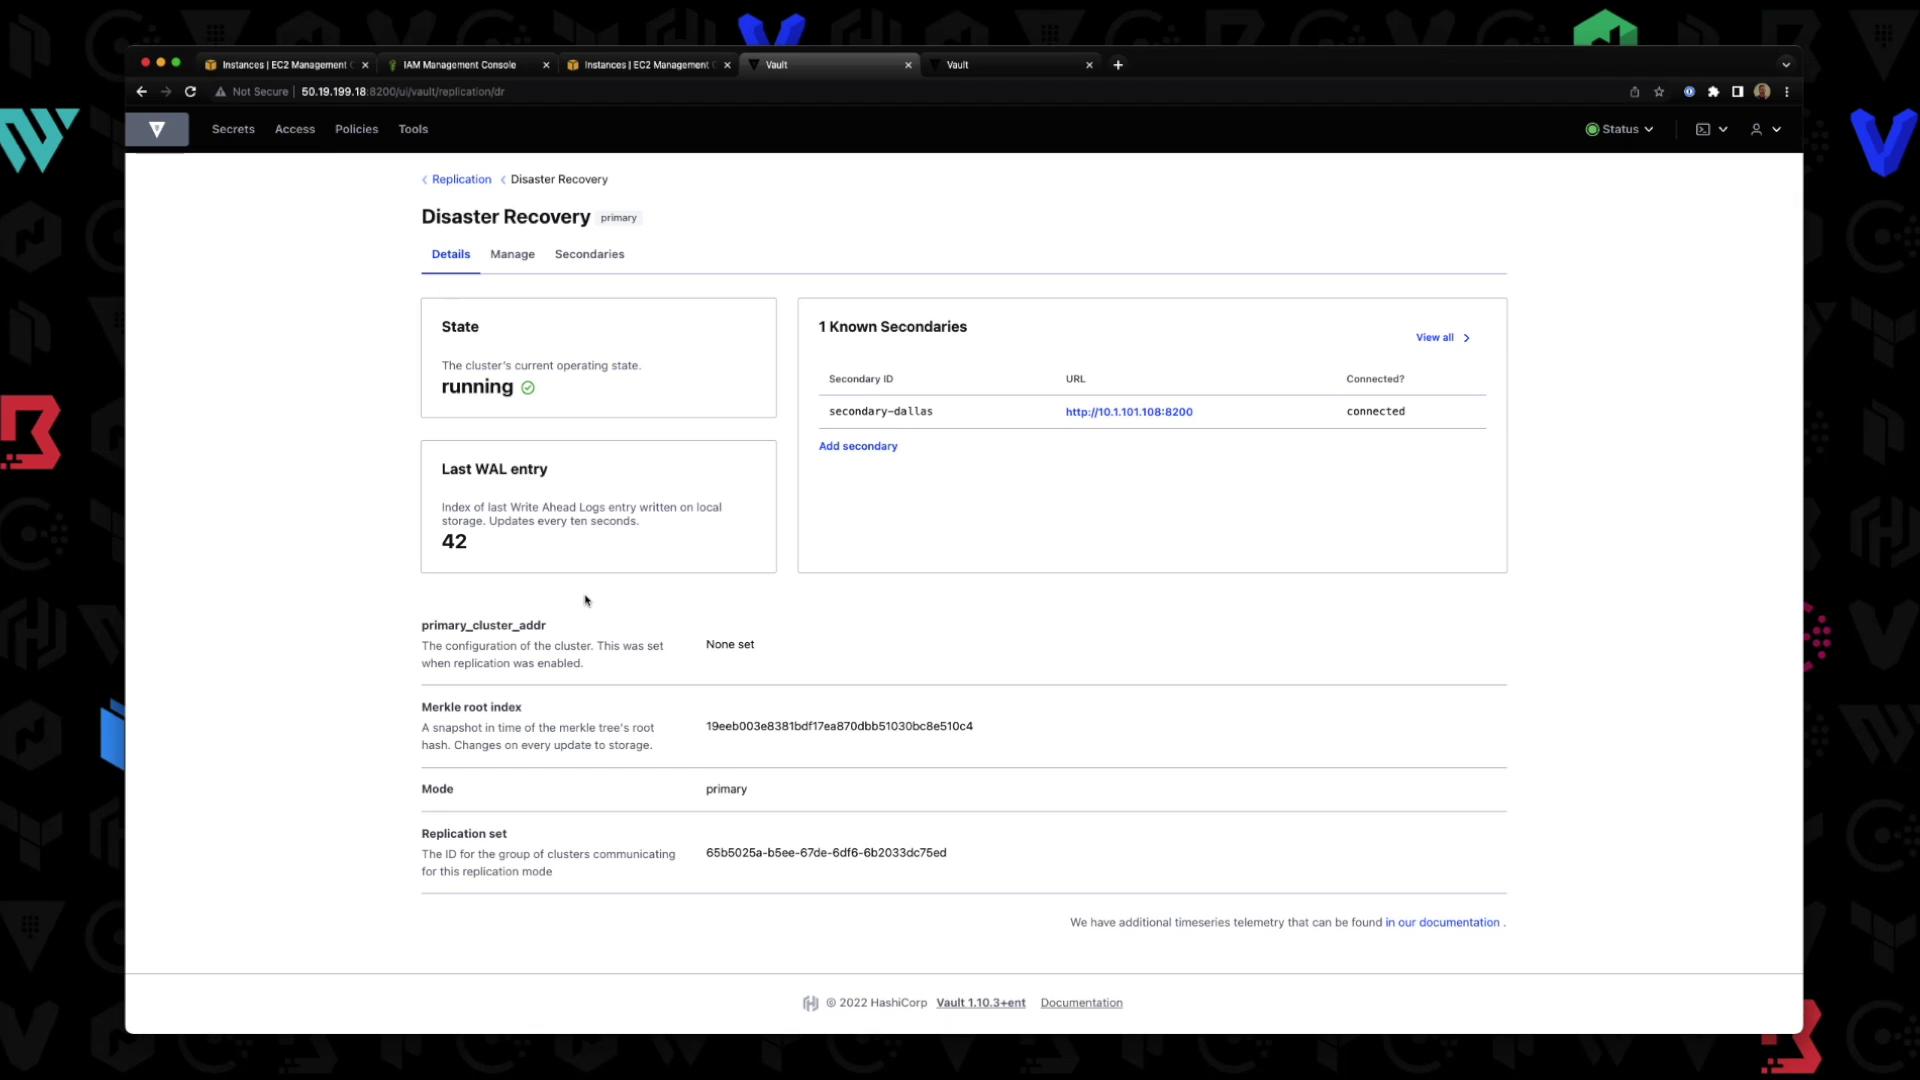
2. Click **Disaster Recovery** to view replication details:
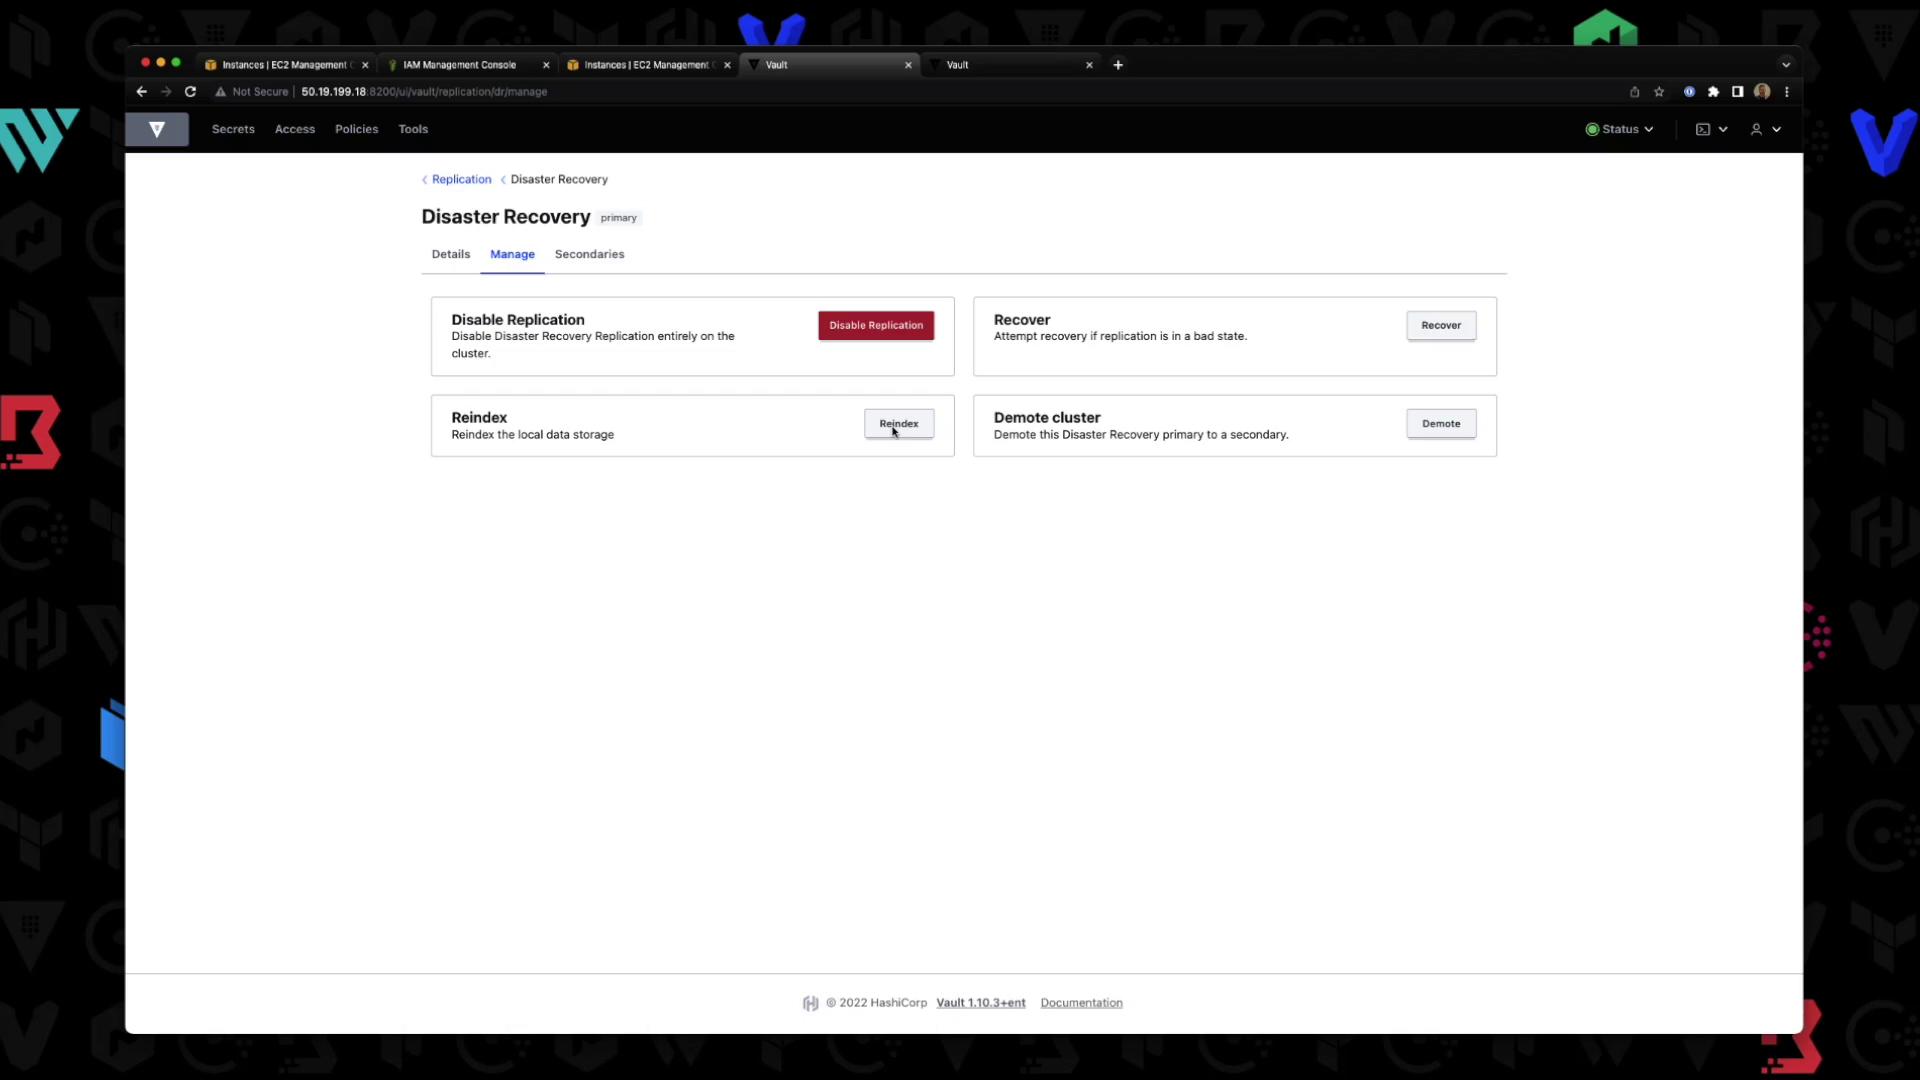
3. Under **Manage**, you can disable replication, force a re-index, or demote this primary:
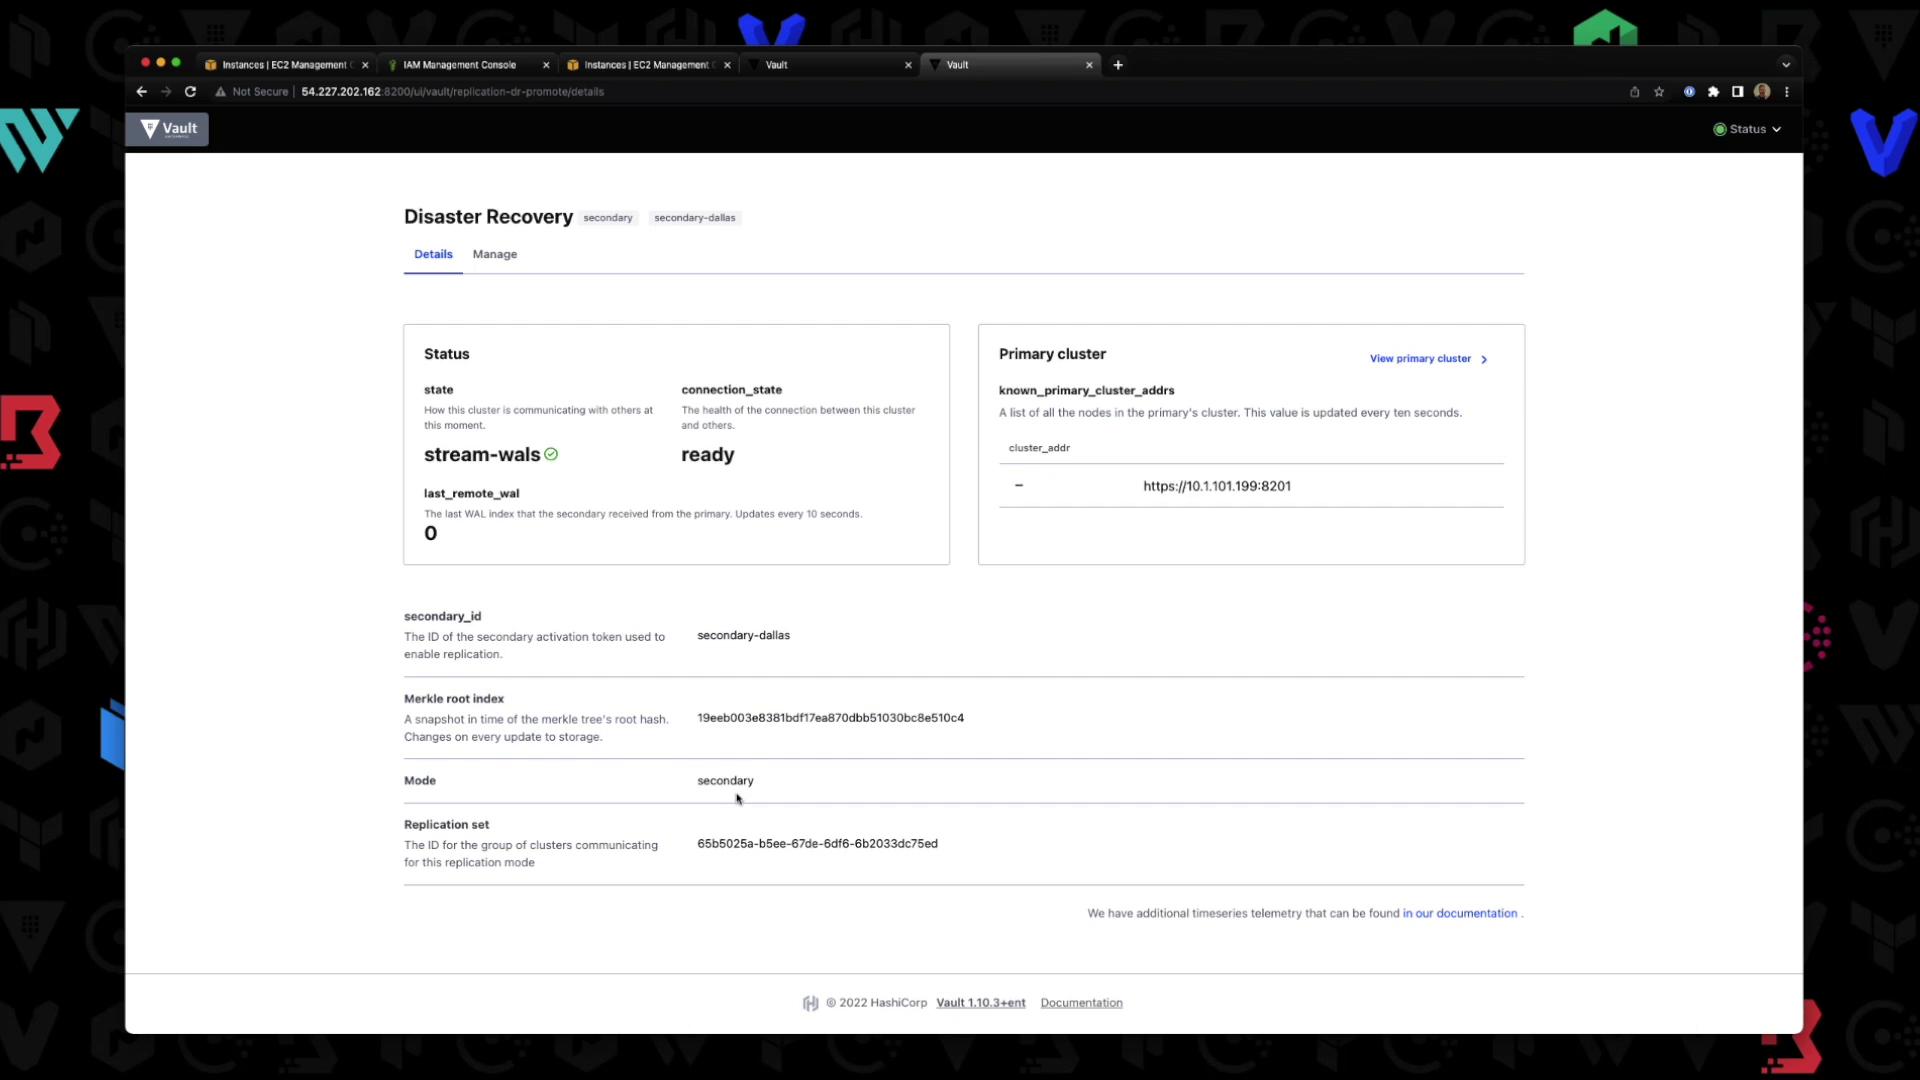
### Secondary Cluster Dashboard
On the secondary UI, you’ll land directly in the DR dashboard (no login prompt). It shows the cluster in **stream-wals** state:
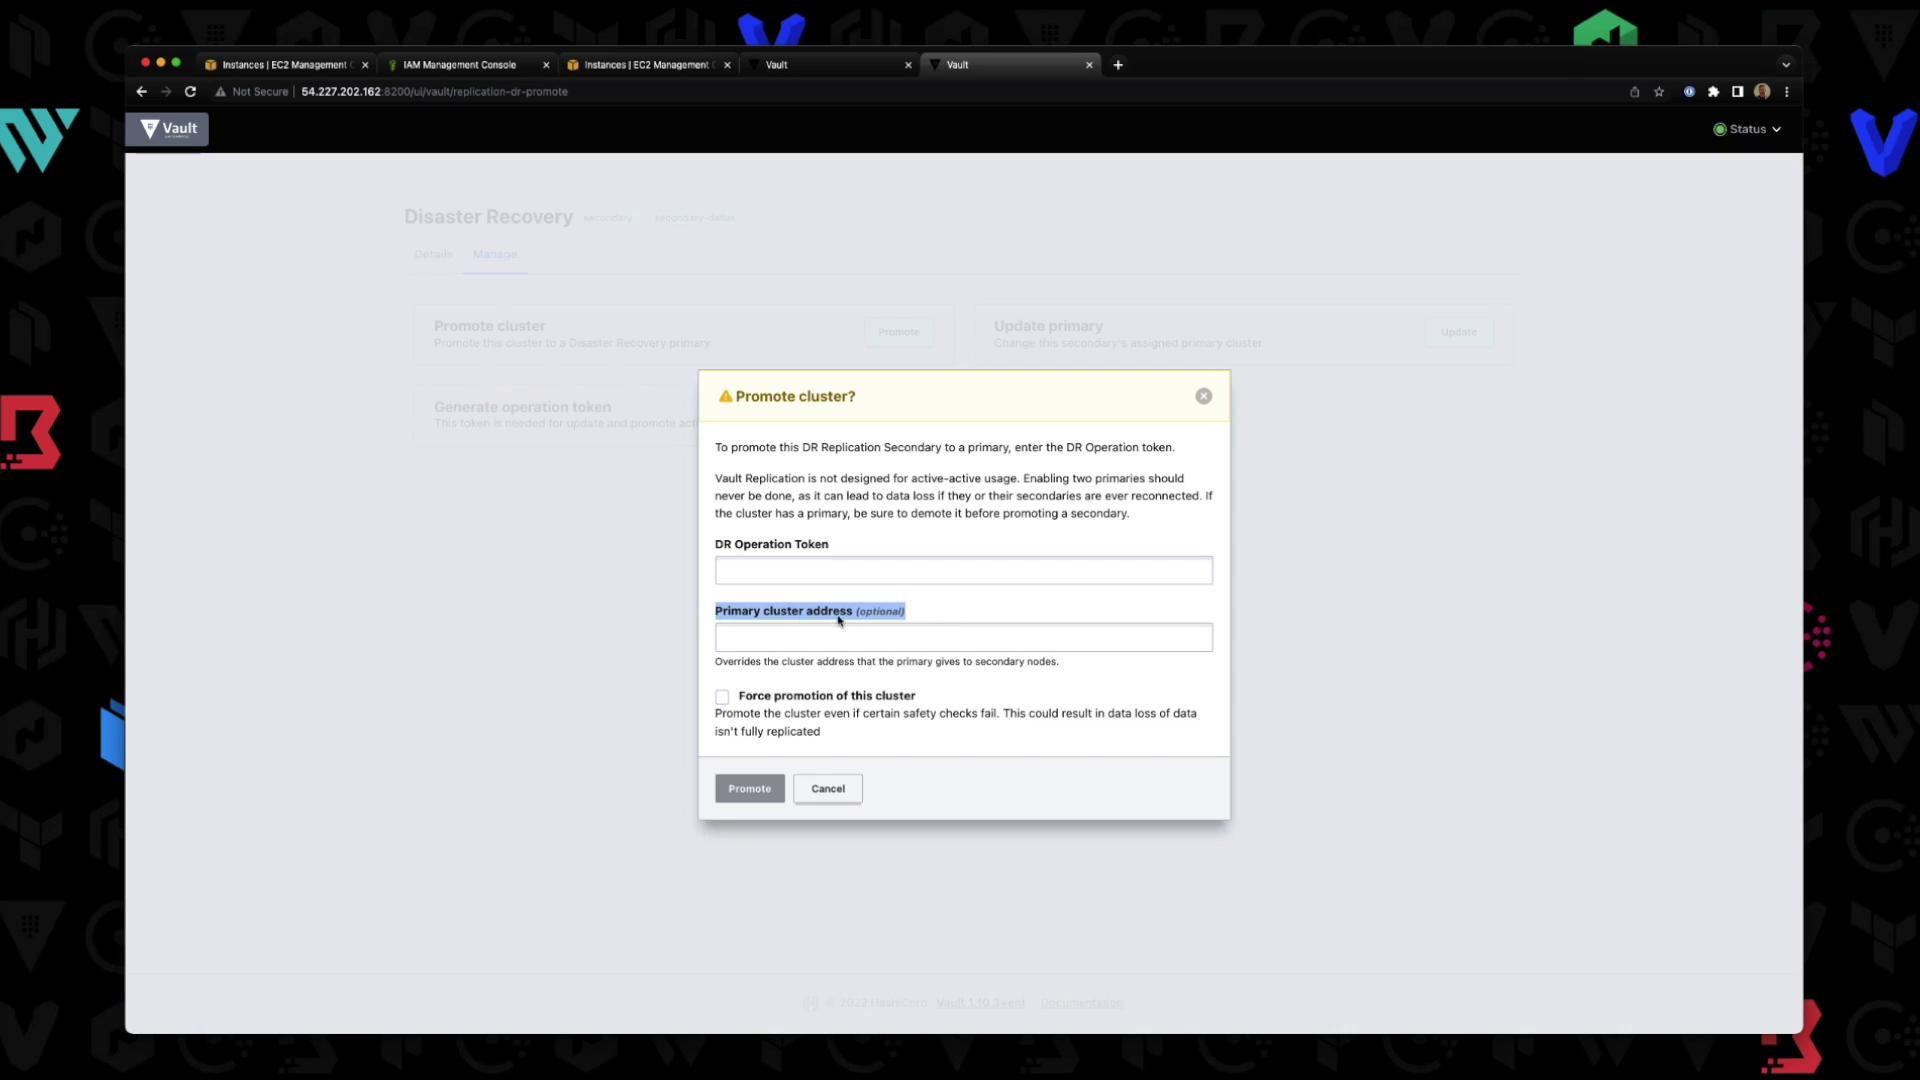
Under **Manage**, you can promote this secondary or generate an operational token:
***
## Command Summary
| Step | Command | Description |
| --------------------------- | ----------------------------------------------------------- | ------------------------------------- |
| 1. Check Status | `vault read sys/replication/status` | View current DR & performance mode |
| 2. Enable Primary DR | `vault write -force sys/replication/dr/primary/enable` | Activate DR on primary |
| 3. Generate Secondary Token | `vault write -f sys/replication/dr/primary/secondary-token` | Create a one-time token for secondary |
| 4. Enable Secondary DR | `vault write -f sys/replication/dr/secondary/enable` | Connect secondary to primary |
| 5. Verify Secondary | `vault read -format=json sys/replication/status` | Confirm secondary is streaming WALs |
| 6. Verify Primary | `vault read -format=json sys/replication/status` | List connected secondaries |
***
## Links and References
* [Vault Replication Overview](https://www.vaultproject.io/docs/enterprise/replication)
* [sys/replication/dr API](https://www.vaultproject.io/api-docs/replication/dr)
* [Vault Enterprise Licensing](https://www.vaultproject.io/docs/enterprise)