> ## Documentation Index
> Fetch the complete documentation index at: https://notes.kodekloud.com/llms.txt
> Use this file to discover all available pages before exploring further.
# Demo
> This walkthrough guides creating a custom AWS AMI with Nginx and UFW using HashiCorp Packer for automation.
In this walkthrough, you’ll create an AWS AMI that comes pre-installed with Nginx and configured with firewall rules, leveraging HashiCorp Packer for automation.
***
## 1. Install Packer
Download and install Packer for your platform. See the official guide for detailed instructions:\
[https://developer.hashicorp.com/packer/downloads](https://developer.hashicorp.com/packer/downloads)
On macOS:
```bash theme={null}
brew tap hashicorp/tap
brew install hashicorp/tap/packer
```
***
## 2. (Optional) VS Code HCL Extension
For better HCL syntax highlighting in VS Code, search for **HCL** in the Extensions Marketplace.

You can install similar plugins for other editors as needed.
***
## 3. Create the Packer Template
Create a file named `aws-ubuntu.pkr.hcl`. Packer HCL templates require the `.pkr.hcl` extension.
### 3.1 Declare Required Plugins
Every Packer template must list its plugins. For AWS, include the `amazon` builder plugin:
```hcl theme={null}
packer {
required_plugins {
amazon = {
version = ">= 1.1.1"
source = "github.com/hashicorp/amazon"
}
}
}
```
### 3.2 Configure the Amazon EBS Builder
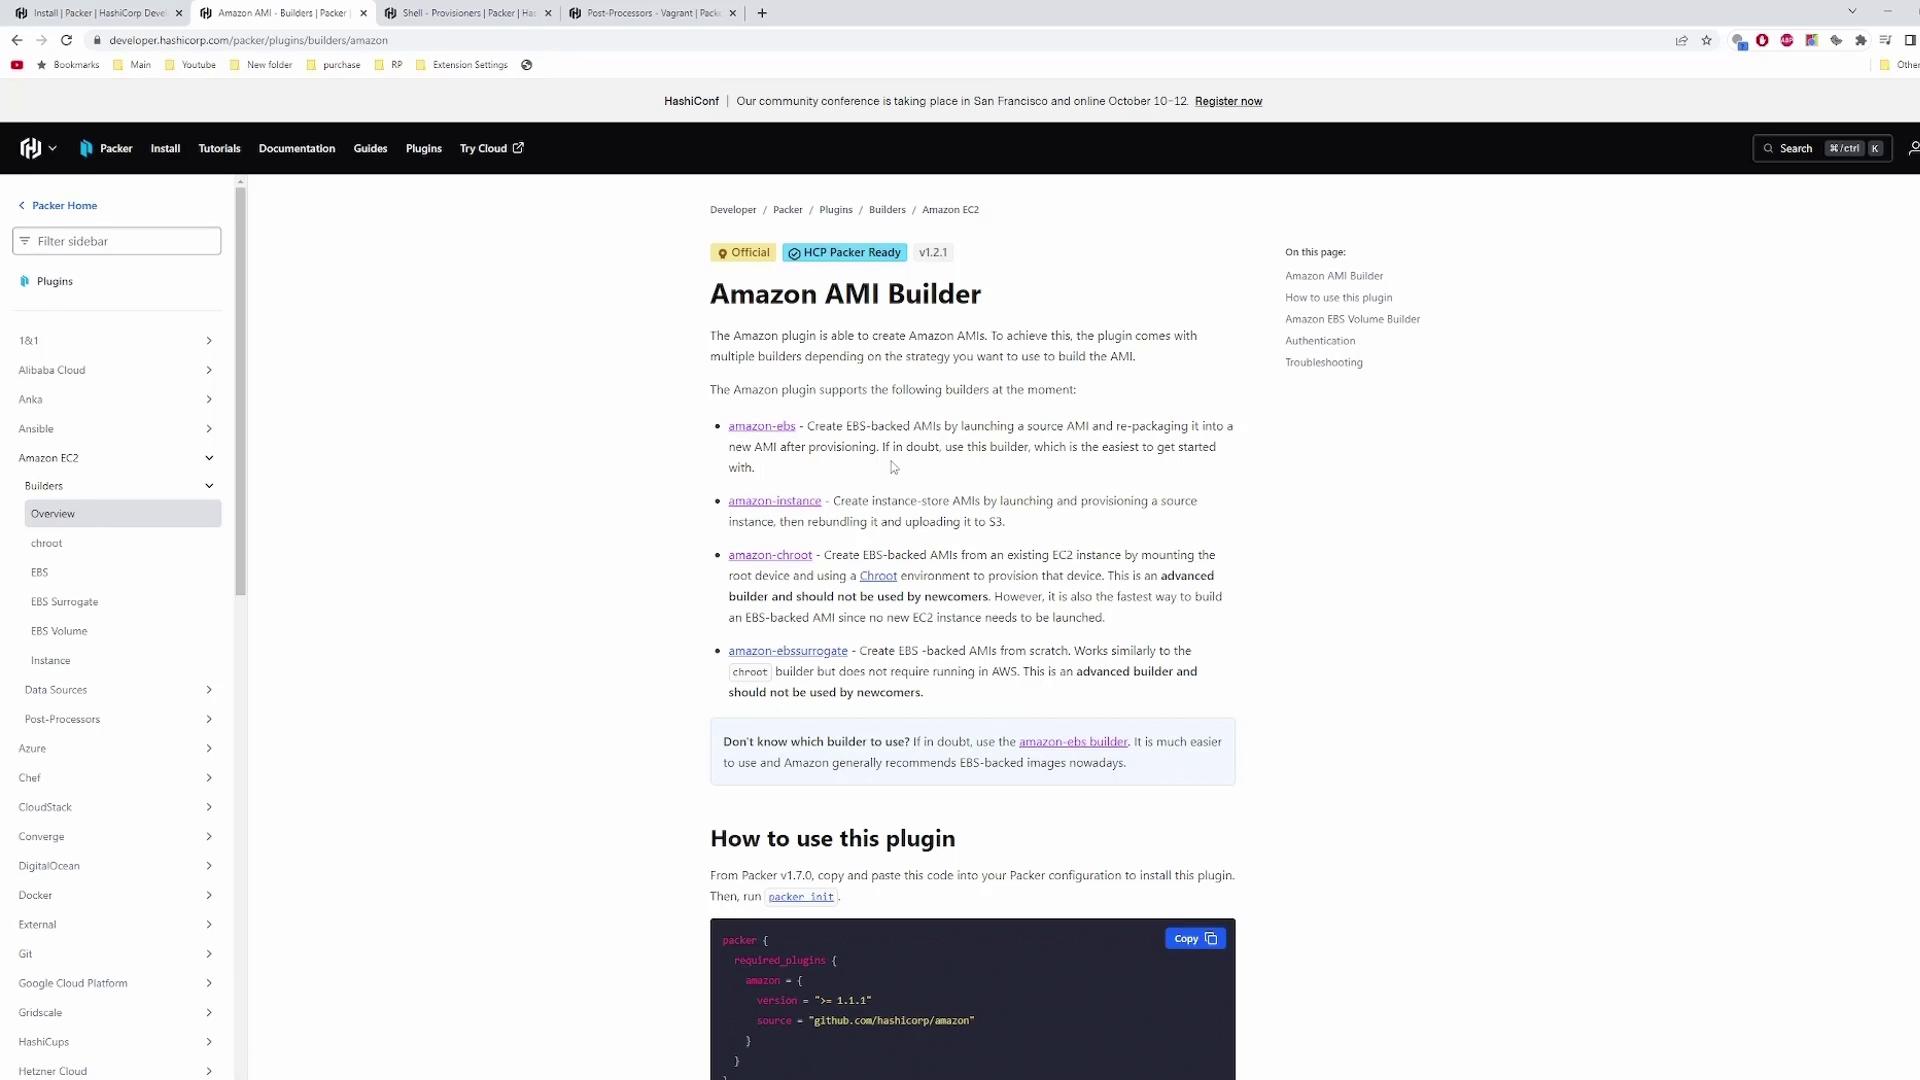
Use the `amazon-ebs` source to create an EBS-backed AMI. Refer to the [Amazon AMI Builder plugin documentation](https://developer.hashicorp.com/packer/plugins/builders/amazon-ebs) for a full list of options.
```hcl theme={null}
source "amazon-ebs" "ubuntu" {
ami_name = "my-first-packer-image"
instance_type = "t2.micro"
region = "us-east-1"
source_ami = "ami-0557a15b87f6559cf"
ssh_username = "ubuntu"
access_key = ""
secret_key = ""
}
```
Do **not** commit AWS credentials in your template. Use environment variables or an IAM role with least-privilege permissions instead.
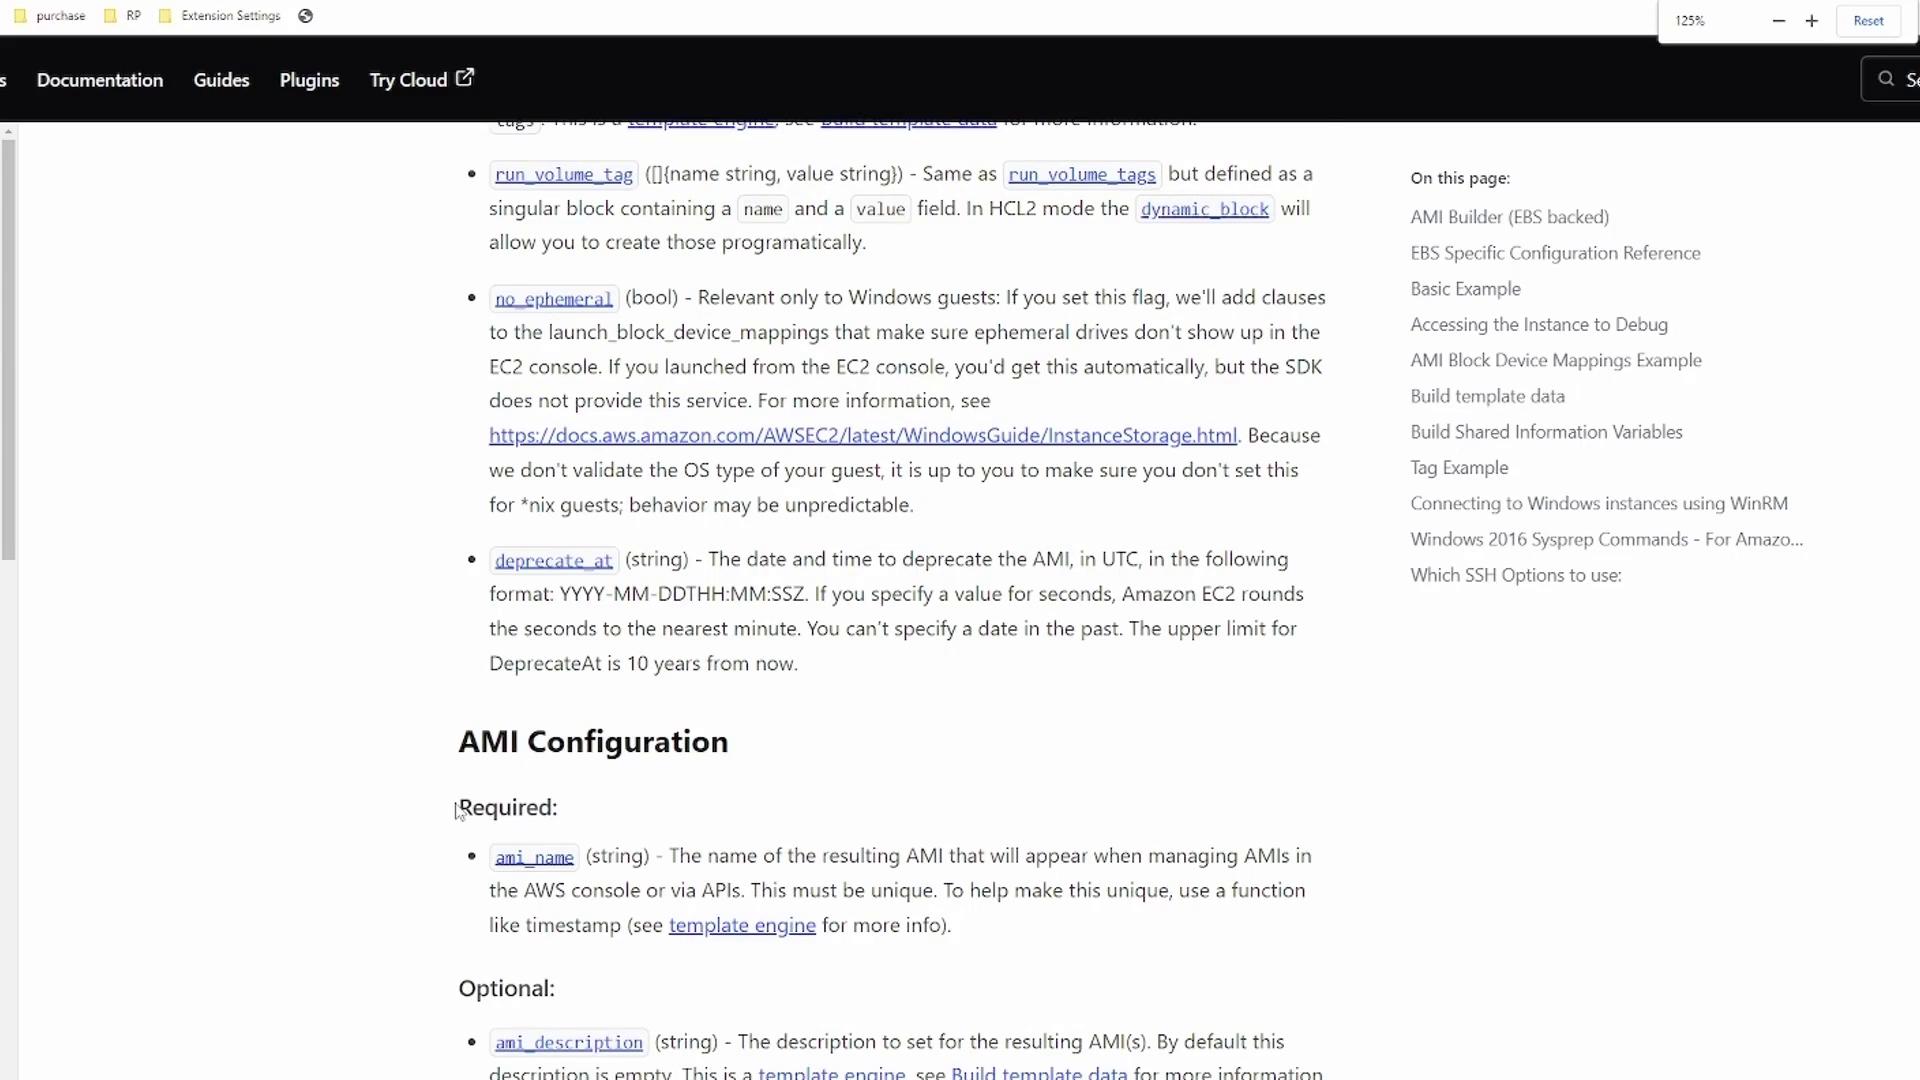
For details on required vs. optional parameters, see the AMI configuration docs:
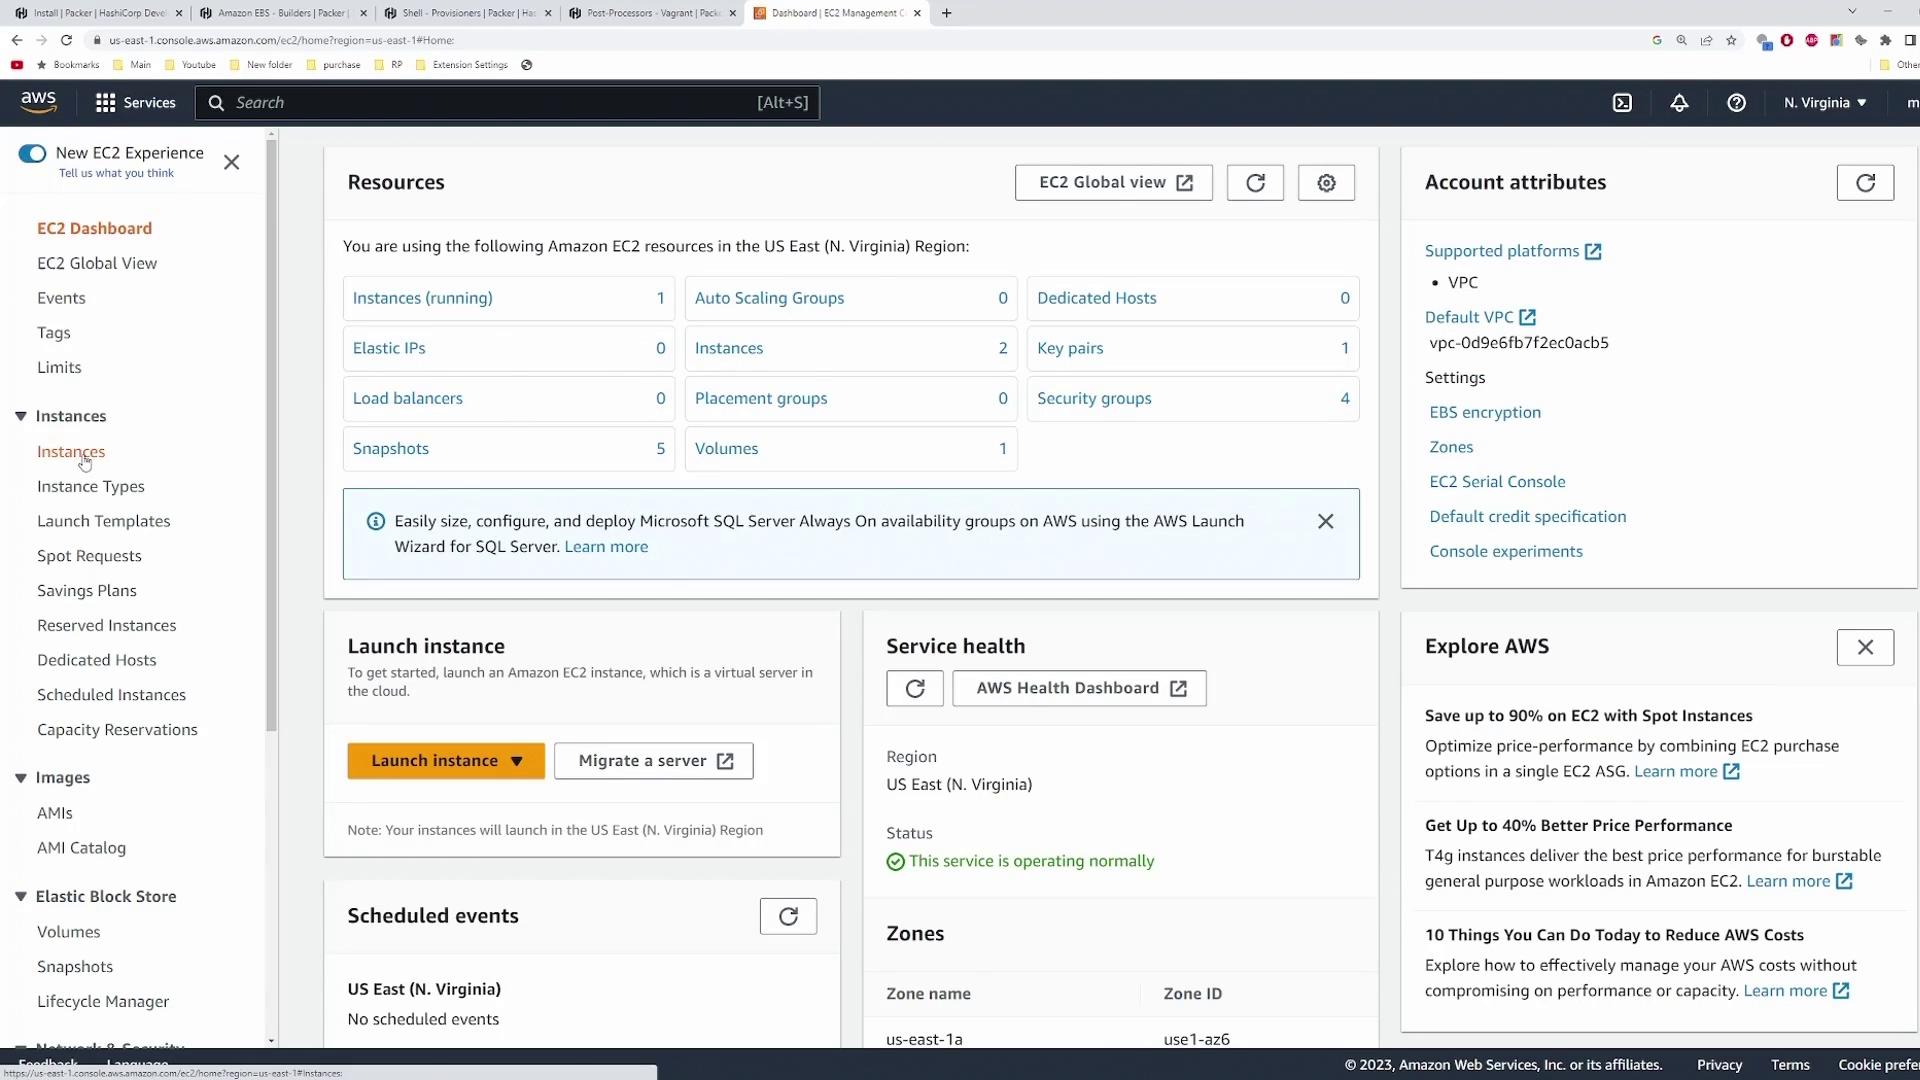
Find the Ubuntu `source_ami` ID under **EC2 > AMIs** in your AWS Console after selecting your region.
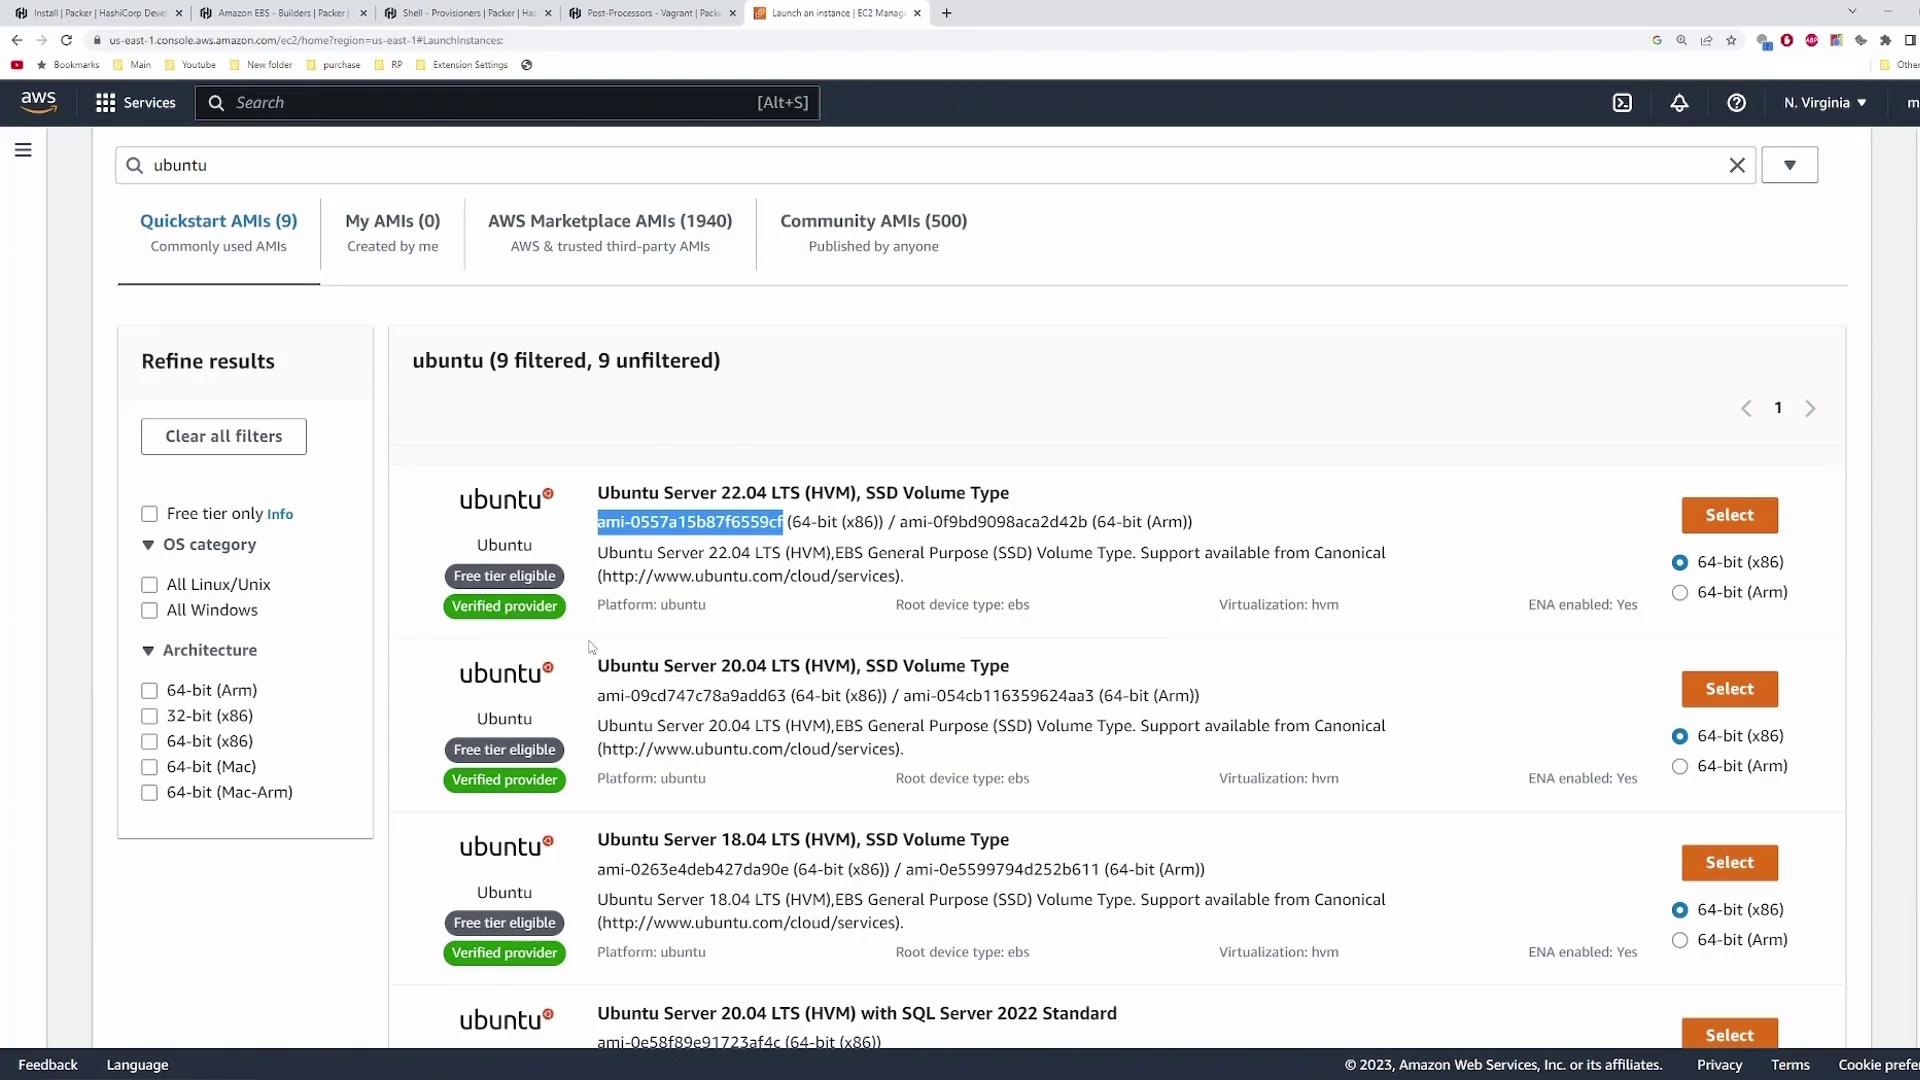
Replace `` in your template once you’ve copied it.
***
## 4. Build, Provision, and Post-Process
Add a `build` block that references your `amazon-ebs` source and provisions the instance:
```hcl theme={null}
build {
name = "my-first-build"
sources = ["source.amazon-ebs.ubuntu"]
provisioner "shell" {
inline = [
"sudo apt update",
"sudo apt install nginx -y",
"sudo systemctl enable nginx",
"sudo systemctl start nginx",
"sudo ufw allow proto tcp from any to any port 22,80,443",
"echo 'y' | sudo ufw enable"
]
}
post-processor "vagrant" {}
post-processor "compress" {}
}
```
| Component | Purpose | Example Configuration |
| --------- | ------------------------------------- | ------------------------------ |
| shell | Installs Nginx and configures UFW | `provisioner "shell" { ... }` |
| vagrant | Packages the image as a Vagrant box | `post-processor "vagrant" {}` |
| compress | Archives the box output (`.box` file) | `post-processor "compress" {}` |
***
## 5. Initialize, Format & Validate
Execute these commands in the directory containing `aws-ubuntu.pkr.hcl`:
| Command | Description |
| ------------------- | ---------------------------------------- |
| `packer init .` | Install required plugins |
| `packer fmt .` | Reformat HCL for readability |
| `packer validate .` | Verify template syntax and configuration |
***
## 6. Build the AMI
Run the build:
```bash theme={null}
packer build aws-ubuntu.pkr.hcl
```
A successful run will output something like:
```plaintext theme={null}
==> my-first-build.amazon-ebs.ubuntu: Creating temporary keypair: packer_...
==> my-first-build.amazon-ebs.ubuntu: Launching a source AWS instance...
==> my-first-build.amazon-ebs.ubuntu: Provisioning with shell script...
...
==> my-first-build.amazon-ebs.ubuntu: AMI: ami-0abcd1234ef567890
...
==> Builds finished. The artifacts of successful builds are:
--> my-first-build.amazon-ebs.ubuntu: AMIs were created:
- ami-0abcd1234ef567890
--> my-first-build.amazon-ebs.ubuntu: Vagrant box: packer-vagrant.box
```
***
## 7. Verify the AMI
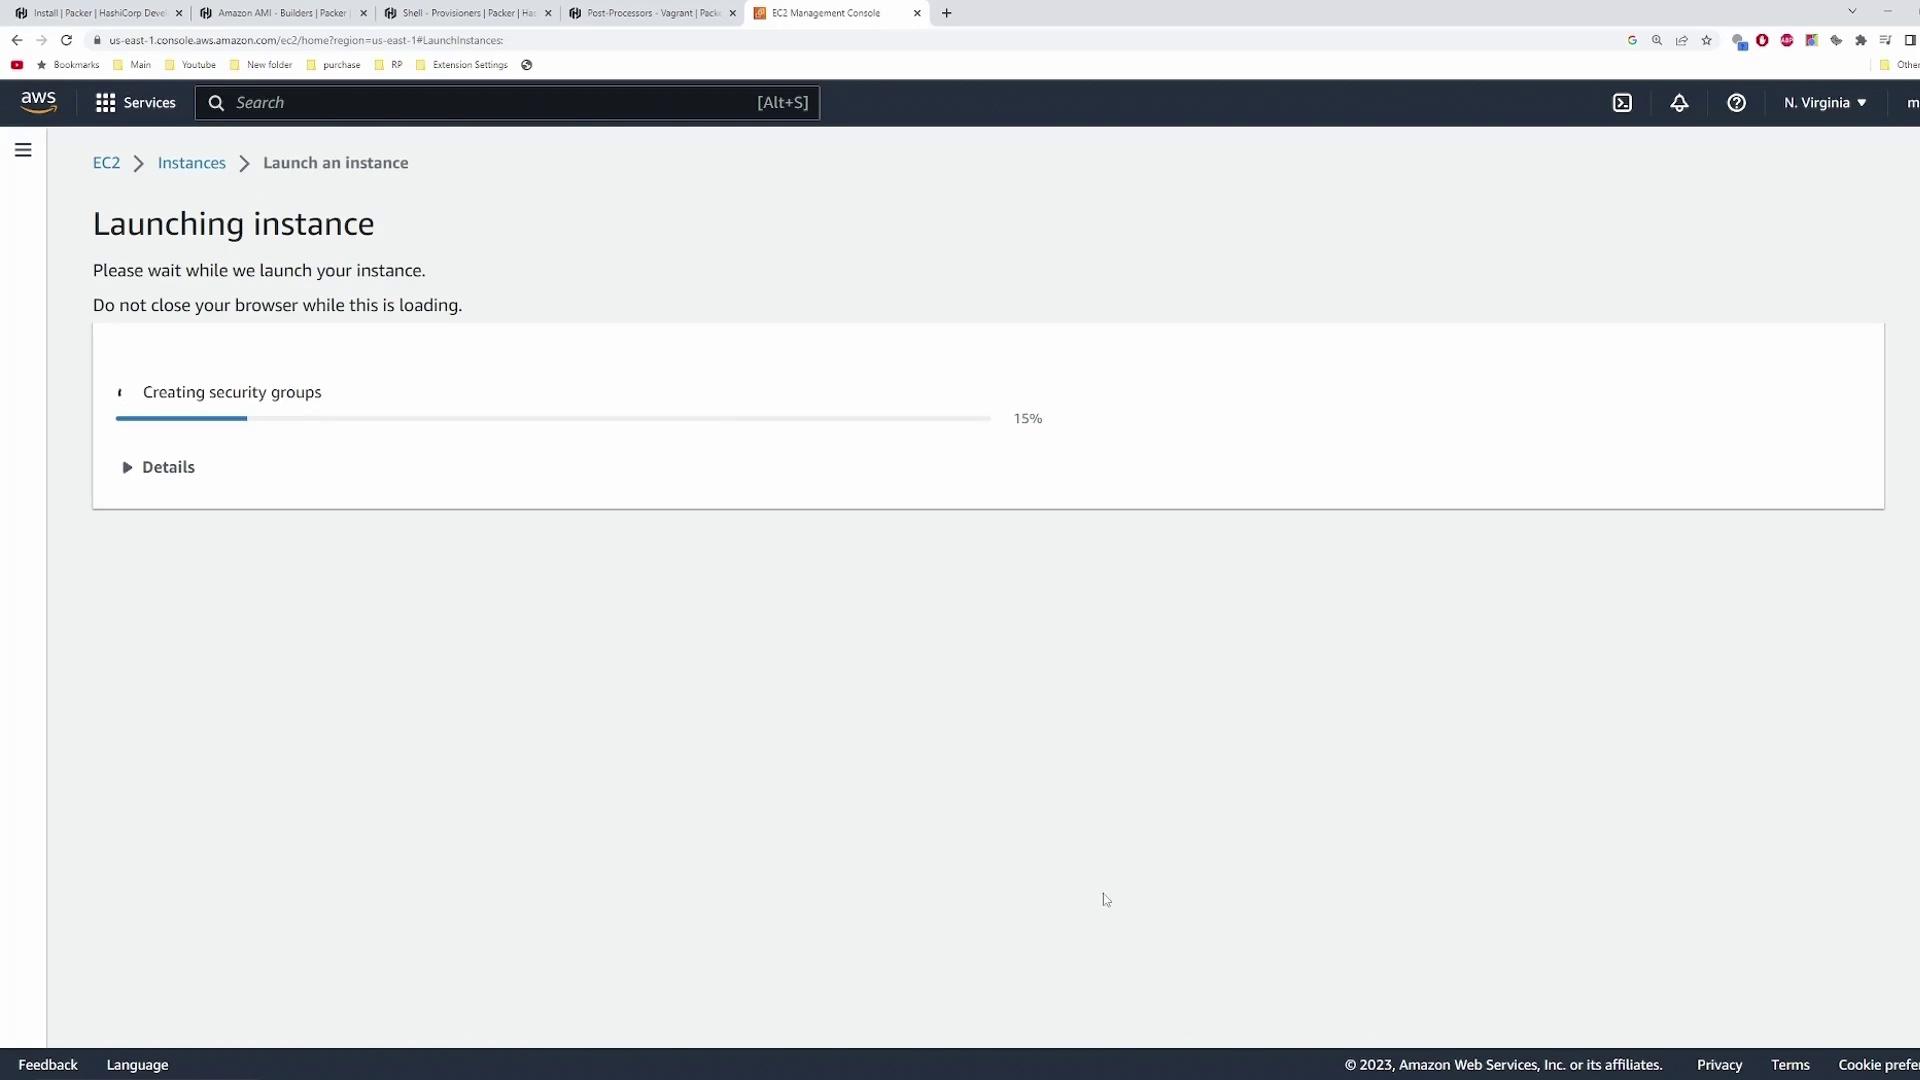
In the AWS Console, locate the AMI named **my-first-packer-image**. Launch a new EC2 instance, ensure the security group allows HTTP/HTTPS, and wait for provisioning:
Once running, navigate to the instance’s public IP to confirm the Nginx default page displays.
***
## Links and References
* [Packer Documentation](https://developer.hashicorp.com/packer/docs)
* [Amazon EBS Builder Plugin](https://developer.hashicorp.com/packer/plugins/builders/amazon-ebs)
* [AWS EC2 User Guide](https://docs.aws.amazon.com/ec2/)