> ## Documentation Index
> Fetch the complete documentation index at: https://notes.kodekloud.com/llms.txt
> Use this file to discover all available pages before exploring further.
# Lab Solution Local Execution
> This guide covers configuring and running Terraform Cloud Workspaces in local execution mode from your local machine.
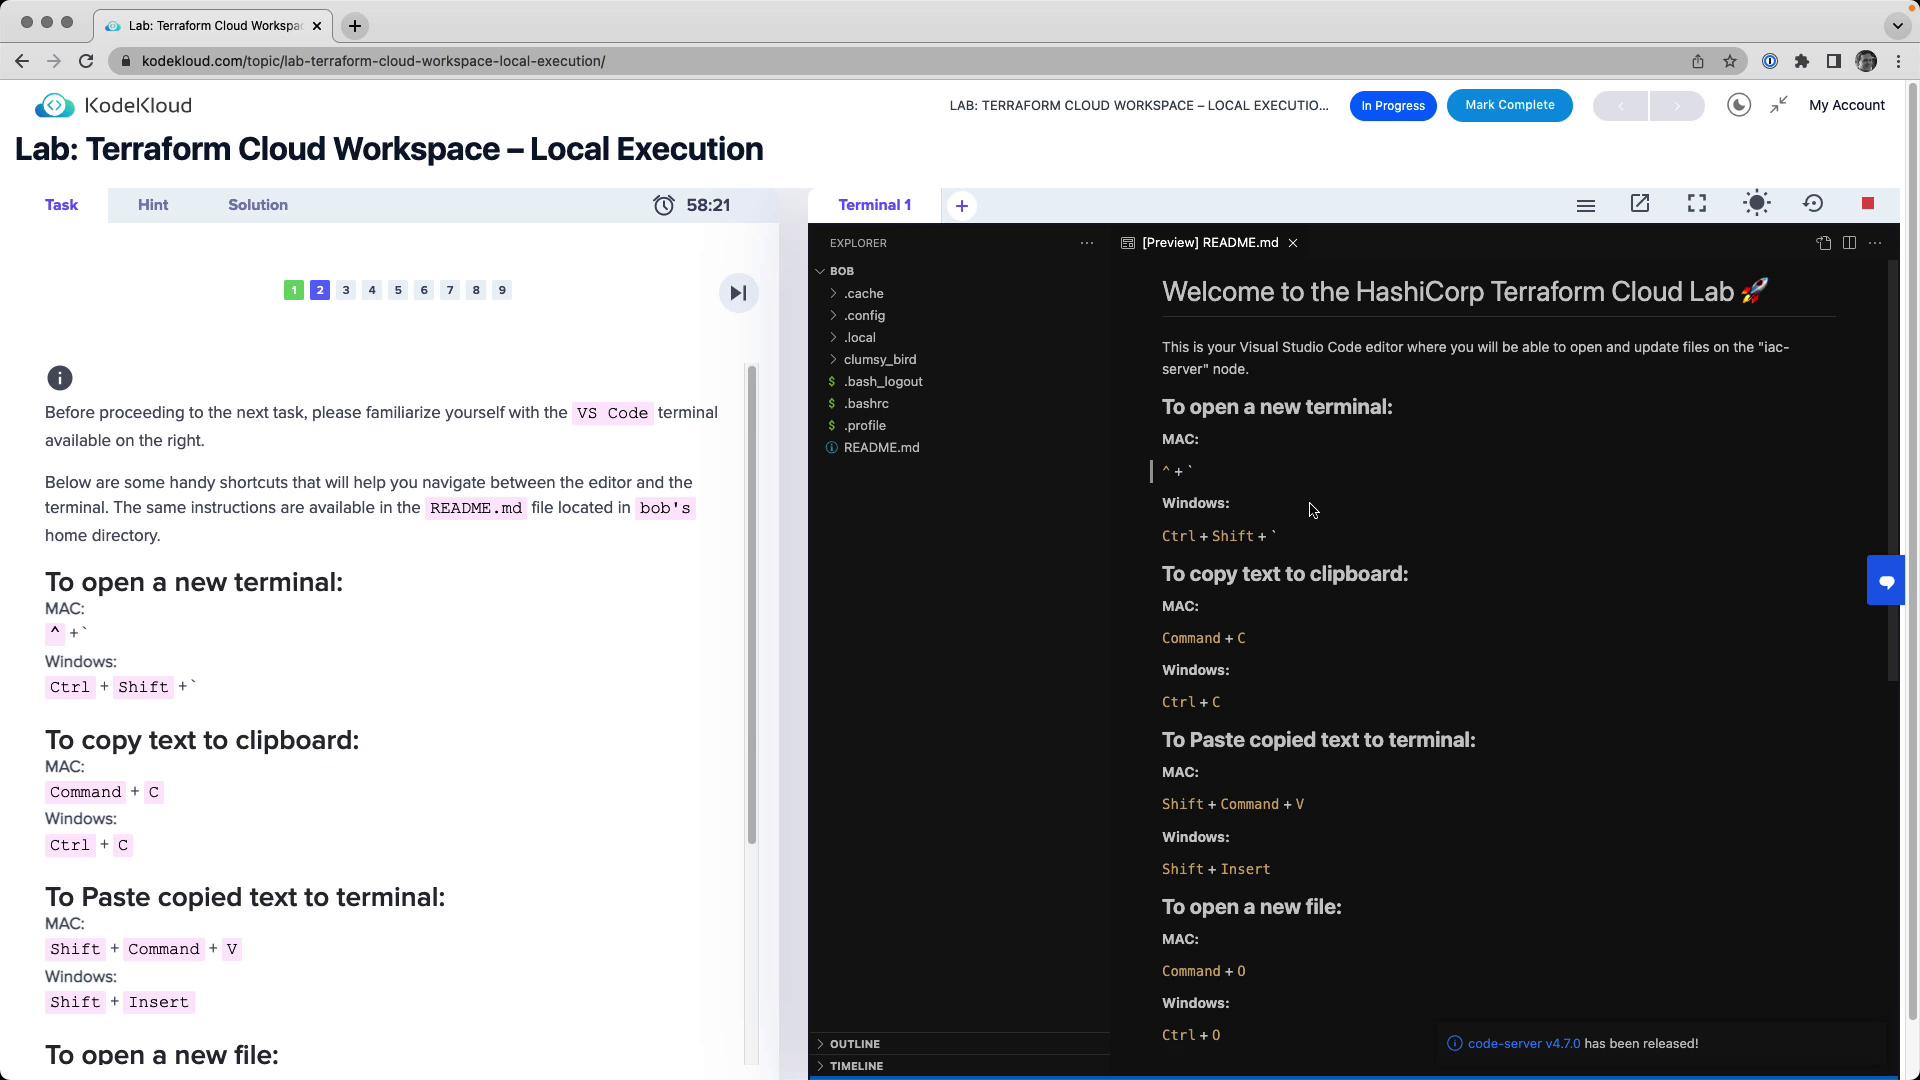
In this guide, we’ll walk through configuring and running Terraform Cloud Workspaces using **local execution mode**. Follow each step to authenticate, set up AWS credentials, create your workspace, and manage your infrastructure—all from your local machine.
## Table of Contents
1. [Authenticate the CLI with Terraform Cloud](#1-authenticate-the-cli-with-terraform-cloud)
2. [Configure AWS Credentials](#2-configure-aws-credentials)
3. [Create a Terraform Cloud Workspace](#3-create-a-terraform-cloud-workspace)
4. [Match Versions & Set Execution Mode](#4-match-versions--set-execution-mode)
5. [Initialize, Plan, and Apply](#5-initialize-plan-and-apply)
6. [Verify in Terraform Cloud](#6-verify-in-terraform-cloud)
7. [Tear Down Infrastructure](#7-tear-down-infrastructure)
***
## 1. Authenticate the CLI with Terraform Cloud
First, log in to Terraform Cloud from your terminal:
```bash theme={null}
terraform login
```
Follow the on-screen prompts to generate a new API token.
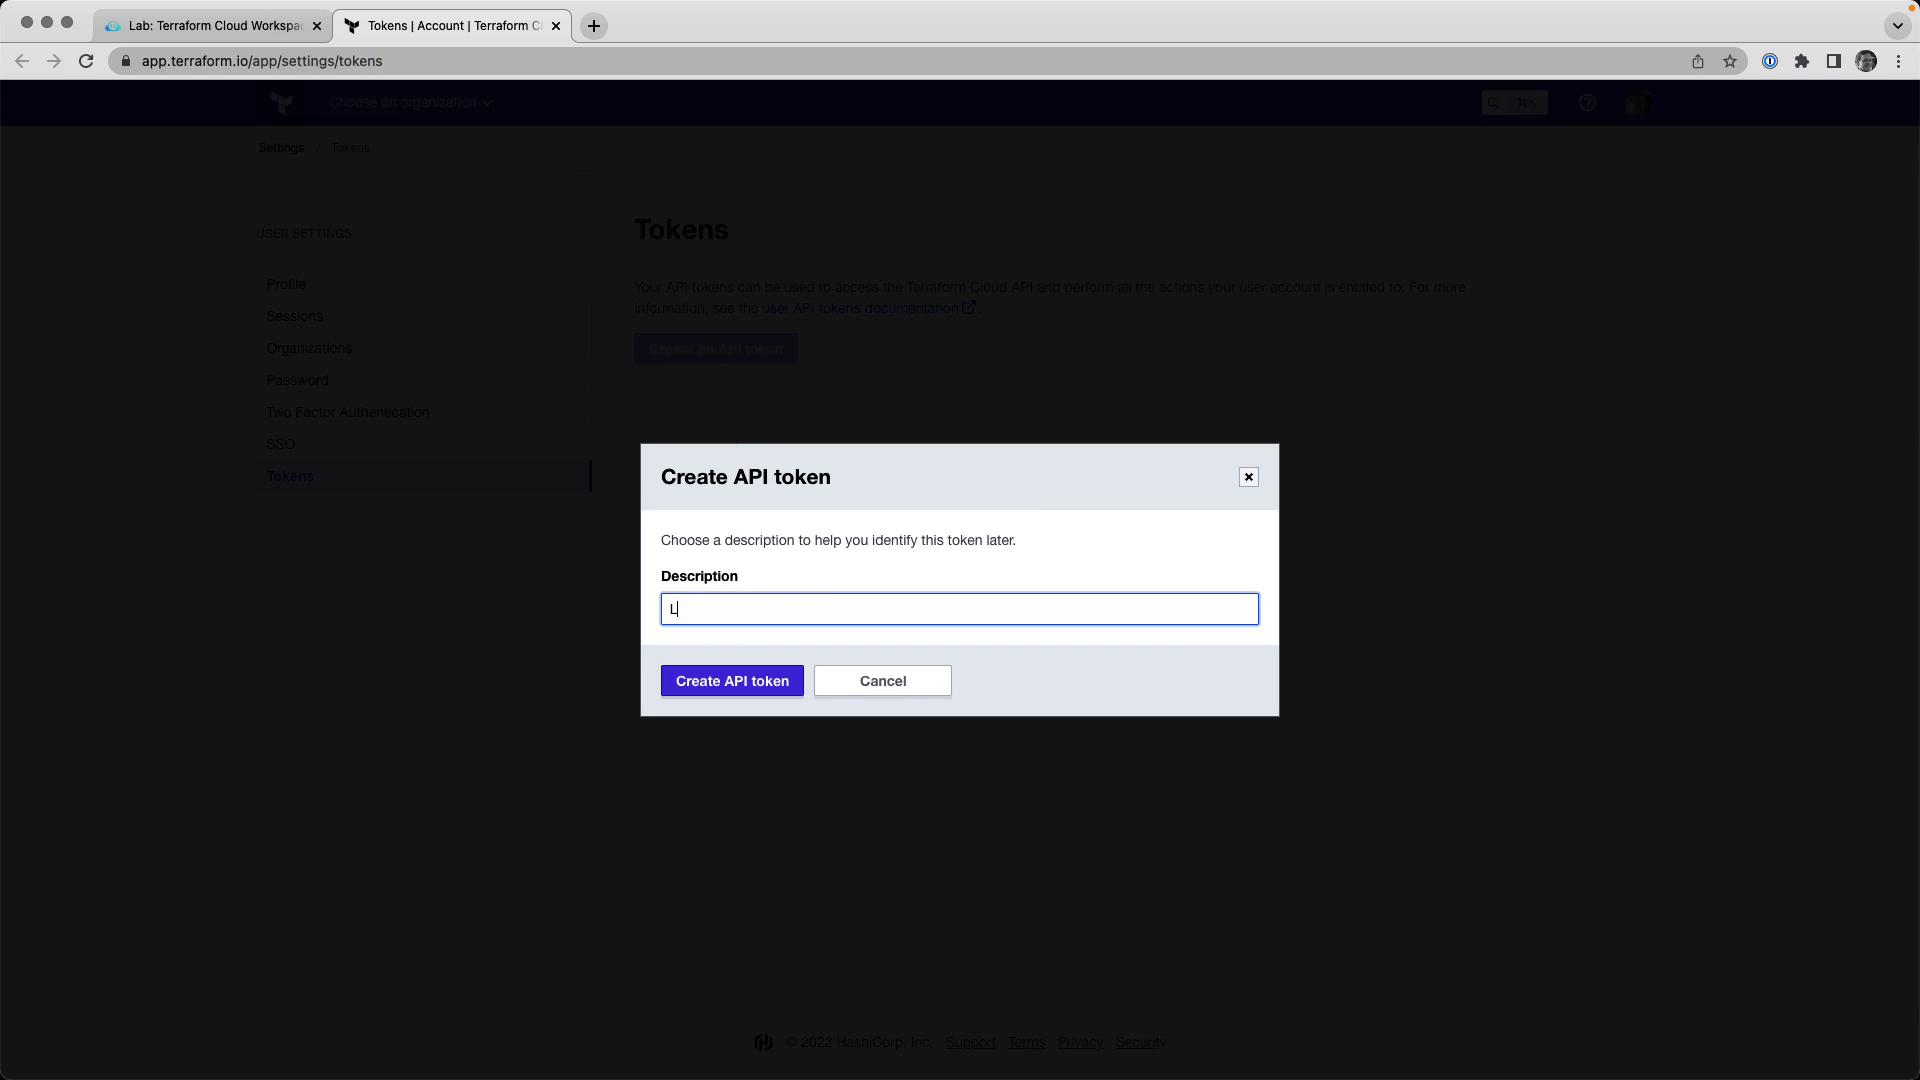
When prompted, paste your API token into the terminal. Successful authentication will display your user ID and a confirmation message.
| Command | Description |
| ----------------- | ------------------------------------------------ |
| `terraform login` | Authenticate your local CLI with Terraform Cloud |
## 2. Configure AWS Credentials
Export your AWS credentials as environment variables:
```bash theme={null}
export AWS_ACCESS_KEY_ID=YOUR_AWS_ACCESS_KEY_ID
export AWS_SECRET_ACCESS_KEY=YOUR_AWS_SECRET_ACCESS_KEY
```
Never commit your AWS credentials or API tokens to version control. Use environment variables or a secrets manager.
These lab environments automatically tear down after one hour, so your temporary credentials remain safe.
| Environment Variable | Purpose |
| ----------------------- | ------------------ |
| `AWS_ACCESS_KEY_ID` | AWS API access key |
| `AWS_SECRET_ACCESS_KEY` | AWS API secret key |
## 3. Create a Terraform Cloud Workspace
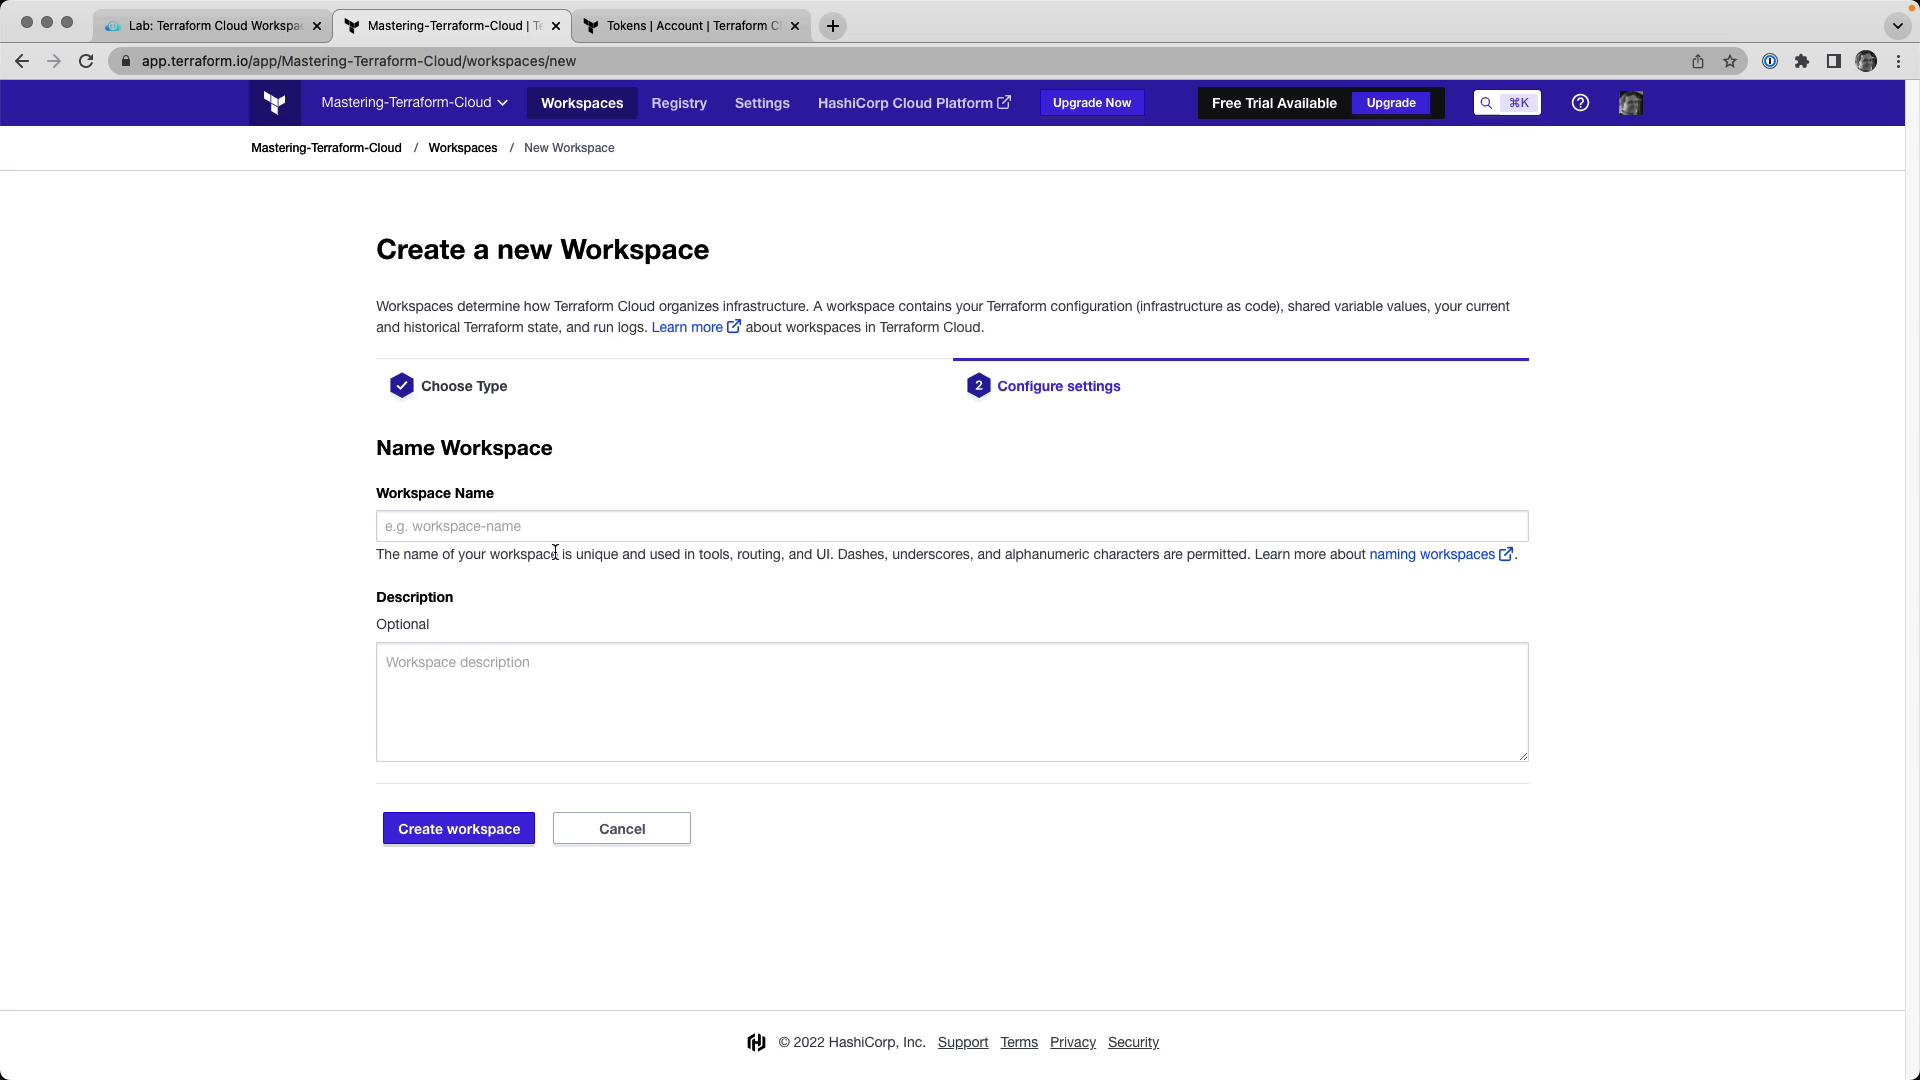
In Terraform Cloud’s web UI:
1. Select your organization.
2. Click **New Workspace → CLI-driven workflow**.
3. Enter:
* **Name**: `devops-aws-myapp-dev`
* **Description**: Development environment for MyApp on AWS.
Add the following backend configuration to `backend.tf` (or your chosen `.tf` file):
```hcl theme={null}
terraform {
cloud {
organization = "Mastering-Terraform-Cloud"
workspaces {
name = "devops-aws-myapp-dev"
}
}
}
```
## 4. Match Versions & Set Execution Mode
Ensure your local Terraform version matches the workspace setting:
```bash theme={null}
terraform version
```
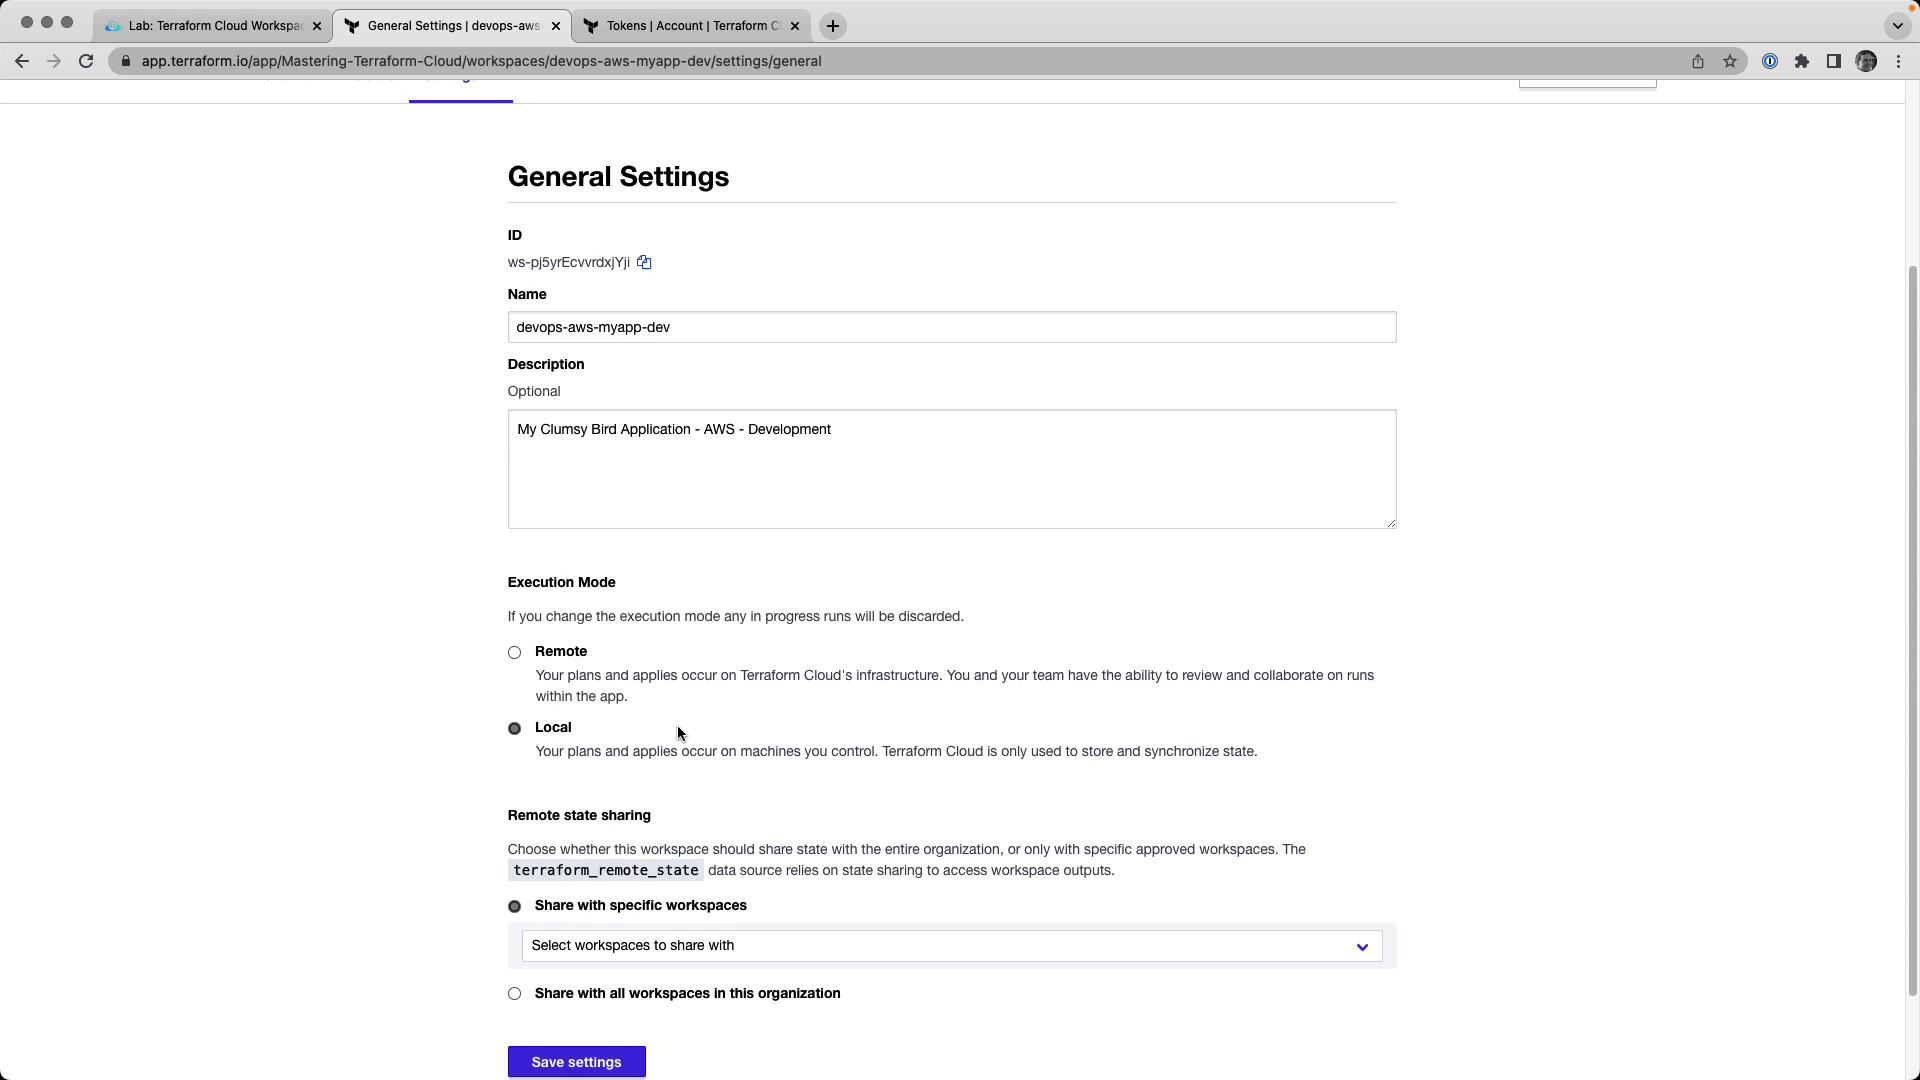
In Terraform Cloud’s UI, go to **Workspace → Settings → General**, then:
* Set **Terraform Version** to match your local client.
* Change **Execution Mode** to **Local**.
* Save your changes.
## 5. Initialize, Plan, and Apply
Initialize your local directory and review the execution plan:
```bash theme={null}
terraform init
terraform plan
```
Expected plan output:
```hcl theme={null}
Plan: 23 to add, 0 to change, 0 to destroy.
Changes to Outputs:
+ clumsy-bird-ip = (known after apply)
+ clumsy-bird-url = (known after apply)
```
Apply your configuration:
```bash theme={null}
terraform apply -auto-approve
```
Sample apply summary:
```bash theme={null}
Apply complete! Resources: 23 added, 0 changed, 0 destroyed.
Outputs:
clumsy-bird-ip = "http://18.214.74.214:8001"
clumsy-bird-url = "http://ec2-18-214-74-214.compute-1.amazonaws.com:8001"
```
## 6. Verify in Terraform Cloud
Navigate to **Workspace → Runs** and inspect the latest run. You’ll see resource details and outputs:
```json theme={null}
{
"outputs": {
"clumsy-bird-ip": {
"value": "http://18.214.74.214:8001",
"type": "string"
},
"clumsy-bird-url": {
"value": "http://ec2-18-214-74-214.compute-1.amazonaws.com:8001",
"type": "string"
}
},
"resources": [
{
"mode": "data",
"type": "aws_ami",
"name": "ubuntu",
"provider": "provider.terraform.io/hashicorp/aws"
}
]
}
```
## 7. Tear Down Infrastructure
When testing is complete, destroy all resources:
```bash theme={null}
terraform destroy -auto-approve
```
Confirm the teardown:
```bash theme={null}
Plan: 0 to add, 0 to change, 23 to destroy.
Do you really want to destroy all resources in workspace "devops-aws-myapp-dev"? ... yes ...
Apply complete! Resources: 0 added, 0 changed, 23 destroyed.
```
***
## Links and References
* [Terraform Cloud CLI-Driven Workflow](https://www.terraform.io/cloud/workspaces/cli-driven)
* [Terraform Documentation](https://www.terraform.io/docs)
* [AWS Credentials Configuration](https://docs.aws.amazon.com/cli/latest/userguide/cli-configure-envvars.html)