> ## Documentation Index
> Fetch the complete documentation index at: https://notes.kodekloud.com/llms.txt
> Use this file to discover all available pages before exploring further.
# Uploading Charts
> This article explains how to upload Helm charts to a repository, including generating the index.yaml file and sharing the repository URL.
Now that you have packaged and signed your Helm chart, it's time to make it available online. Users can easily install your chart with a simple command such as:
```bash theme={null}
helm install my-release our-cool-charts/nginx-chart
```
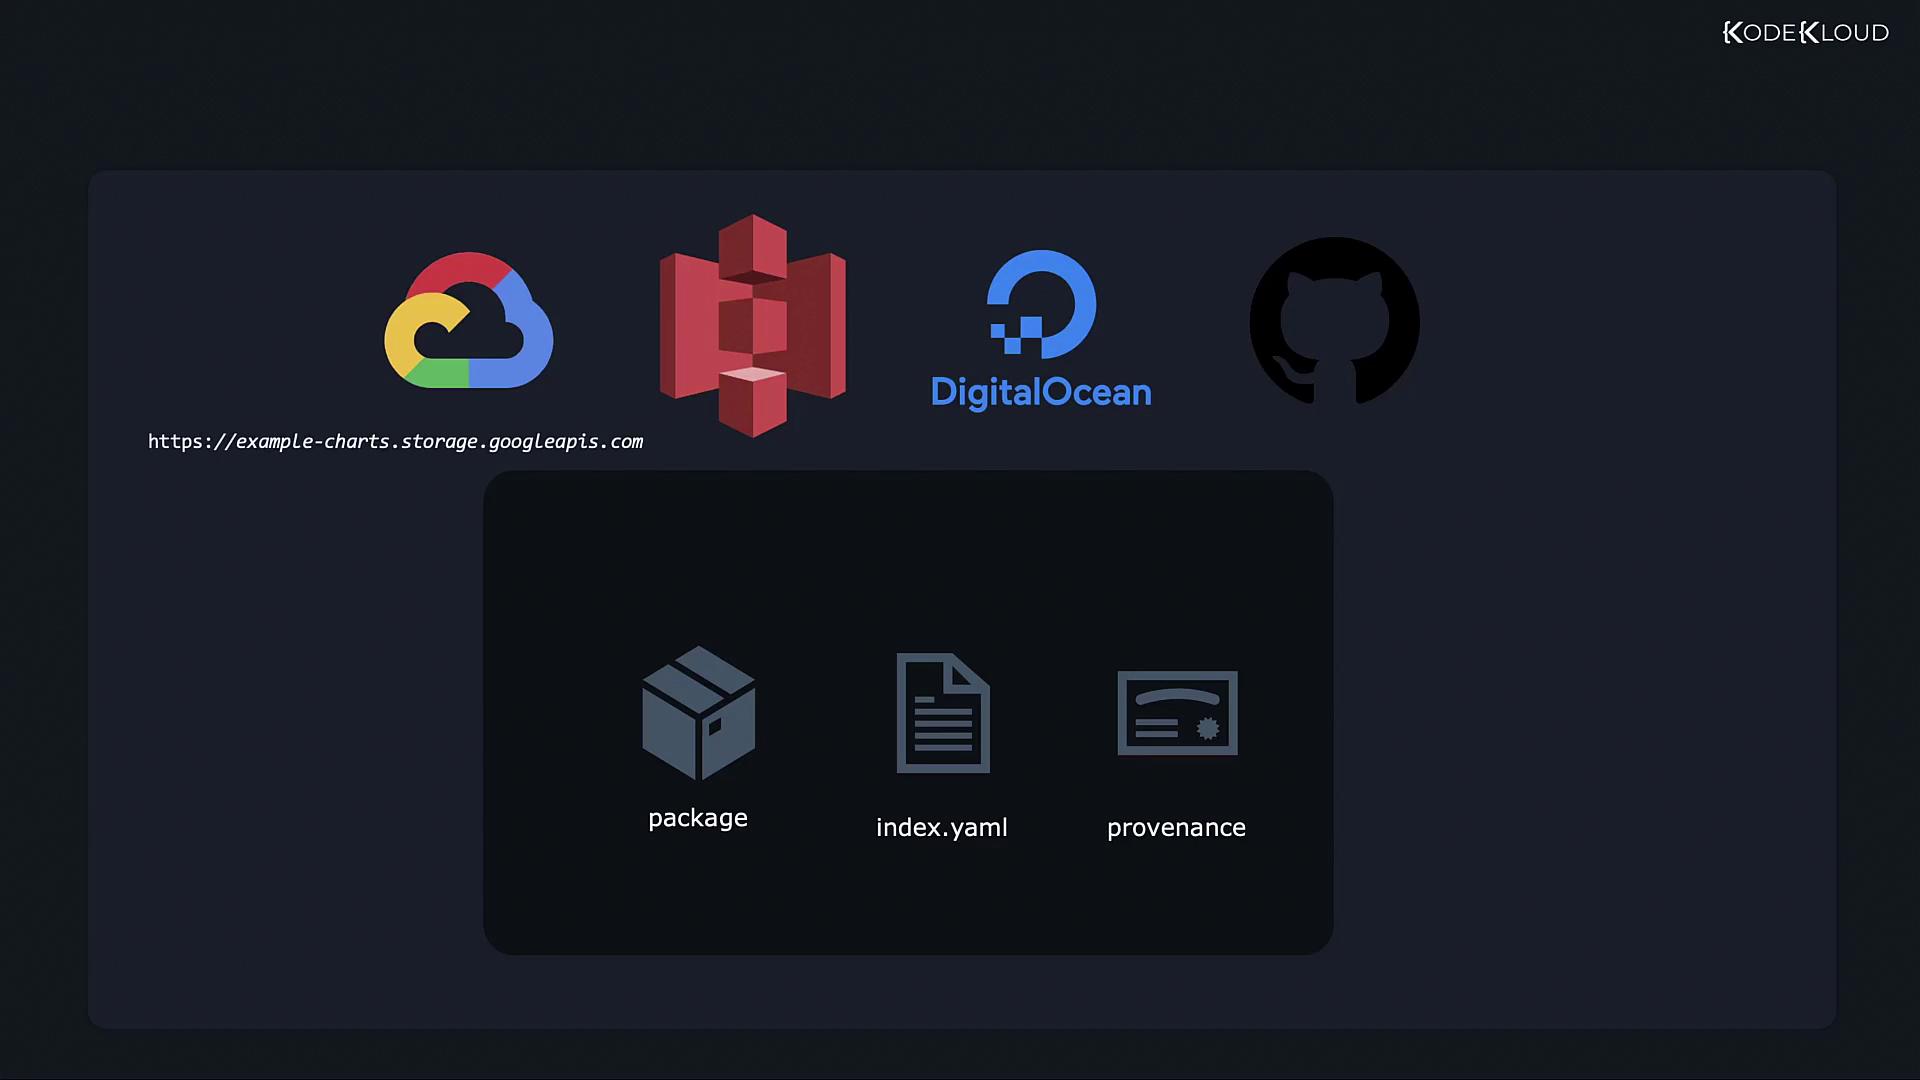
A chart repository typically contains the following components:
* **Packaged Chart**: In our example, the `nginx-chart-0.1.0.tgz` file created during the packaging process.
* **Index File (index.yaml)**: This file contains metadata about available charts, including checksums, descriptions, and URLs. Helm reads this file when you add a repository using the `helm repo add` command.
* **Provenance File (.prov)**: This file, generated during signing, enables users to verify the cryptographic signature and ensure the integrity and authenticity of the chart.
At this stage, you have both the packaged chart (`.tgz`) and its provenance file (`.prov`). The remaining component to generate is the `index.yaml` file. Follow the steps below to create it:
## Generating the index.yaml File
1. **Verify Existing Files**
Ensure you have the necessary files in your working directory. Running the following command lists your chart directory contents:
```plaintext theme={null}
$ ls
nginx-chart nginx-chart-0.1.0.tgz nginx-chart-0.1.0.tgz.prov
```
2. **Create a Directory for Chart Files**
Create a new directory to store your packaged chart and provenance file. For example, name the directory `nginx-chart-files` and copy the necessary files into it:
```bash theme={null}
$ mkdir nginx-chart-files
$ cp nginx-chart-0.1.0.tgz nginx-chart-0.1.0.tgz.prov nginx-chart-files/
```
3. **Generate index.yaml Using Helm**
Use the `helm repo index` command to create the `index.yaml` file. Be sure to specify the correct URL for your chart repository with the `--url` flag:
```bash theme={null}
$ helm repo index nginx-chart-files/ --url https://example.com/charts
```
After the command completes, the `index.yaml` file will appear inside the `nginx-chart-files` directory. This file is critical because it tells Helm where to download charts and lists all available chart entries. Below is an example snippet from an `index.yaml` file:
```yaml theme={null}
apiVersion: v1
entries:
nginx-chart:
- apiVersion: v2
appVersion: 1.16.0
created: "2021-12-01T15:29:35.073405539Z"
description: A Helm chart for Kubernetes
digest: 2c83c29dc4c56d20c45c3de8ef521fbfbe6f6c0b66854a6f4b5339bebcff879
maintainers:
- email: john@example.com
name: john smith
name: nginx-chart
type: application
urls:
- https://charts.bitnami.com/bitnami/nginx-chart-0.1.0.tgz
version: 0.1.0
generated: "2021-12-01T15:29:35.047718855Z"
```
## Uploading Your Helm Chart
With your packaged chart, provenance file, and `index.yaml` ready, you can now upload them to your desired chart repository. This repository could be hosted on your own web server or via a cloud service provider such as:
* Google Cloud Storage
* Amazon S3
* DigitalOcean Object Storage
* GitHub Pages
Once the files are uploaded, share the URL of the storage location with users. They can then add your repository and install charts using these steps:
1. **Add the Repository to Helm**
```bash theme={null}
$ helm repo add our-cool-charts https://example-charts.storage.googleapis.com
```
2. **List Configured Repositories**
Confirm the repository addition by listing all repositories:
```bash theme={null}
$ helm repo list
NAME URL
bitnami https://charts.bitnami.com/bitnami
our-cool-charts https://example-charts.storage.googleapis.com
```
3. **Install the Chart**
Finally, install the chart using the Helm install command:
```bash theme={null}
$ helm install my-new-release our-cool-charts/nginx-chart
```
Ensure that the URL provided in the `--url` flag during index generation and in the Helm repository command is accessible to users and correctly points to your storage location.
This completes the guide on uploading Helm charts. Continue exploring advanced topics on Helm chart management to further enhance your Kubernetes deployments.