> ## Documentation Index
> Fetch the complete documentation index at: https://notes.kodekloud.com/llms.txt
> Use this file to discover all available pages before exploring further.
# What is Helm
> This article introduces Helm, a package manager for Kubernetes that simplifies application deployment, management, and customization.
Let's begin with an understanding of Helm and its role in managing Kubernetes applications.
Kubernetes is a powerful platform for managing complex infrastructures. However, when deploying applications, human error can creep in due to the sheer number of interconnected objects. For example, a simple WordPress site might require several Kubernetes objects such as:
* A Deployment for Pods running services like MySQL or web servers.
* A Persistent Volume (PV) along with a Persistent Volume Claim (PVC) for storing the database.
* A Service to expose your web server to the internet.
* A Secret to store sensitive credentials, such as admin passwords.
* Additional objects for Jobs, backups, and other configurations.
Managing these components typically means creating and maintaining multiple YAML files and then running `kubectl apply` on each file. Consider the following example:
```yaml theme={null}
apiVersion: v1
kind: Secret
metadata:
name: wordpress-admin-password
data:
key: CalksdlkeBgmxcv23kjsdlkjr==
---
apiVersion: v1
kind: Service
metadata:
name: wordpress
labels:
app: wordpress
spec:
ports:
- port: 80
selector:
app: wordpress
tier: frontend
type: LoadBalancer
---
apiVersion: v1
kind: PersistentVolumeClaim
metadata:
name: wp-pv-claim
labels:
app: wordpress
spec:
accessModes:
- ReadWriteOnce
resources:
requests:
storage: 20Gi
---
apiVersion: apps/v1
kind: Deployment
metadata:
name: wordpress-mysql
labels:
app: wordpress
tier: mysql
spec:
selector:
matchLabels:
app: wordpress
tier: mysql
strategy:
type: Recreate
template:
metadata:
labels:
app: wordpress
tier: mysql
spec:
containers:
- image: mysql:5.6
---
apiVersion: v1
kind: PersistentVolume
metadata:
name: pv003
spec:
capacity:
storage: 20Gi
volumeMode: Filesystem
accessModes:
- ReadWriteOnce
```
Changing configuration values across multiple YAML files can be tedious. For instance, if you need to update your Secret, you would modify the file:
```yaml theme={null}
apiVersion: v1
kind: Secret
metadata:
name: wordpress-admin-password
data:
key: CalksdIkeBgmxcv23kjsdljkr==
```
And then apply the change using:
```bash theme={null}
$ kubectl apply -f wp-secret.yaml
```
Similarly, you would update and apply changes for each component:
* **Service:**
```yaml theme={null}
apiVersion: v1
kind: Service
metadata:
name: wordpress
labels:
app: wordpress
spec:
ports:
- port: 80
selector:
app: wordpress
tier: frontend
type: LoadBalancer
```
```bash theme={null}
$ kubectl apply -f wp-svc.yaml
```
* **Deployment:**
```yaml theme={null}
apiVersion: apps/v1
kind: Deployment
metadata:
name: wordpress-mysql
labels:
app: wordpress
tier: mysql
spec:
strategy:
type: Recreate
template:
metadata:
labels:
app: wordpress
tier: mysql
spec:
containers:
- image: mysql:5.6
```
```bash theme={null}
$ kubectl apply -f wp-deploy.yaml
```
* **Persistent Volume Claim:**
```yaml theme={null}
apiVersion: v1
kind: PersistentVolumeClaim
metadata:
name: wp-pv-claim
labels:
app: wordpress
spec:
accessModes:
- ReadWriteOnce
resources:
requests:
storage: 20Gi
```
```bash theme={null}
$ kubectl apply -f wp-pvc.yaml
```
* **Persistent Volume:**
```yaml theme={null}
apiVersion: v1
kind: PersistentVolume
metadata:
name: pv003
spec:
capacity:
storage: 20Gi
volumeMode: Filesystem
accessModes:
- ReadWriteOnce
```
Imagine needing to update the storage configuration from 20 GB to 2200 GB across every declaration. As your application evolves and components are upgraded, manually modifying each YAML file becomes error-prone and time-consuming. Moreover, uninstalling such an application requires tracking down and deleting each object individually.
Some users might consider consolidating all object definitions in a single YAML file. While this approach can simplify deletion, it may complicate troubleshooting, especially with larger and more complex configurations.
***
Enter Helm—a tool designed specifically to address these challenges. Helm is often referred to as the package manager for Kubernetes because it treats a collection of interrelated objects (like PV, Deployment, Secret, and Service) as one cohesive package.
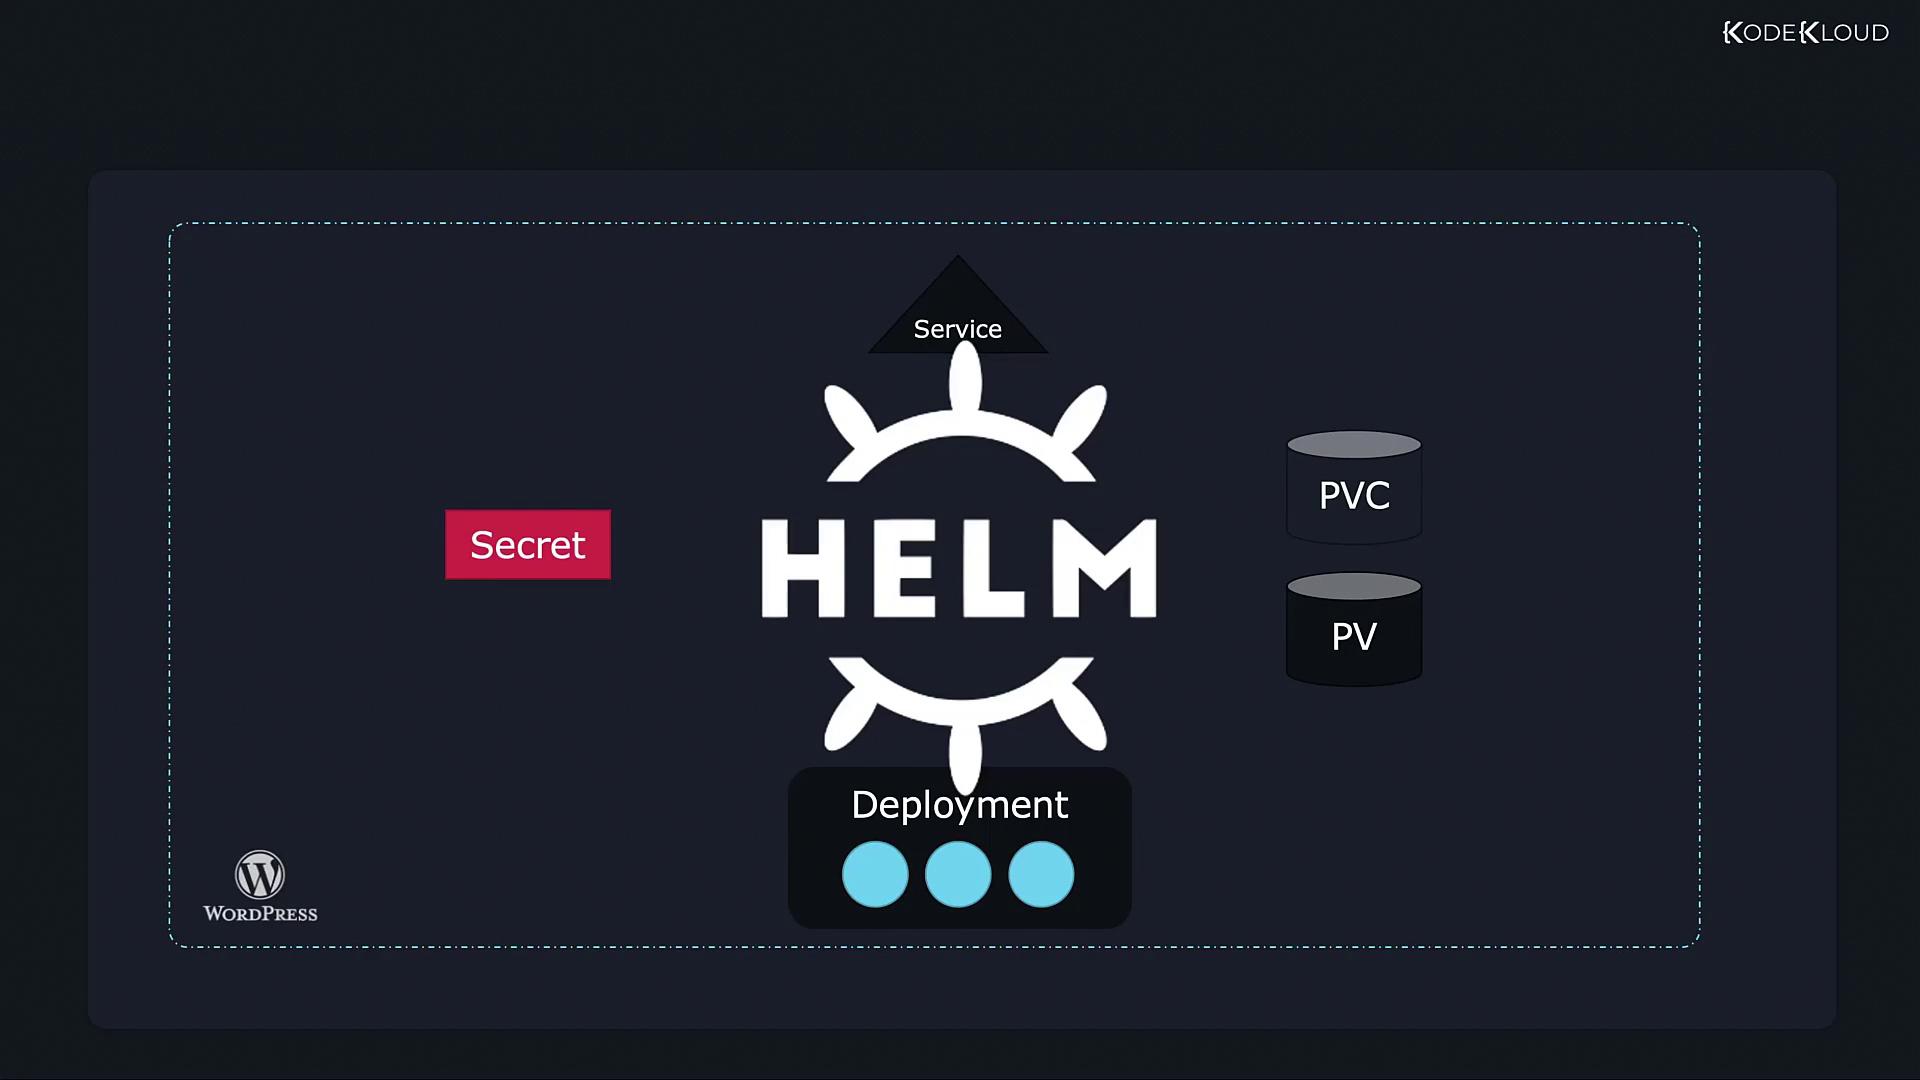
With Helm, you only need to specify the package (for example, your WordPress app package) and Helm will automatically identify and modify the necessary objects—no matter how many there are.
Helm functions similarly to an installer for computer games. Just as an installer automatically places executables, graphics, audio, and configuration files in the correct locations, Helm streamlines the deployment of Kubernetes manifests with a single command.
For example, deploying your WordPress application becomes as simple as running:
```bash theme={null}
$ helm install wordpress
```
One of Helm's key benefits is its support for easy customization. Instead of editing multiple YAML files, you use a single values file (commonly named values.yaml) to set configuration parameters such as persistent volume sizes, website names, and admin credentials:
```yaml theme={null}
wordpressUsername: user
# Application password
# Defaults to a random 10-character alphanumeric string if not set
# wordpressPassword:
# Admin email
wordpressEmail: user@example.com
# First name
# wordpressFirstName: FirstName
# Last name
# wordpressLastName: LastName
# Blog name
# wordpressBlogName: User's Blog!
```
Helm also simplifies application upgrades, rollbacks, and uninstallation. With just one command, Helm determines the necessary adjustments for an upgrade or rollback:
```bash theme={null}
$ helm upgrade wordpress
$ helm rollback wordpress
```
Similarly, to uninstall your application and remove all associated objects, you use:
```bash theme={null}
$ helm uninstall wordpress
```
***
In summary, Helm acts as both a package manager and a release manager for Kubernetes applications. It abstracts the management of individual objects, allowing you to deploy, upgrade, and uninstall your application as a single unit. This abstraction significantly reduces deployment complexity and minimizes human error when managing Kubernetes clusters.
For additional information, visit the [Helm Documentation](https://helm.sh/docs/) and the [Kubernetes Documentation](https://kubernetes.io/docs/).
This concludes our brief introduction to Helm. In the upcoming sections, we will dive deeper into Helm commands and explore advanced usage techniques. Happy Helming!