> ## Documentation Index
> Fetch the complete documentation index at: https://notes.kodekloud.com/llms.txt
> Use this file to discover all available pages before exploring further.
# Basic Prompt Engineering
> This hands-on guide covers prompt engineering using OpenAIs Python client, including installation, client setup, and tuning generation parameters.
Welcome to this hands-on guide on prompt engineering using the OpenAI Python client. You’ll learn how to install the package, configure the client, build a reusable prompt function, and tune generation parameters like `max_tokens`, `temperature`, `top_p`, and `stop`.
## Table of Contents
1. [Prerequisites](#prerequisites)
2. [Installation](#installation)
3. [Client Setup](#client-setup)
4. [Creating the Prompt Function](#creating-the-prompt-function)
5. [Running and Testing](#running-and-testing)
6. [Tuning Generation Parameters](#tuning-generation-parameters)
* [max\_tokens](#max_tokens)
* [temperature](#temperature)
* [top\_p](#top_p)
* [stop](#stop)
7. [Parameter Reference Table](#parameter-reference-table)
8. [Summary](#summary)
9. [Links and References](#links-and-references)
***
## Prerequisites
* Python 3.7+
* An OpenAI API key
* Basic familiarity with Python
Never commit your API key directly to source control. Use environment variables or a secrets manager in production.
***
## Installation
Open your terminal in Visual Studio Code (Terminal → New Terminal) and install the OpenAI package:
```bash theme={null}
pip3 install openai
```
You should see output indicating successful installation:
```plaintext theme={null}
Requirement already satisfied: tqdm<4 in ./Library/Python/3.9/lib/python/site-packages (from openai) (4.66.5)
Requirement already satisfied: anyio<6,>=5.0.0 in ./Library/Python/3.9/lib/python/site-packages (from openai) (5.4.0)
Requirement already satisfied: httpx<1.23.0,>=0.23.0 in ./Library/Python/3.9/lib/python/site-packages (from openai) (0.27.2)
...
```
Clear the terminal before proceeding.
***
## Client Setup
Create a new file named `prompt_engine.py` and initialize the OpenAI client. For this example, we’ll inject the API key inline—remember to switch to environment variables later.
```python theme={null}
from openai import OpenAI
client = OpenAI(api_key="YOUR_API_KEY")
```
***
## Creating the Prompt Function
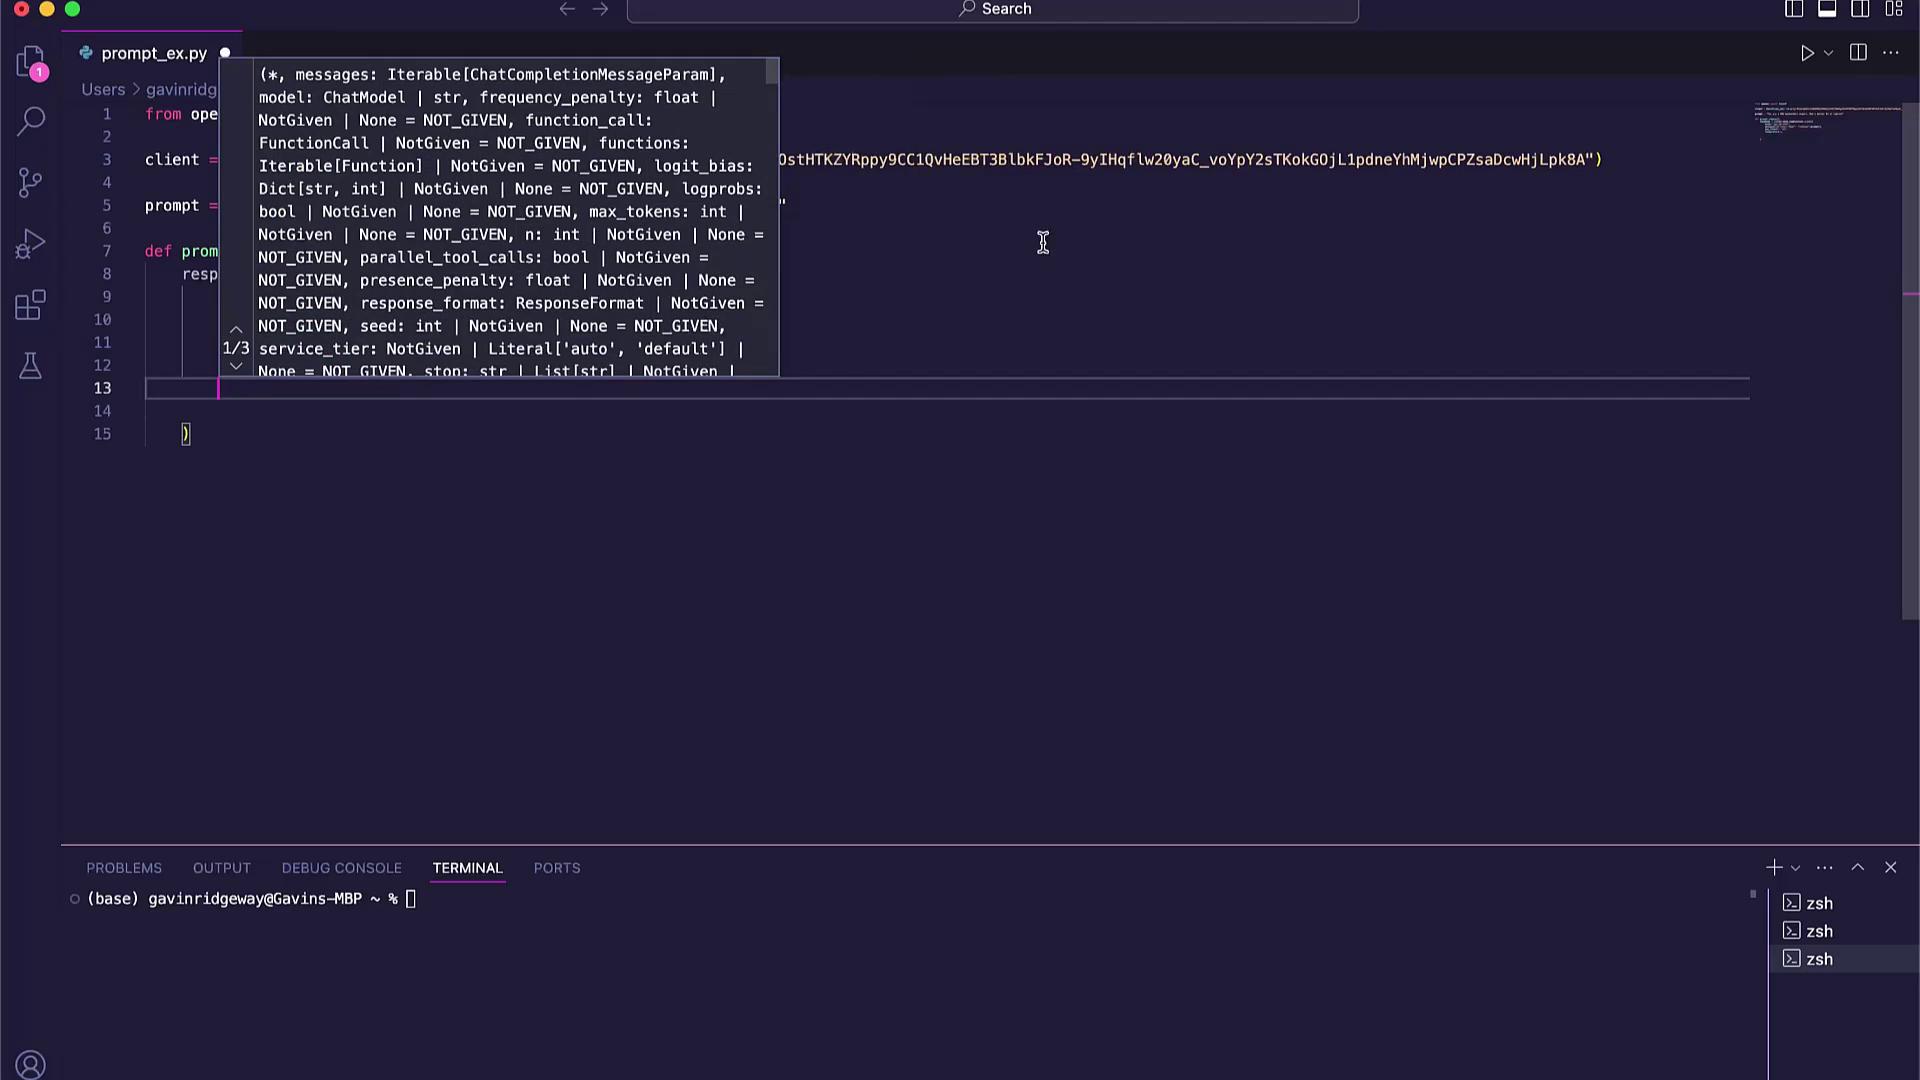
Define a function `prompt_engine` that sends user input to the model and returns the generated text:
```python theme={null}
from openai import OpenAI
client = OpenAI(api_key="YOUR_API_KEY")
def prompt_engine(prompt: str) -> str:
response = client.chat.completions.create(
model="gpt-4o-mini",
messages=[{"role": "user", "content": prompt}]
)
return response.choices[0].message.content
```
***
## Running and Testing
Append a sample prompt and print the result:
```python theme={null}
prompt = "You are an NBA basketball expert. Who's better, MJ or LeBron?"
print(prompt_engine(prompt))
```
Then run:
```bash theme={null}
python3 prompt_engine.py
```
You’ll see the model’s comparison between Michael Jordan and LeBron James.
***
## Tuning Generation Parameters
Fine-tuning parameters lets you control creativity, length, and focus. Here’s how to adjust the main options:
### max\_tokens
Controls the maximum number of tokens in the response. Increase for more detailed output:
```python theme={null}
def prompt_engine(prompt: str) -> str:
response = client.chat.completions.create(
model="gpt-4o-mini",
messages=[{"role": "user", "content": prompt}],
max_tokens=200
)
return response.choices[0].message.content
```
### temperature
Sets randomness:
* 0.0 for deterministic responses
* 1.0 for highly creative output
```python theme={null}
def prompt_engine(prompt: str) -> str:
response = client.chat.completions.create(
model="gpt-4o-mini",
messages=[{"role": "user", "content": prompt}],
temperature=0.5
)
return response.choices[0].message.content
```
### top\_p
Limits token selection to a cumulative probability. Lower values focus the output:
```python theme={null}
def prompt_engine(prompt: str) -> str:
response = client.chat.completions.create(
model="gpt-4o-mini",
messages=[{"role": "user", "content": prompt}],
temperature=0.5,
top_p=0.5
)
return response.choices[0].message.content
```
`top_p` must be between 0 and 1 (exclusive). Values closer to 0 yield more focused results.
### stop
Define one or more stop sequences to end the generation early:
```python theme={null}
def prompt_engine(prompt: str) -> str:
response = client.chat.completions.create(
model="gpt-4o-mini",
messages=[{"role": "user", "content": prompt}],
max_tokens=100,
temperature=0.5,
top_p=0.5,
stop=["\n"]
)
return response.choices[0].message.content
```
***
## Parameter Reference Table
| Parameter | Description | Example Values |
| ----------- | ------------------------------------ | ------------------- |
| model | ID of the OpenAI model or deployment | `"gpt-4o-mini"` |
| max\_tokens | Maximum response length (in tokens) | `50`, `100`, `200` |
| temperature | Sampling temperature (0.0–1.0) | `0.0`, `0.5`, `1.0` |
| top\_p | Nucleus sampling probability (0–1) | `0.1`, `0.5`, `1.0` |
| stop | Sequences where generation will stop | `["\n"]`, `["."]` |
***
## Summary
You’ve now covered:
* Installing the OpenAI Python SDK
* Initializing the `OpenAI` client
* Writing a generic `prompt_engine` function
* Running and validating outputs
* Fine-tuning with `max_tokens`, `temperature`, `top_p`, and `stop`
Experiment with these settings to craft prompts that deliver exactly the style and length you need.
***
## Links and References
* [OpenAI Python SDK Documentation](https://github.com/openai/openai-python)
* [Chat Completions API Reference](https://platform.openai.com/docs/api-reference/chat)
* [Python Packaging Guide](https://packaging.python.org/)