> ## Documentation Index
> Fetch the complete documentation index at: https://notes.kodekloud.com/llms.txt
> Use this file to discover all available pages before exploring further.
# Jenkins REST API Install a Plugin
> This guide explains how to use the Jenkins REST API for tasks like installing plugins and triggering builds with parameters.
This guide provides detailed instructions on how to leverage the Jenkins REST API for various tasks, including installing a plugin. Jenkins offers a machine-consumable API in multiple formats such as XML, JSON, and even Python, allowing you to retrieve information, trigger builds with parameters, create jobs, and more.
Before diving into plugin installation, let’s explore some common API use cases.
***
## Triggering a Build with Parameters
To trigger a build with parameters, you can use the curl command. When you build with parameters, ensure you use the `buildWithParameters` endpoint. The following example shows how to initiate a build with specific parameters using authentication via a token or a password:
```bash theme={null}
curl JENKINS_URL/job/JOB_NAME/buildWithParameters \
--user USER:TOKEN \
--data id=123 --data verbosity=high
```
Here are two examples for clarity:
```bash theme={null}
curl JENKINS_URL/job/JOB_NAME/buildWithParameters \
--user USER:TOKEN \
--data id=123 --data verbosity=high
```
```bash theme={null}
curl JENKINS_URL/job/JOB_NAME/buildWithParameters \
--user USER:PASSWORD \
--form FILE_LOCATION_AS_SET_IN_JENKINS=@PATH_TO_FILE
```
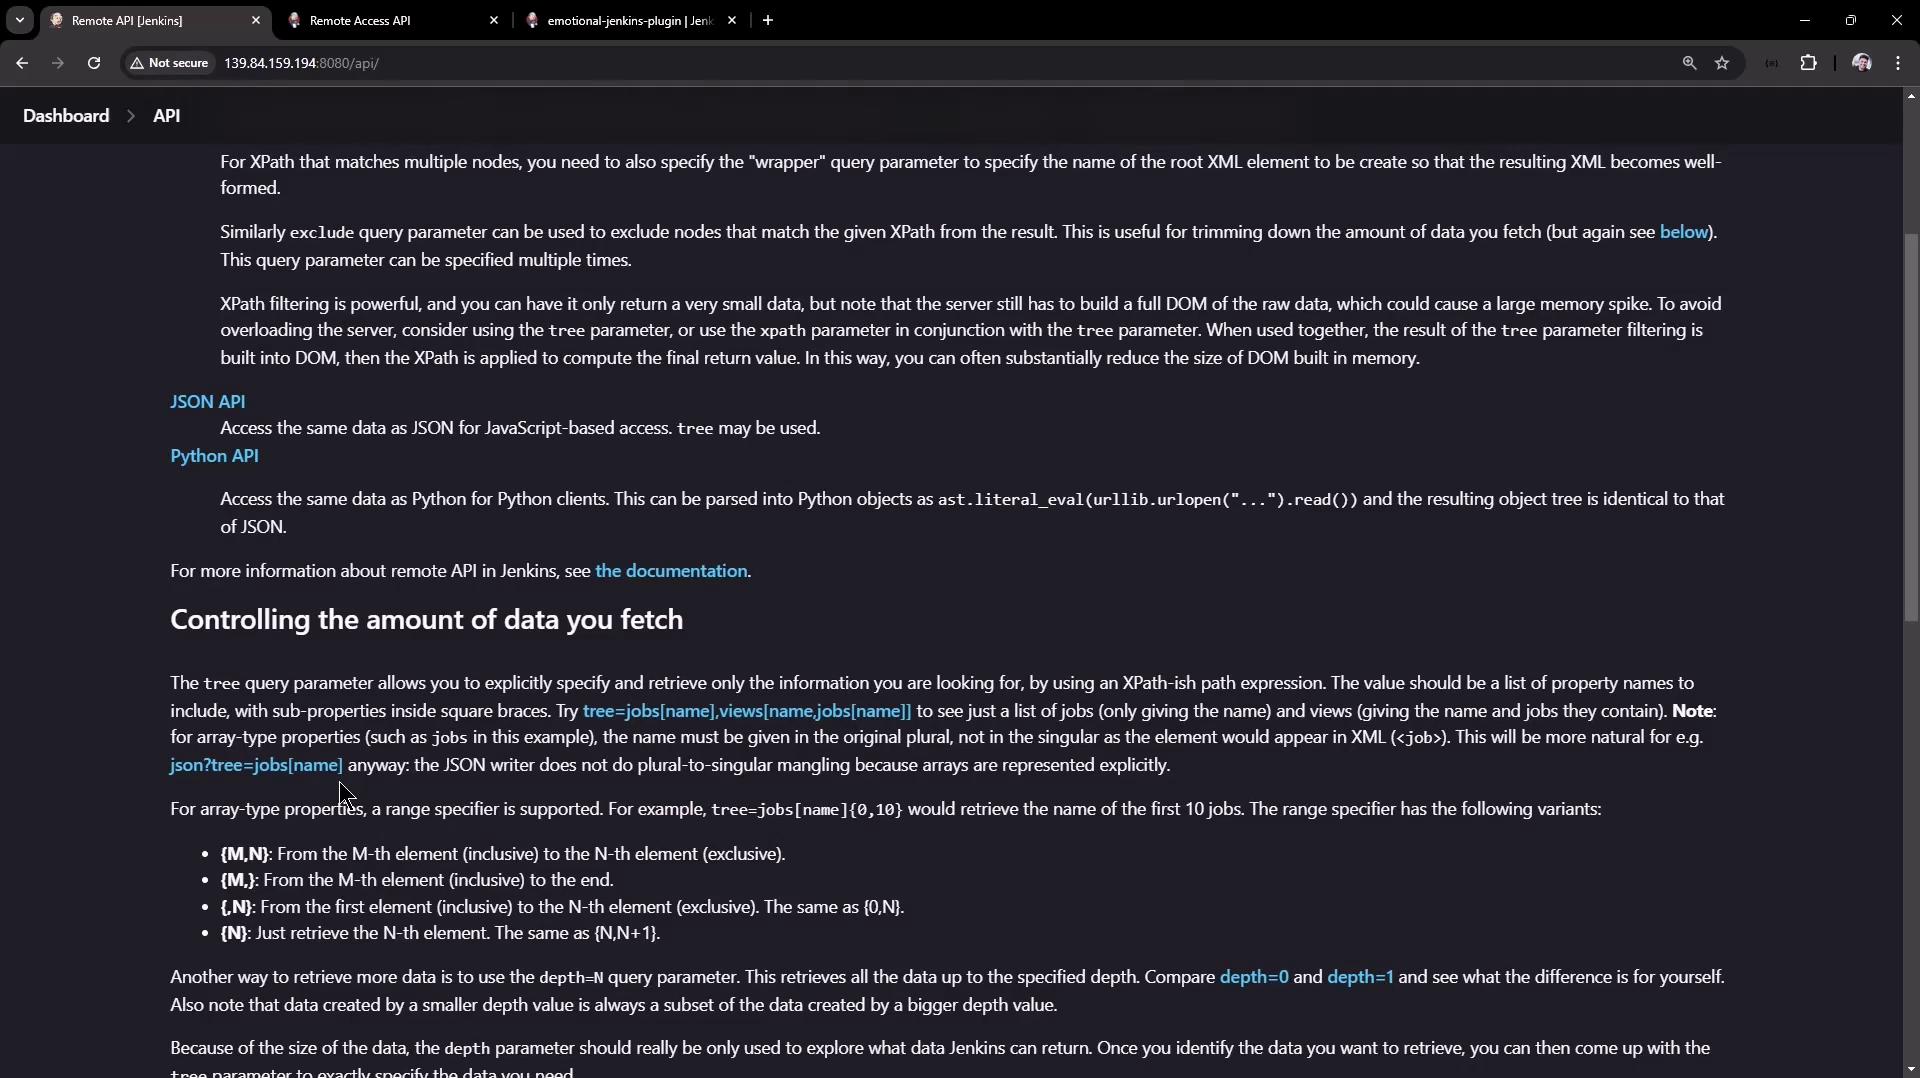
For additional API details, visit your Jenkins dashboard and refer to the REST API documentation. You can control the amount of data returned by using query parameters. For instance, accessing the `/api/json` endpoint returns data in JSON format.
***
***
## Retrieving Job Information via the REST API
Accessing the JSON API endpoint (e.g., `JENKINS_URL/api/json?tree=jobs[name]`) returns details about all jobs. Below is a sample JSON response displaying various project types:
```json theme={null}
{
"_class": "hudson.model.Hudson",
"jobs": [
{
"_class": "hudson.model.FreeStyleProject",
"name": "ascii-build-job"
},
{
"_class": "hudson.model.FreeStyleProject",
"name": "ascii-deploy-job"
},
{
"_class": "hudson.model.FreeStyleProject",
"name": "ascii-test-job"
},
{
"_class": "hudson.model.FreeStyleProject",
"name": "Generate ASCII Artwork"
},
{
"_class": "org.jenkinsci.plugins.workflow.job.WorkflowJob",
"name": "hello-world-pipeline"
},
{
"_class": "org.jenkinsci.plugins.workflow.multibranch.WorkflowMultiBranchProject",
"name": "jenkins-hello-world"
},
{
"_class": "org.jenkinsci.plugins.workflow.job.WorkflowJob",
"name": "parameterized-pipeline-job"
}
]
}
```
If you choose to filter the data and display only the job types without job names, the JSON output will appear as follows:
```json theme={null}
{
"_class": "hudson.model.Hudson",
"jobs": [
{
"_class": "hudson.model.FreeStyleProject"
},
{
"_class": "hudson.model.FreeStyleProject"
},
{
"_class": "hudson.model.FreeStyleProject"
},
{
"_class": "hudson.model.FreeStyleProject"
},
{
"_class": "org.jenkinsci.plugins.workflow.job.WorkflowJob"
},
{
"_class": "org.jenkinsci.plugins.workflow.multibranch.WorkflowMultiBranchProject"
},
{
"_class": "org.jenkinsci.plugins.workflow.job.WorkflowJob"
}
]
}
```
Including the job name parameter brings back the names in the output:
```json theme={null}
{
"_class": "hudson.model.Hudson",
"jobs": [
{
"_class": "hudson.model.FreeStyleProject",
"name": "ascii-build-job"
},
{
"_class": "hudson.model.FreeStyleProject",
"name": "ascii-deploy-job"
},
{
"_class": "hudson.model.FreeStyleProject",
"name": "ascii-test-job"
},
{
"_class": "hudson.model.FreeStyleProject",
"name": "Generate ASCII Artwork"
},
{
"_class": "org.jenkinsci.plugins.workflow.job.WorkflowJob",
"name": "hello-world-pipeline"
},
{
"_class": "org.jenkinsci.plugins.workflow.multibranch.WorkflowMultiBranchProject",
"name": "jenkins-hello-world"
},
{
"_class": "org.jenkinsci.plugins.workflow.job.WorkflowJob",
"name": "parameterized-pipeline-job"
}
]
}
```
To access this data from the shell and pretty-print the JSON output, you can pipe the results to jq:
```bash theme={null}
curl http://139.84.159.194:8080/api/json?tree=jobs[name] | jq
```
If you aren’t logged into Jenkins via your browser, you will be prompted for authentication. To get detailed information about a specific job, run:
```bash theme={null}
curl -u admin:password http://139.84.159.194:8080/job/parameterized-pipeline-job/api/json | jq
```
This command returns extensive job details, including display name, full name, buildability, and build information:
```json theme={null}
{
"_class": "com.cloudbees.plugins.credentials.ViewCredentialsAction"
},
"description": "",
"displayName": "parameterized-pipeline-job",
"fullDisplayName": "parameterized-pipeline-job",
"fullName": "parameterized-pipeline-job",
"name": "parameterized-pipeline-job",
"url": "http://139.84.159.194:8080/job/parameterized-pipeline-job/",
"buildable": true,
"builds": [
{
"_class": "org.jenkinsci.plugins.workflow.job.WorkflowRun",
"number": 5,
"url": "http://139.84.159.194:8080/job/parameterized-pipeline-job/5/"
},
{
"_class": "org.jenkinsci.plugins.workflow.job.WorkflowRun",
"number": 4,
"url": "http://139.84.159.194:8080/job/parameterized-pipeline-job/4/"
}
]
```
If your job contains parameters, you will also see a properties section that lists these. For example:
```json theme={null}
{
"nextBuildNumber": 6,
"property": [
{
"_class": "hudson.model.ParametersDefinitionProperty",
"parameterDefinitions": [
{
"_class": "hudson.model.StringParameterDefinition",
"defaultParameterValue": {
"_class": "hudson.model.StringParameterValue",
"name": "BRANCH_NAME",
"value": "main"
},
"description": "The Git Branch on which the build and deployment happens",
"name": "BRANCH_NAME",
"type": "StringParameterDefinition"
},
{
"_class": "hudson.model.StringParameterDefinition",
"defaultParameterValue": {
"_class": "hudson.model.StringParameterValue",
"name": "APP_PORT",
"value": "6767"
},
"description": "Select the application port on which integration tests should happen"
}
]
}
]
}
```
***
## Building a Job via the REST API
To trigger a build for a parameterized job, ensure you are authenticated (using `-u admin:password`). Here’s a basic example that triggers a build:
```bash theme={null}
curl -u admin:password http://139.84.159.194:8080/job/parameterized-pipeline-job/buildWithParameters -d BRANCH_NAME=test -d APP_PORT=6767
```
By default, curl uses the GET method. In this case, you need to explicitly use the POST method with the `-X POST` flag:
```bash theme={null}
curl -u admin:password -X POST http://139.84.159.194:8080/job/parameterized-pipeline-job/buildWithParameters -d BRANCH_NAME=test -d APP_PORT=6767
```
If you are not logged into Jenkins via your browser, you may receive authentication errors. Ensure you provide valid credentials or use an API token to avoid such issues.
Some builds might require a valid Jenkins crumb (a security token to prevent CSRF attacks) unless you opt to use an API token. To generate or fetch an API token, navigate to your Jenkins user configuration page.
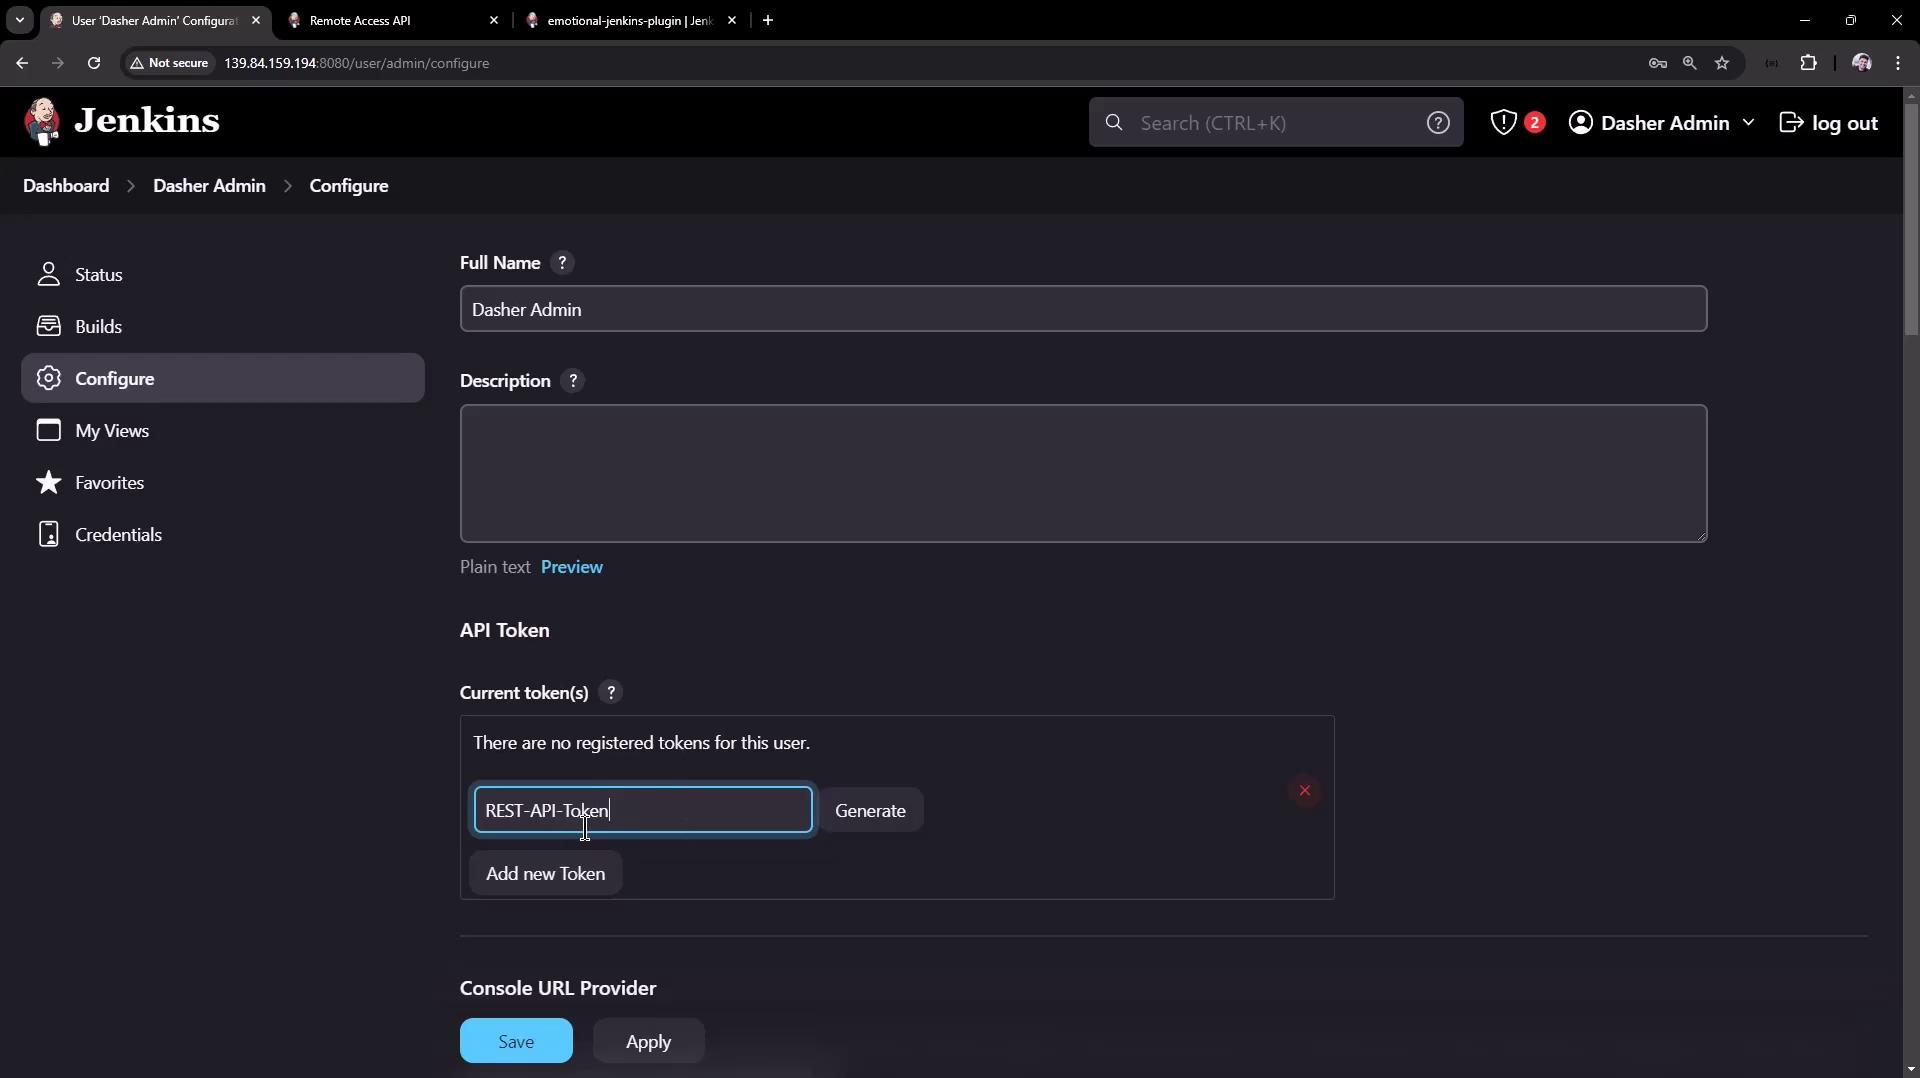
Once you have your API token, update your curl command as follows:
```bash theme={null}
curl -u admin:110116b9f4f3f2698451306fd8fa7f26d6 -X POST http://139.84.159.194:8080/job/parameterized-pipeline-job/buildWithParameters -d BRANCH_NAME=test -d APP_PORT=6767
```
When you trigger the build successfully, you will observe a new build initiated on the Jenkins dashboard. For example, build number six might now be in progress.
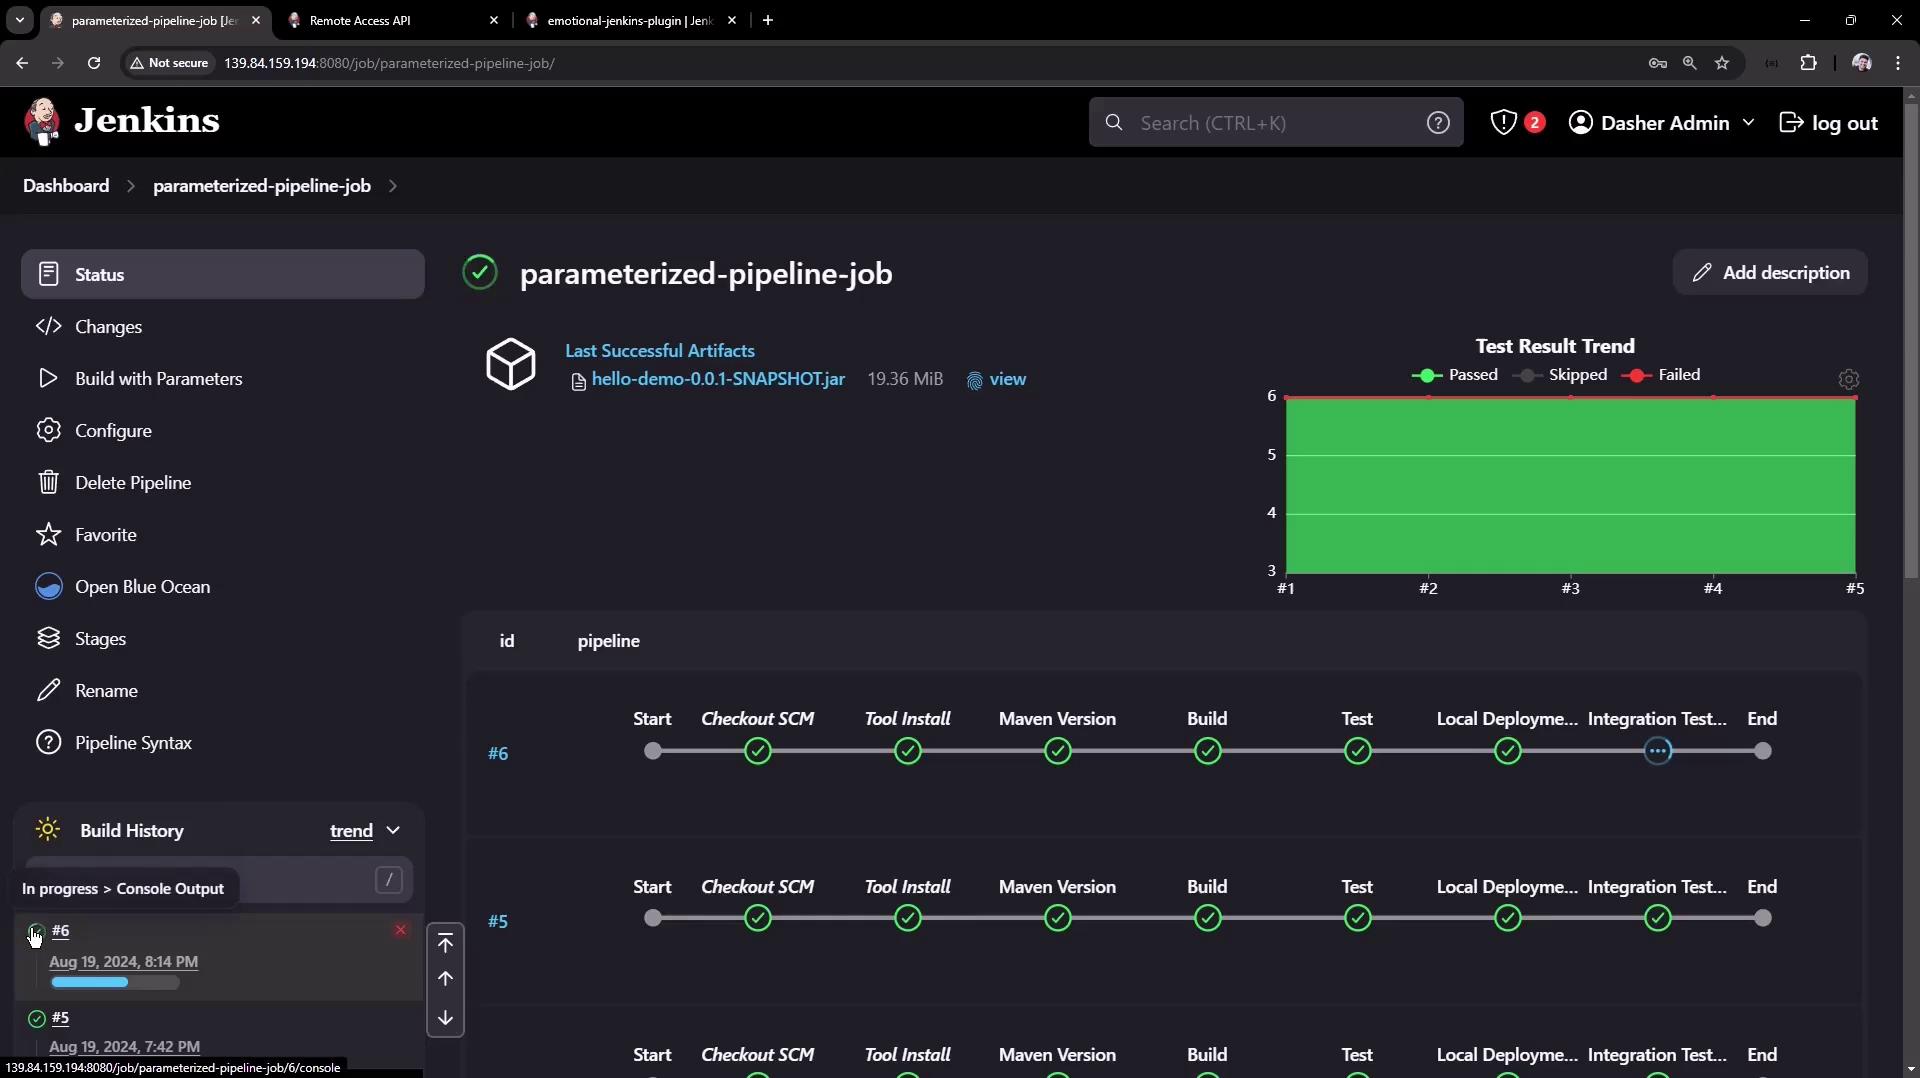
A build triggered via the Jenkins CLI might include additional log details (such as fetching Git information) that may not appear when using the REST API.
***
## Installing a Plugin via the REST API
One of the powerful features of the Jenkins REST API is the ability to install plugins automatically. Similar to triggering a build, this action requires authentication and uses the POST method. The endpoint for installing necessary plugins is:
```text theme={null}
/pluginManager/installNecessaryPlugins
```
When calling this endpoint, provide an XML payload and set the proper content type. The following example demonstrates how to install a plugin named "emotional-jenkins-plugin" with version 1.2. Note that the IP address has been replaced with `localhost` because the command runs on the Jenkins server:
```bash theme={null}
curl -u admin:1101616b94f4f3f2698451306fd8f8a7f26d6 \
-X POST http://localhost:8080/pluginManager/installNecessaryPlugins \
-H 'Content-Type: text/xml' \
-d ''
```
To automate the installation of multiple plugins, list them within the XML payload. After execution, verify the installation by reviewing the "Manage Jenkins Plugins" section within the Jenkins UI.
***
This article demonstrated how to interact with the Jenkins REST API to:
* Retrieve job details
* Trigger builds with parameters
* Install plugins
Utilizing API tokens, the correct HTTP methods, and proper payload formats (JSON or XML) ensures your API calls are secure and effective.
For further information on Jenkins API usage:
* [Jenkins Documentation](https://www.jenkins.io/doc/)
* [Jenkins Rest API Reference](https://www.jenkins.io/doc/book/using/remote-access-api/)
Happy automating!