Jenkins Pipelines

Containerization and Deployment

Push to Registry

In this guide, we will walk through the process of pushing a Docker image to a container registry using Jenkins. After building the image and performing a vulnerability scan with Trivy, follow these steps to update your Jenkins pipeline and securely push your image to Docker Hub.


Updating the Jenkins Pipeline

To begin, modify your Jenkinsfile by adding a new stage dedicated to pushing the Docker image. Start with a simple stage that builds the Docker image:

stage('Push Docker Image') {
    steps {
        sh 'docker build -t siddharth67/solar-system:$GIT_COMMIT .'
    }
}

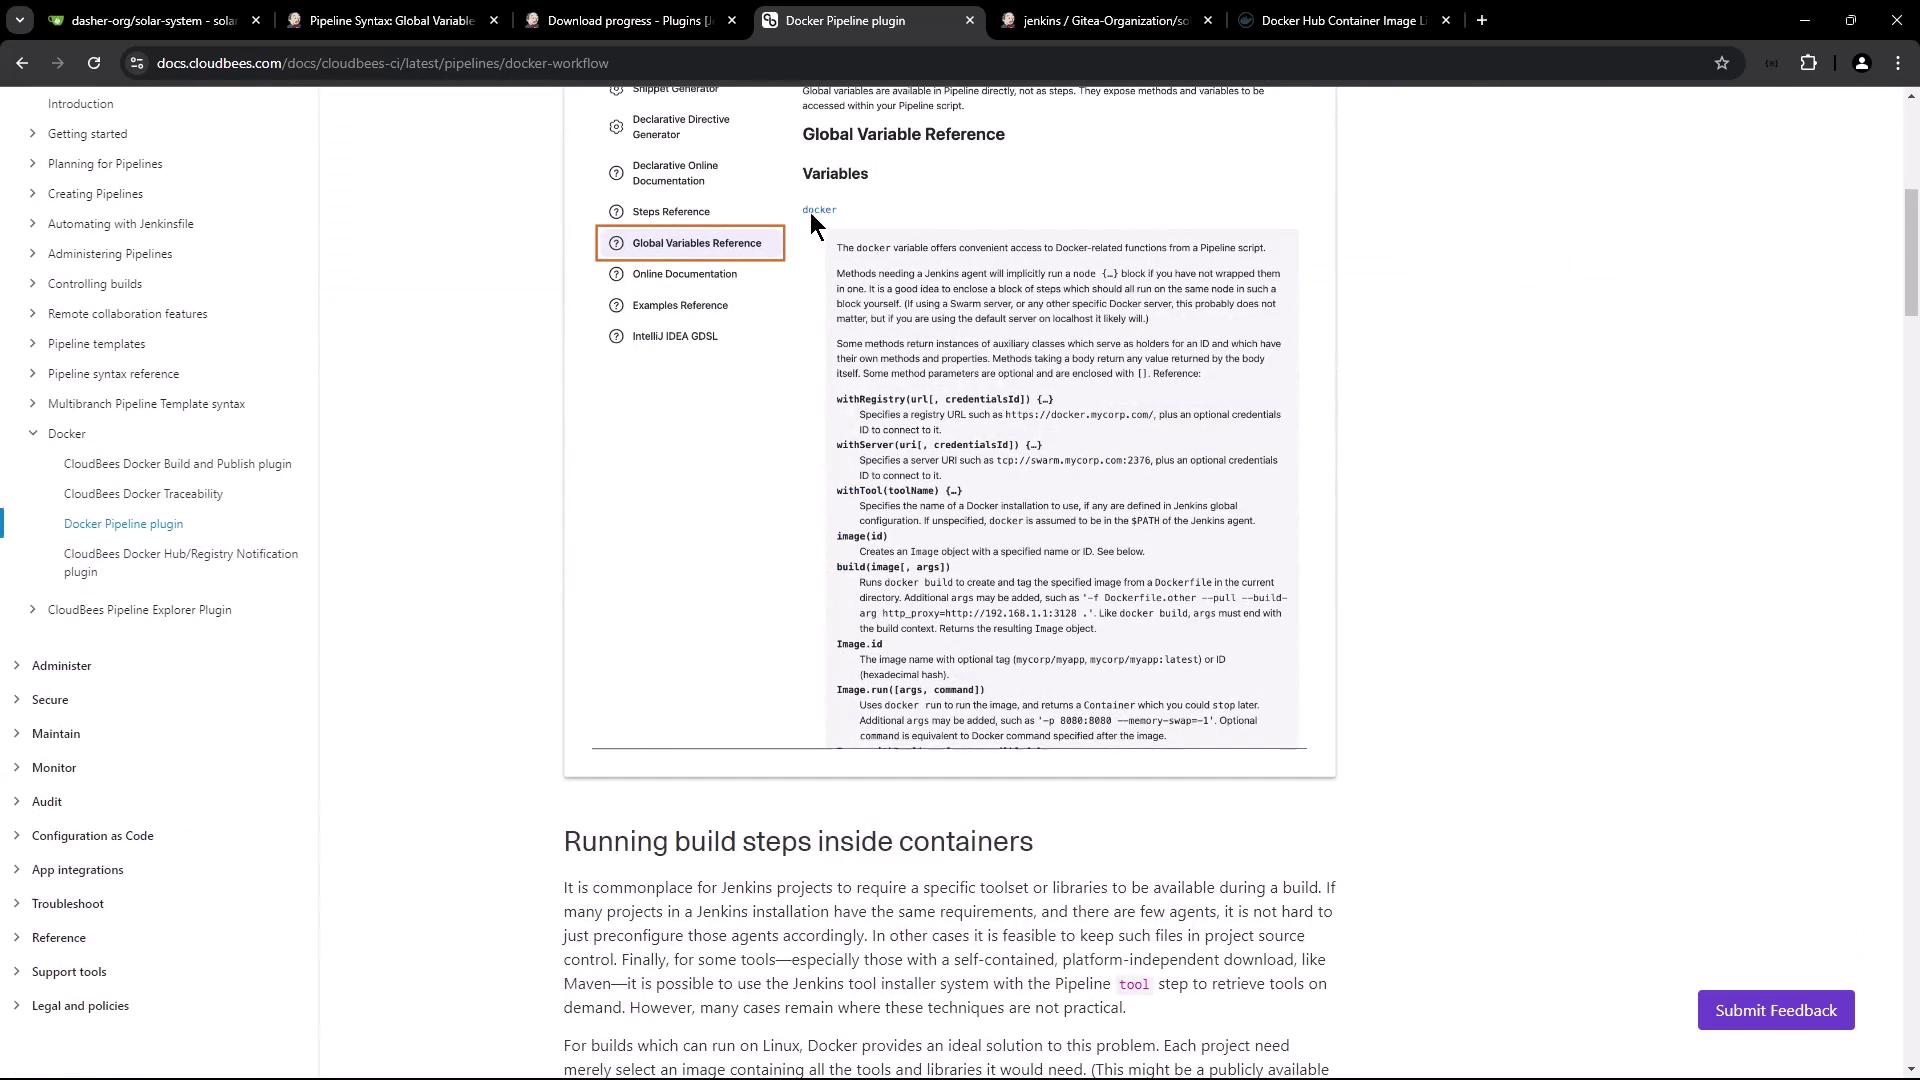
Building the image is just the first step. In order to push your image to Docker Hub, you'll need to log in with proper credentials. This is achieved through the use of the Docker Pipeline plugin, which simplifies credential management and registry interactions.


Installing the Docker Pipeline Plugin

To take full advantage of Jenkins' capabilities with Docker, install the Docker Pipeline plugin by navigating to the Plugins section in Jenkins. This plugin provides functions for handling Docker images, configuring registries, and accessing global variables.

The image shows a webpage from the CloudBees documentation, specifically focusing on the "Global Variable Reference" for the Docker Pipeline plugin. It includes a sidebar with navigation links and detailed text about Docker-related functions in a pipeline script.

For more detailed information, refer to the global variable reference documentation provided by the plugin.

The image shows a webpage displaying documentation for Jenkins Pipeline Syntax, specifically focusing on global variables related to Docker. It includes descriptions of methods like `withRegistry`, `withServer`, and `image`.


Configuring Docker Registry Credentials

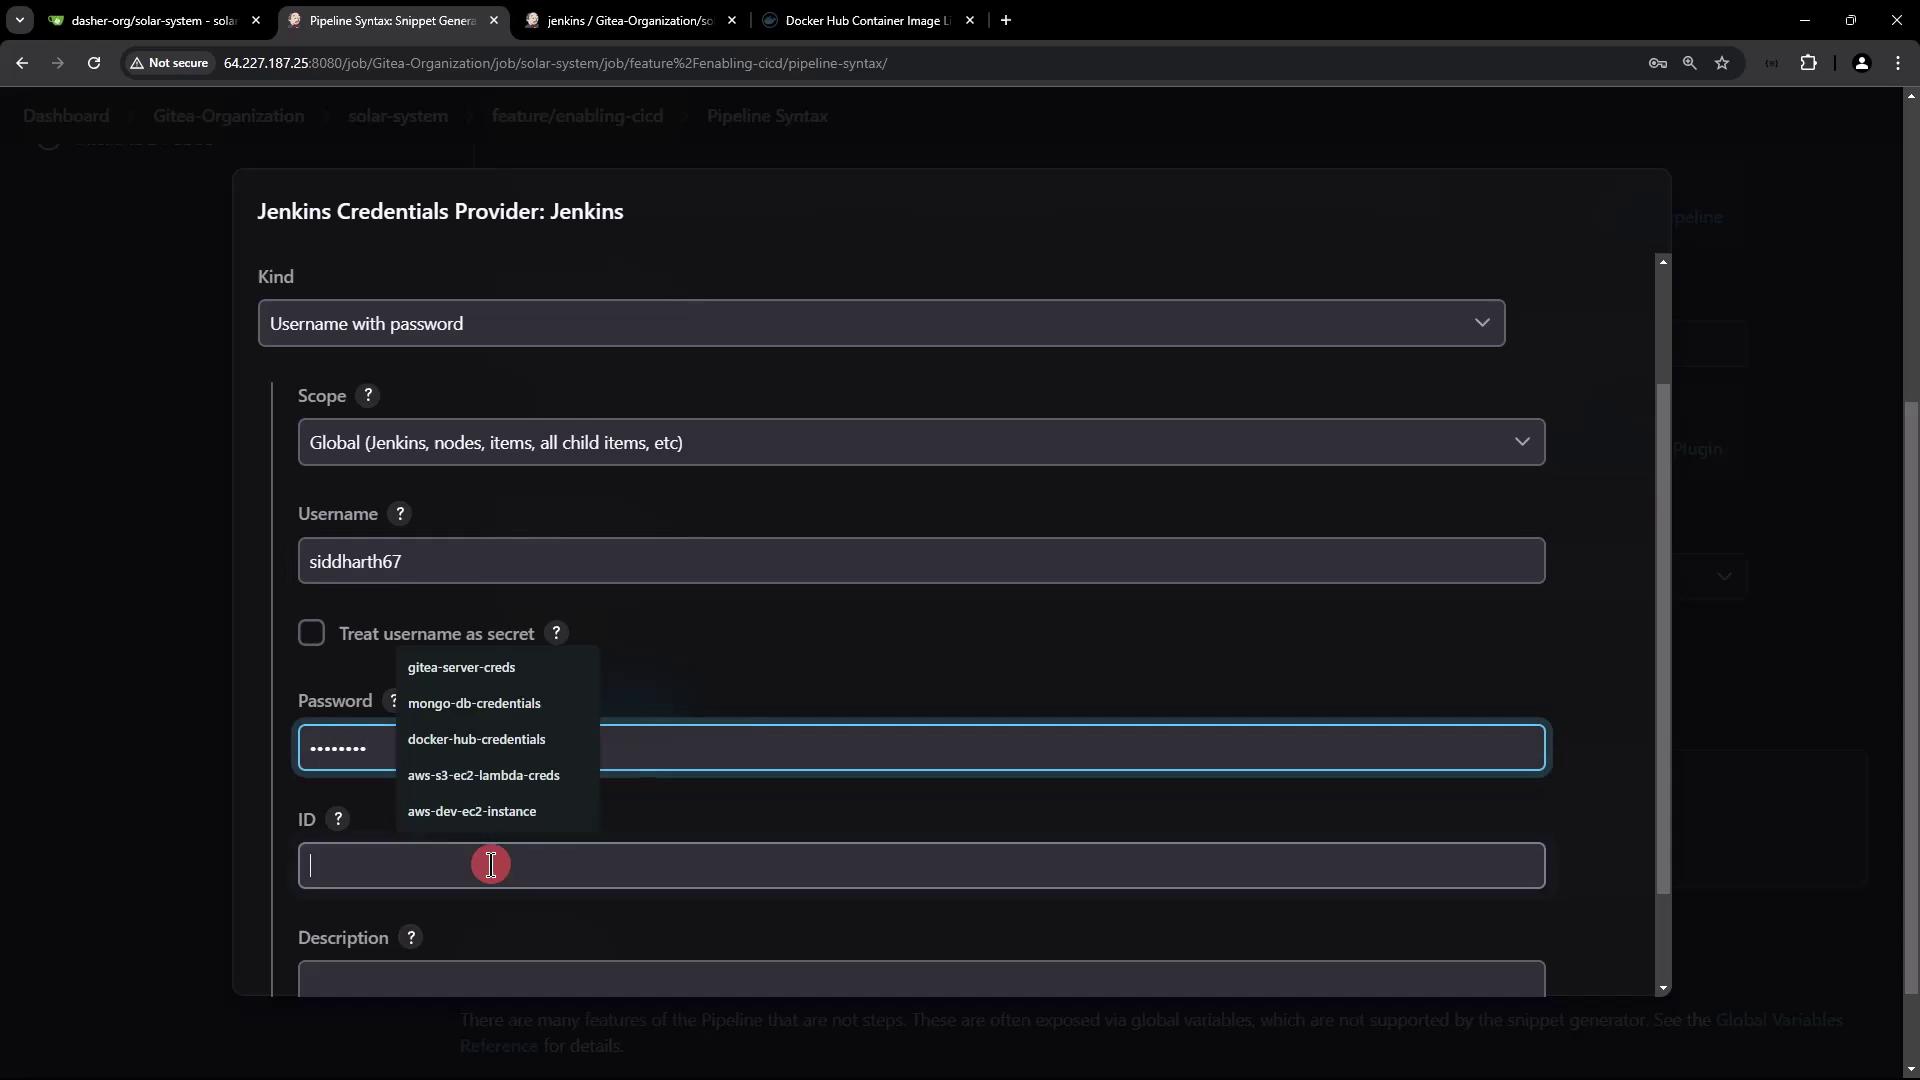
For secure image pushes, configure your Docker Hub credentials in Jenkins:

  1. Go to the Credentials section.
  2. Create a new entry of type "Username with password."
  3. Label the description as "Docker Hub credentials" for easy identification.

Note

The default registry URL is set to index.docker.io/v1. If you are using a different container registry, make sure to specify its endpoint in your Jenkins configuration.

The image shows a Jenkins Credentials Provider interface where a user is configuring credentials with a username and password. Various credential options are visible in a dropdown menu.

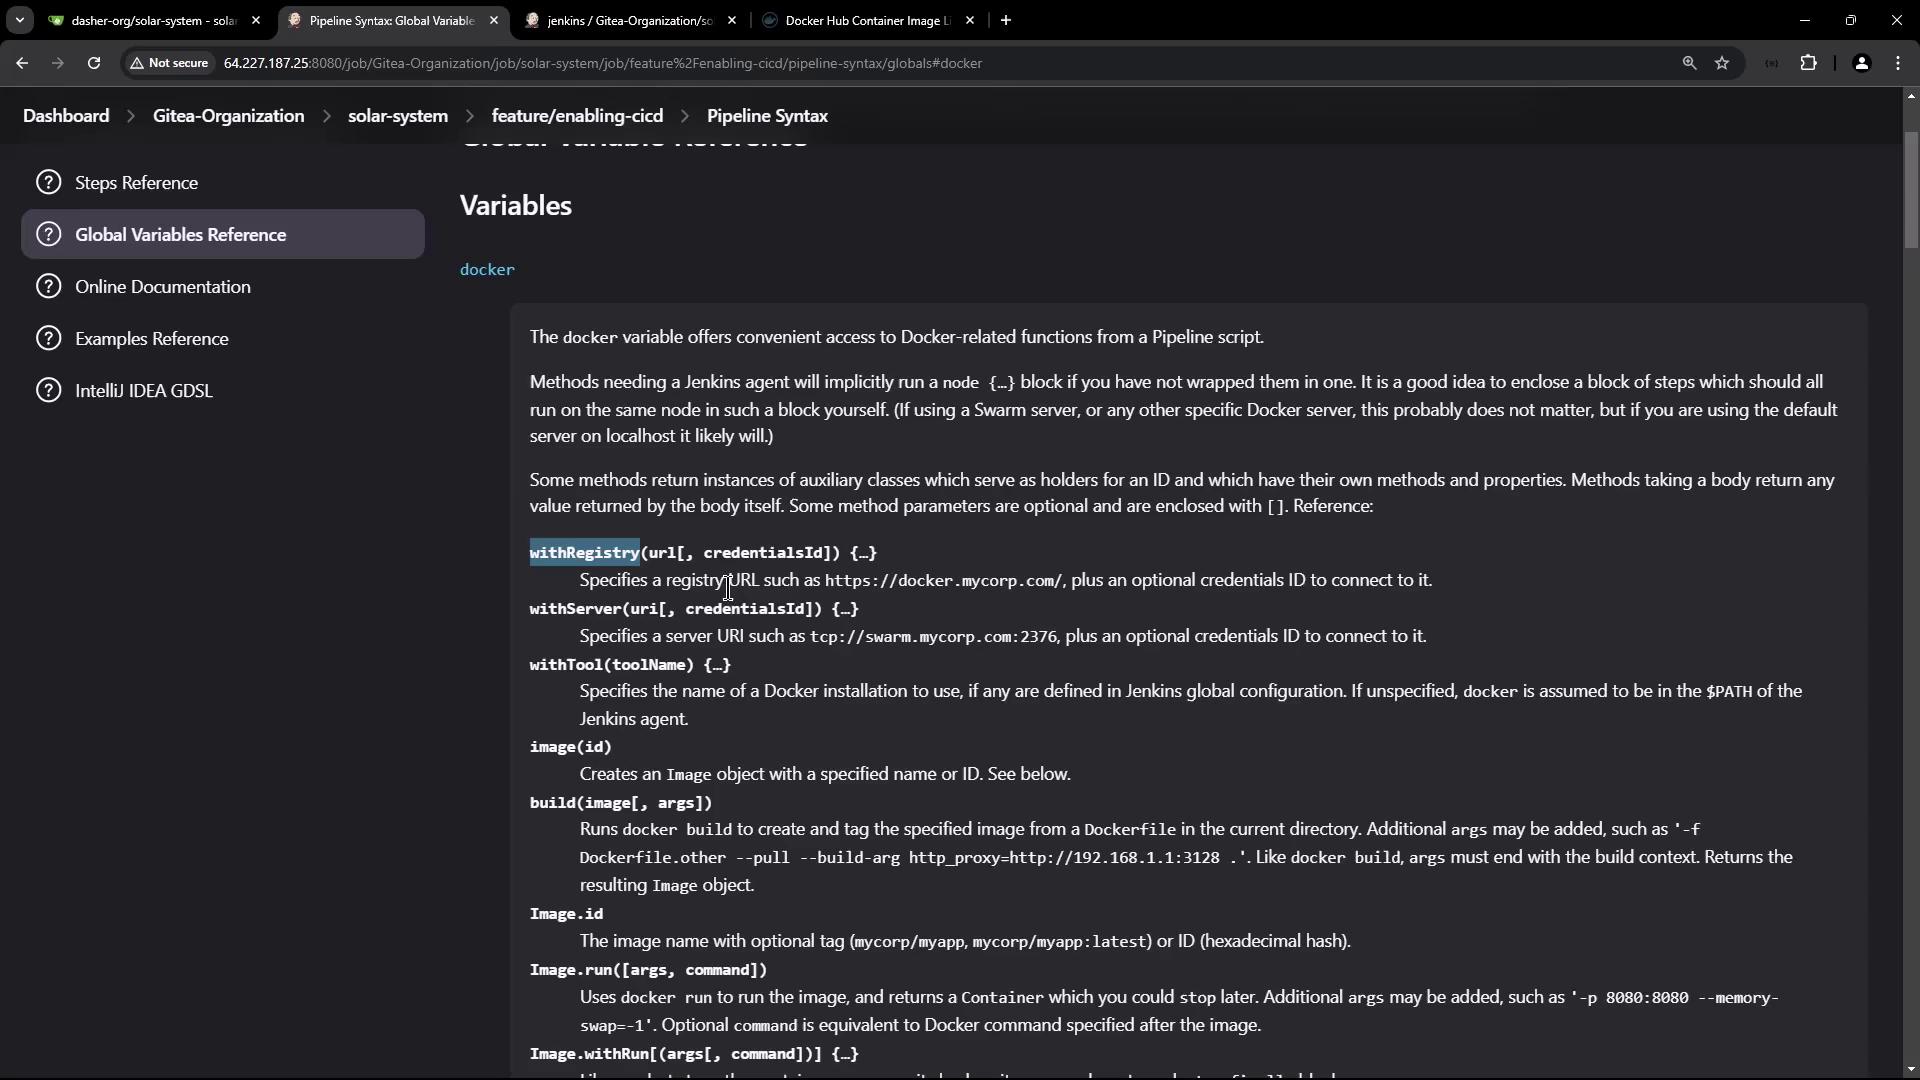
Refer to the following documentation for configuring a Docker registry endpoint if needed:

The image shows a Jenkins Pipeline Syntax page for configuring a Docker registry endpoint, with options to set the Docker registry URL and credentials.


Modifying the Pipeline Stage for Registry Authentication

Once the credentials are in place, update your Jenkins pipeline stage to include Docker Hub authentication. Wrap the push command within a withDockerRegistry block, as seen below:

stage('Push Docker Image') {
    steps {
        withDockerRegistry(credentialsId: 'docker-hub-credentials', url: "") {
            sh 'docker push siddharth67/solar-system:$GIT_COMMIT'
        }
    }
}

This configuration leverages the default Docker Hub registry and your pre-configured credentials to authenticate and push your Docker image.


Triggering and Verifying the Pipeline

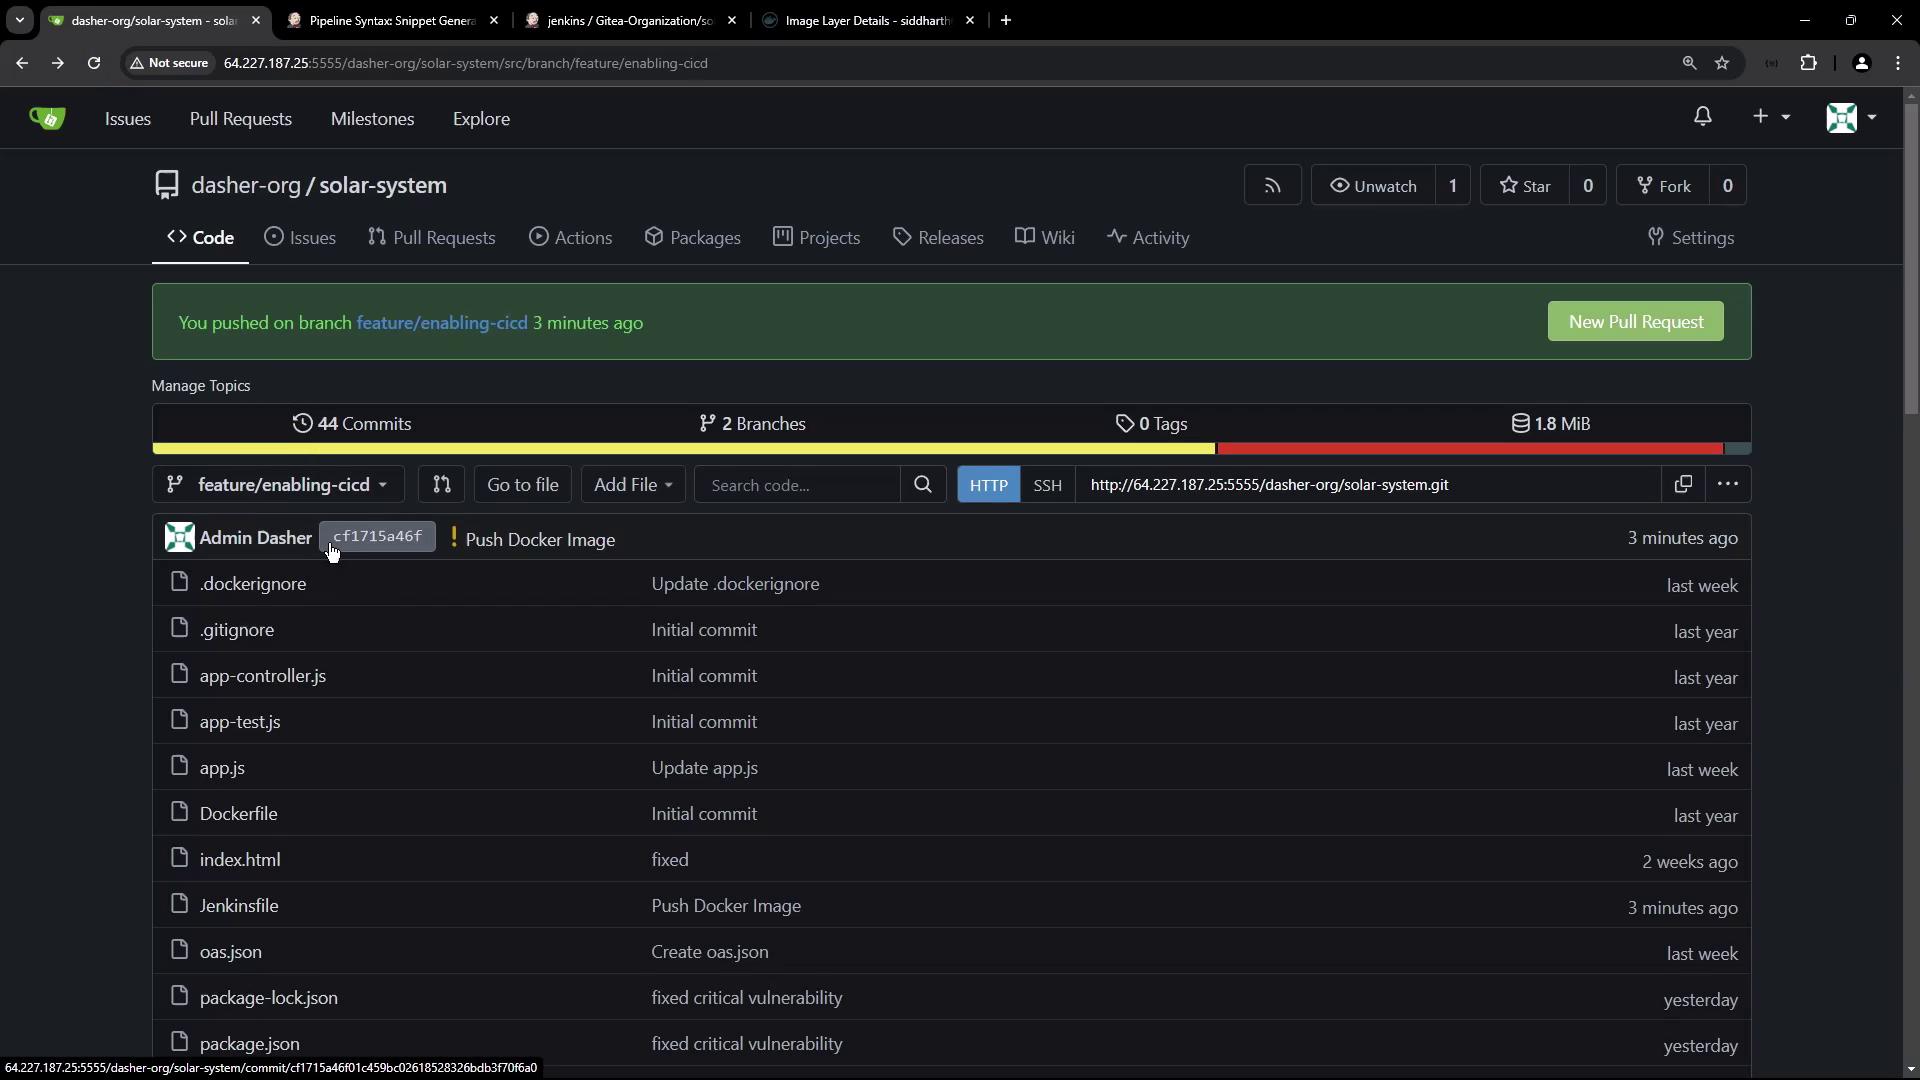
After updating the Jenkinsfile, commit and push your changes to the repository. This action triggers the pipeline. During execution, you might see commands similar to the following in the build log:

trivy image siddharth67/solar-system:$GIT_COMMIT --severity LOW,MEDIUM,HIGH --exit-code 0 --quiet --format json -o trivy-image-MEDIUM-results.json
trivy convert --format template --template "@/usr/local/share/trivy/templates/html.tpl" --output trivy-image-MEDIUM-results.html trivy-image-MEDIUM-results.json
sh docker push siddharth67/solar_system:$GIT_COMMIT

Upon successful execution, log entries will confirm that the image has been pushed. An example log output might be:

docker push siddharth67/solar-system:cf1715460f1c4495bc02618528326bd8f37f06fa0
The push refers to repository [docker.io/siddharth67/solar-system]
40dc352d35f4: Preparing
0a471d685734: Preparing
8040d70a52e2: Preparing
df675a5274c9: Preparing
f9cbd7909c6e: Preparing
f3b2834c79c2: Preparing
3211a2132735: Preparing
f3b2743f2c98: Waiting
617d7ce29c8: Waiting
617d7ce29c8: Layer already exists
f3b2834c79c2: Layer already exists

In Docker Hub, verify the updated image tag, which commonly corresponds to the Git commit ID:

docker push siddharth67/solar-system:tagname

A sample output is as follows:

+ docker push siddharth67/solar-system:de54c6101459bc02618528326bdb3f706fa0
The push refers to repository [docker.io/siddharth67/solar-system]
40dc352f63f: Preparing
8047a0462e6: Preparing
f67a532f2a54: Preparing
bf9bdad970c7: Preparing
f3b2f34f79c2: Preparing
21b7383afc9f: Preparing
61f7dc29e2c8: Preparing
1c2c8b8acf96: Preparing
321437c2753: Waiting
321437c2753: Layer already exists
f3b2f34f79c2: Layer already exists
bf9bdad970c7: Layer already exists
f67a532f2a54: Layer already exists
8047a0462e6: Layer already exists
40dc352f63f: Layer already exists
1c2c8b8acf96: Layer already exists
61f7dc29e2c8: Layer already exists
321437c2753: Pushed
4cf115a4f6101459bc02618528326bdb3f706fa0: digest: sha256:3c93824067fe9a7ca92749f318eaf3095eb11b3c834af1025e8da374a3c28cd size: 1995

You can also verify the associated commit in GitHub:

The image shows a code repository interface with a list of files and recent commits. It highlights a branch named "feature/enabling-cicd" with a recent commit titled "Push Docker Image."


Summary

This article demonstrated how to build a CI pipeline in Jenkins that:

  • Builds a Docker image.
  • Executes a vulnerability scan using Trivy.
  • Pushes the Docker image to Docker Hub using the Docker Pipeline plugin with securely configured credentials.

These steps complete the continuous integration process, which also includes dependency installation and security testing. The next phase will cover deployment procedures.

Happy building and automating your container workflows!

Watch Video

Watch video content

Previous
Vulnerability Scan using Trivy