This lesson demonstrates how to work with Jenkins credentials to securely manage access within your pipelines.
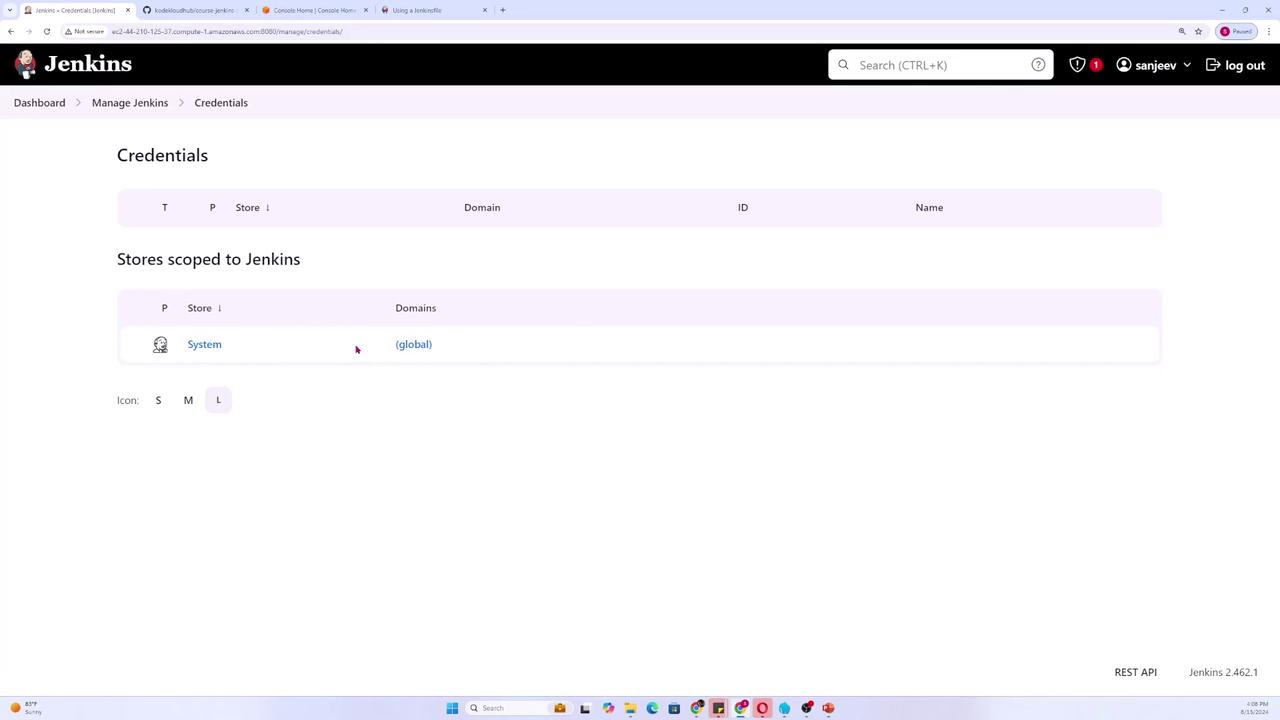
In this lesson, we demonstrate how to work with Jenkins credentials to securely manage access within your pipelines.First, navigate to the main dashboard and select Manage Jenkins. Then, scroll down to the Credentials section.
Within the Credentials section, you will see different domains such as System and Global. For our purposes, we will create a global credential to be used within the Jenkins Pipeline.
Click Add credentials. You will be presented with several types of credentials, including:
Username and password
GitHub app integration
OpenShift username and password
SSH key
Secret file or secret text (key-value pair)
Certificates (including self-signed certificates)
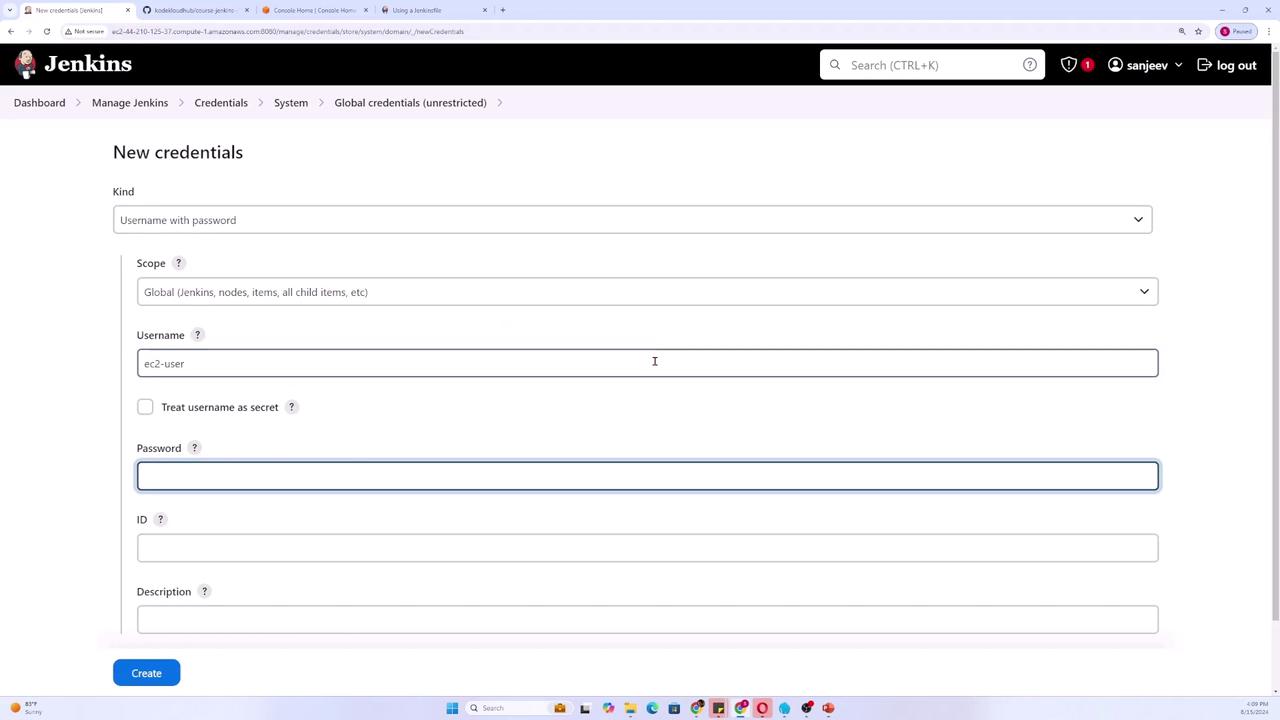
For this demonstration, we will use the username and password type. Set the scope to Global and input the values for the username and password to simulate connecting to a server (for example, using “ec2-user” as the username and “password123” as the password on an AWS Linux AMI).
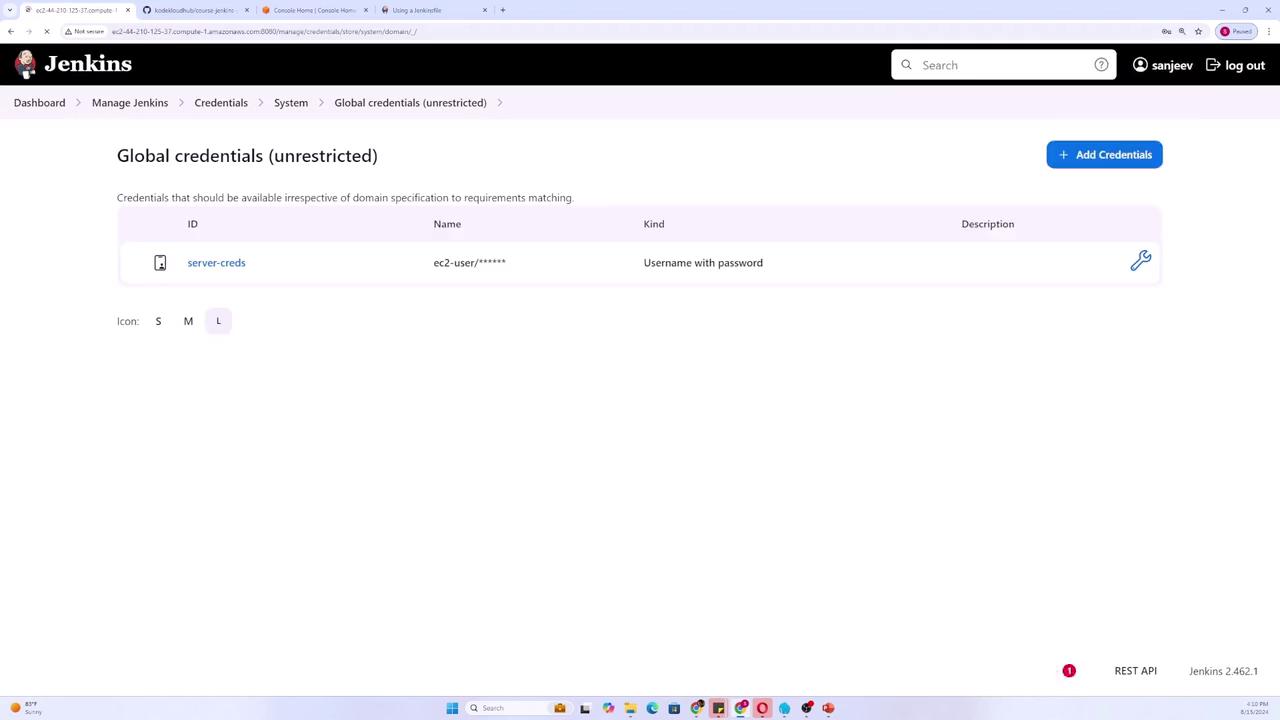
Assign an ID to this credential (e.g., “server-creds”) and optionally add a description. By default, the password is treated as secret. If you would also like the username to be hidden, check the corresponding option. Finally, click Create.
Once the credential is created, you can integrate it into your Jenkins Pipeline. Below is an example Pipeline script that clears any previously defined environment variables.
This script demonstrates a basic pipeline with separate stages for setup and testing.
Copy
pipeline { agent any stages { stage('Setup') { steps { sh "pip install -r requirements.txt" echo "The Database IP is: ${DB_HOST}" } } stage('Test') { steps { sh "pytest" echo "Commit: ${env.GIT_COMMIT}" } } }}
Method 1: Using Environment Variables for Credentials
To use the credentials in your Pipeline, you can store them as an environment variable. The following example demonstrates how to assign the global credential (“server-creds”) to an environment variable:
Copy
pipeline { agent any environment { SERVER_CREDS = credentials('server-creds') } stages { stage('Setup') { steps { echo "my creds: ${SERVER_CREDS}" sh "pip install -r requirements.txt" } } stage('Test') { steps { sh "pytest" } } }}
In this configuration, the credential (username and password) is stored as a single string separated by a colon. To access the individual components (username and password), you can update your Pipeline as follows:
Alternatively, you can use the withCredentials block to limit the exposure of your credentials. Remove the global environment variable and wrap only the steps that need access to the credential within a withCredentials block. This is particularly useful for username and password credentials.
Within the withCredentials block, you can access the username and password using the variables “myuser” and “mypassword.” For example, you might want to echo these values (keeping in mind that the password will be masked in the logs):
Variables defined within the withCredentials block are only available within that block. This practice helps keep sensitive information secure by ensuring that credentials are not exposed outside their intended scope.
After testing the configuration, commit and push your changes:
There are two primary methods for incorporating credentials into your Jenkins Pipeline:
Using environment variables to store the credential.
Using the withCredentials block to scope access to sensitive data.
Both approaches help manage sensitive data securely within your pipeline.For more information on managing Jenkins credentials, check out the Jenkins Documentation.Happy coding!