> ## Documentation Index
> Fetch the complete documentation index at: https://notes.kodekloud.com/llms.txt
> Use this file to discover all available pages before exploring further.
# Hello World Pipeline
> This guide teaches how to set up a simple Jenkins pipeline with a Hello World example, covering essential steps for creating and running a pipeline.
In this guide, you'll learn how to set up your first Jenkins pipeline—a simple "Hello World" example that demonstrates the essential steps to create and run a pipeline. As you progress, more intricate pipelines will be covered, but we’ll start with the basics.
## Accessing Jenkins
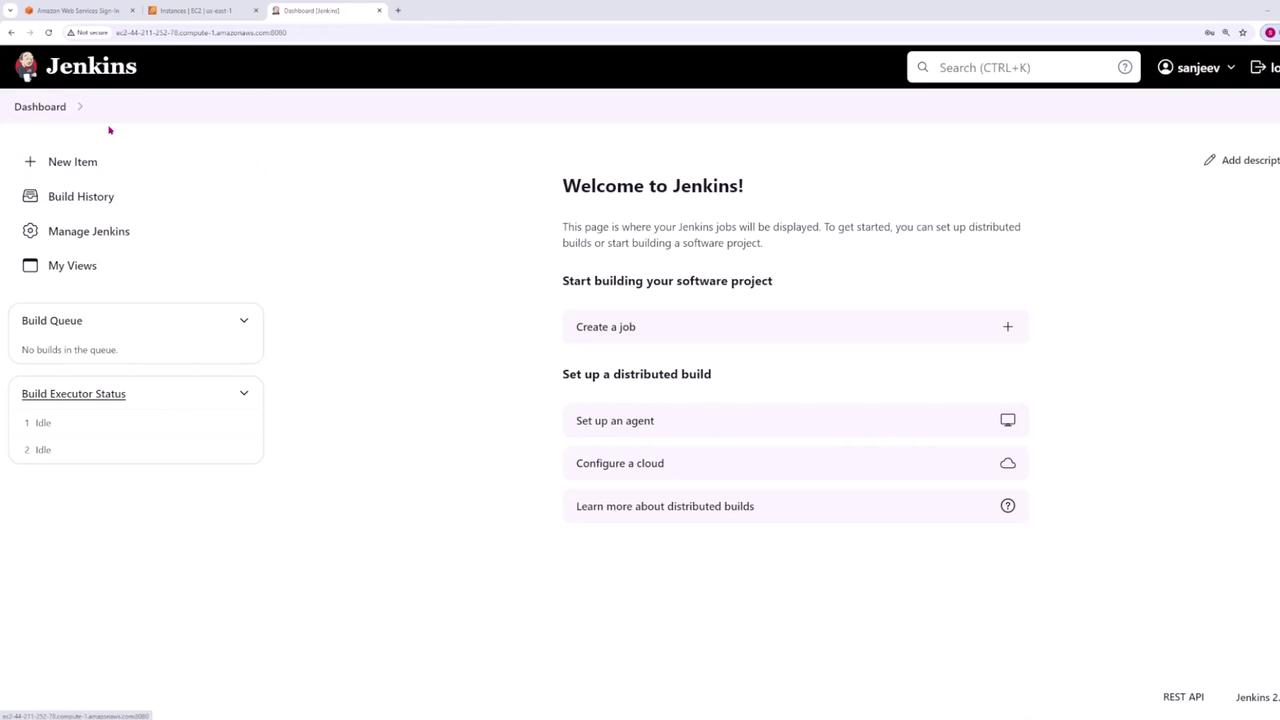
Begin by opening your Jenkins instance. If you haven’t set it up before, navigate to your Jenkins IP address on port 8080. Follow the setup instructions to configure your username and other settings. Once completed, you should see a dashboard similar to the image below:
## Creating a New Pipeline
1. Click on **New Item**.
2. Provide a name for your pipeline; for this example, name it **Hello World Pipeline**.
3. Select the **Pipeline** option and then click **OK**.
## Pipeline Configuration
Scroll down to the pipeline configuration section. You will see an interface similar to the following:

Here, you have two options for defining your pipeline:
1. Create the pipeline script directly in Jenkins.
2. Load the pipeline script from source control (e.g., via a Jenkinsfile in your repository).
For this tutorial, we will use a pipeline script written directly in Jenkins.
Jenkins provides sample pipelines to help you get started without writing the entire script from scratch. Feel free to use these examples as a learning tool.
## Sample Pipeline Script
Review the following pipeline script:
```groovy theme={null}
pipeline {
agent any
stages {
stage('hello') {
steps {
echo 'hello world'
}
}
}
}
```
### Script Breakdown
* **pipeline block**: Encloses all instructions for the pipeline.
* **agent any**: Directs Jenkins to run the pipeline on any available agent. (An agent is a machine connected to the Jenkins controller for executing pipelines.)
* **stages block**: Groups the pipeline’s tasks into logical units (e.g., build, test, deploy).
* **hello stage**: Contains a `steps` block where the `echo 'hello world'` command prints "hello world" to the console output.
## Saving and Running the Pipeline
Once you have entered the pipeline script:
1. Click **Save**.
2. To execute your pipeline, click the **Build Now** button.
This triggers a build that will be numbered "1". To inspect the detailed execution:
* Click on the build number.
* Select **Console Output** to review the steps performed by Jenkins.
You should see output similar to the example below:
```bash theme={null}
Started by user sanjeev
[Pipeline] Start of Pipeline
[Pipeline] node
Running on Jenkins in /var/lib/jenkins/workspace/HelloWorldPipeline
[Pipeline] {
[Pipeline] stage
[Pipeline] { (Hello)
hello world
[Pipeline] }
[Pipeline] // stage
[Pipeline] }
[Pipeline] // node
[Pipeline] End of Pipeline
Finished: SUCCESS
```
This output confirms that the **hello** stage executed successfully and printed "hello world" as expected.
## Build Interface Overview
After running your pipeline, you will encounter an interface that displays build details such as the start time, user who initiated the build, and duration metrics. Check out the build interface below:
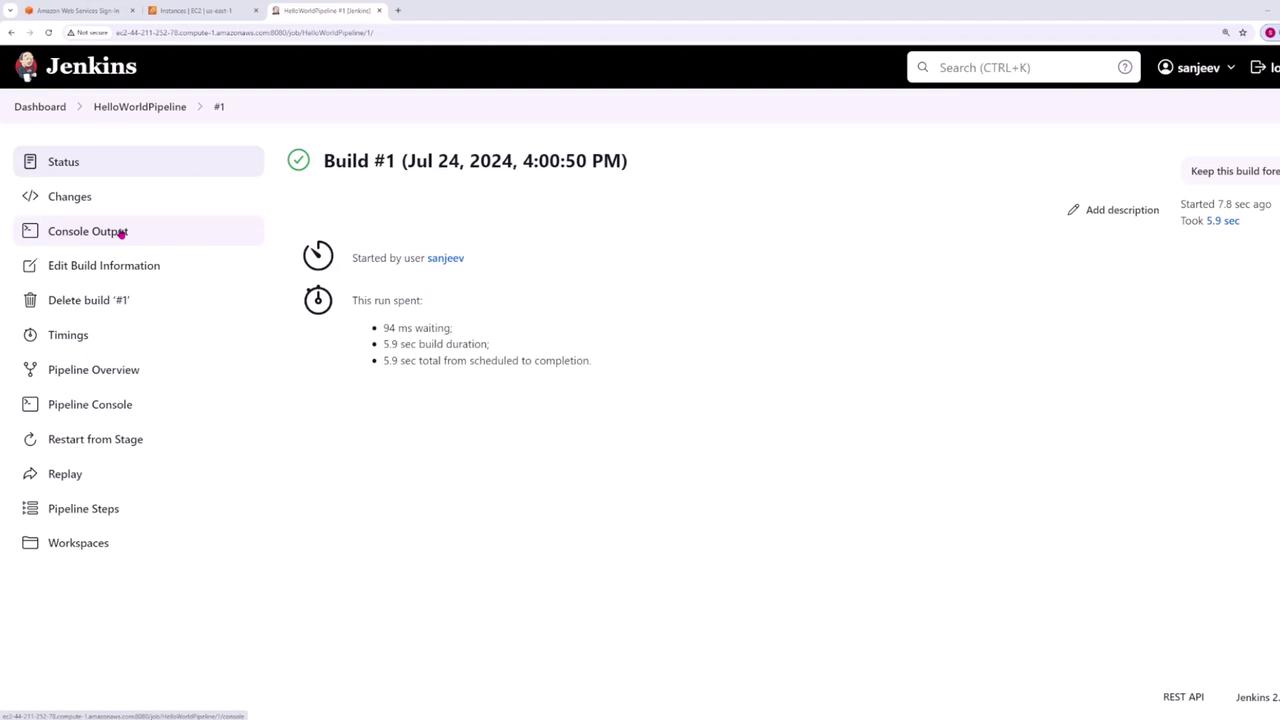
Now that you've successfully created and executed your first Jenkins pipeline, explore further by adding more stages or integrating additional tools to enhance your CI/CD workflow.
Enjoy building your pipelines and happy coding!