> ## Documentation Index
> Fetch the complete documentation index at: https://notes.kodekloud.com/llms.txt
> Use this file to discover all available pages before exploring further.
# Demo Working with Kubernetes
> Learn to interact with Kubernetes clusters on AWS EKS using kubectl, deploy a Flask application, perform load testing, and update application images.
In this lesson, you'll learn how to interact with Kubernetes clusters on AWS EKS using the kubectl CLI. We have two clusters set up—one for production and another for staging. Follow along as we inspect the kubeconfig file, switch between clusters, deploy a Flask application, perform load testing with k6, and update the application image.
***
## Accessing the EKS Clusters
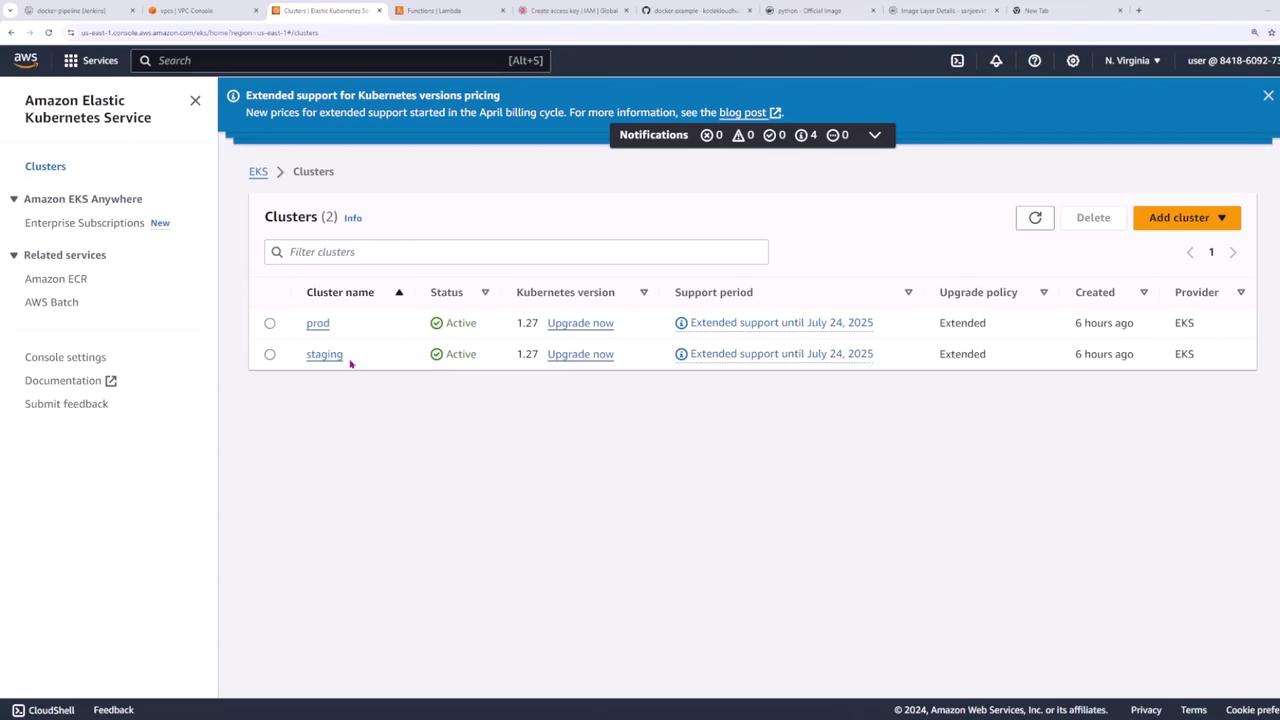
Open the AWS EKS console to view your clusters. In our setup, the console shows two active clusters named "prod" and "staging," both running Kubernetes version 1.27 with extended support until July 24, 2025.
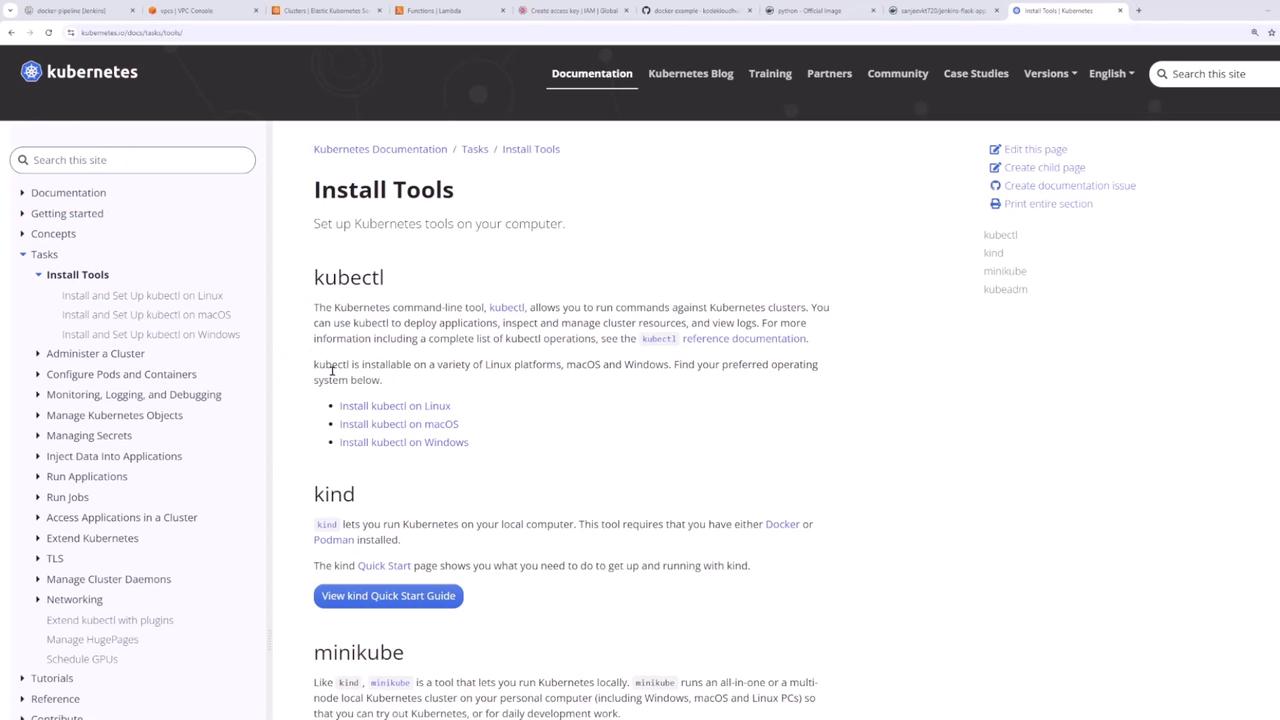
To interact with these clusters, you need the [kubectl CLI utility](https://kubernetes.io/docs/tasks/tools/). Follow the installation instructions provided in the [Kubernetes documentation](https://kubernetes.io/docs/) tailored for your operating system.
***
## Inspecting the kubeconfig File
Your kubeconfig file, usually located at `~/.kube/config`, contains configurations for your clusters, users, and contexts. To inspect the file, run:
```bash theme={null}
cat ~/.kube/config > config.yaml
```
Open `config.yaml` in your preferred IDE.
Do not commit this file to Git or any public repository as it contains sensitive cluster credentials.
A section from the file for the staging cluster might look like this:
```yaml theme={null}
apiVersion: v1
clusters:
cluster:
certificate-authority: C:\Users\sanje\.minikube\ca.crt
extensions:
- extension:
last-update: Sun, 04 Aug 2024 23:53:45 MDT
user:
exec:
apiVersion: client.authentication.k8s.io/v1beta1
args:
- eks
- get-token
- --output
- json
- --cluster-name
- staging
- --region
- us-east-1
command: aws
env:
- name: AWS_STS_REGIONAL_ENDPOINTS
value: regional
interactiveMode: IfAvailable
provideClusterInfo: false
```
Similarly, the file includes configurations for the production cluster. Notice that the `current-context` is set to the production cluster by default:
```yaml theme={null}
contexts:
- context:
cluster: prod.us-east-1.eksctl.io
user: user@prod.us-east-1.eksctl.io
name: user@prod.us-east-1.eksctl.io
- context:
cluster: staging.us-east-1.eksctl.io
user: user@staging.us-east-1.eksctl.io
name: user@staging.us-east-1.eksctl.io
current-context: user@prod.us-east-1.eksctl.io
kind: Config
preferences: {}
```
***
## Switching Between Clusters
To operate on different clusters, switch contexts. First, check the nodes on your current production cluster:
```bash theme={null}
kubectl get node
```
The output might resemble:
```plaintext theme={null}
NAME STATUS ROLES AGE VERSION
ip-192-168-60-39.ec2.internal Ready 5h33m v1.27.15-eks-1552ad0
ip-192-168-8-155.ec2.internal Ready 5h33m v1.27.15-eks-1552ad0
```
To switch to the staging cluster, execute:
```bash theme={null}
kubectl config use-context user@staging.us-east-1.eksctl.io
```
After switching, verify the change:
```bash theme={null}
kubectl get node
```
The displayed node names will differ, confirming that you are now connected to the staging cluster.
***
## Deploying the Flask Application
Our Kubernetes configurations are stored in the `k8s/` directory, which includes the `deployment.yaml` and `service.yaml` files.
### Deployment Configuration
The `deployment.yaml` file sets up a deployment for a Flask application with three replicas:
```yaml theme={null}
apiVersion: apps/v1
kind: Deployment
metadata:
name: flask-app
spec:
replicas: 3
selector:
matchLabels:
app: flask-app
template:
metadata:
labels:
app: flask-app
spec:
containers:
- name: flask-app
image: sanjeevkt720/jenkins-flask-app:v3
resources:
limits:
memory: "128Mi"
cpu: "500m"
ports:
- containerPort: 5000
```
### Service Configuration
The `service.yaml` file defines a `LoadBalancer` service to expose the Flask application externally:
```yaml theme={null}
apiVersion: v1
kind: Service
metadata:
name: flask-app-service
spec:
type: LoadBalancer
selector:
app: flask-app
ports:
- port: 5000
targetPort: 5000
```
This configuration assigns an external IP and possibly a DNS name that routes incoming traffic to the correct pods.
***
## Deploying Resources to the Cluster
Before deploying, confirm that your current context is correct:
```bash theme={null}
kubectl config current-context
```
Deploy all resources (both deployment and service) with:
```bash theme={null}
kubectl apply -f k8s/
```
You should see output similar to:
```plaintext theme={null}
deployment.apps/flask-app created
service/flask-app-service created
```
Next, verify that the deployment and pods are running:
```bash theme={null}
kubectl get deployment
```
Example output:
```plaintext theme={null}
NAME READY UP-TO-DATE AVAILABLE AGE
flask-app 3/3 3 3 177m
```
And check the pods:
```bash theme={null}
kubectl get pod
```
Example output:
```plaintext theme={null}
NAME READY STATUS RESTARTS AGE
flask-app-795b844d7f-24pfw 1/1 Running 0 177m
flask-app-795b844d7f-7cdp 1/1 Running 0 177m
flask-app-795b844d7f-lmclx 1/1 Running 0 177m
```
Finally, retrieve the service details to access your application:
```bash theme={null}
kubectl get svc
```
Example output:
```plaintext theme={null}
NAME TYPE CLUSTER-IP EXTERNAL-IP PORT(S)
flask-app-service LoadBalancer 10.100.67.6 a2718e7dae7964585baeb017221aeb6d-1943673624.us-east-1.elb.amazonaws.com 5000/TCP
kubernetes ClusterIP 10.100.0.1 443/TCP
```
Copy the `EXTERNAL-IP` or hostname and access your application on port 5000.
***
## Load Testing with k6
Use k6 to simulate user traffic and measure your application's performance. k6 lets you define virtual users (VUs), duration, and thresholds for request response times.
Create a file named `acceptance-test.js` with the following content:
```javascript theme={null}
import http from "k6/http";
import { sleep } from "k6";
export const options = {
vus: 10,
duration: "10s",
thresholds: {
http_req_duration: ["p(90)<600"], // 90% of requests must complete in under 600ms
},
};
export default function () {
http.get(`http://${__ENV.SERVICE}`);
sleep(1);
}
```
The target URL is provided via an environment variable. Retrieve the external hostname and port of your service with a command similar to:
```bash theme={null}
kubectl get svc flask-app-service -o jsonpath='{.status.loadBalancer.ingress[0].hostname}:{.spec.ports[0].port}'
```
Then run the k6 test by setting the SERVICE environment variable:
```bash theme={null}
k6 run -e SERVICE=:5000 acceptance-test.js
```
During the test, k6 will simulate 10 virtual users over 10 seconds, ensuring that 90% of the requests complete in under 600 milliseconds. After the test, you'll see statistical data including average, median, and maximum response times.
***
## Updating the Application Version
Our current deployment uses version 3 of the image:
```yaml theme={null}
spec:
template:
metadata:
labels:
app: flask-app
spec:
containers:
- name: flask-app
image: sanjeevkt720/jenkins-flask-app:v3
resources:
limits:
memory: "128Mi"
cpu: "500m"
ports:
- containerPort: 5000
```
To update the application to a new version (for example, v5), follow these steps:
1. **Build the New Image**
```bash theme={null}
docker build -t sanjeevkt720/jenkins-flask-app:v5 .
```
2. **Push the Image to Docker Hub**
```bash theme={null}
docker push sanjeevkt720/jenkins-flask-app:v5
```
3. **Update the Deployment in Kubernetes**
Use the `kubectl set image` command to update the image version:
```bash theme={null}
kubectl set image deployment/flask-app flask-app=sanjeevkt720/jenkins-flask-app:v5
```
You should see a confirmation:
```plaintext theme={null}
deployment.apps/flask-app image updated
```
Finally, verify the rollout status of your deployment and refresh your application to ensure it is now using version 5.
This lesson covered managing multiple Kubernetes clusters, deploying a Flask application, conducting load tests with k6, and updating the application version seamlessly—all crucial skills for maintaining an efficient CI/CD pipeline.