Understanding Pods in Kubernetes
In Kubernetes, you deploy applications as pods rather than as individual containers. A pod is an abstraction layer that encapsulates one or more containers that work in unison, making it easier to manage them as a single unit. For instance, if your application requires three instances, you deploy three pods instead of dealing with three separate containers. Below is an example YAML configuration for creating a pod:- Kind: Specifies that the resource is a Pod.
- Metadata: Contains the pod name and labels (key-value pairs used to tag resources).
- Spec: Defines the configuration, including the list of containers, each with their name, image (which can be sourced from Docker Hub or private repositories), resource limits, and ports.
kubectl):

Pods are the smallest deployable units in Kubernetes, and understanding them is crucial for designing effective containerized applications.
Deployments in Kubernetes
While deploying pods directly is possible, Kubernetes provides an abstraction called a “deployment” to simplify the management of pod lifecycles. A deployment not only creates multiple pod replicas but also monitors them, restarts failed pods, handles scaling, and manages rollouts and rollbacks. For example, if your application needs a continuous presence of three instances, a deployment ensures that exactly three pods remain active. Here is a typical deployment YAML configuration:- apiVersion & Kind: Uses
apps/v1for deployments. - Replicas: Specifies the desired number of pod instances.
- Selector & Template: The selector identifies which pods the deployment should manage and links to the pod template that defines the pod specification.
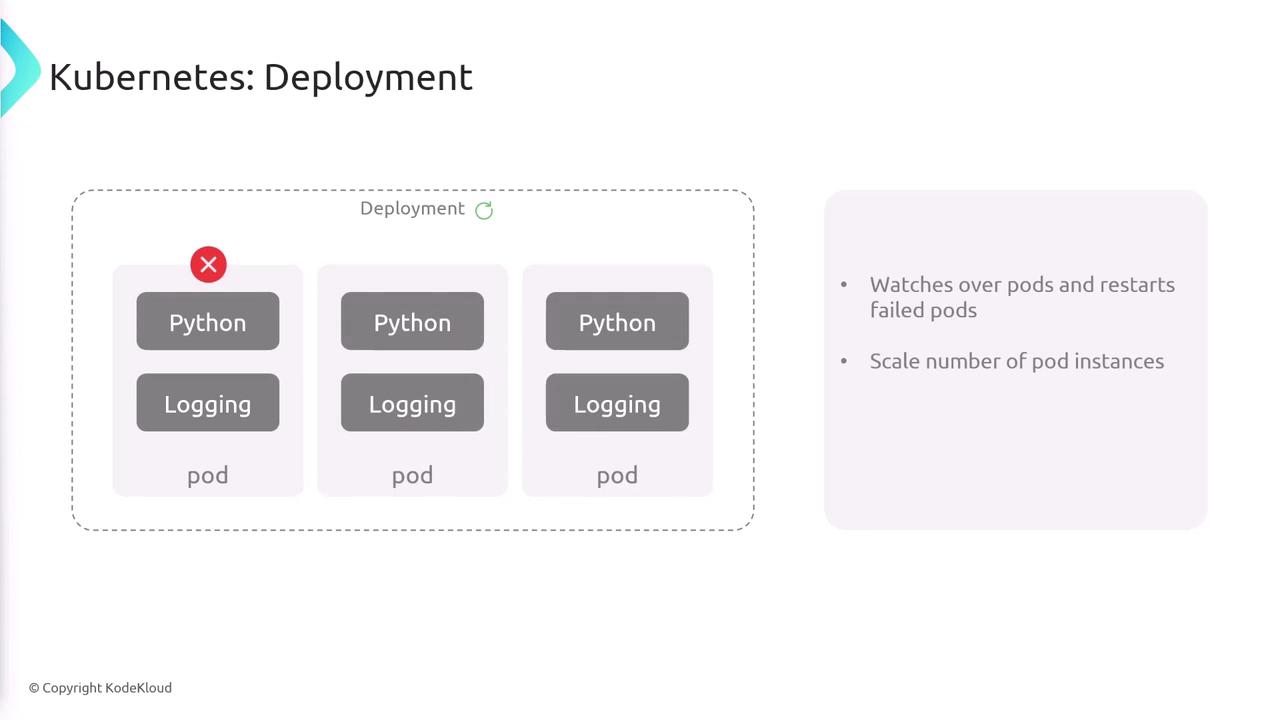
Deployments offer powerful management capabilities that ensure high availability and seamless updates for your applications.
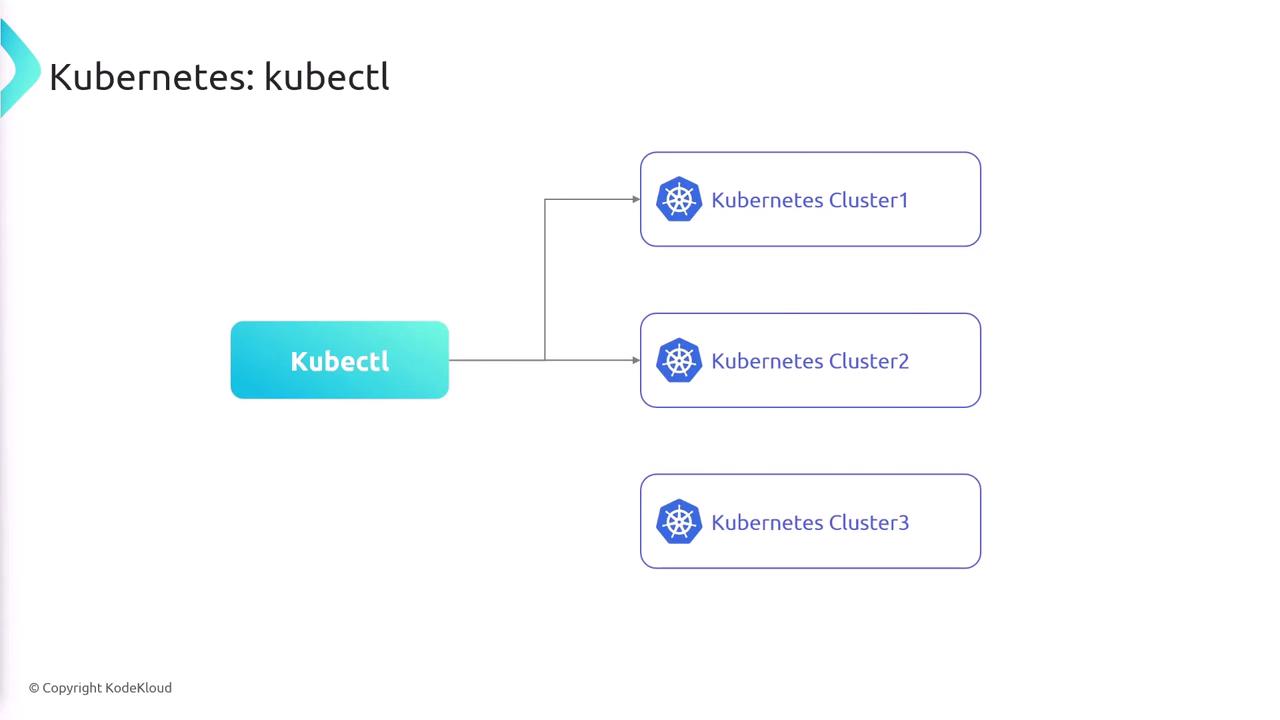
Managing Multiple Clusters with kubectl
Many organizations operate multiple Kubernetes clusters, such as production, staging, and development, and managing them efficiently is key. Thekubectl CLI supports connecting to multiple clusters via a kubeconfig file, which stores all the relevant configuration details and credentials.
Below is a sample kubeconfig file:
- Clusters: Lists each Kubernetes cluster with its API server endpoint.
- Users: Specifies credentials for accessing the clusters.
- Contexts: Ties each user to a specific cluster.
- Current Context: Determines the default context used by
kubectl.
kubectl searches for this configuration file in the $HOME/.kube/config directory. You can also specify the configuration location using:
| Method | Command/Variable |
|---|---|
| Directory | $HOME/.kube/config |
| Environment Variable | KUBECONFIG |
| Command Line Argument | kubectl --kubeconfig <path-to-file> |
mike@cluster2) before promoting changes to the production cluster.
The following diagram shows how kubectl connects to various Kubernetes clusters:
Always ensure your kubeconfig file is secured, as it contains sensitive credentials to access your Kubernetes clusters. Use RBAC and other security measures to safeguard your infrastructure.