Jenkins Project: Building CI/CD Pipeline for Scalable Web Applications
Lambda Deployment
Demo SAM Serverless Application Model
In this guide, we explore how AWS Lambda functions can be developed, deployed, and managed using the AWS Serverless Application Model (SAM). Learn how SAM’s CLI streamlines the entire process—from bootstrapping your code to updating your live application—with simple commands.
SAM simplifies working with Lambda functions, especially when integrated into a CI/CD pipeline (for example, using Jenkins). With SAM, testing your code and deploying updates is as straightforward as running a single command like sam deploy
.
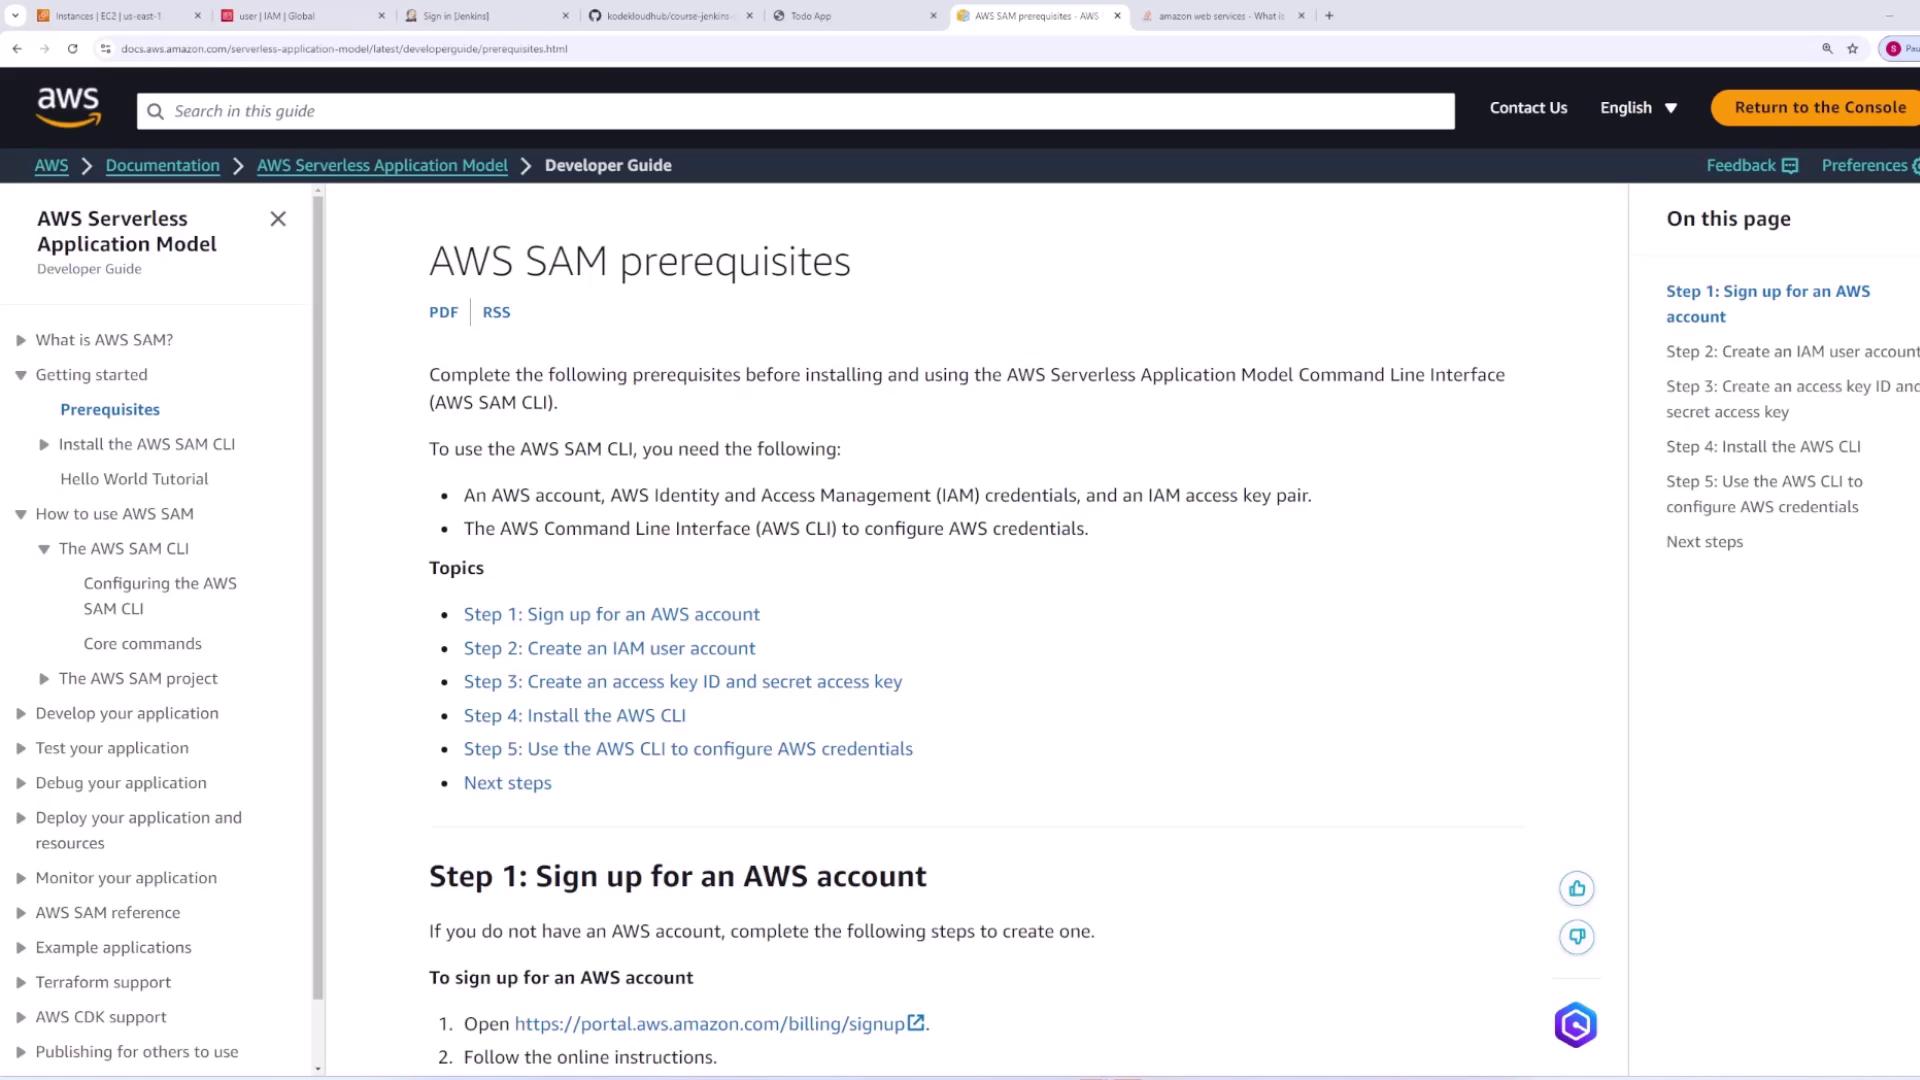
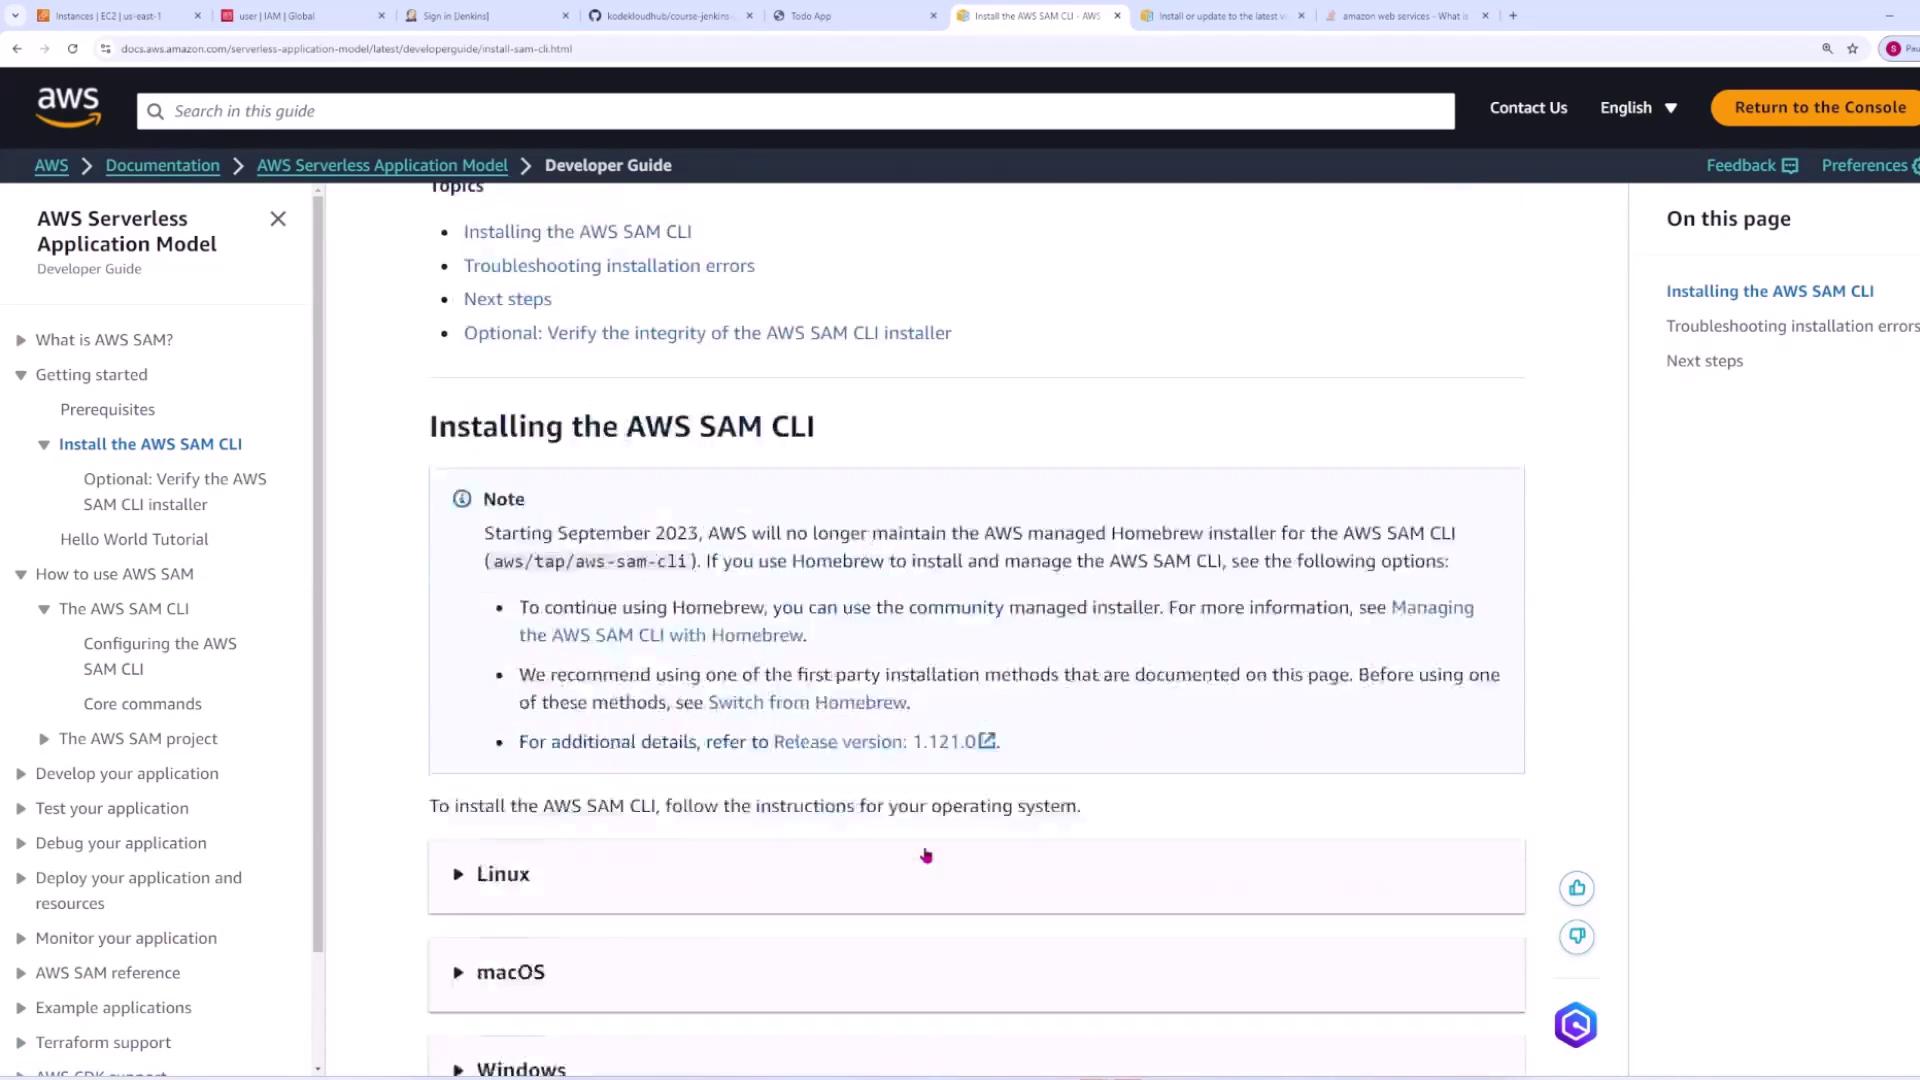
Prerequisites and Installation
Before you begin, ensure you have the AWS CLI installed. For detailed instructions, refer to the AWS CLI installation documentation.
After installing the AWS CLI, proceed with installing the AWS SAM CLI. The AWS SAM documentation offers guidance, including options like Homebrew for macOS users.
Once the SAM CLI is installed, verify the version using:
C:\Users\sanje\code\lambda-scratch>sam --version
SAM CLI, version 1.114.0
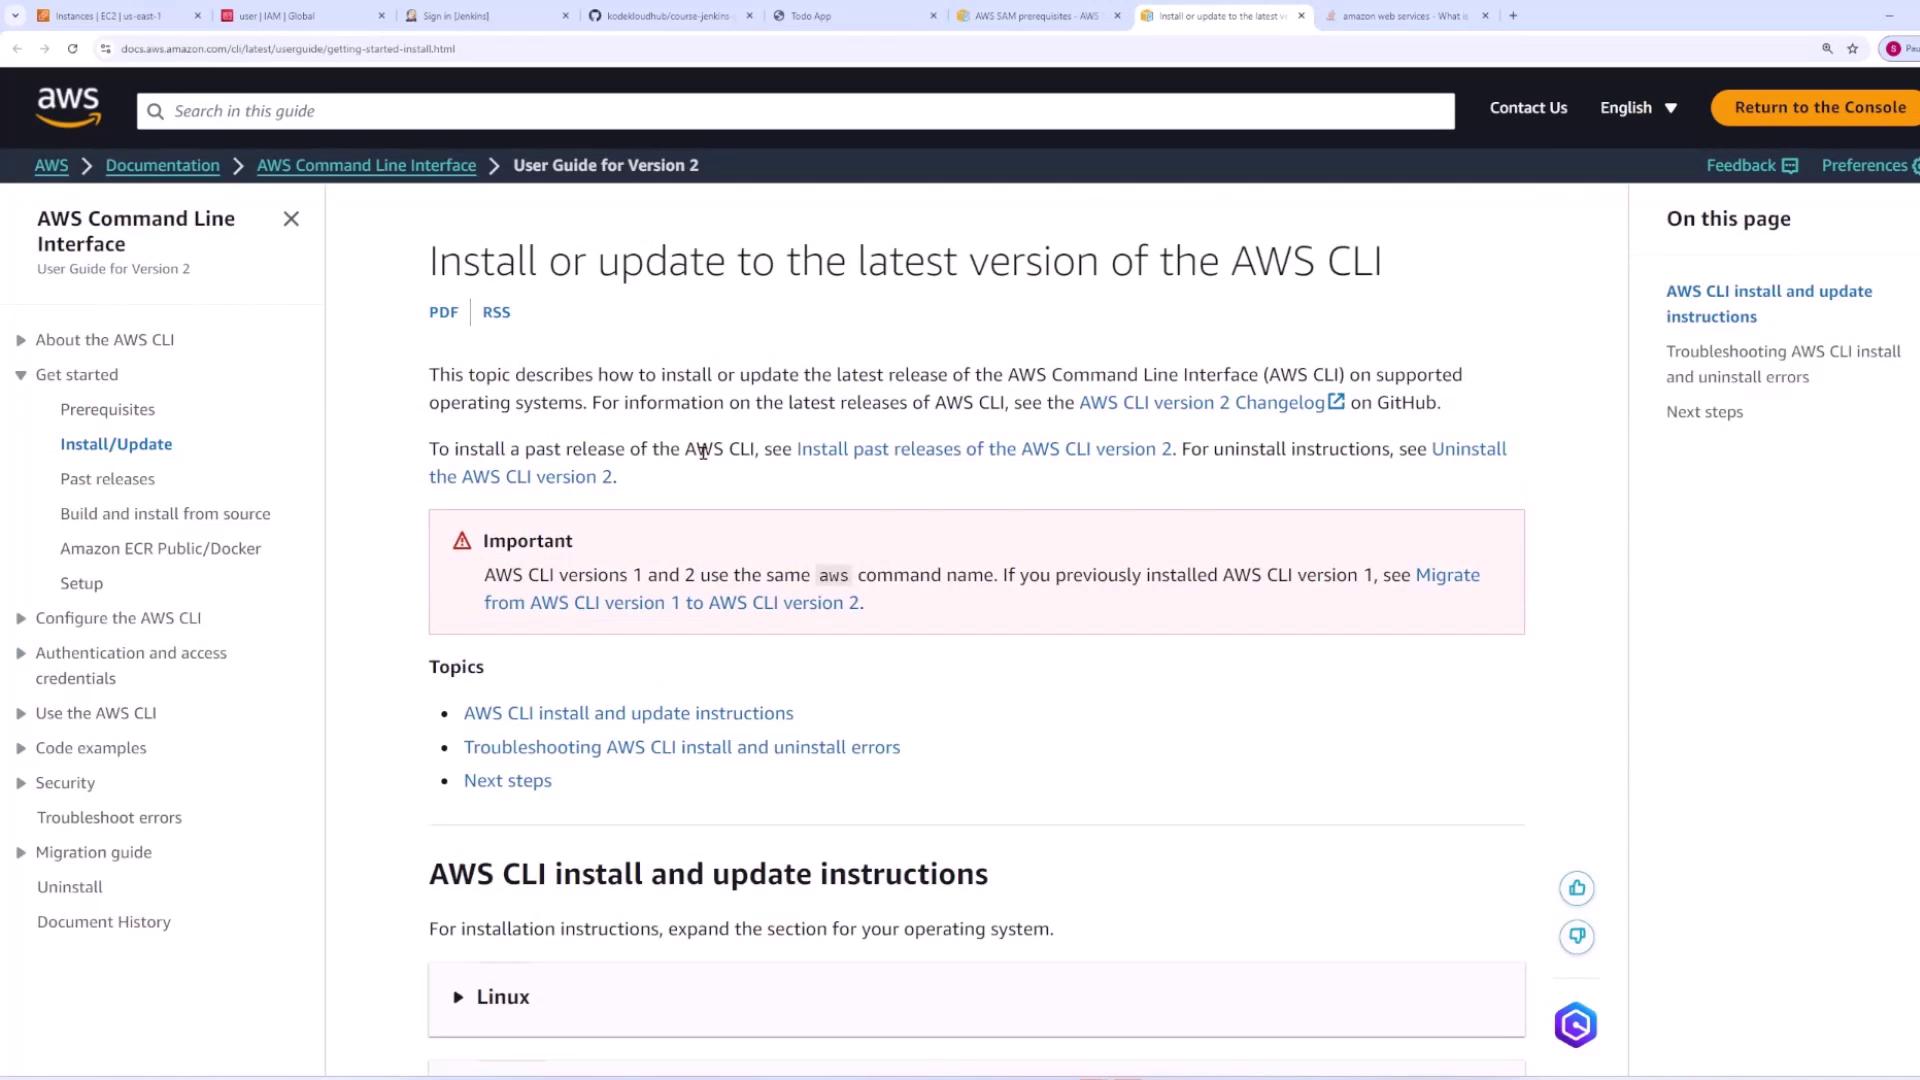
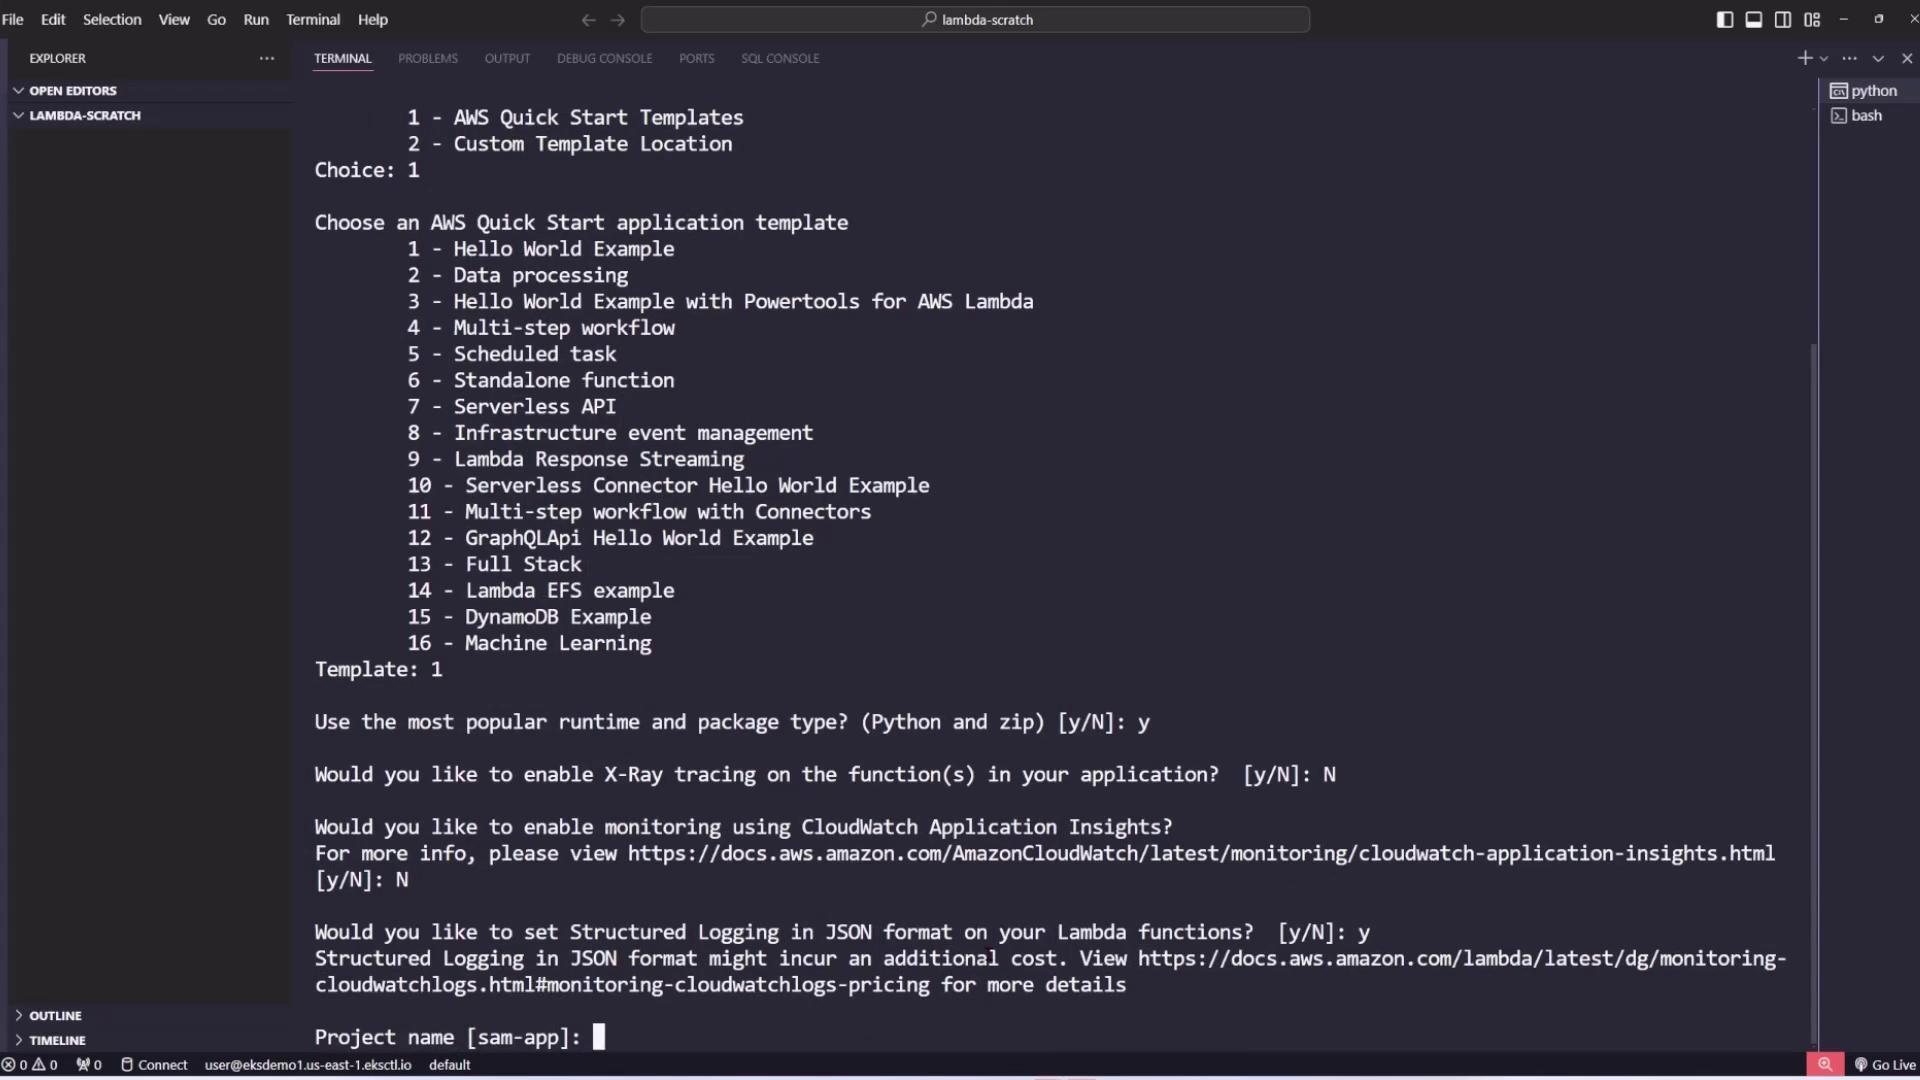
Initializing a SAM Application
Initialize your SAM project to generate base configuration files for your Lambda function. This process creates boilerplate code and configuration options that help kickstart your application.
Run the following command in your terminal:
C:\Users\sanje\code\lambda-scratch>sam init
During the initialization process, the SAM CLI will display a menu. For example, select the AWS Quick Start Templates and choose the Hello World example:
Which template source would you like to use?
1 - AWS Quick Start Templates
2 - Custom Template Location
Choice: 1
Choose an AWS Quick Start application template:
1 - Hello World Example
2 - Data processing
3 - Hello World Example with Powertools for AWS Lambda
...
Template: 1
Next, confirm the runtime and package type (choose Python and zip packaging) by answering “y”:
Use the most popular runtime and package type? (Python and zip) [y/N]: y
Would you like to enable X-Ray tracing on the function(s) in your application? [y/N]:
You can disable X-Ray tracing and CloudWatch monitoring for this demonstration. Finally, opt for structured JSON logging and provide a project name (keeping the default sam-app
is acceptable).
After confirmation, SAM CLI creates a new directory (e.g., sam-app
) with the project structure, including the crucial template.yaml
file that defines AWS resources. Below is an example of a simplified template.yaml
:
Resources:
HelloWorldFunction:
Type: AWS::Serverless::Function
Properties:
CodeUri: hello_world/
Handler: app.lambda_handler
Runtime: python3.9
Architectures:
- x86_64
Events:
HelloWorld:
Type: Api
Properties:
Path: /hello
Outputs:
HelloWorldApi:
Description: API Gateway endpoint URL for Prod stage for Hello World function
Value: !Sub "https://${ServerlessRestApi}.execute-api.${AWS::Region}.amazonaws.com/Prod/hello/"
Note: Additional global configurations such as logging and timeouts can be specified in the
Globals
section:
Globals:
Function:
Timeout: 3
MemorySize: 128
LoggingConfig:
LogFormat: JSON
The project structure also includes:
- A basic Python file (
app.py
) with a simple Lambda handler that returns a "hello world" message. - A
requirements.txt
file to manage dependencies. - Folders for unit and integration tests.
- A
samconfig.toml
file that holds build and deployment configuration parameters.
A sample Lambda function in app.py
might look like this:
import json
def lambda_handler(event, context):
# Uncomment and modify the following if external requests become necessary
# try:
# ip = requests.get("http://checkip.amazonaws.com/")
# except requests.RequestException as e:
# print(e)
# raise e
return {
"statusCode": 200,
"body": json.dumps({
"message": "hello world"
}),
}
Building and Deploying the SAM Application
After initializing your project, navigate to the application directory (where template.yaml
resides) and build your code using:
C:\Users\sanje\code\lambda-scratch\sam-app>sam build
This command compiles your application and creates a build artifact directory (typically .aws-sam/build
). Once the build completes successfully, you can deploy your application.
Deploying Your Application
Deploy the application by running:
C:\Users\sanje\code\lambda-scratch\sam-app>sam deploy --guided
During the guided deployment, SAM CLI will prompt for:
- CloudFormation stack name
- AWS region
- S3 bucket for packaging
- IAM capabilities
Warning: If you see errors such as:
Error: Failed to create managed resources: An error occurred (InvalidClientTokenId) when calling the CreateChangeSet operation: The security token included in the request is invalid.
this indicates that your AWS credentials are not correctly configured.
After confirming the CloudFormation change set (by entering y
), SAM CLI deploys the necessary AWS resources and outputs details like IAM roles, API Gateway endpoints, and Lambda function ARNs.
For example, the output might include:
Deploying with following values
=============================
Stack name : sam-app
Region : us-east-1
Capabilities : ["CAPABILITY_IAM"]
...
Initiating deployment
And, upon successful deployment, you will see the API endpoint:
Key HelloWorldApi
Description API Gateway endpoint URL for Prod stage for Hello World function
Value https://al4hc8vz31.execute-api.us-east-1.amazonaws.com/Prod/hello/
Test the endpoint in a browser or use a tool like curl:
{"message": "hello world"}
You can also verify the deployment in the AWS Lambda console:
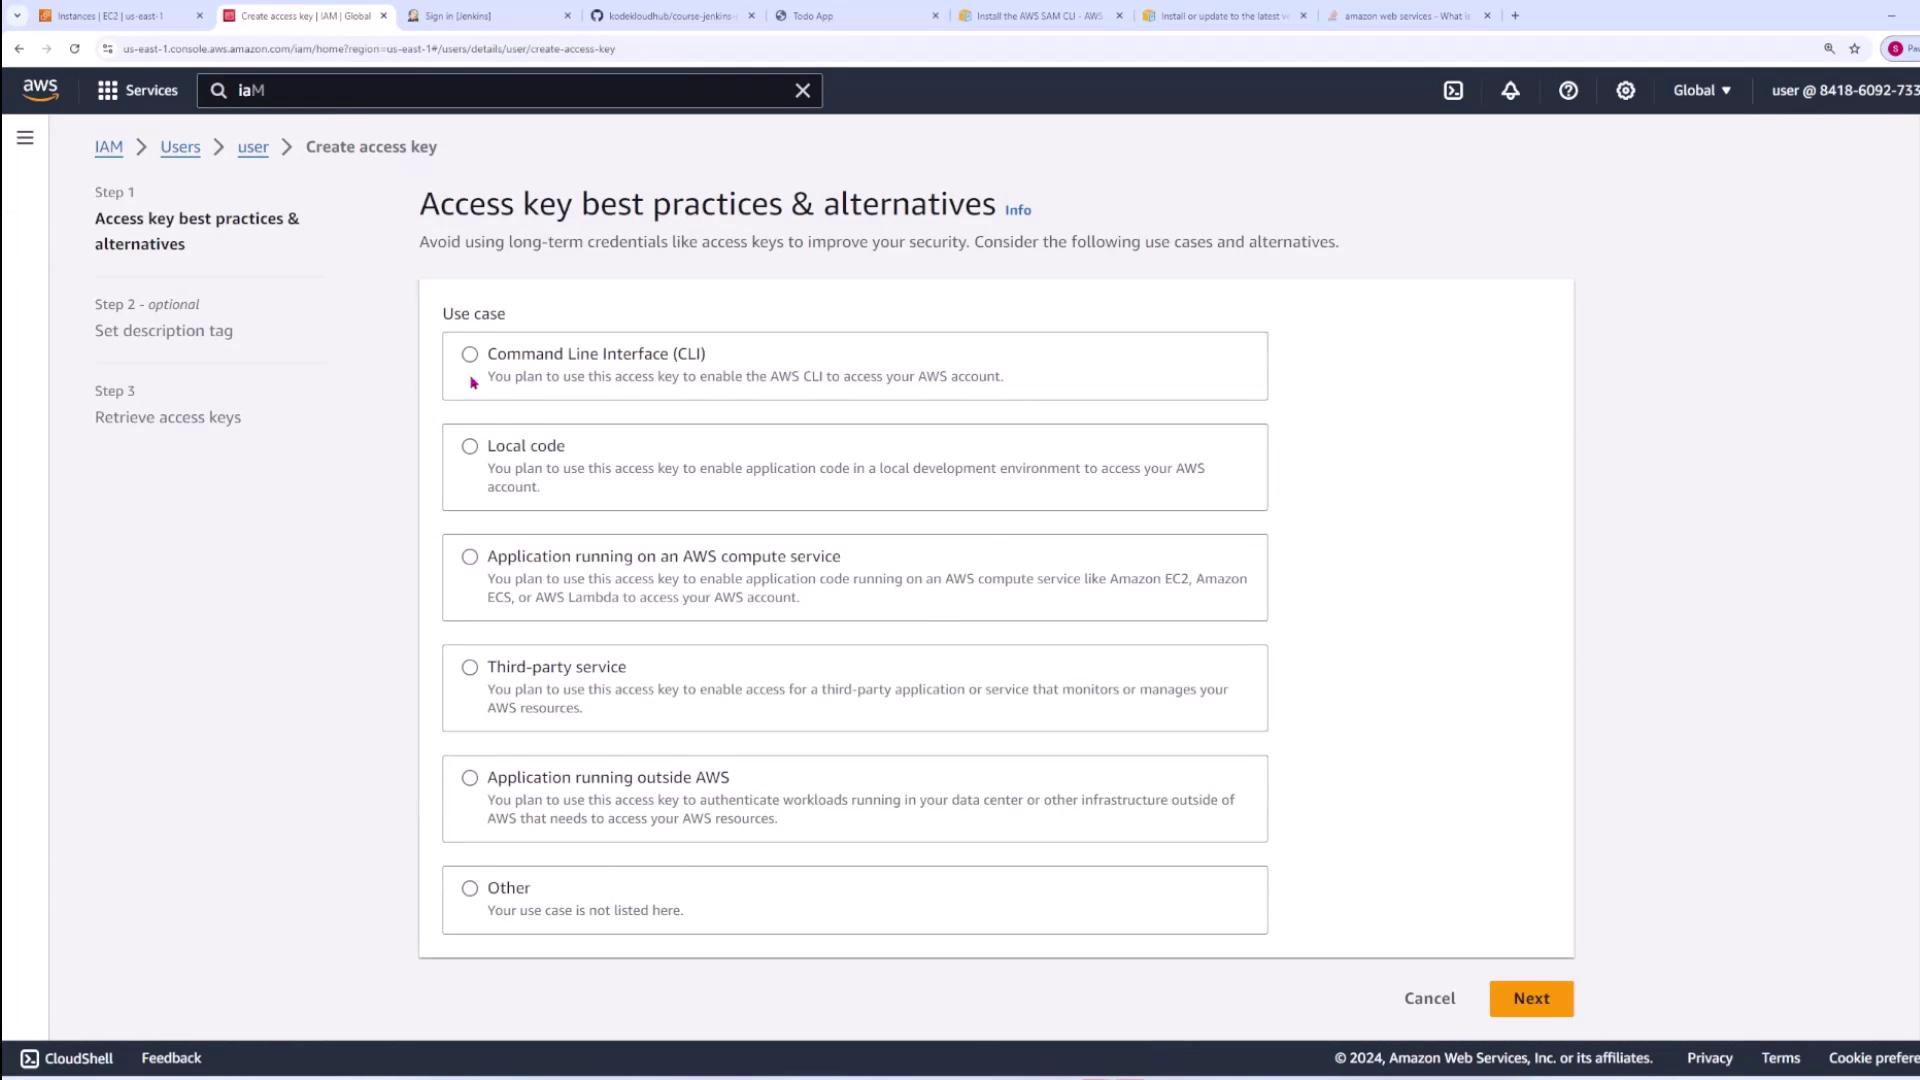
Configuring AWS Credentials
To deploy your application, ensure that your AWS credentials are configured on your local machine. Use the AWS CLI command:
C:\Users\sanje\code\lambda-scratch\sam-app>aws configure
Enter your AWS access key, secret access key, preferred region (e.g., us-east-1), and output format when prompted. These credentials are used by both the AWS CLI and SAM CLI.
If you need to create or manage these credentials, log in to the AWS Management Console, navigate to IAM → Users → [Your User] → Security credentials, and create a new access key.
Follow the on-screen instructions to generate a new access key:
After configuring your credentials, rerun 
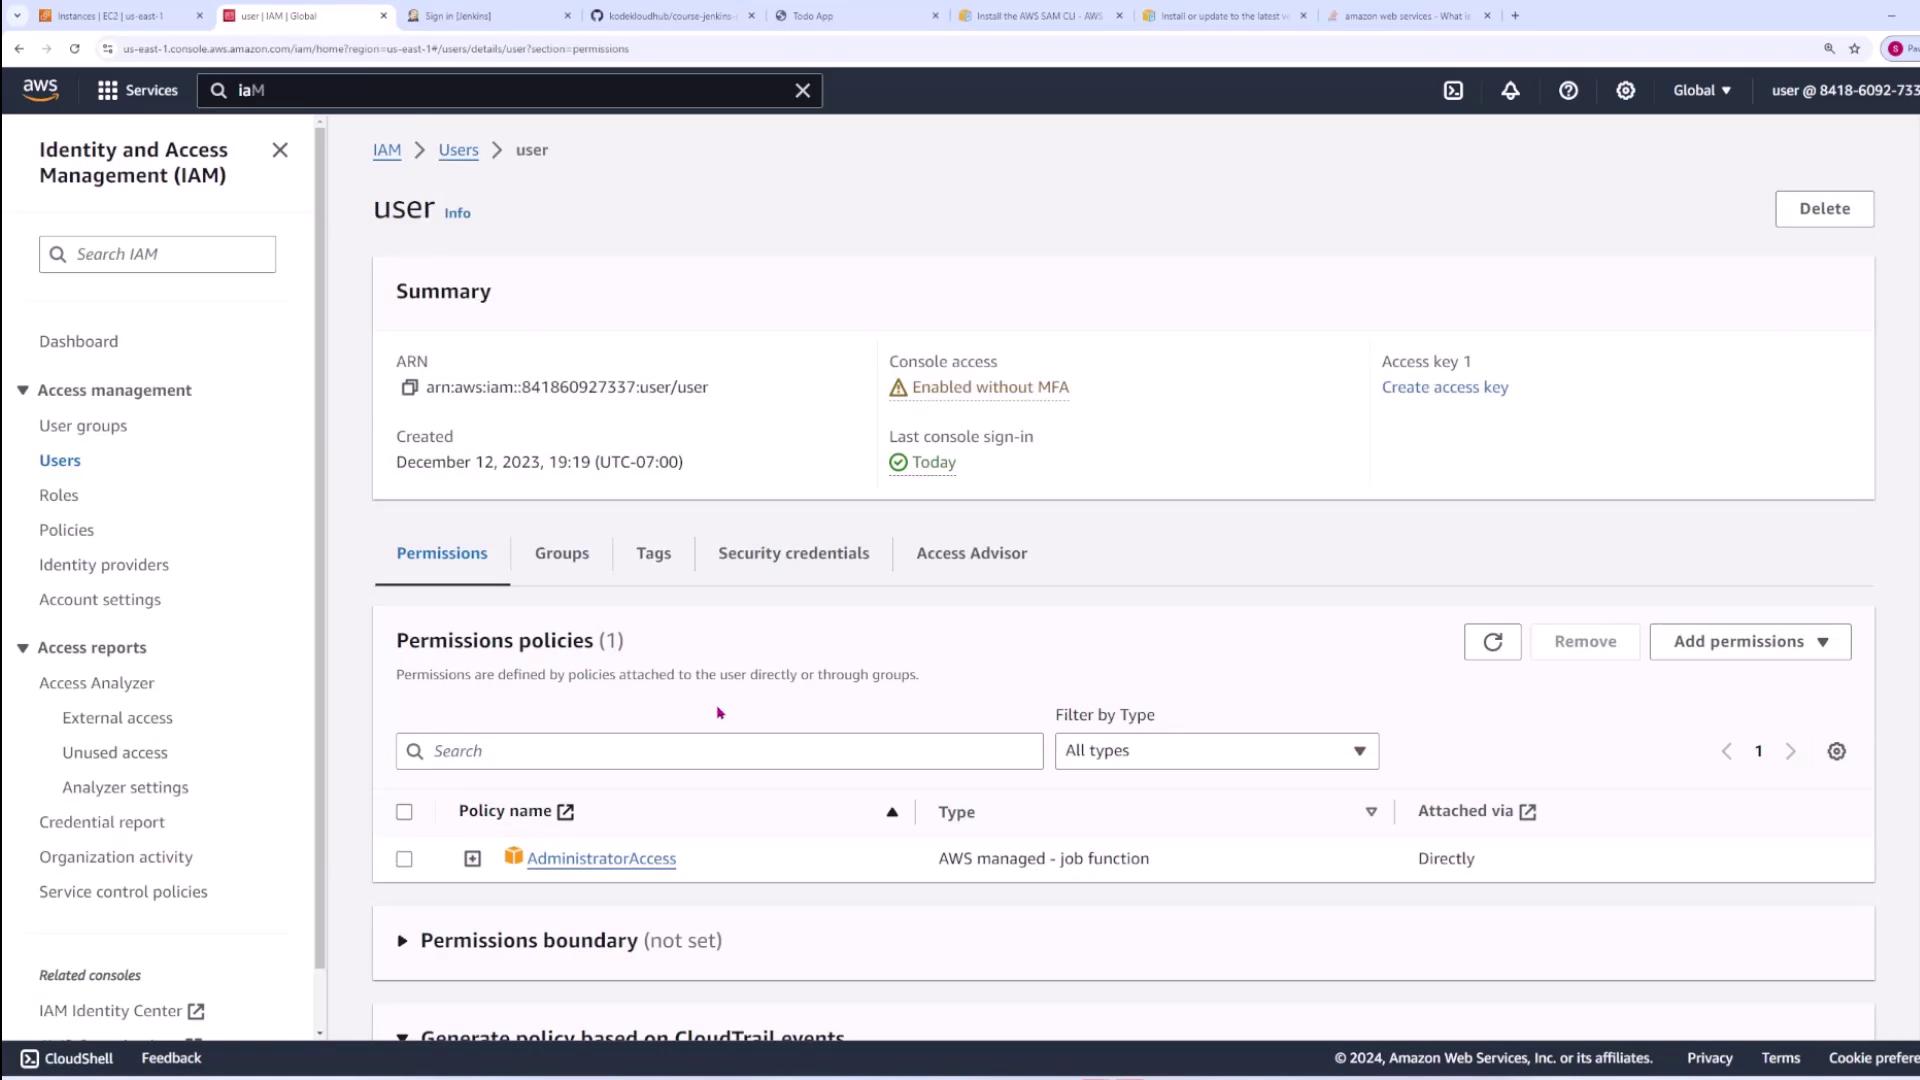
sam deploy
to complete the deployment process.
Updating and Deleting the Stack
Once your SAM application is deployed, you can update it at any time by modifying your source code or the template.yaml
configuration and repeating the build and deploy steps.
To delete the deployed stack and remove all associated resources, run:
C:\Users\sanje\code\lambda-scratch\sam-app>sam delete
Are you sure you want to delete the stack sam-app in the region us-east-1 ? [y/N]: y
Make sure to confirm deletion of S3 objects when prompted. SAM CLI will then remove both the CloudFormation stack and all related resources.
Building a CI/CD Pipeline Example
For demonstration purposes, consider creating a simple application named lambda-app
that serves as the foundation for your CI/CD pipeline. This project’s structure closely resembles the one created earlier with SAM, and the template.yaml
file defines a Lambda function and an API Gateway.
Below is an example snippet from template.yaml
:
Globals:
Function:
LoggingConfig:
LogFormat: JSON
Resources:
HelloWorldFunction:
Type: AWS::Serverless::Function
Properties:
DeploymentPreference:
Type: AllAtOnce
AutoPublishAlias: live
CodeUri: hello_world/
Handler: app.lambda_handler
Runtime: python3.9
Architectures:
- x86_64
Events:
HelloWorld:
Type: Api
# More info about API Event Source: https://github.com/awslabs/serverless-application-model/blob/master/versions/2016-10-31.md#api
The Lambda function in app.py
may be modified to include versioning within its response:
import json
def lambda_handler(event, context):
return {
"statusCode": 200,
"body": json.dumps({
"message": "hello world v1"
}),
}
After making changes, use the following commands from your project root. Note the use of the -T
flag to specify the location of template.yaml
:
C:\Users\sanje\Documents\Jenkins-demo> sam build -T lambda-app\template.yaml
Once the build completes successfully, deploy with:
C:\Users\sanje\Documents\Jenkins-demo> sam deploy --guided -t lambda-app\template.yaml
After deployment, SAM CLI provides the updated API Gateway endpoint. For example:
Key HelloworldApi
Description API Gateway endpoint URL for Prod stage for Hello World function
Value https://l1jlov11ff.execute-api.us-east-1.amazonaws.com/Prod/hello/
Accessing the endpoint should return the updated message:
{"message": "hello world v1"}
With this configuration, integrating SAM deployment commands into a Jenkins-based CI/CD pipeline becomes seamless. Simply include the SAM CLI installation, sam build
, and sam deploy
steps in your pipeline configuration.
This article demonstrates how the AWS SAM CLI can simplify the development, deployment, and updating of serverless applications. With consistent commands for both local environments and CI/CD pipelines, managing Lambda-based applications has never been easier.
Watch Video
Watch video content