> ## Documentation Index
> Fetch the complete documentation index at: https://notes.kodekloud.com/llms.txt
> Use this file to discover all available pages before exploring further.
# Creating a Pipeline
> This guide explains how to create a new pipeline using Blue Ocean with step-by-step instructions for setup and Jenkinsfile generation.
In this guide, we'll walk through the process of creating a new pipeline using Blue Ocean. Follow the step-by-step instructions below to set up your pipeline and automatically generate a Jenkinsfile without any manual configuration.
## Step 1: Start a New Pipeline
1. Click the **New Pipeline** button.
2. Choose where your code is stored. For this example, select **GitHub** and then choose the appropriate organization.
If you are authenticating for the first time, you'll need a personal access token from GitHub (or your respective code host). Click the option to generate the token and provide it when prompted.
## Step 2: Select Your Repository
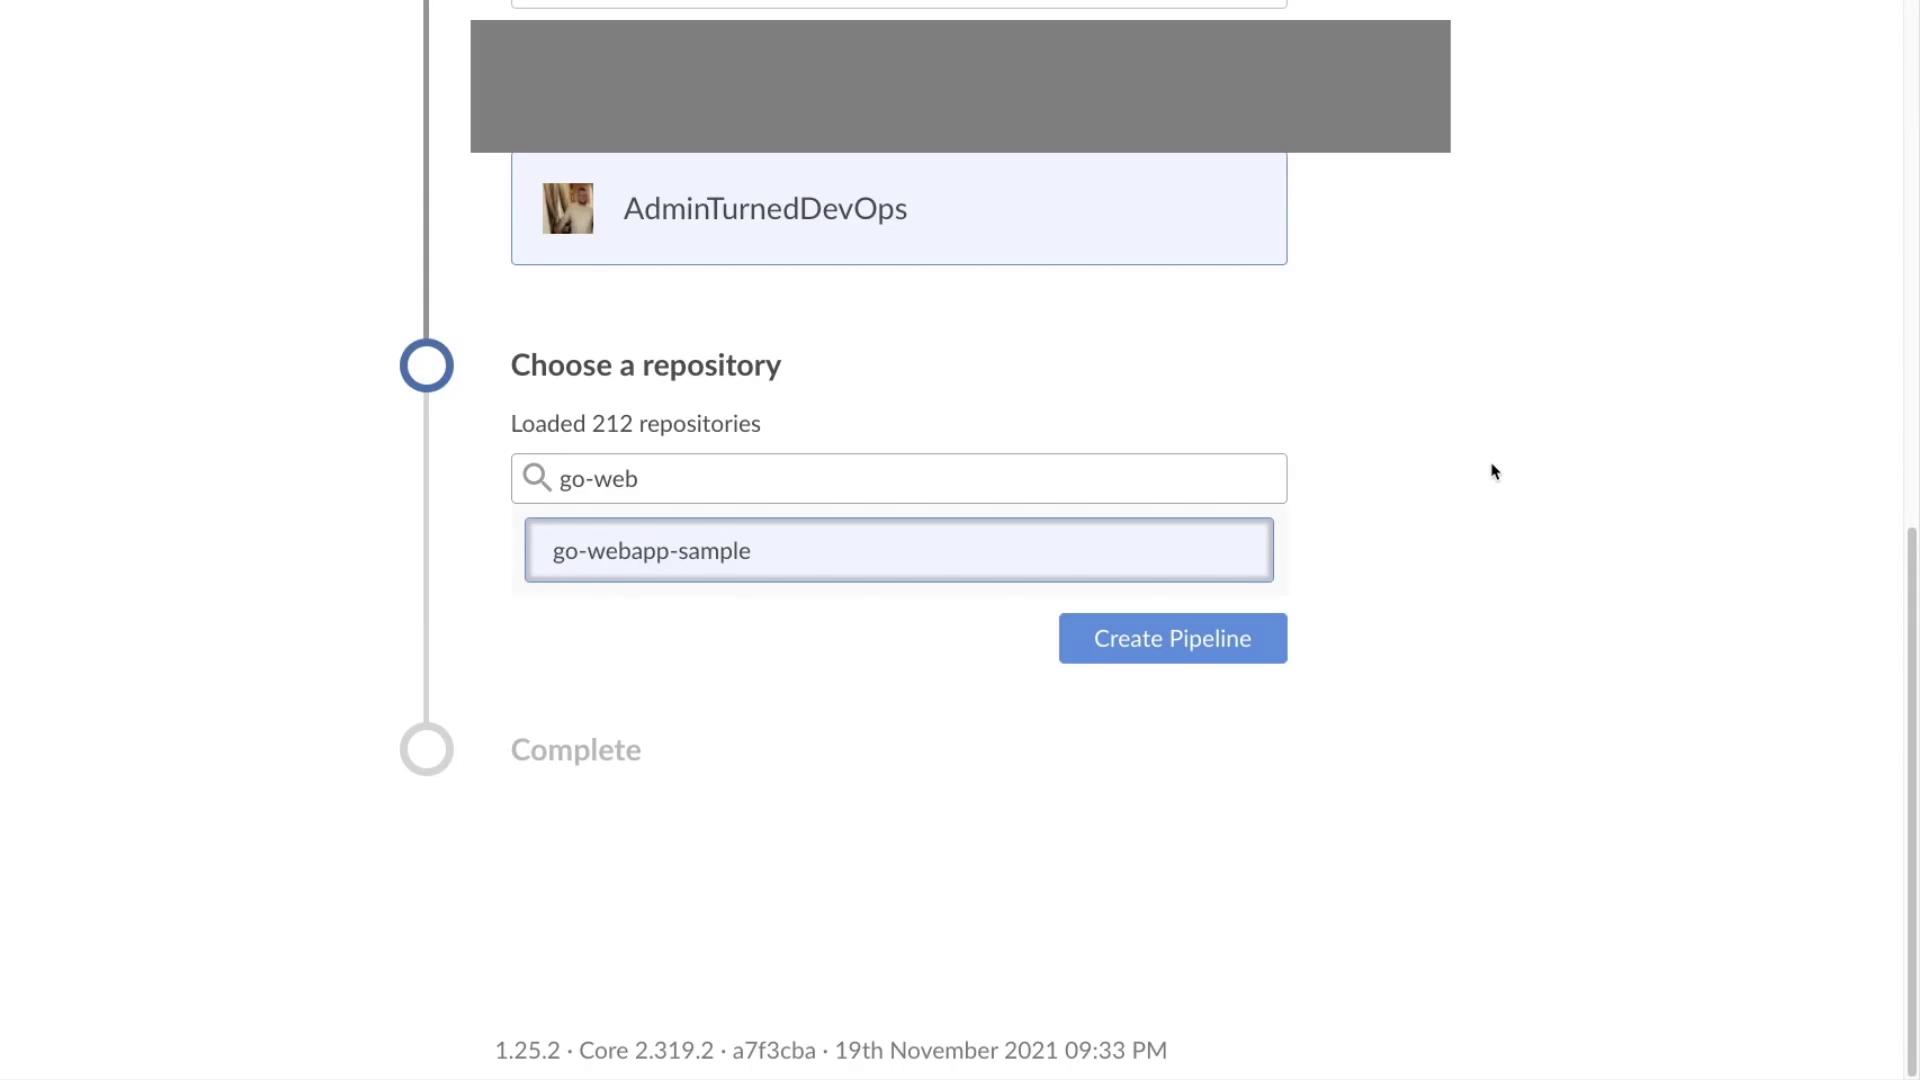
For this demonstration, select the **GoWebApp sample** repository where our pipelines are executed.
## Step 3: Create and Configure the Pipeline
1. Click **Create Pipeline**.
2. Give the pipeline a name; for example, **GoWebApp**.
3. Click **Save**. You will see a notification that no Jenkinsfiles were found in the repository, which means you can continue to create one via the UI.
## Step 4: Add Pipeline Stages and Steps
1. Click the plus button to add a stage and label the stage (for example, "dev").
2. Click **Add Step** and select **Shell Script**.
3. Enter the following command, which is identical to the one previously used in the Jenkinsfile for running tests:
```shell theme={null}
go test ./.
```
4. Click the back button. You will then be prompted to commit the Jenkinsfile to the repository.
5. Click **Save and Run**.
Once you commit, you can verify via GitHub that the Jenkinsfile has been created automatically.
## The Automatically Generated Jenkinsfile
The Jenkinsfile generated by Blue Ocean looks similar to the following:
```groovy theme={null}
pipeline {
agent any
stages {
stage('dev') {
steps {
sh 'go test ./.'
}
}
}
}
```
This Jenkinsfile runs the test command, ensuring that the pipeline functions properly without requiring manual Jenkinsfile creation.
## Step 5: Review the Pipeline Dashboard
Return to the Jenkins interface, where you can see your pipeline with all its defined steps.
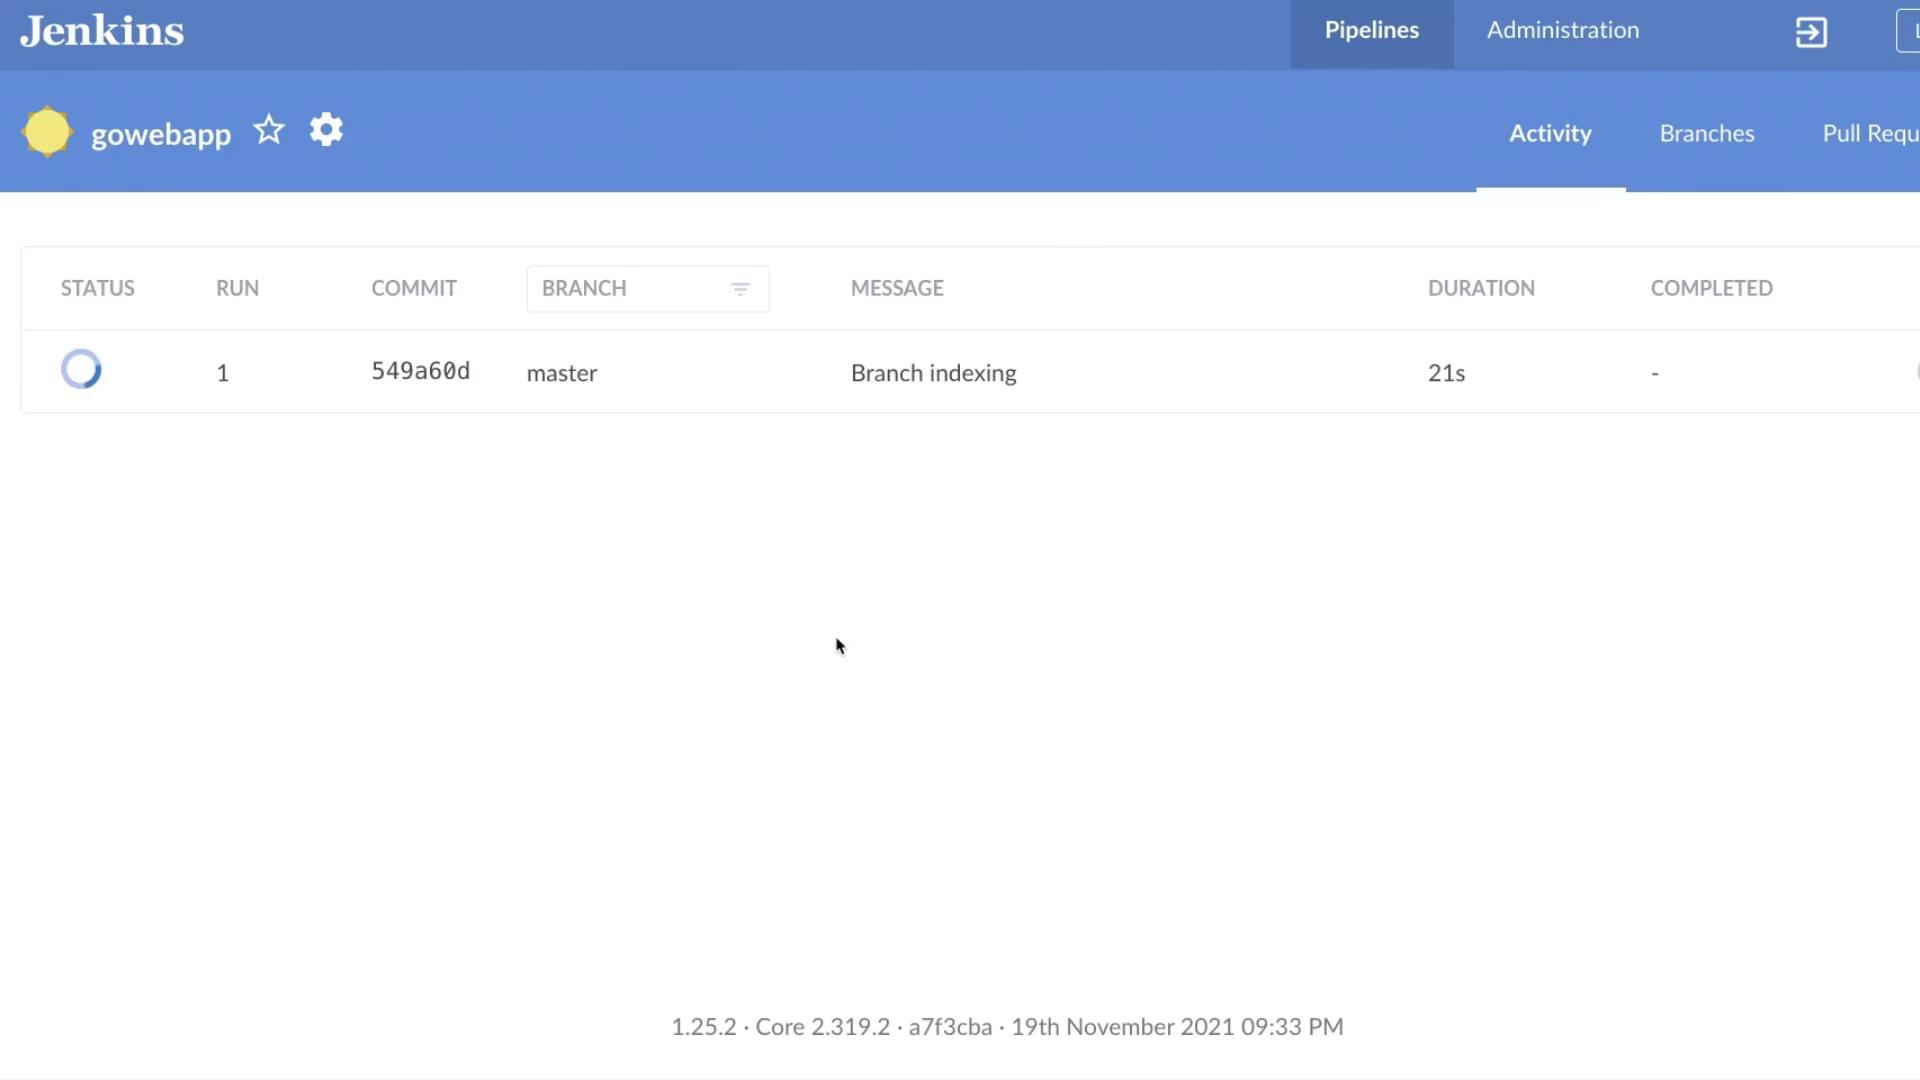
The visual representation of pipeline steps in Blue Ocean makes it much easier to manage and understand compared to manually editing a Jenkinsfile.
***
That concludes this guide on creating a pipeline with Blue Ocean. Happy coding, and we'll see you in the next lesson!
## Additional Resources
* [Jenkins Documentation](https://www.jenkins.io/doc/)
* [Blue Ocean User Guide](https://www.jenkins.io/projects/blueocean/)