Jenkins

Installing Jenkins

Install Jenkins on a VM

This guide demonstrates how to install Jenkins on an Ubuntu virtual machine deployed on Microsoft Azure. Although Azure is used in this example, you can easily adapt these instructions for other environments such as Hyper-V, local VMs, or an Ubuntu server installation.

Creating the Virtual Machine

  1. Log in to the Azure Portal and navigate to Virtual Machines. Click on Create Virtual Machine to begin.

    Tip: Consider available resources (RAM, CPU) during selection to match your Jenkins workload.
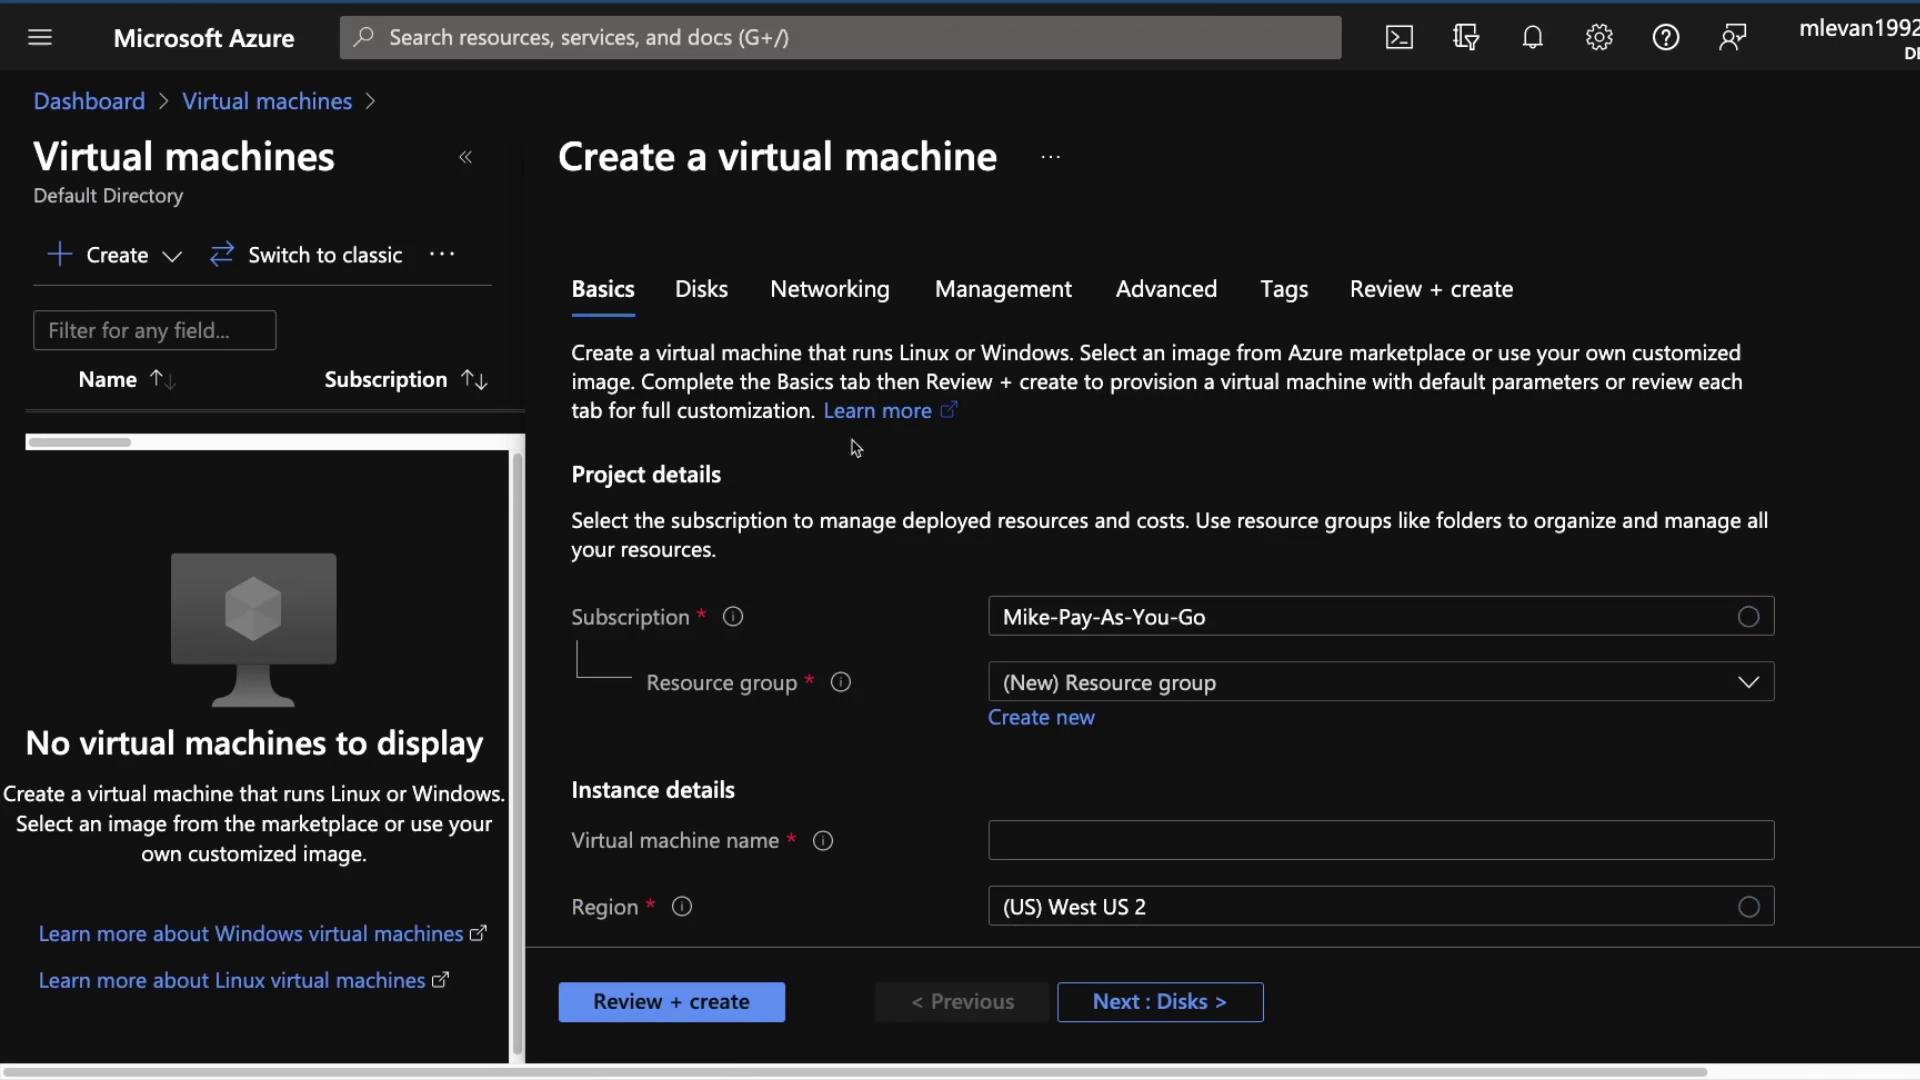
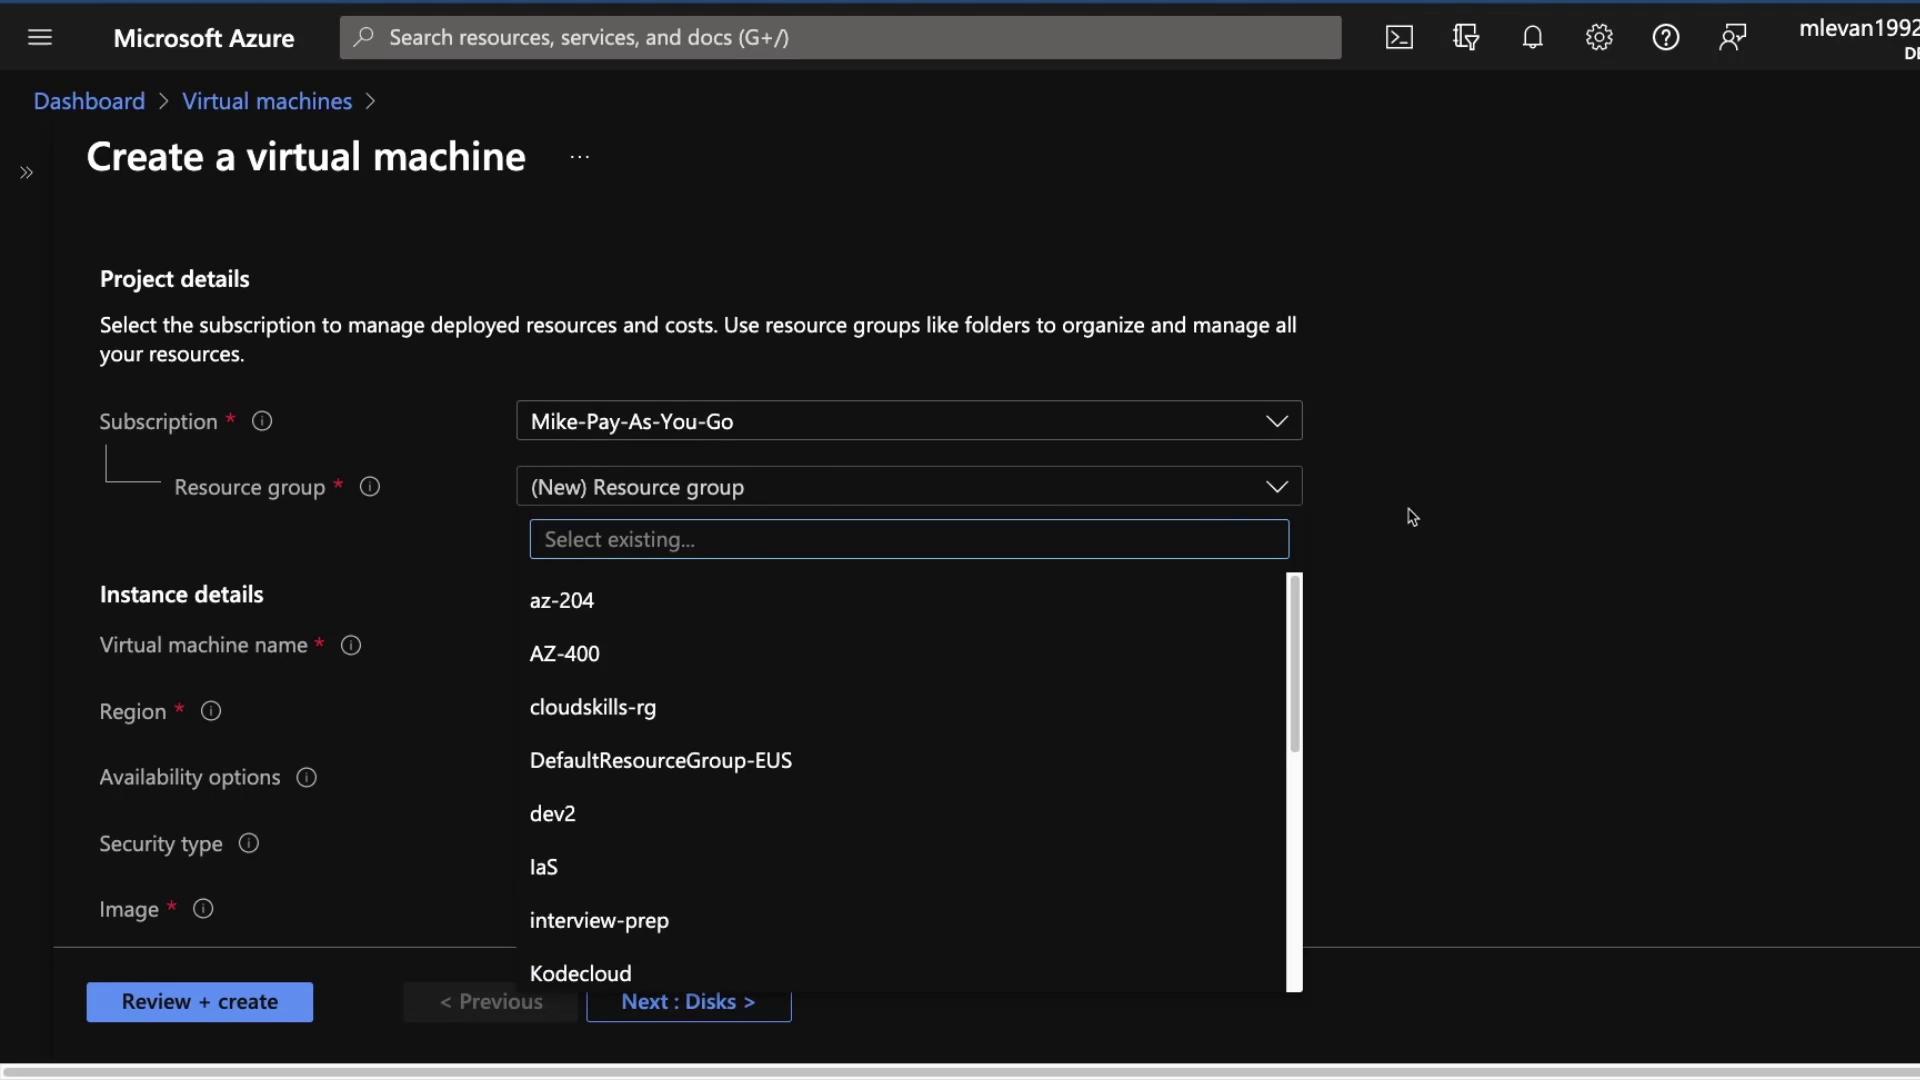
    The image shows the Microsoft Azure portal interface for creating a virtual machine, displaying options for subscription, resource group, and region selection.

  2. Choose your resource group (e.g., "KodeKloud") and enter a name for the VM. Select the Ubuntu 20.04 OS image. For a cost-effective option, opt for a VM size with 1 vCPU and 2 GB RAM.

    The image shows the Microsoft Azure portal interface for creating a virtual machine, displaying options for subscription, resource group, and instance details.

  3. Continue by configuring the instance details:

    The image shows the Microsoft Azure interface for creating a virtual machine, with options for instance details, image selection, and authentication type.

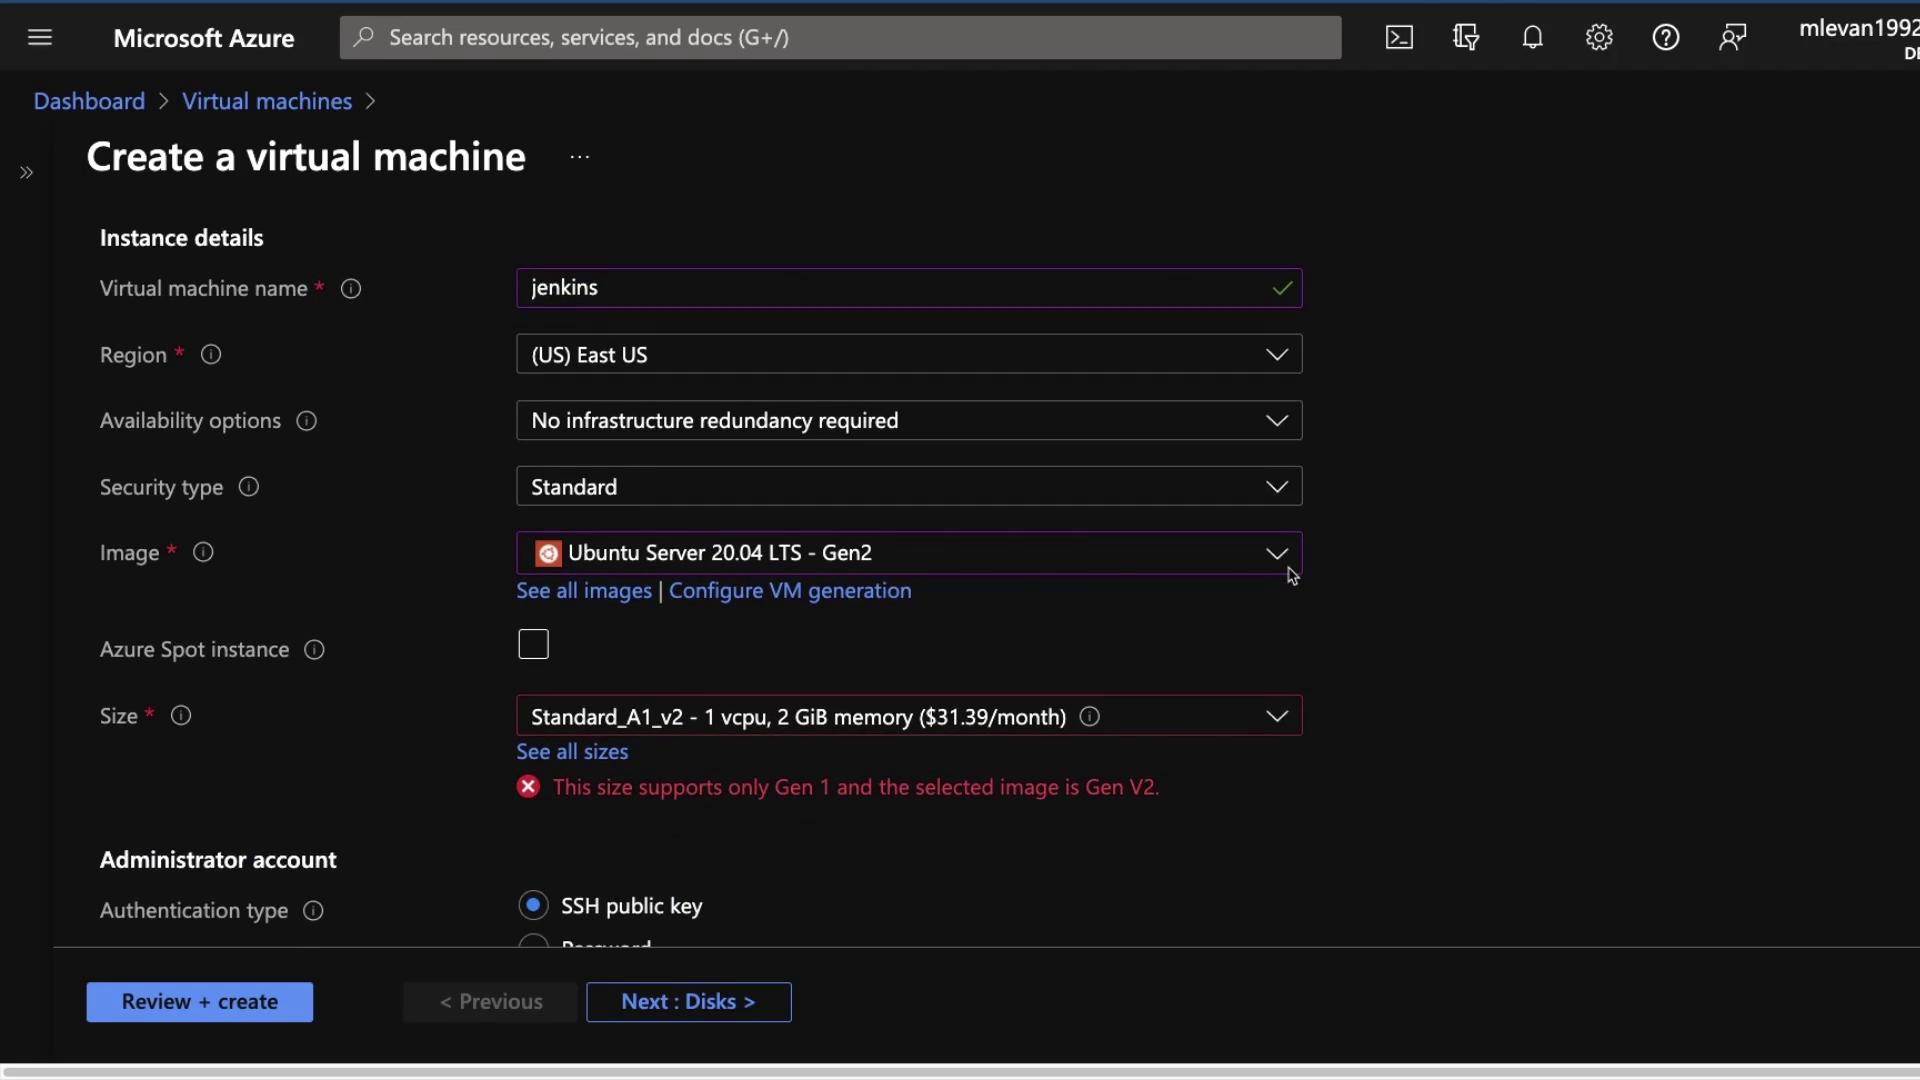
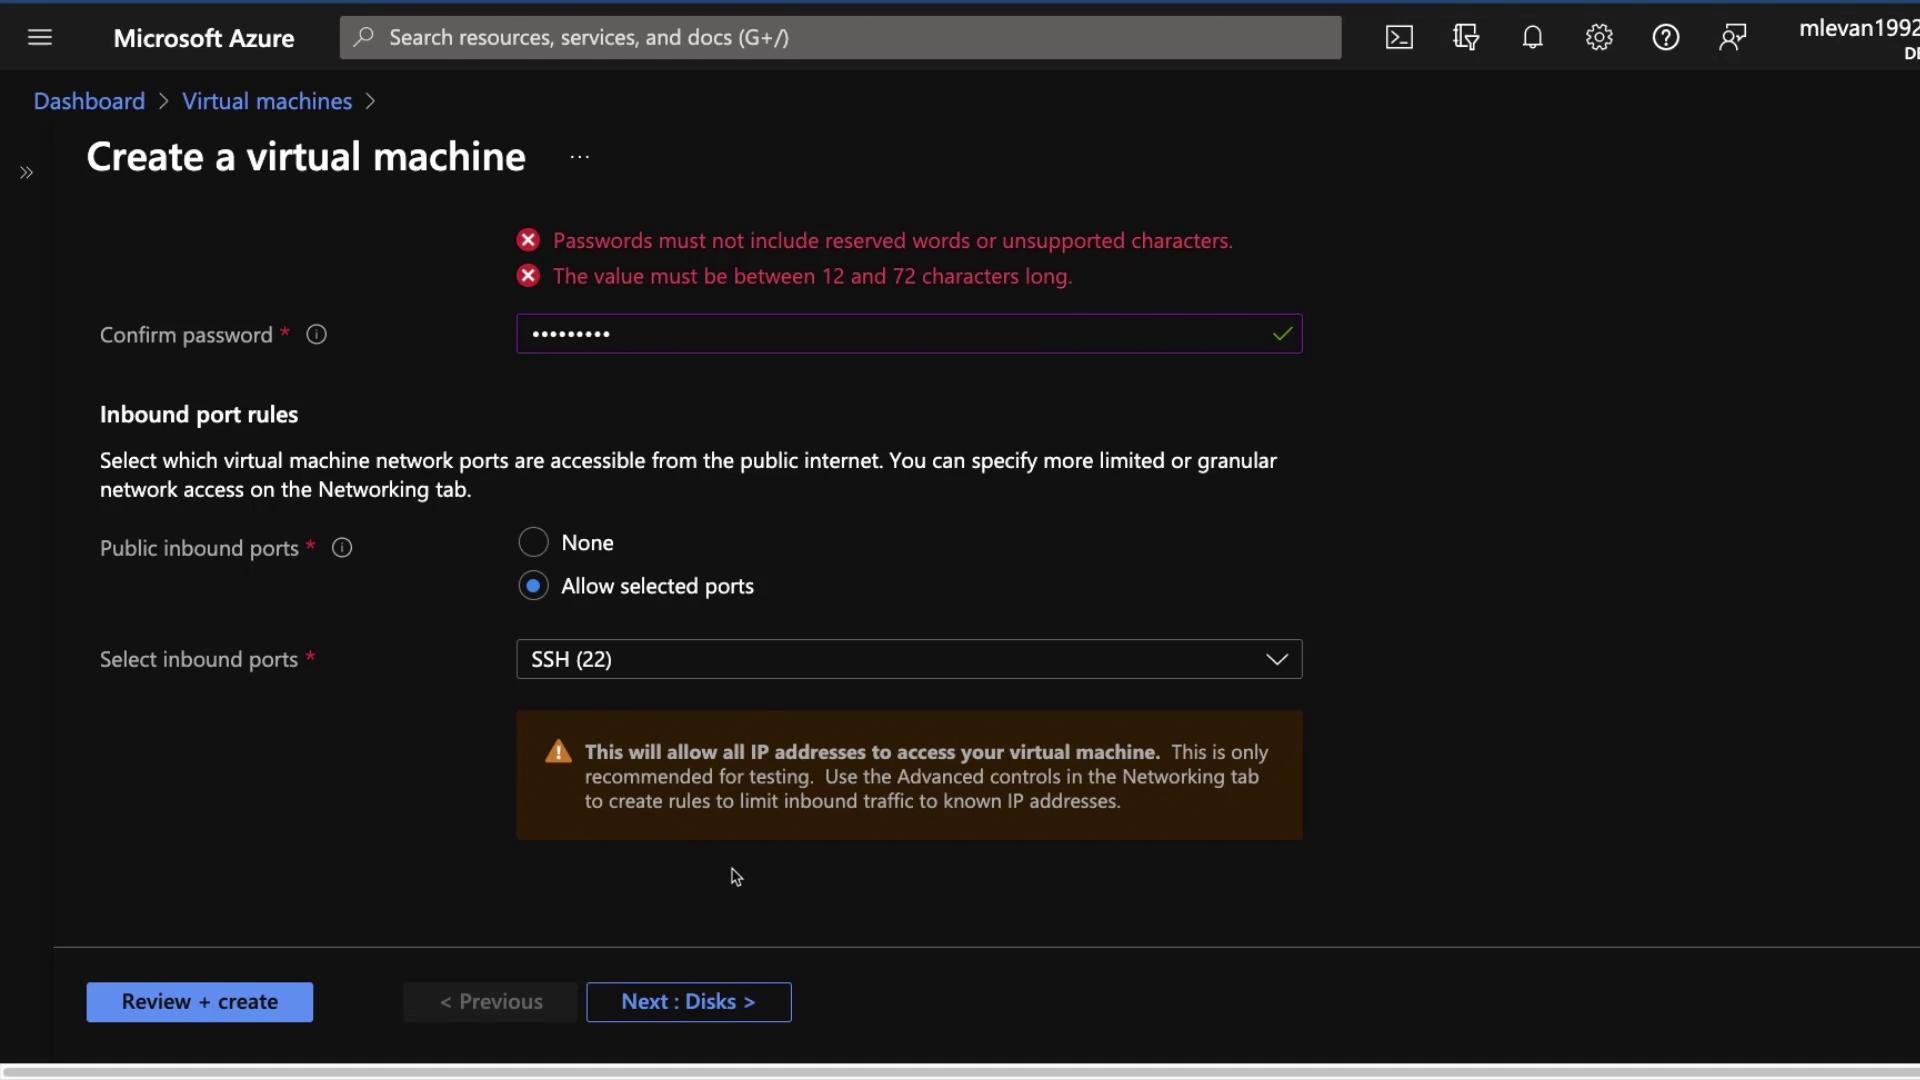
  4. Set a username and password for SSH access. For demonstration purposes, open port 22.

    Security Warning

    Opening port 22 for SSH access is not recommended in production environments. Ensure network security groups or firewalls are correctly configured.

    The image shows a Microsoft Azure interface for creating a virtual machine, highlighting password requirements and inbound port rules for SSH access.

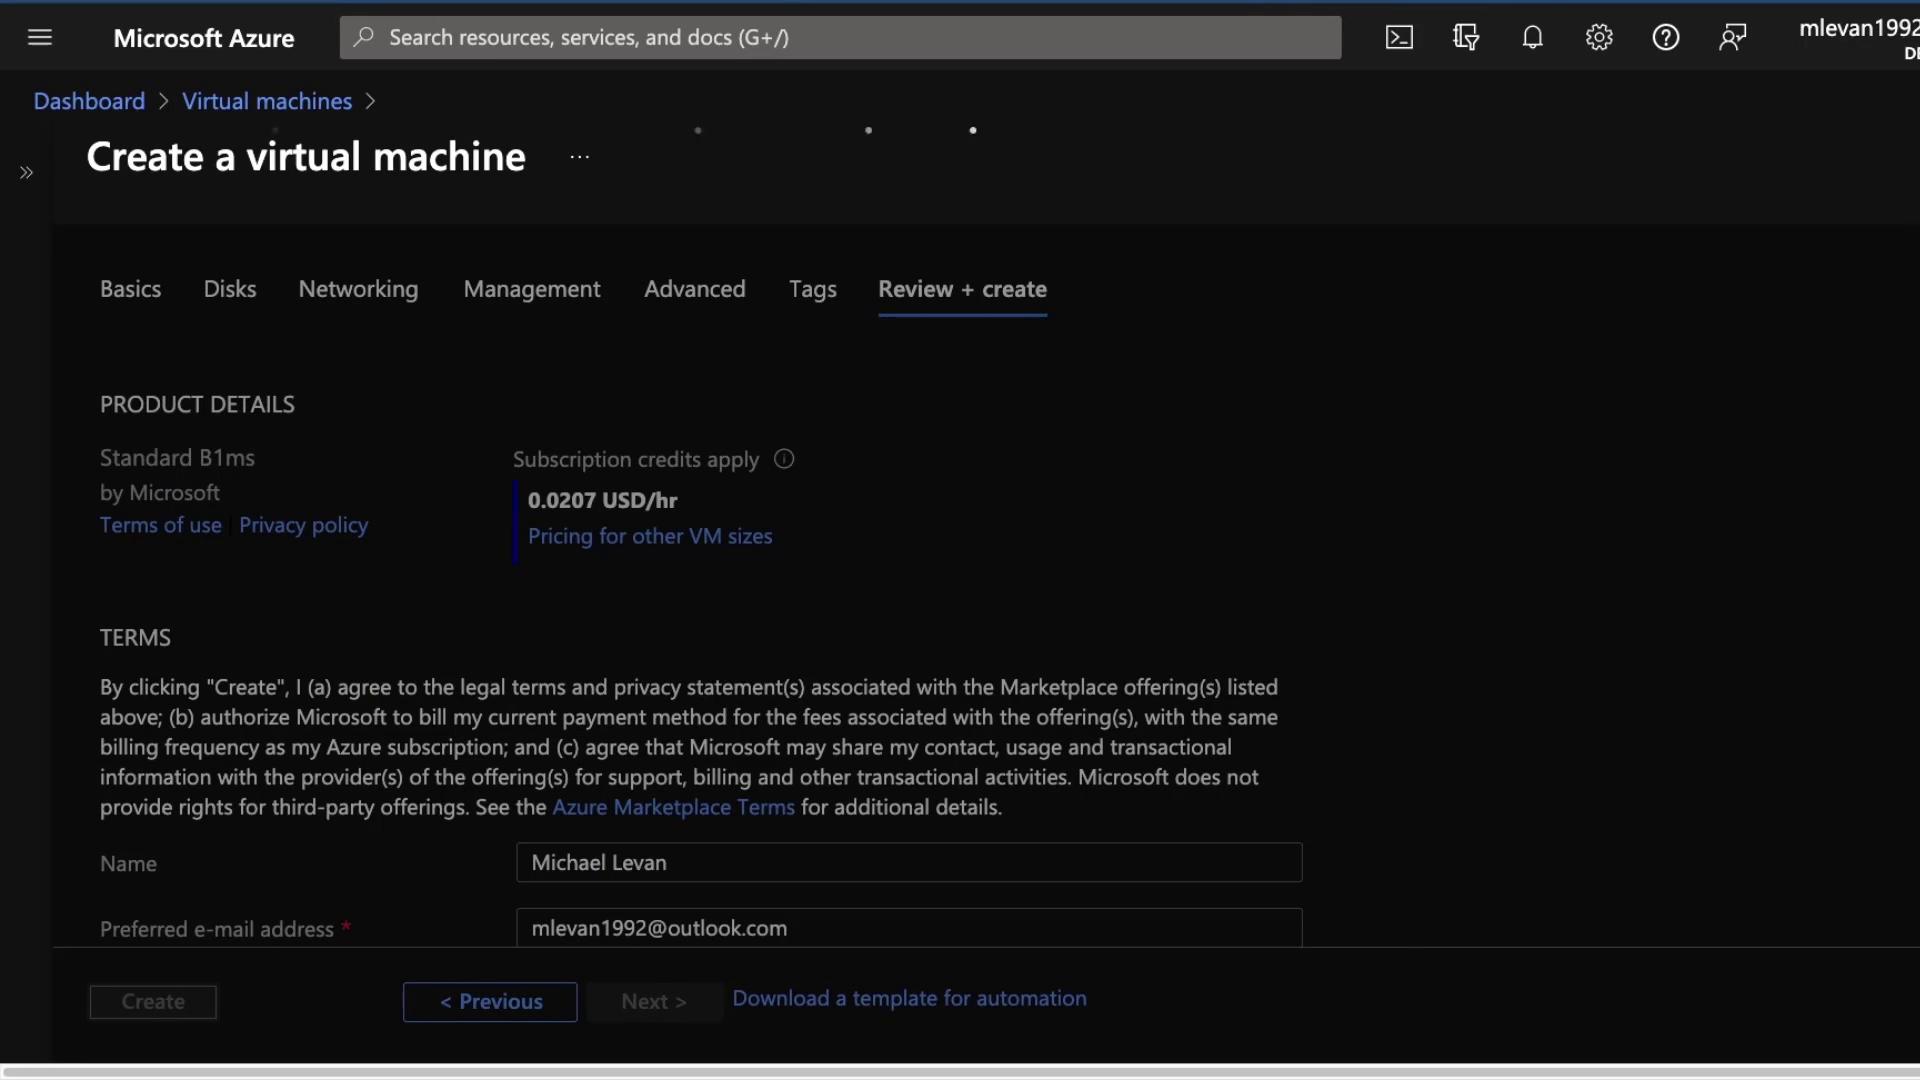
  5. For storage, choose a premium SSD, add the VM to your "KodeKloud VNet", then click Next to review and confirm your settings. Enter your password again when prompted, then create the VM.

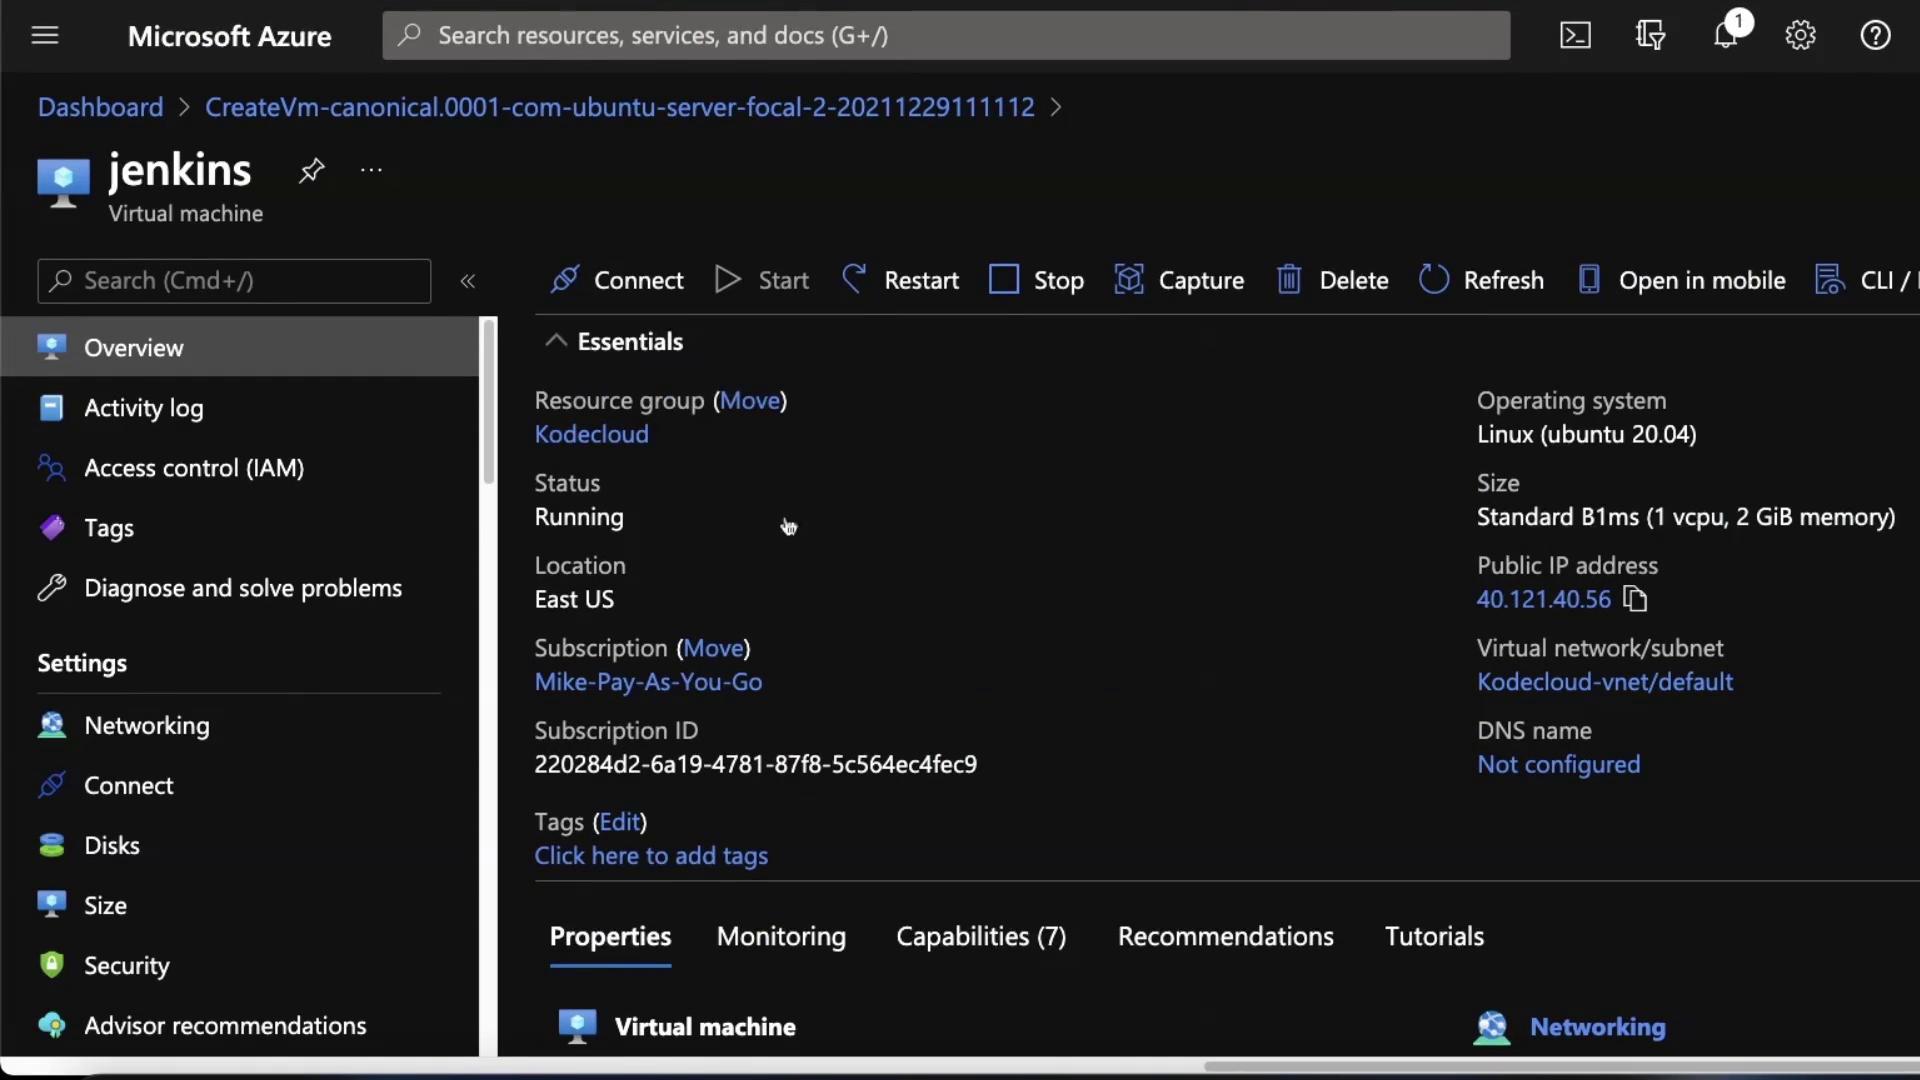
  6. Once the VM is created, open a terminal to connect via SSH.

    The image shows a Microsoft Azure interface for creating a virtual machine, displaying product details, terms, and user information fields.

Connecting to Your VM

  1. Open your terminal and connect to the VM using its public IP address. For example:

    ssh [email protected]
    
  2. When you see the authenticity warning, type "yes" and then provide your password:

    The authenticity of host '40.121.40.56 (40.121.40.56)' can't be established.
    ED25519 key fingerprint is SHA256:RMqL4bPfW3a9J5ehDcKLa7kRA5UQ.
    This key is not known by any other names.
    Are you sure you want to continue connecting (yes/no/[fingerprint])?
    Warning: Permanently added '40.121.40.56' (ED25519) to the list of known hosts.
    [email protected]'s password:
    
  3. Once connected, clear the terminal and update the package lists:

    sudo apt update -y
    

Installing Prerequisites

Jenkins requires Java to run. Update your package lists and install Java with the following command:

sudo apt update -y

Example output snippet:

Get:84 http://azure.archive.ubuntu.com/ubuntu focal/main amd64 1.14-2 [16.3 kB]
...
Fetched 304 MB in 14s (21.8 MB/s)

Installing Jenkins

With Java installed, proceed to install Jenkins by following these steps:

  1. Add the Jenkins Repository Key:

    wget -q -O - https://pkg.jenkins.io/debian-stable/jenkins.io.key | sudo apt-key add -
    

    You should see an "OK" response.

  2. Append the Jenkins Repository:

    sudo sh -c 'echo deb http://pkg.jenkins.io/debian-stable/ jenkins.list > /etc/apt/sources.list.d/jenkins.list'
    
  3. Update the Package List:

    sudo apt update -y
    

    The output confirms that the Jenkins repository is being fetched:

    Hit:1 http://azure.archive.ubuntu.com/ubuntu focal InRelease
    ...
    Fetched 23.9 kB in 1s (39.5 kB/s)
    
  4. Install Jenkins:

    sudo apt install jenkins -y
    

    During installation, you might see logs similar to:

    Selecting previously unselected package net-tools.
    Preparing to unpack .../net-tools_1.60+git20180626.aebd88e-1ubuntu1_amd64.deb ...
    ...
    Setting up jenkins (2.319.1) ...
    

Starting and Verifying Jenkins

  1. Start the Jenkins Service:

    sudo systemctl start jenkins
    
  2. Verify the Service Status:

    sudo systemctl status jenkins
    

    Expected output indicates that the Jenkins service is active:

    jenkins.service - LSB: Start Jenkins at boot time
    Loaded: loaded (/etc/init.d/jenkins; generated)
    Active: active (exited) since Wed 2021-12-29 16:19:03 UTC; <time details>
    Docs: man:systemd-sysv-generator(8)
    Tasks: 0 (limit: 2295)
    Memory: 0B
    CGroup: /system.slice/jenkins.service
    
  3. Open Firewall Port 8080:

    To access the Jenkins UI, allow traffic on port 8080:

    sudo ufw allow 8080
    
  4. Confirm Firewall Status:

    sudo ufw status
    

    Firewall Note

    If the firewall is inactive, that is acceptable for a demo environment. In a production environment, ensure the firewall settings limit access to only trusted IP addresses.

  5. Exit SSH Session:

    exit
    

    Your terminal will indicate that the connection has been closed.

  6. Access Jenkins:

    Open your web browser and navigate to: http://<Your_VM_Public_IP>:8080
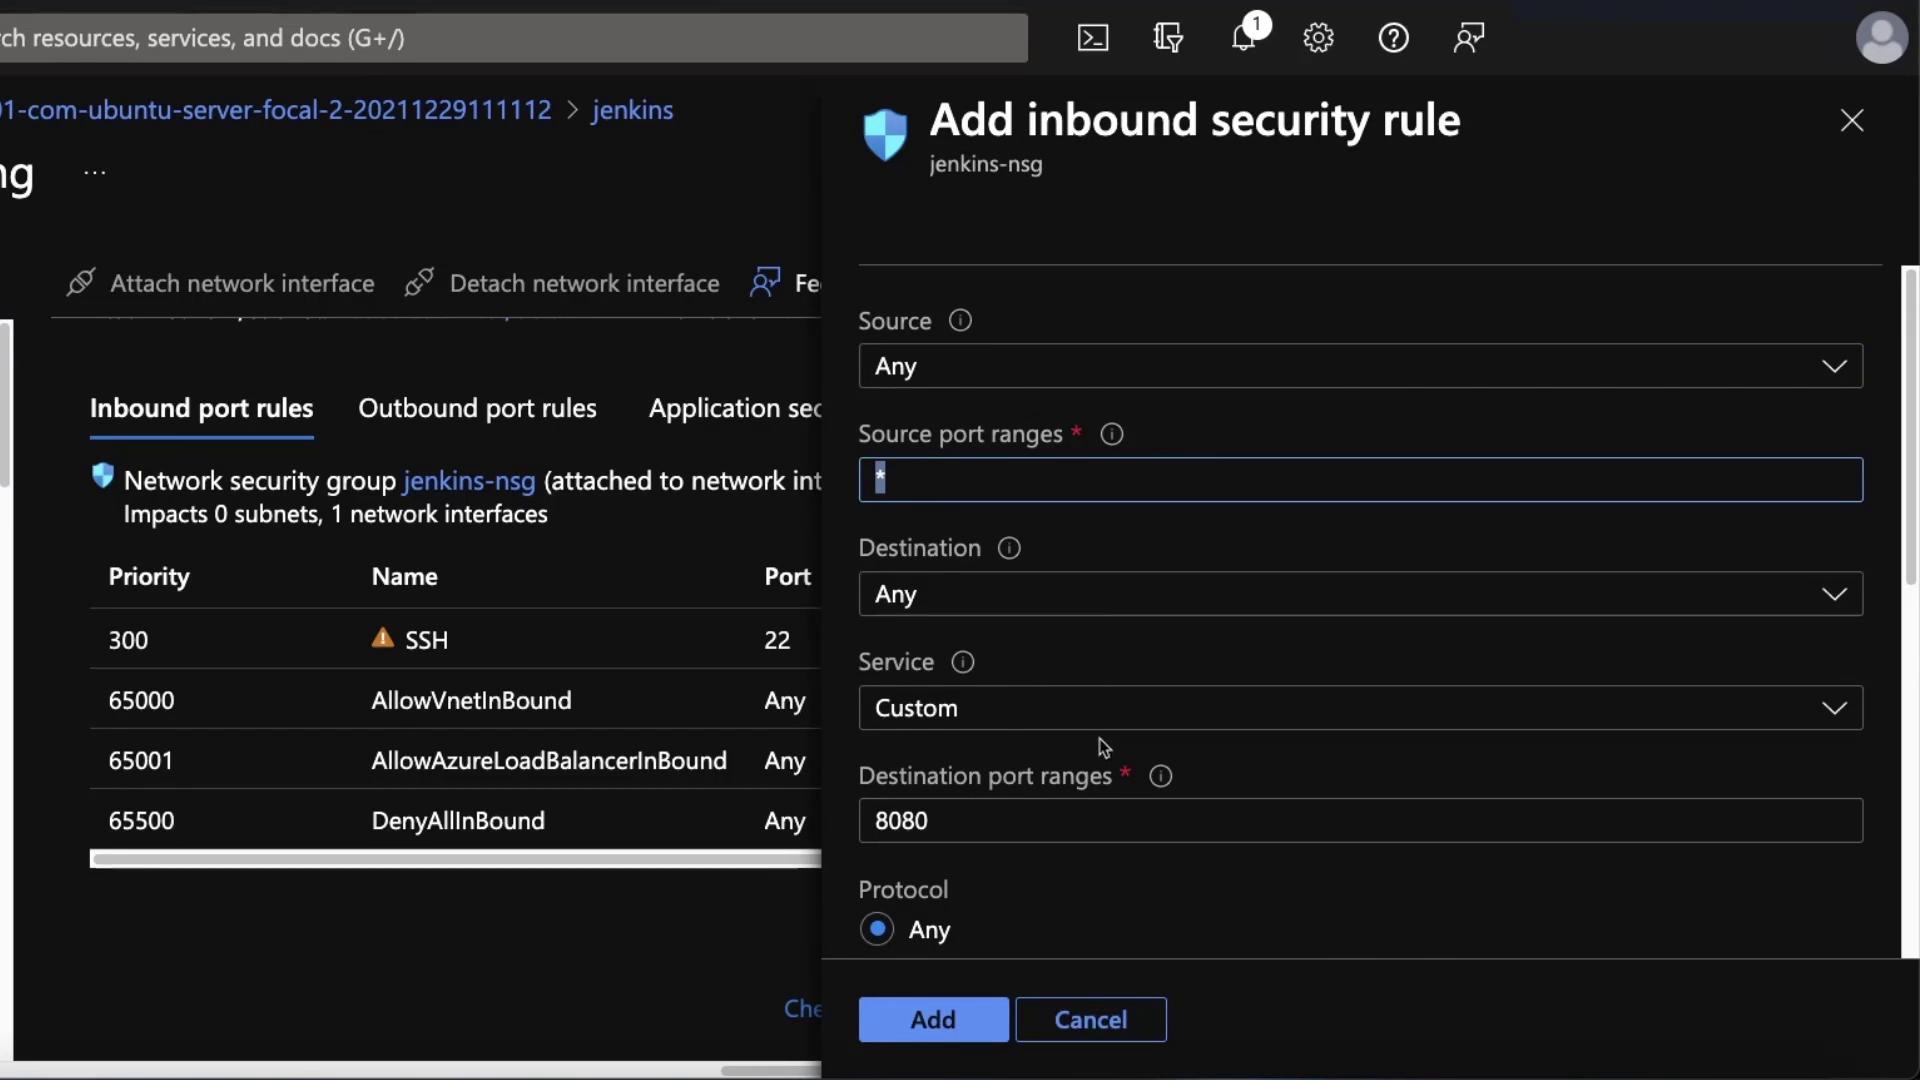
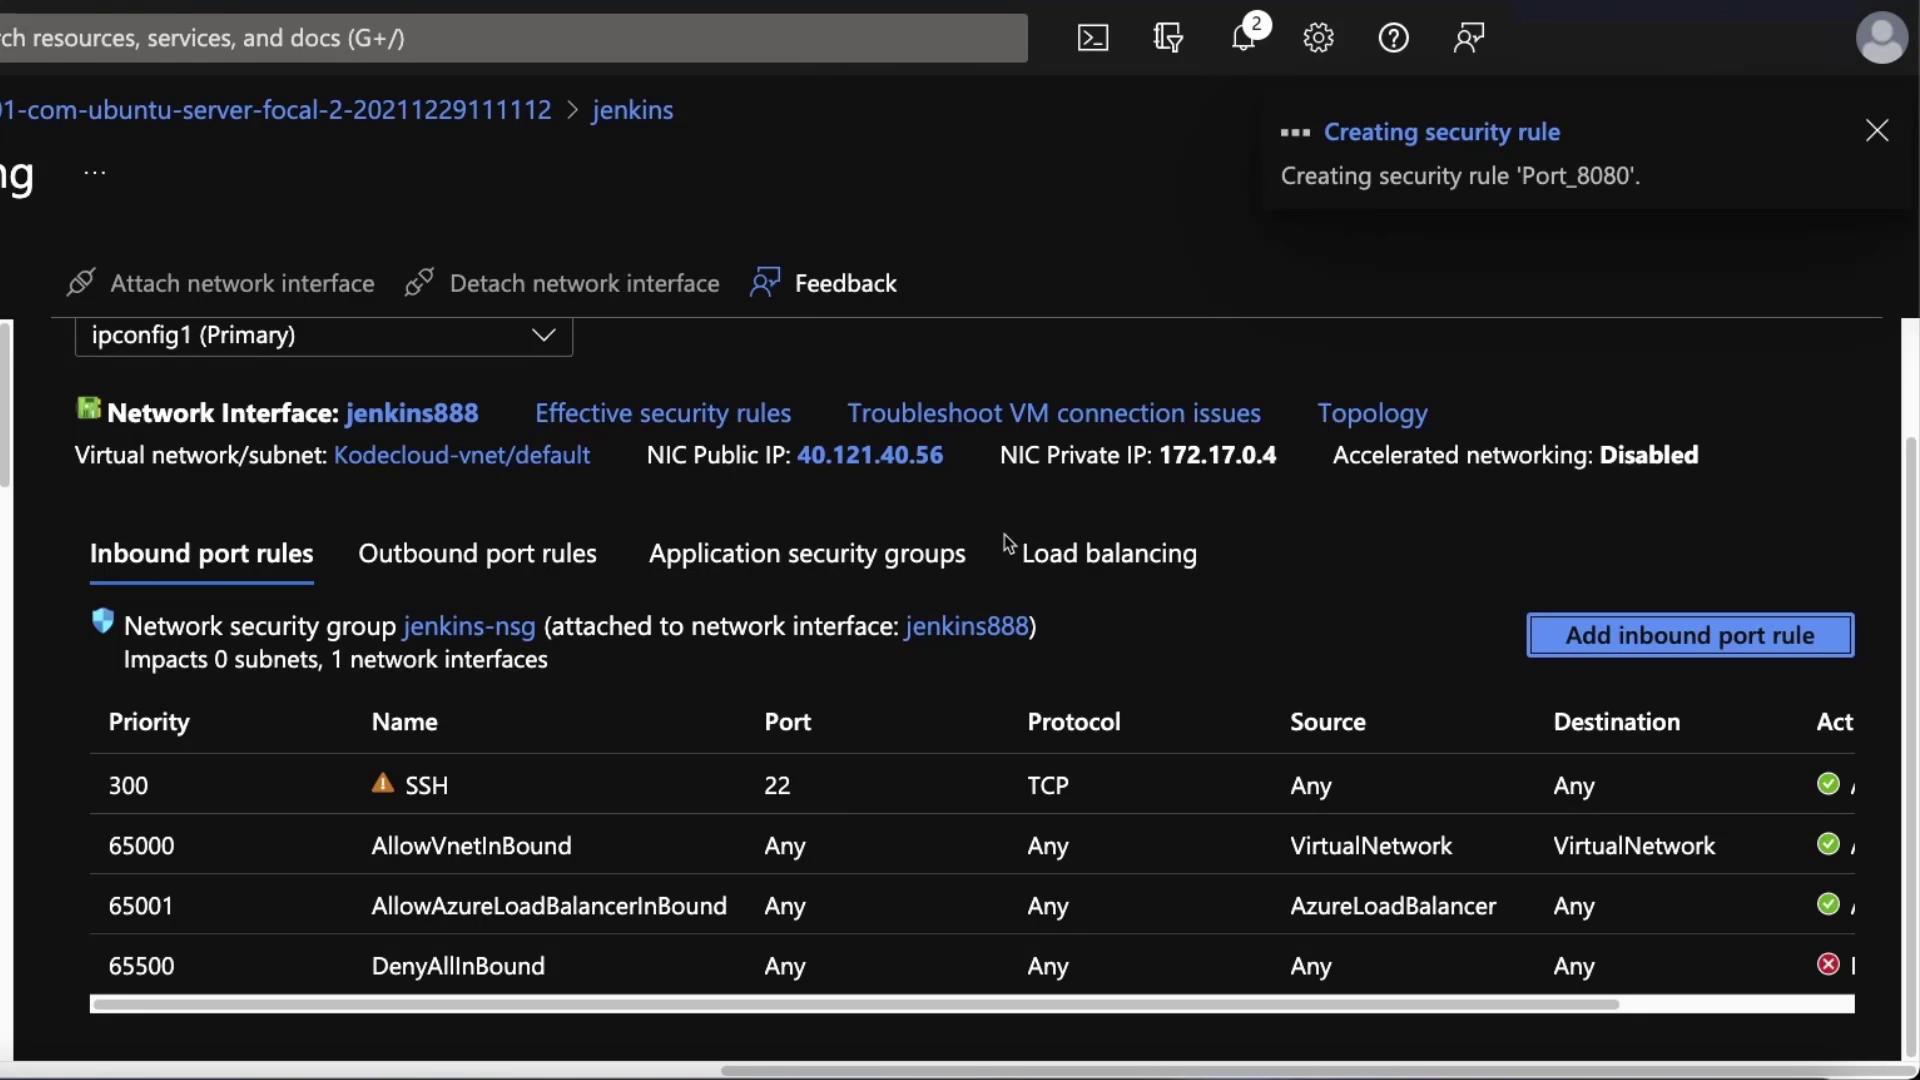
    If Jenkins is not accessible, verify your network settings in the Azure portal under Networking. Confirm that port 8080 is open. If not, add an inbound security rule.

    The image shows a Microsoft Azure dashboard for a virtual machine named "jenkins," displaying its status, location, operating system, and network details.

    Configure the rule with a source port range of "Any," destination of "Any," and destination port range as 8080:

    The image shows a network security group interface in Azure, where an inbound security rule is being added with specific port and protocol settings.

    Name the rule (e.g., "port_8080") and finalize the creation:

    The image shows a network interface configuration in Azure, displaying inbound port rules for a security group, including SSH and various network allowances.

Unlocking and Setting Up Jenkins

  1. Unlock Jenkins:

    When you first access the Jenkins UI, you'll be prompted to unlock Jenkins using the initial admin password. Retrieve the password from your server with:

    sudo cat /var/lib/jenkins/secrets/initialAdminPassword
    

    Example output:

    f3800843e411475eab7d1d18eb1bf94c
    
  2. Complete the Setup:

    • Copy the password from the terminal and paste it into the Jenkins setup screen.
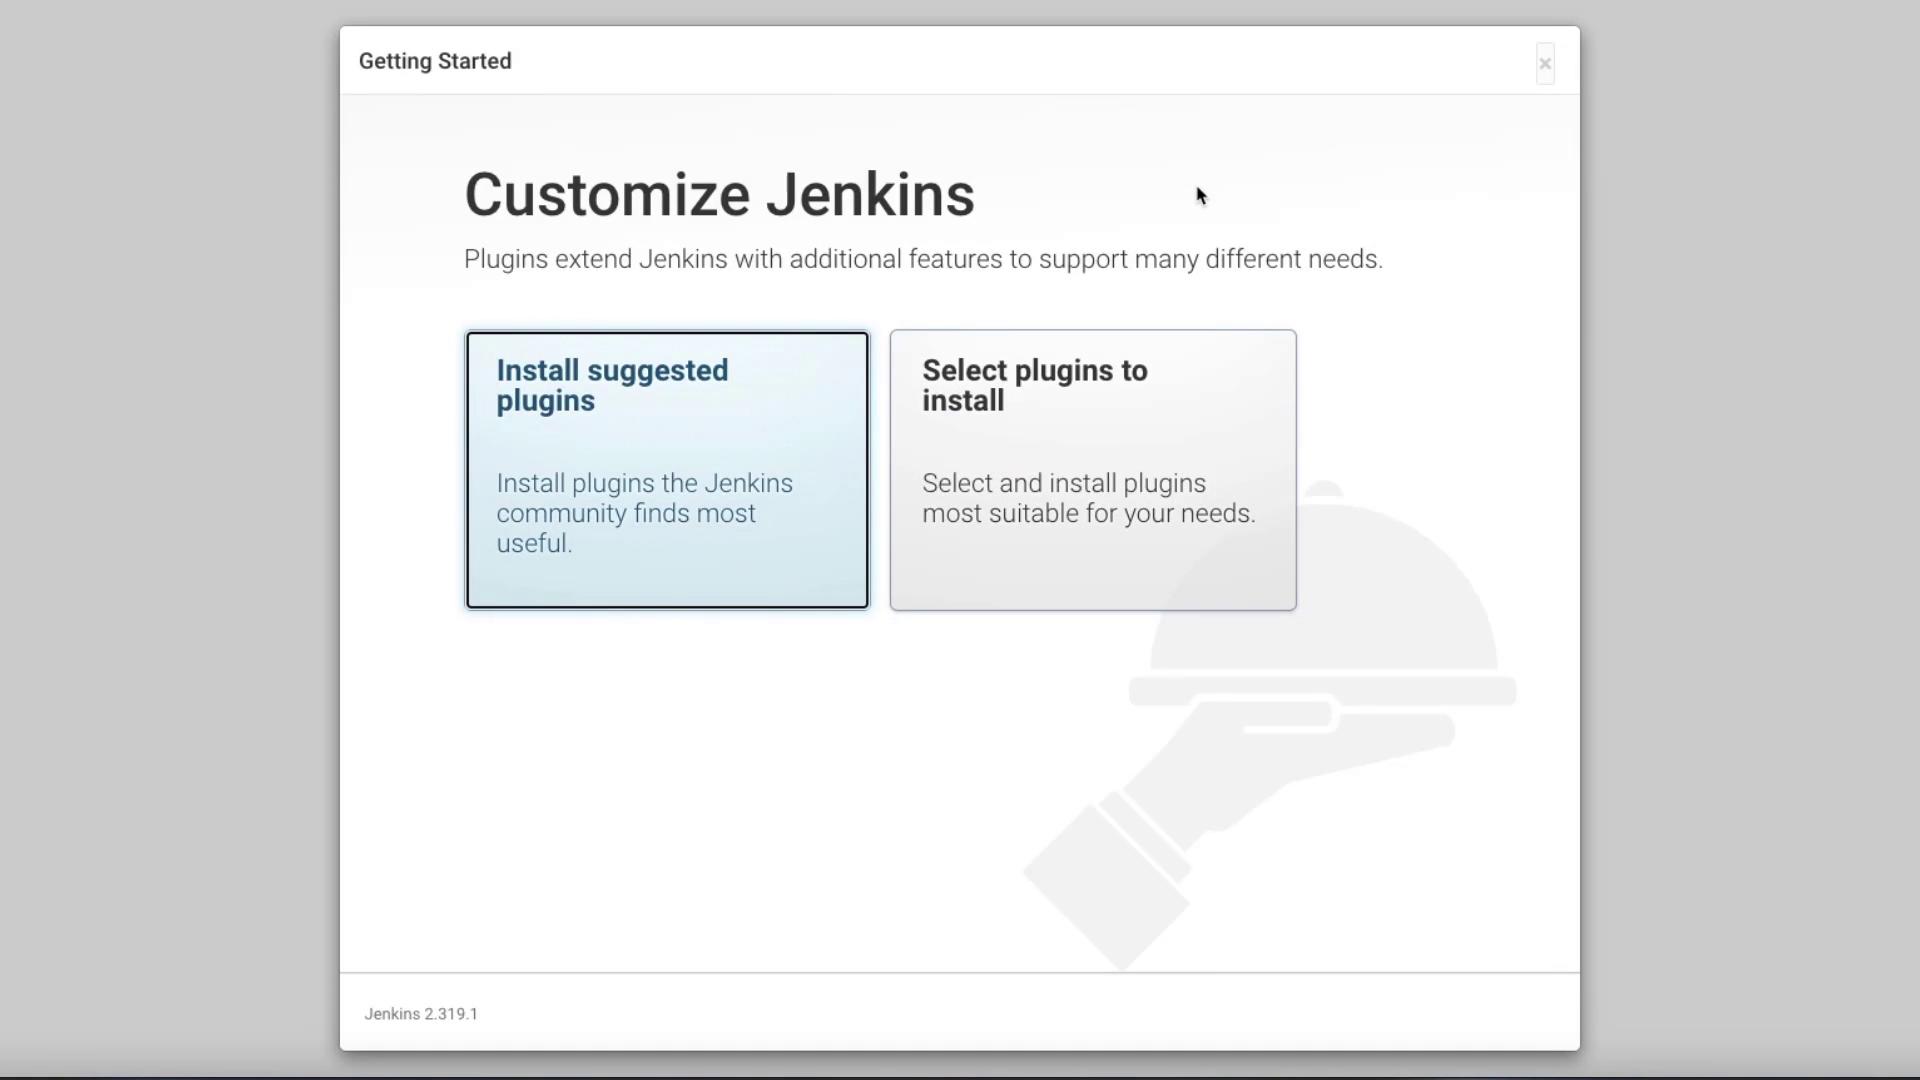
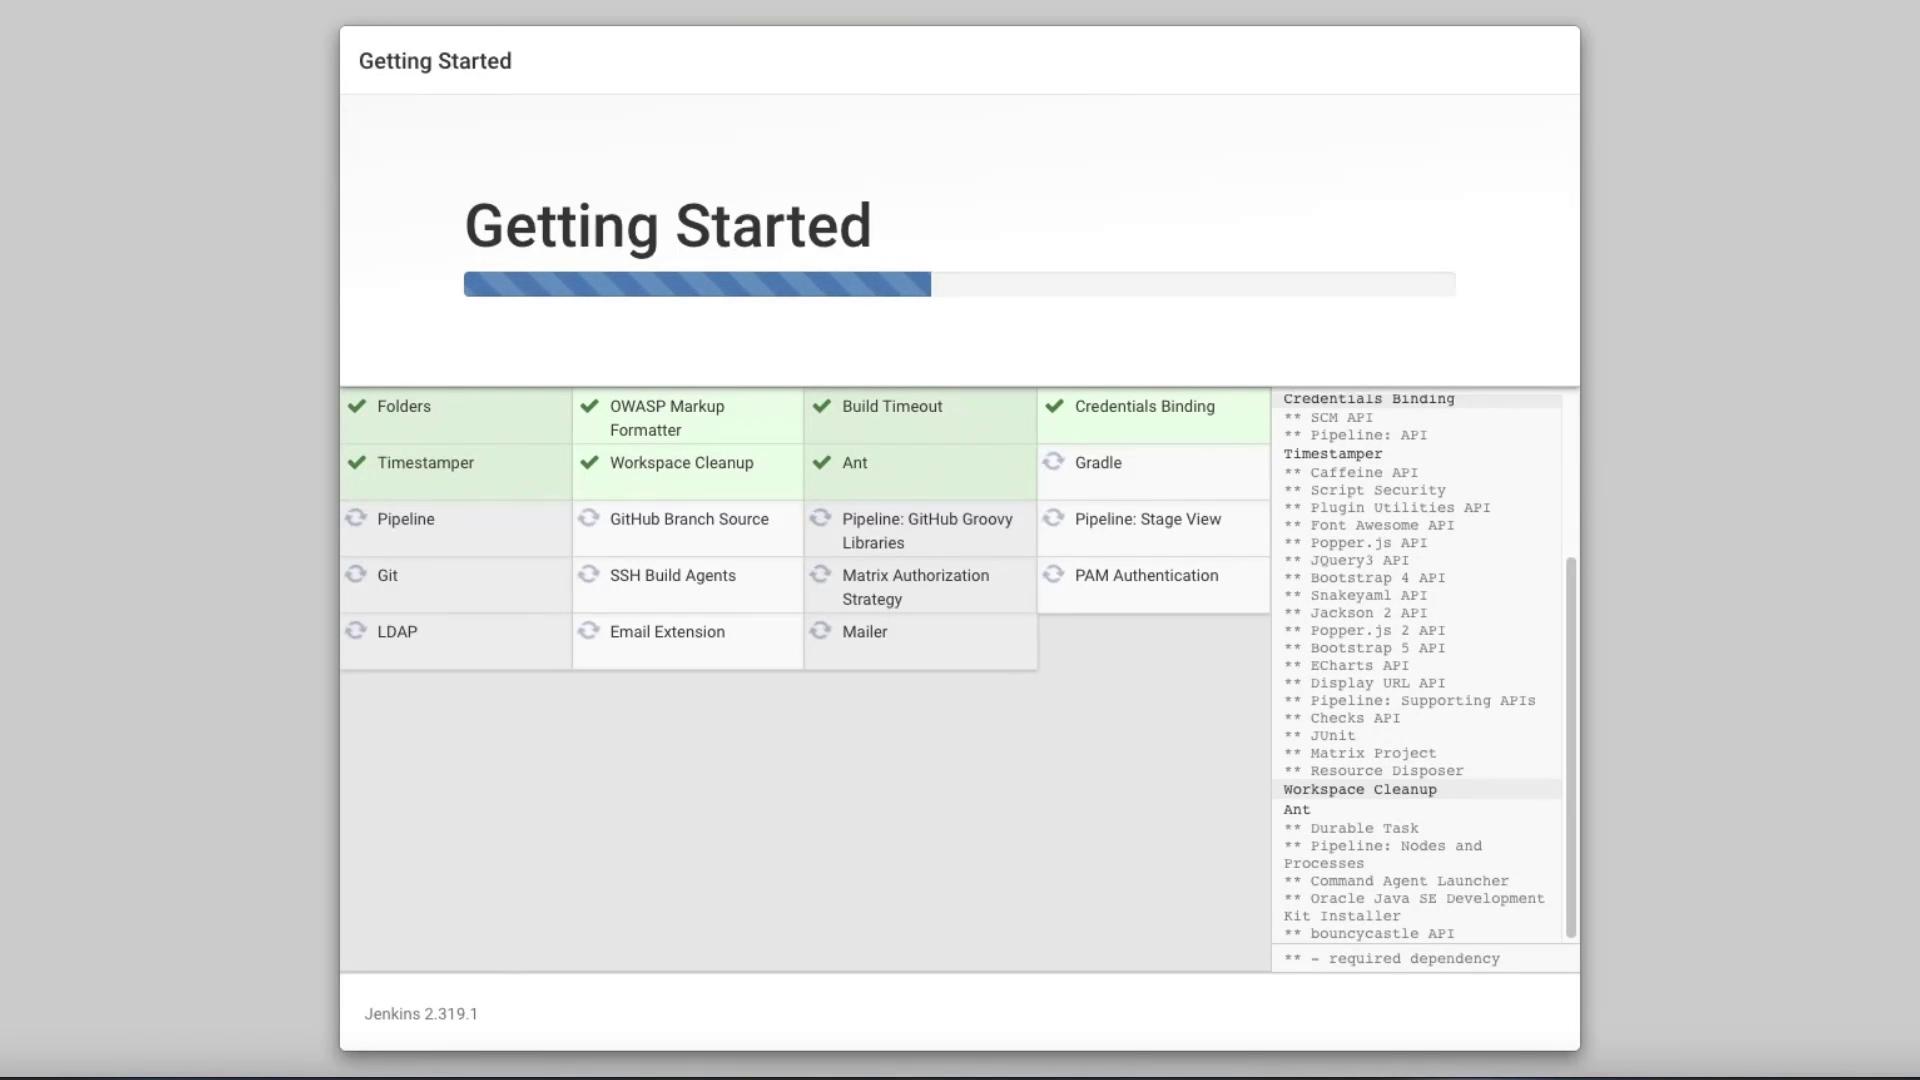
    • Choose to install the suggested plugins.
    • When installation is complete, create your first admin user (e.g., Michael). Provide a username, password, full name, and optionally an email address.

    The image shows a form for creating the first admin user in Jenkins, requiring username, password, full name, and email address.

  3. Configure the Jenkins Instance:

    If you do not have a DNS record, simply use your VM's IP address in the instance configuration screen.

    The image shows a Jenkins "Instance Configuration" setup screen with a URL and options to save or skip the configuration.

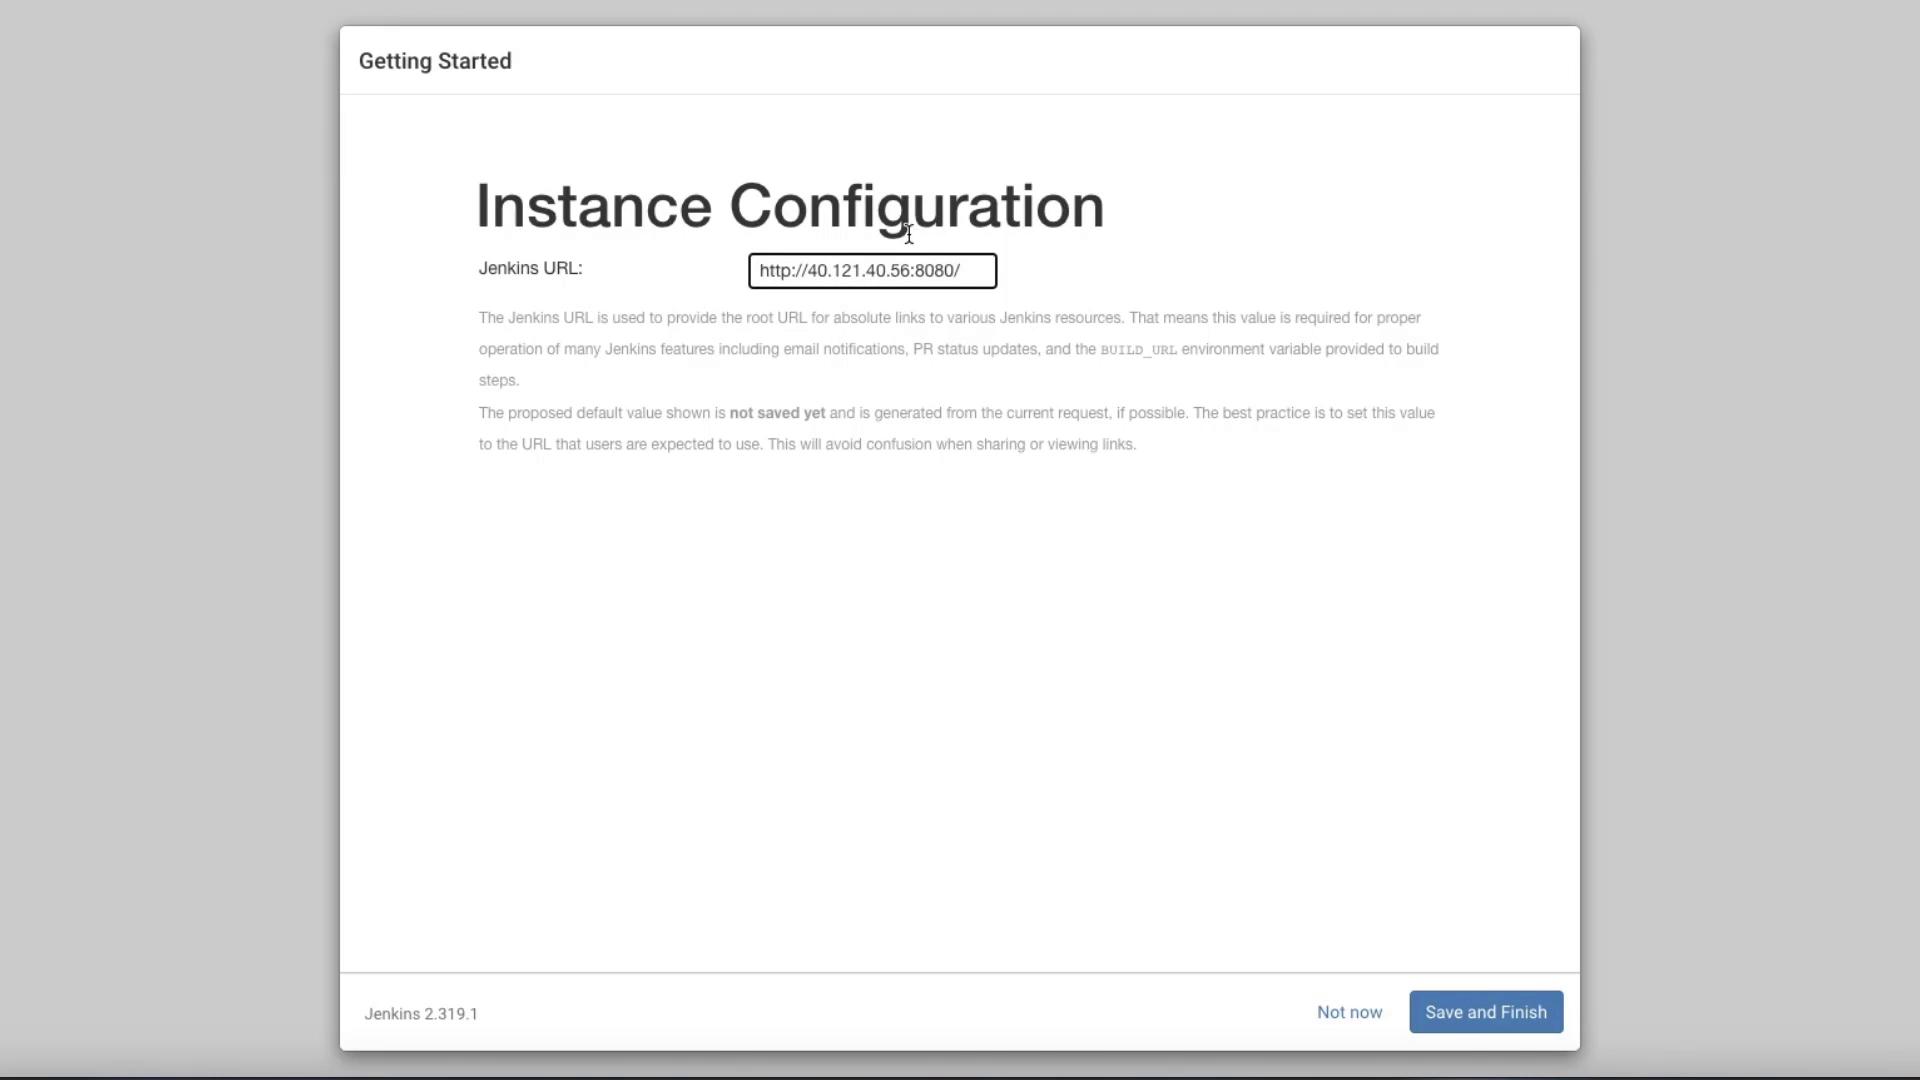
  4. Finalize the Setup:

    After saving your configuration, you will see the Jenkins dashboard.

    The image shows a Jenkins setup screen offering options to install suggested plugins or select specific plugins for installation.

    The image shows a "Getting Started" screen from Jenkins, listing plugins and dependencies, with some items checked or in progress.

Conclusion

You have successfully installed and configured Jenkins on an Ubuntu VM using Microsoft Azure. This step-by-step guide should equip you with the knowledge to deploy Jenkins in various environments.

Happy Coding!

Watch Video

Watch video content

Practice Lab

Practice lab

Previous
Installing Jenkins