> ## Documentation Index
> Fetch the complete documentation index at: https://notes.kodekloud.com/llms.txt
> Use this file to discover all available pages before exploring further.
# Notebooks
> Running Jupyter and other IDEs on Kubeflow to develop and run notebooks using cluster CPUs GPUs shared storage and reproducible containerized environments for collaboration and scalable experiments
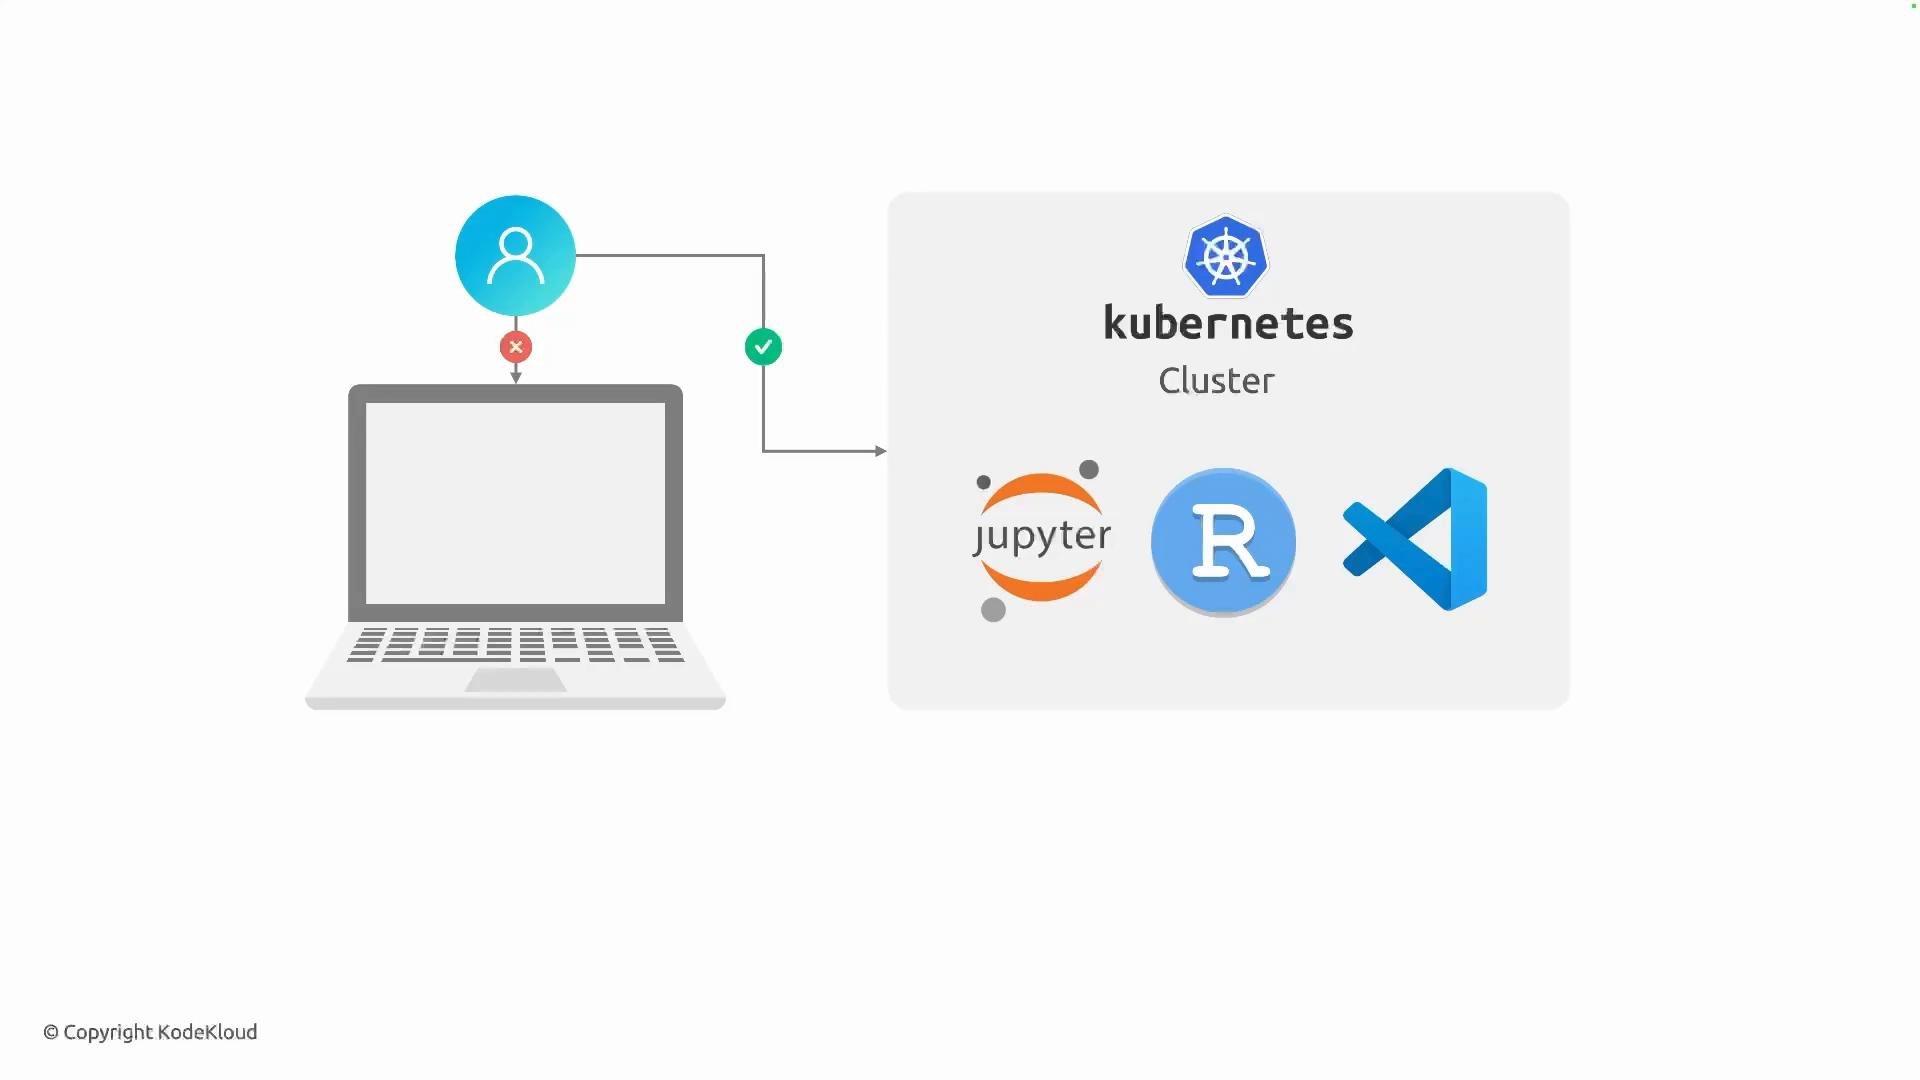
This lesson explains how to run interactive Jupyter Notebooks (and other IDEs) on Kubeflow so data scientists and ML engineers can develop, experiment, and iterate using cluster resources instead of a local laptop.
Running notebooks on a remote Kubernetes cluster (via Kubeflow) removes the burden of installing many libraries locally, provides access to larger CPU/GPU and memory footprints, and centralizes the execution environment for reproducibility and collaboration.
Key keywords: Jupyter Notebooks on Kubeflow, Kubeflow Notebooks, notebook servers, persistent volume claims, Kubernetes scheduling.
Kubeflow supports multiple interactive development environments, including:
* Jupyter Notebooks
* RStudio
* VS Code (code-server)
 Why run notebooks with Kubeflow?
* Offload heavy computation to cluster nodes (CPUs, GPUs, TPUs).
* Standardize development environments using container images.
* Mount shared storage for datasets and checkpoints.
* Apply cluster-level security, authentication, and RBAC.
* Seamlessly promote exploratory code into production pipelines.
Benefits at a glance
| Benefit | What you gain | Example |
| - | - | - |
| Resource management | Request GPUs/CPUs and memory, set limits, and schedule on appropriate nodes | `resources.limits: nvidia.com/gpu: "1"` |
| Reproducible environments | Launch notebooks from predefined container images so teammates run the same stack | `image: gcr.io/kubeflow-images-public/tensorflow-2.3:latest` |
| Storage & artifacts | Mount persistent volumes for datasets and model checkpoints | `persistentVolumeClaim: claimName: my-notebook-pvc` |
| Security & access control | Inherit cluster authentication/authorization and enforce RBAC | Use Kubeflow + Kubernetes RBAC and network policies |
Typical workflow
1. Choose or build a container image containing the libraries you need (TensorFlow, PyTorch, scikit-learn, etc.).
2. Create a Notebook server via the Kubeflow UI or by applying a Notebook custom resource (CR).
3. Attach a PersistentVolumeClaim (PVC) to persist notebooks, datasets, and model artifacts.
4. Configure resource requests/limits (CPU, memory, GPU) so the cluster scheduler places the pod on appropriate nodes.
5. When work is finished, snapshot artifacts, export code to pipeline components, and shut down the server to save cluster resources.
Example: Minimal Notebook custom resource (YAML)
This example shows a simple Kubeflow Notebook CR that requests resources and mounts a PVC. You can create it with `kubectl apply -f notebook.yaml` against a cluster where Kubeflow Notebooks are enabled.
```yaml theme={null}
apiVersion: kubeflow.org/v1
kind: Notebook
metadata:
name: my-notebook
spec:
template:
spec:
containers:
- name: notebook
image: gcr.io/kubeflow-images-public/tensorflow-2.3:latest
resources:
limits:
memory: 8Gi
cpu: "4"
nvidia.com/gpu: "1"
volumeMounts:
- name: pvc
mountPath: /home/jovyan/work
volumes:
- name: pvc
persistentVolumeClaim:
claimName: my-notebook-pvc
```
Launching and managing notebooks
* Kubeflow UI: Use the Notebooks dashboard to create, start, stop, and connect to notebook servers through a browser.
* CLI / YAML: Define Notebook CRs and apply them with `kubectl` (useful for templating and automation).
* Image management: Store container images in a registry (e.g., Docker Hub, GCR) and reference them in the Notebook spec.
Promoting notebook work to production
* Extract preprocessing and training steps into Kubeflow Pipelines components for repeatability.
* Containerize reproducible steps and version images/datasets.
* Use PVCs or object storage for model artifacts and dataset versioning.
Kubeflow typically creates notebook servers as Kubernetes resources (for example, via a [Notebook custom resource and the Kubeflow Notebooks controller](https://www.kubeflow.org/docs/components/notebooks/)). Notebook instances can mount persistent volumes for storage and are configurable with resource requests/limits so they integrate with cluster scheduling and policies.
Additional references
* [Kubeflow Notebooks documentation](https://www.kubeflow.org/docs/components/notebooks/)
* [Jupyter Project](https://jupyter.org/)
* [Kubernetes Persistent Volumes and PVCs](https://kubernetes.io/docs/concepts/storage/persistent-volumes/)
* [Kubernetes documentation](https://kubernetes.io/docs/)
This documentation is built and hosted on [Mintlify](https://mintlify.com), a developer documentation platform.
Why run notebooks with Kubeflow?
* Offload heavy computation to cluster nodes (CPUs, GPUs, TPUs).
* Standardize development environments using container images.
* Mount shared storage for datasets and checkpoints.
* Apply cluster-level security, authentication, and RBAC.
* Seamlessly promote exploratory code into production pipelines.
Benefits at a glance
| Benefit | What you gain | Example |
| - | - | - |
| Resource management | Request GPUs/CPUs and memory, set limits, and schedule on appropriate nodes | `resources.limits: nvidia.com/gpu: "1"` |
| Reproducible environments | Launch notebooks from predefined container images so teammates run the same stack | `image: gcr.io/kubeflow-images-public/tensorflow-2.3:latest` |
| Storage & artifacts | Mount persistent volumes for datasets and model checkpoints | `persistentVolumeClaim: claimName: my-notebook-pvc` |
| Security & access control | Inherit cluster authentication/authorization and enforce RBAC | Use Kubeflow + Kubernetes RBAC and network policies |
Typical workflow
1. Choose or build a container image containing the libraries you need (TensorFlow, PyTorch, scikit-learn, etc.).
2. Create a Notebook server via the Kubeflow UI or by applying a Notebook custom resource (CR).
3. Attach a PersistentVolumeClaim (PVC) to persist notebooks, datasets, and model artifacts.
4. Configure resource requests/limits (CPU, memory, GPU) so the cluster scheduler places the pod on appropriate nodes.
5. When work is finished, snapshot artifacts, export code to pipeline components, and shut down the server to save cluster resources.
Example: Minimal Notebook custom resource (YAML)
This example shows a simple Kubeflow Notebook CR that requests resources and mounts a PVC. You can create it with `kubectl apply -f notebook.yaml` against a cluster where Kubeflow Notebooks are enabled.
```yaml theme={null}
apiVersion: kubeflow.org/v1
kind: Notebook
metadata:
name: my-notebook
spec:
template:
spec:
containers:
- name: notebook
image: gcr.io/kubeflow-images-public/tensorflow-2.3:latest
resources:
limits:
memory: 8Gi
cpu: "4"
nvidia.com/gpu: "1"
volumeMounts:
- name: pvc
mountPath: /home/jovyan/work
volumes:
- name: pvc
persistentVolumeClaim:
claimName: my-notebook-pvc
```
Launching and managing notebooks
* Kubeflow UI: Use the Notebooks dashboard to create, start, stop, and connect to notebook servers through a browser.
* CLI / YAML: Define Notebook CRs and apply them with `kubectl` (useful for templating and automation).
* Image management: Store container images in a registry (e.g., Docker Hub, GCR) and reference them in the Notebook spec.
Promoting notebook work to production
* Extract preprocessing and training steps into Kubeflow Pipelines components for repeatability.
* Containerize reproducible steps and version images/datasets.
* Use PVCs or object storage for model artifacts and dataset versioning.
Kubeflow typically creates notebook servers as Kubernetes resources (for example, via a [Notebook custom resource and the Kubeflow Notebooks controller](https://www.kubeflow.org/docs/components/notebooks/)). Notebook instances can mount persistent volumes for storage and are configurable with resource requests/limits so they integrate with cluster scheduling and policies.
Additional references
* [Kubeflow Notebooks documentation](https://www.kubeflow.org/docs/components/notebooks/)
* [Jupyter Project](https://jupyter.org/)
* [Kubernetes Persistent Volumes and PVCs](https://kubernetes.io/docs/concepts/storage/persistent-volumes/)
* [Kubernetes documentation](https://kubernetes.io/docs/)
This documentation is built and hosted on [Mintlify](https://mintlify.com), a developer documentation platform.