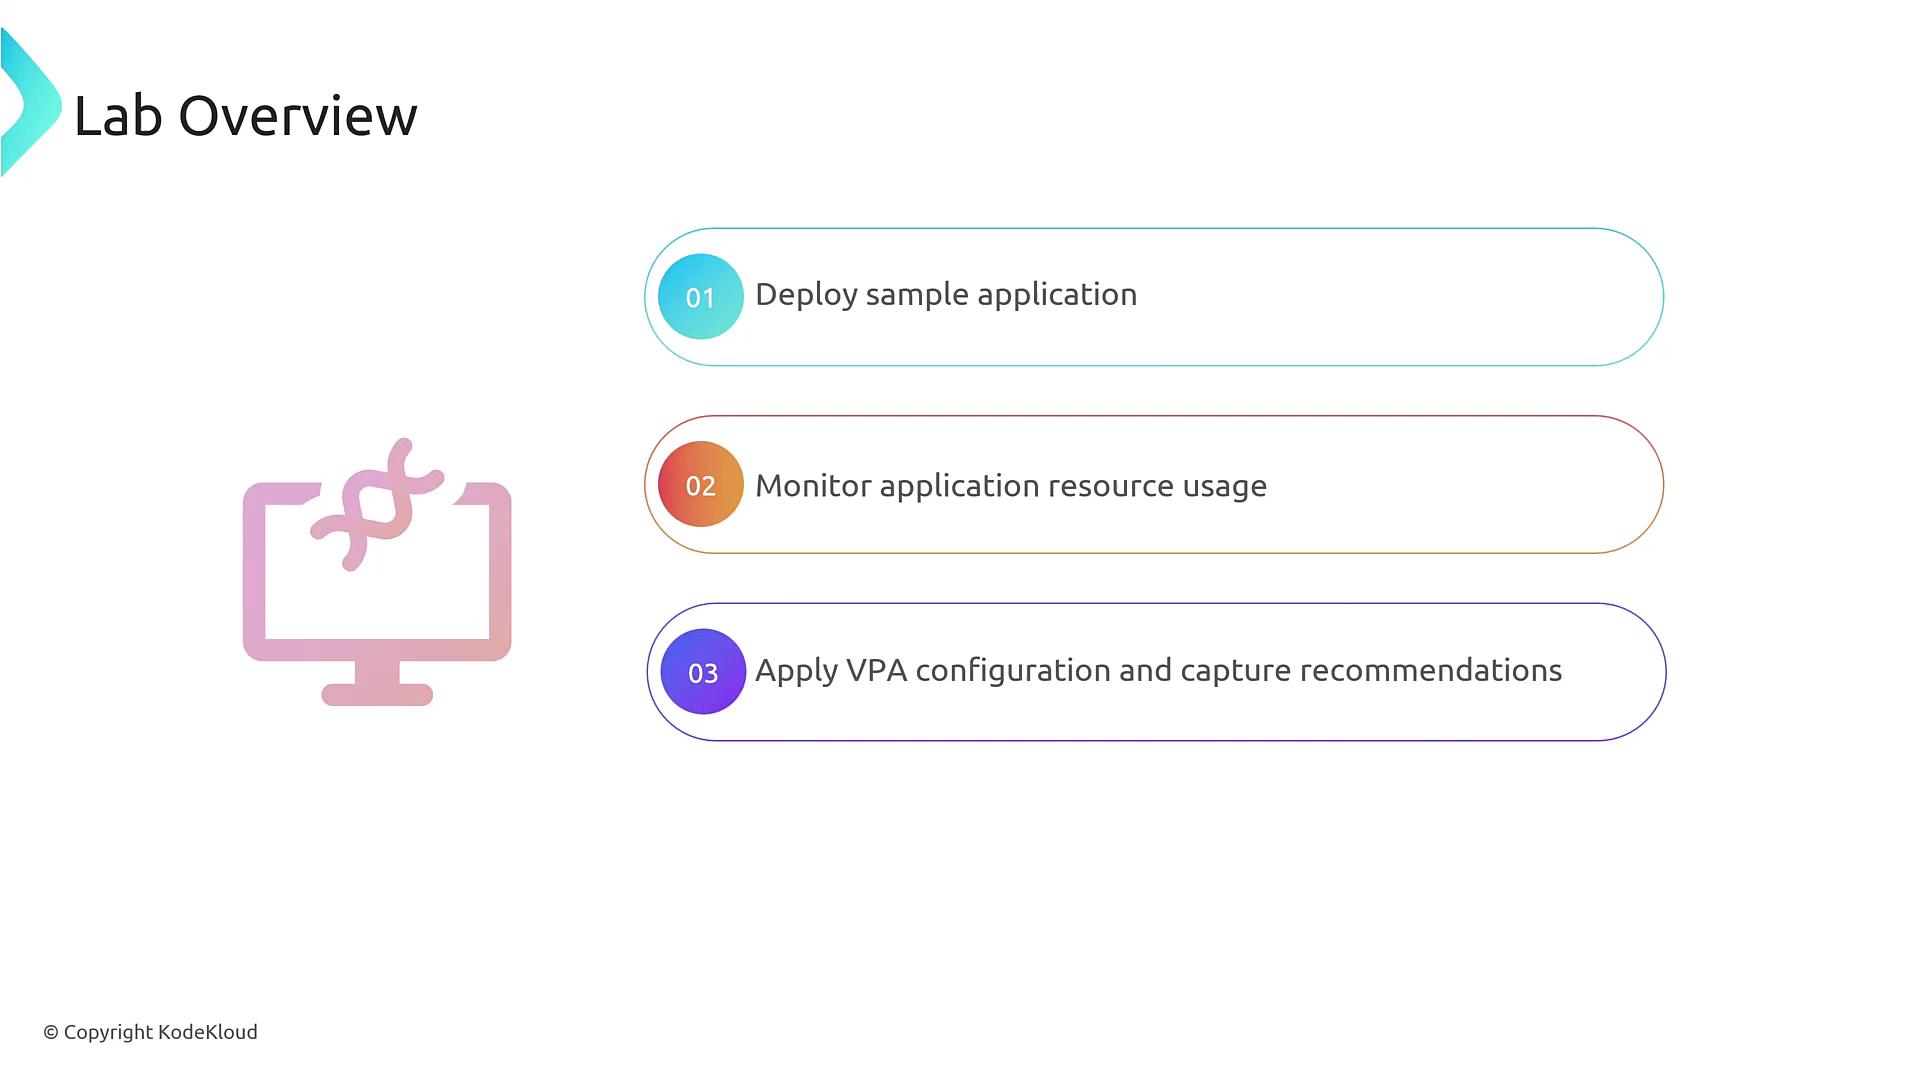
- Deploy a Flask sample application on Kubernetes.
- Monitor CPU utilization using
kubectl top. - Create a Vertical Pod Autoscaler (VPA) manifest to gather CPU recommendations.
- Generate load and validate the VPA’s CPU recommendations.
Prerequisites
- A running Kubernetes cluster (v1.18+).
- Metrics Server installed for
kubectl top. kubectlconfigured to target your cluster.
Ensure the Metrics Server is deployed in your cluster so you can retrieve pod metrics.
1. Deploy the Flask Sample Application
Apply the provided deployment manifest to launch the Flask app namedflask-app-4:
2. Create the VPA Configuration
Next, define a VPA object that collects CPU recommendations without modifying the pods. Save this asvpa-cpu.yml:
- Sets 100 mCPU as the minimum and 1000 mCPU (1 CPU) as the maximum.
- Restricts recommendations to CPU only.
Using
updateMode: "Off" means your pods will not be resized automatically. Switch to Auto if you want VPA to apply changes.updateMode options:
| updateMode | Description |
|---|---|
| Off | Only provide recommendations; no pod modifications |
| Initial | Apply recommendations on first pod creation |
| Auto | Automatically update requests based on VPA advice |
3. Apply the VPA Manifest
Create the VPA resource:4. Inspect Initial Recommendations
Before generating any load, fetch the current VPA status:5. Generate Load and Validate Recommendations
Use your preferred load-testing tool (e.g.,hey, ab, wrk) to apply CPU pressure:
Summary
In this lab you have:- Deployed a Flask application and observed its CPU usage.
- Created a VPA manifest to collect CPU recommendations.
- Inspected initial recommendations at the minimum setting.
- Generated workload to trigger higher CPU recommendations.
updateMode to Auto and watch VPA adjust pod resource requests automatically.