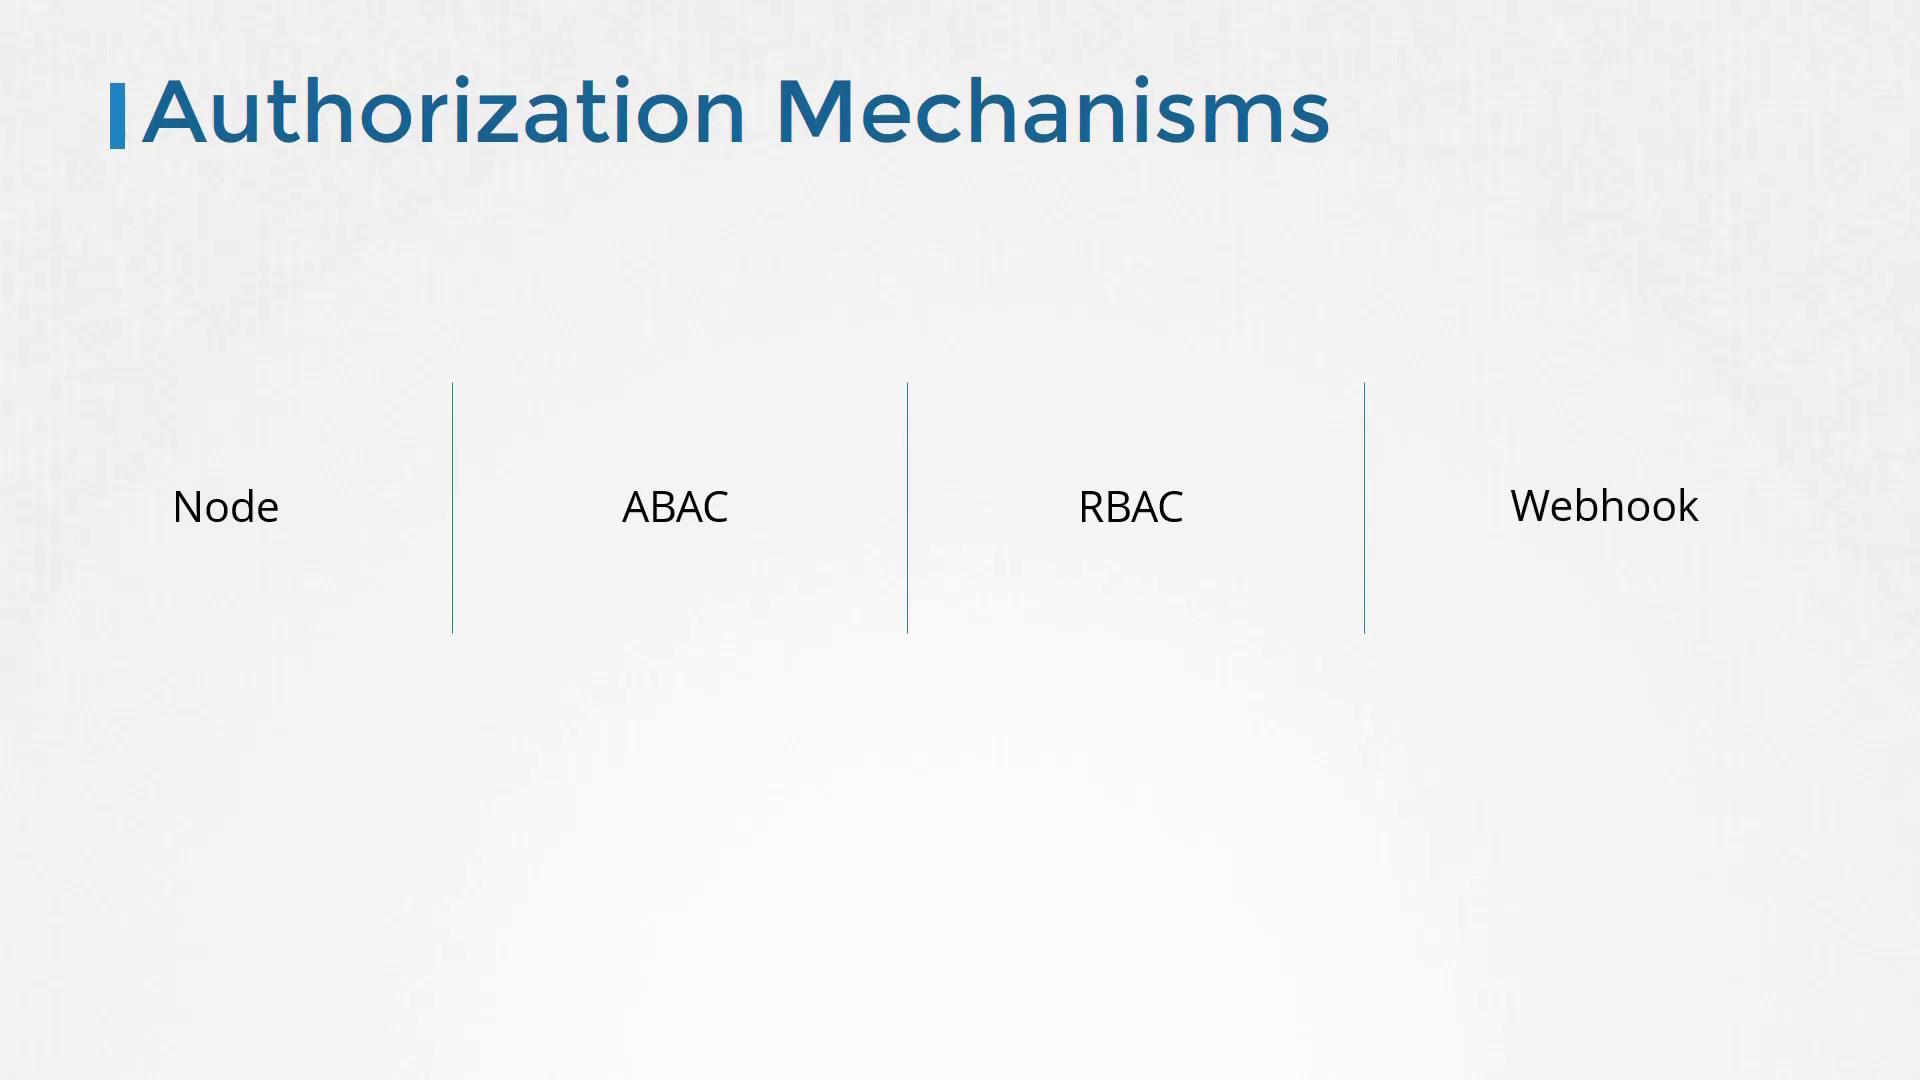
This article explores authorization in Kubernetes, detailing how it defines permitted actions for authenticated users within a cluster.
In this article, we explore the concept of authorization in a Kubernetes cluster. While authentication determines how a user or machine gains access to the cluster, authorization defines what actions an authenticated entity is permitted to execute.When a user, such as an administrator, logs into the cluster, they can perform various operations: listing objects (like Pods, Nodes, and Deployments) and managing them by creating or deleting resources. For example, an administrator might execute the following commands:
Copy
kubectl get podsNAME READY STATUS RESTARTS AGEnginx 1/1 Running 0 53skubectl get nodesNAME STATUS ROLES AGE VERSIONworker-1 Ready <none> 5d21h v1.13.0worker-2 Ready <none> 5d21h v1.13.0kubectl delete node worker-2Node worker-2 Deleted!
However, not every user should be granted such extensive privileges. In a multi-user environment—with administrators, developers, testers, and external applications like Jenkins for continuous delivery or monitoring agents—each entity must receive only the minimum permissions needed for their role. For instance, developers may be allowed to deploy applications but not modify critical cluster configurations such as node management or networking settings. This practice ensures that each user accesses only the appropriate subset of the cluster.Consider the following scenario, where limited access is enforced. The output indicates errors when a user without sufficient privileges (e.g., “Bot-1” or “developer”) tries to perform restricted actions:
Copy
kubectl get podsNAME READY STATUS RESTARTS AGEnginx 1/1 Running 0 53skubectl get nodesNAME STATUS ROLES AGE VERSIONworker-1 Ready <none> 5d21h v1.13.0worker-2 Ready <none> 5d21h v1.13.0kubectl delete node worker-2Node worker-2 Deleted!kubectl get podsError from server (Forbidden): pods is forbidden: User "Bot-1" cannot list "pods"kubectl get nodesError from server (Forbidden): nodes is forbidden: User "Bot-1" cannot get "nodes"kubectl delete node worker-2Error from server (Forbidden): nodes "worker-2" is forbidden: User "developer" cannot delete resource "nodes"
When clusters are shared among different organizations or teams using namespaces, authorization restricts users to only those namespaces where they have permissions.
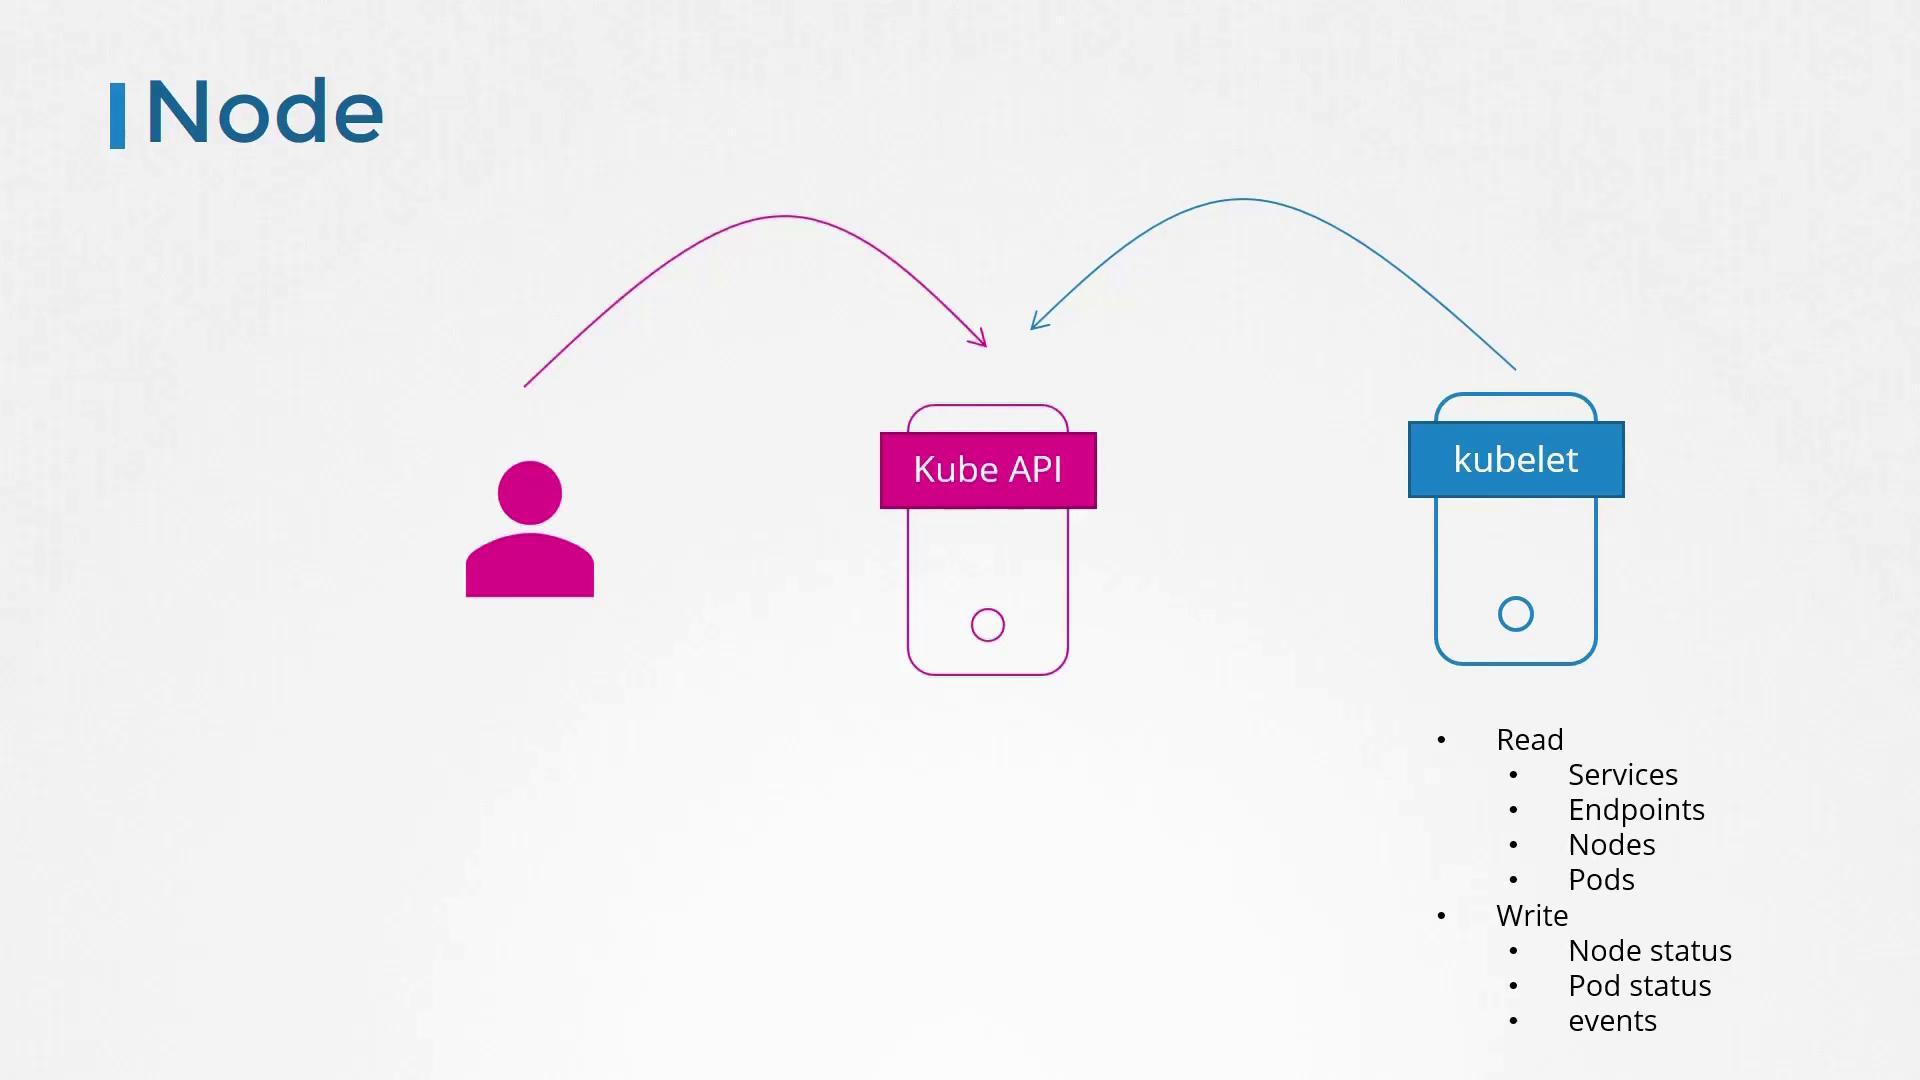
The Kubernetes API server is accessed by both administrators and kubelets (nodes) for internal cluster management. For example, kubelets need to access service, pod, and node information to report their status. These internal requests are processed by a specialized authorizer known as the node authorizer.
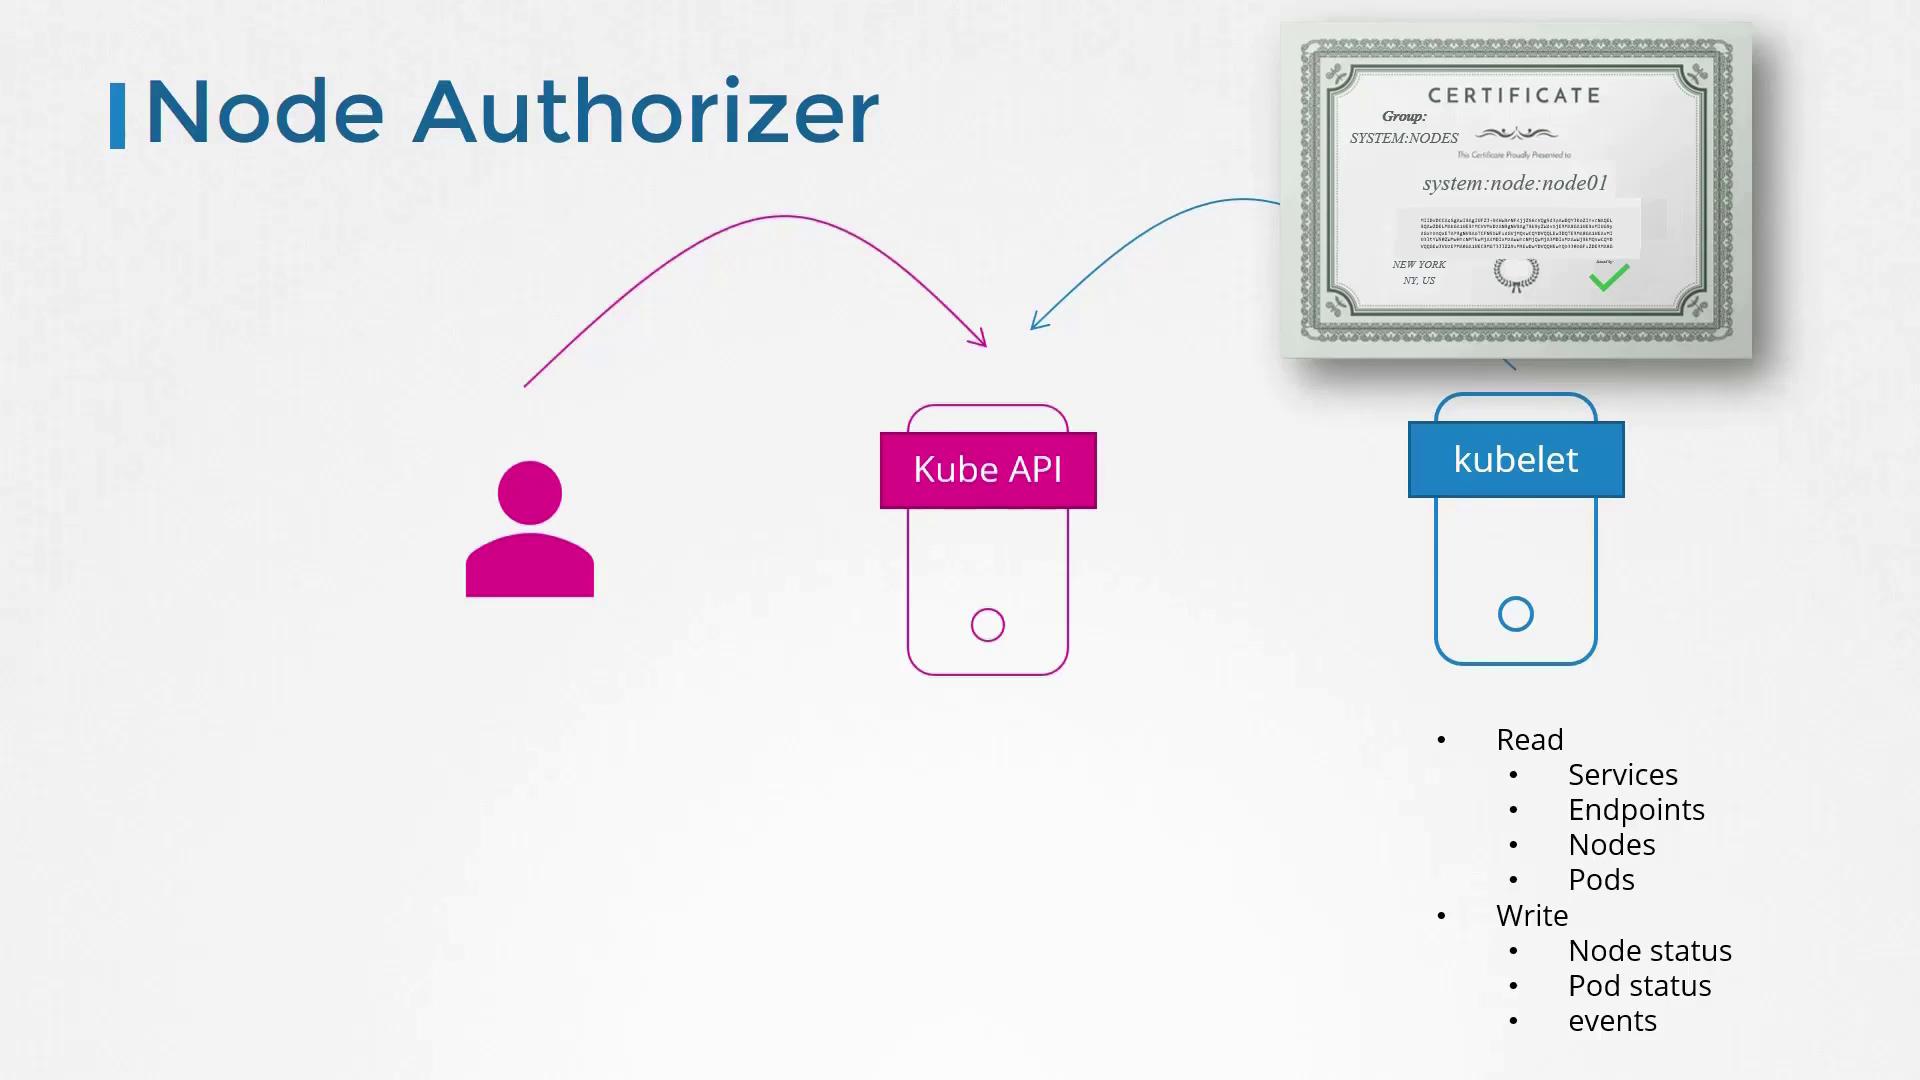
In earlier modules, we discussed that kubelets use certificates to authenticate. These certificates place them in the “system:nodes” group, with names prefixed by “system:node”. The node authorizer then validates requests based on these certificates, granting the necessary privileges for proper operation.
The following diagram details how the node authorizer verifies requests using certificates:
For external access, one common method is attribute-based access control (ABAC). ABAC ties specific users or groups to a set of permissions via a JSON policy file. For instance, if a policy is needed to allow “dev-user” to view, create, and delete pods, a policy file might include entries like:
Modifying ABAC policies requires editing the JSON file and restarting the API server, which can make management more cumbersome compared to other authorization methods.
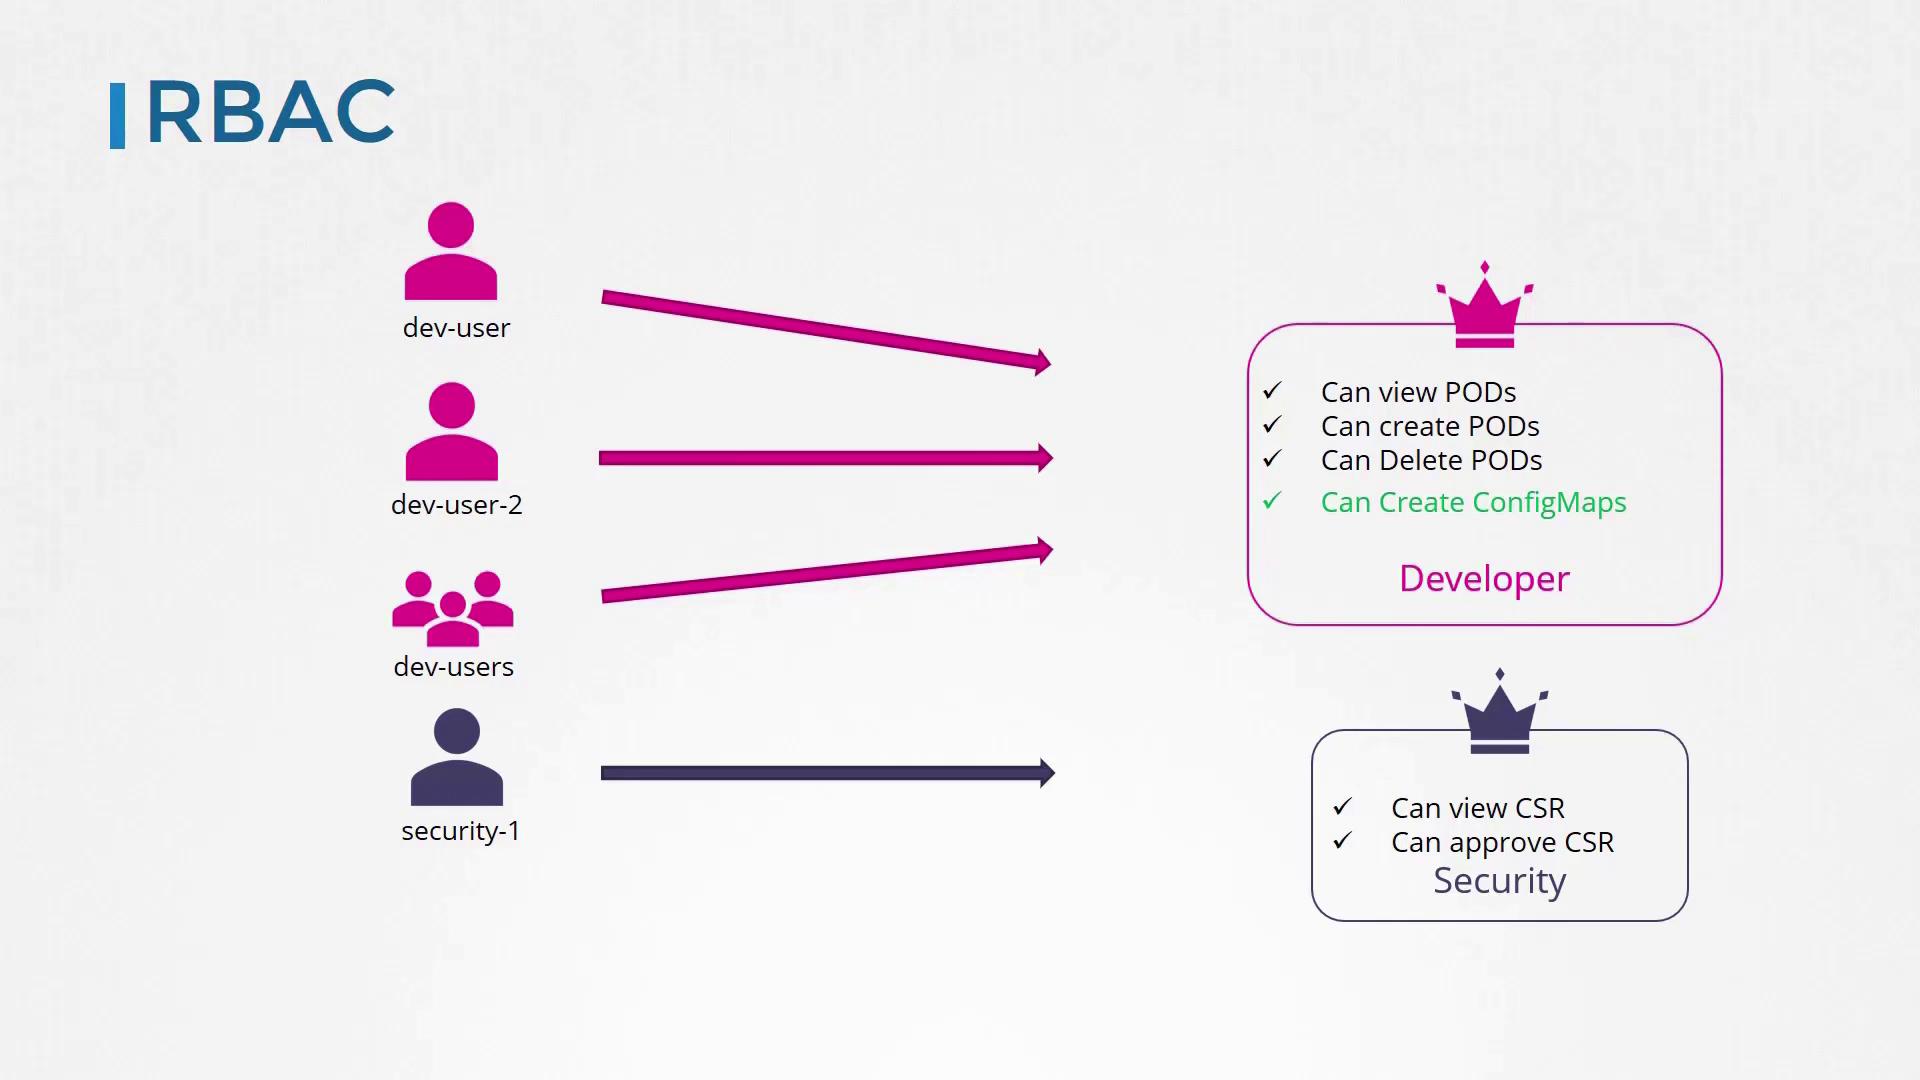
RBAC streamlines authorization management by allowing administrators to define roles that bundle specific permissions and then bind these roles to users or groups. For example, you could create a “developer” role with permissions appropriate for application deployment, and any changes made to that role are instantly applied to all bound users.
We will dive deeper into RBAC in a subsequent lesson.
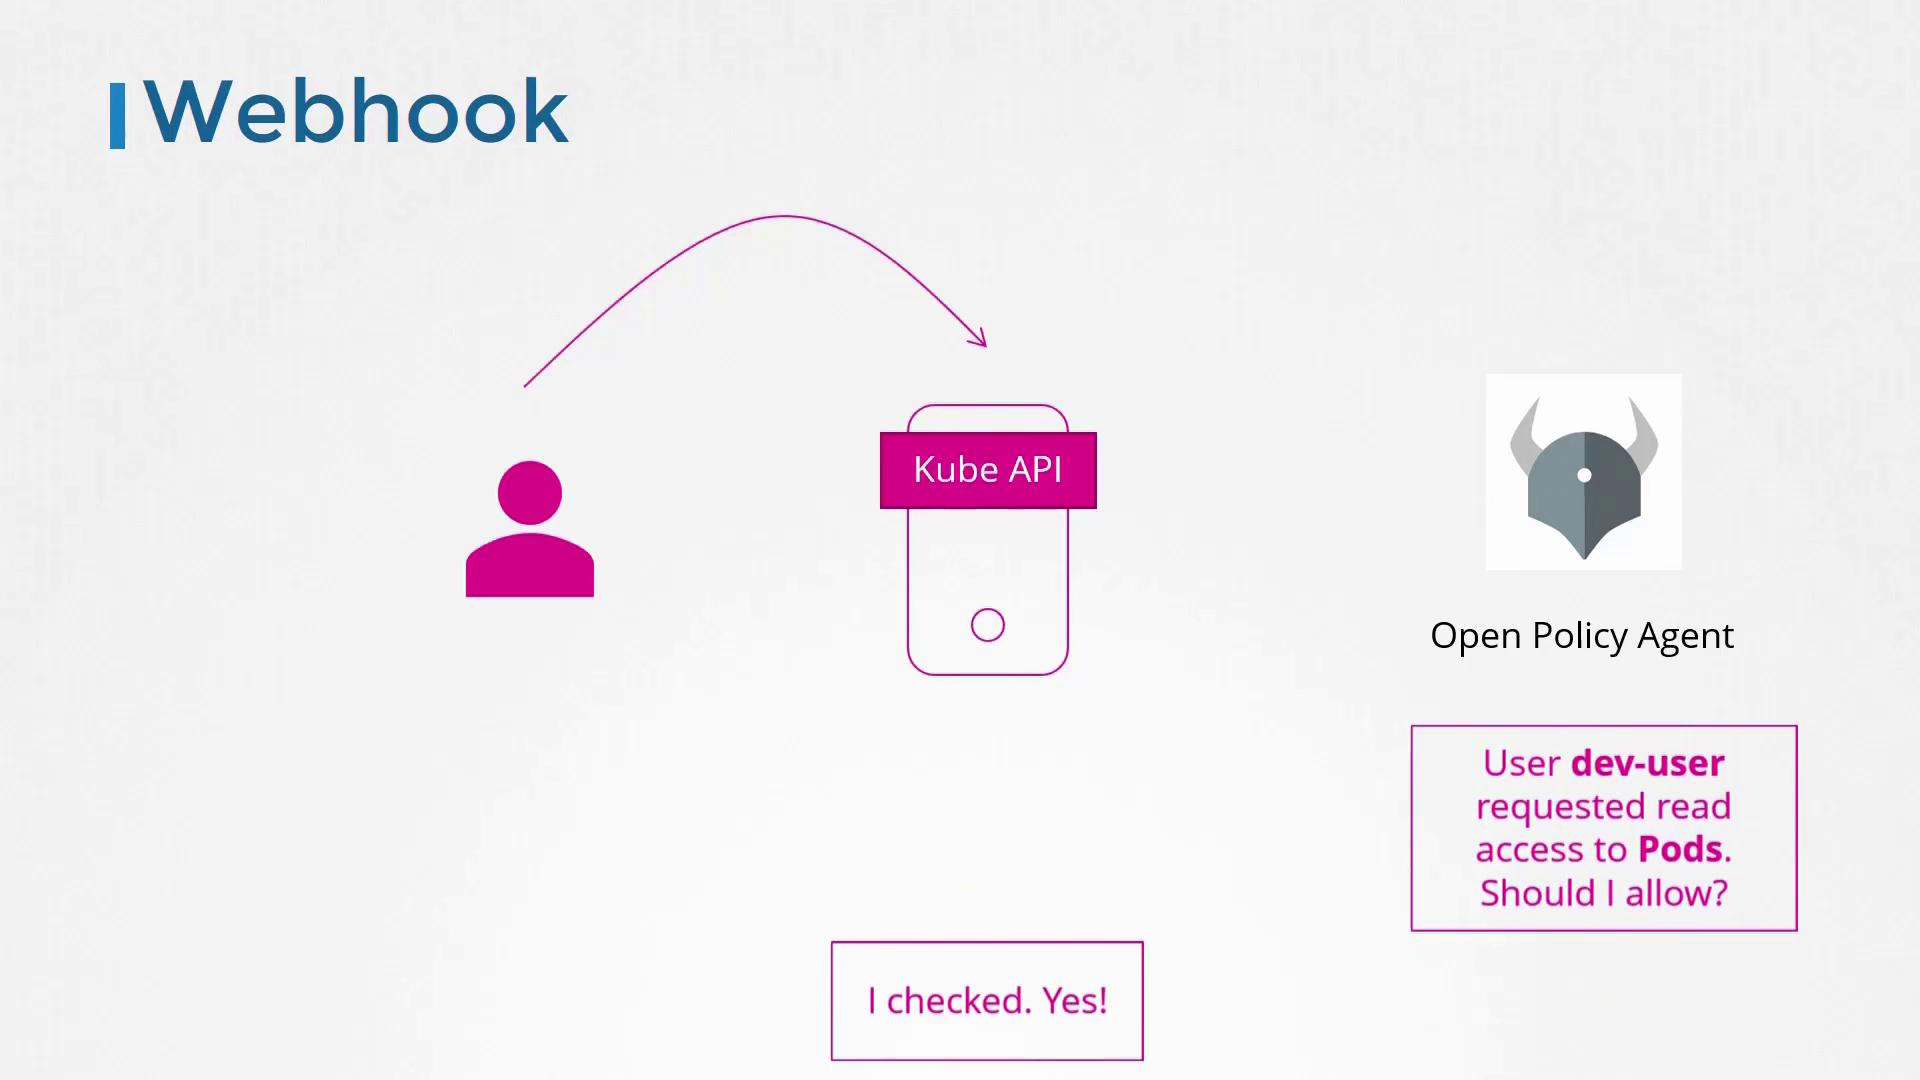
For a more extensible approach, Kubernetes supports external authorization via Webhooks. In this setup, the API server sends relevant access information to an external service—such as the Open Policy Agent—and grants or denies access based on its response.
Always Allow: Grants all requests without performing authorization checks.
Always Deny: Blocks all requests.
These modes are configured using the “authorization-mode” option on the Kubernetes API server. If not specified, the default is Always Allow.Below is an example configuration using the Always Allow mode:
If you prefer to use multiple authorization modes simultaneously, you can provide a comma-separated list. For example, to enable Node, RBAC, and Webhook modes, use the following configuration:
When multiple modes are enabled, Kubernetes evaluates each incoming request sequentially. For example, a request is first checked by the node authorizer (handling node-specific operations). If that module denies the request, the check advances to the RBAC module. Once any module approves the request, further evaluations are halted, and access is granted.Below is a trimmed configuration snippet highlighting key settings:
This chain-based approach ensures that if one module denies a request, subsequent modules still have the opportunity to grant approval. Once permission is granted, the authorization process concludes and the user gains access to the requested resource.That concludes our discussion on authorization for this lesson. For further reading, consider exploring the following resources: