Kubernetes and Cloud Native Associate - KCNA

Kubernetes Resources

Kubernetes Namespaces

Welcome to this lesson on Kubernetes namespaces. Understanding namespaces is essential for managing resources and policies within a single Kubernetes cluster, especially in production environments. In this article, we use an everyday analogy to clarify the role and importance of namespaces.

Imagine two boys named Mark. Within their own households, family members use only first names. However, outsiders refer to them by their full names (e.g., Mark Smith and Mark Williams) to avoid confusion. Similarly, in Kubernetes, each namespace acts like a separate household with its own rules and resources.

Default and System Namespaces

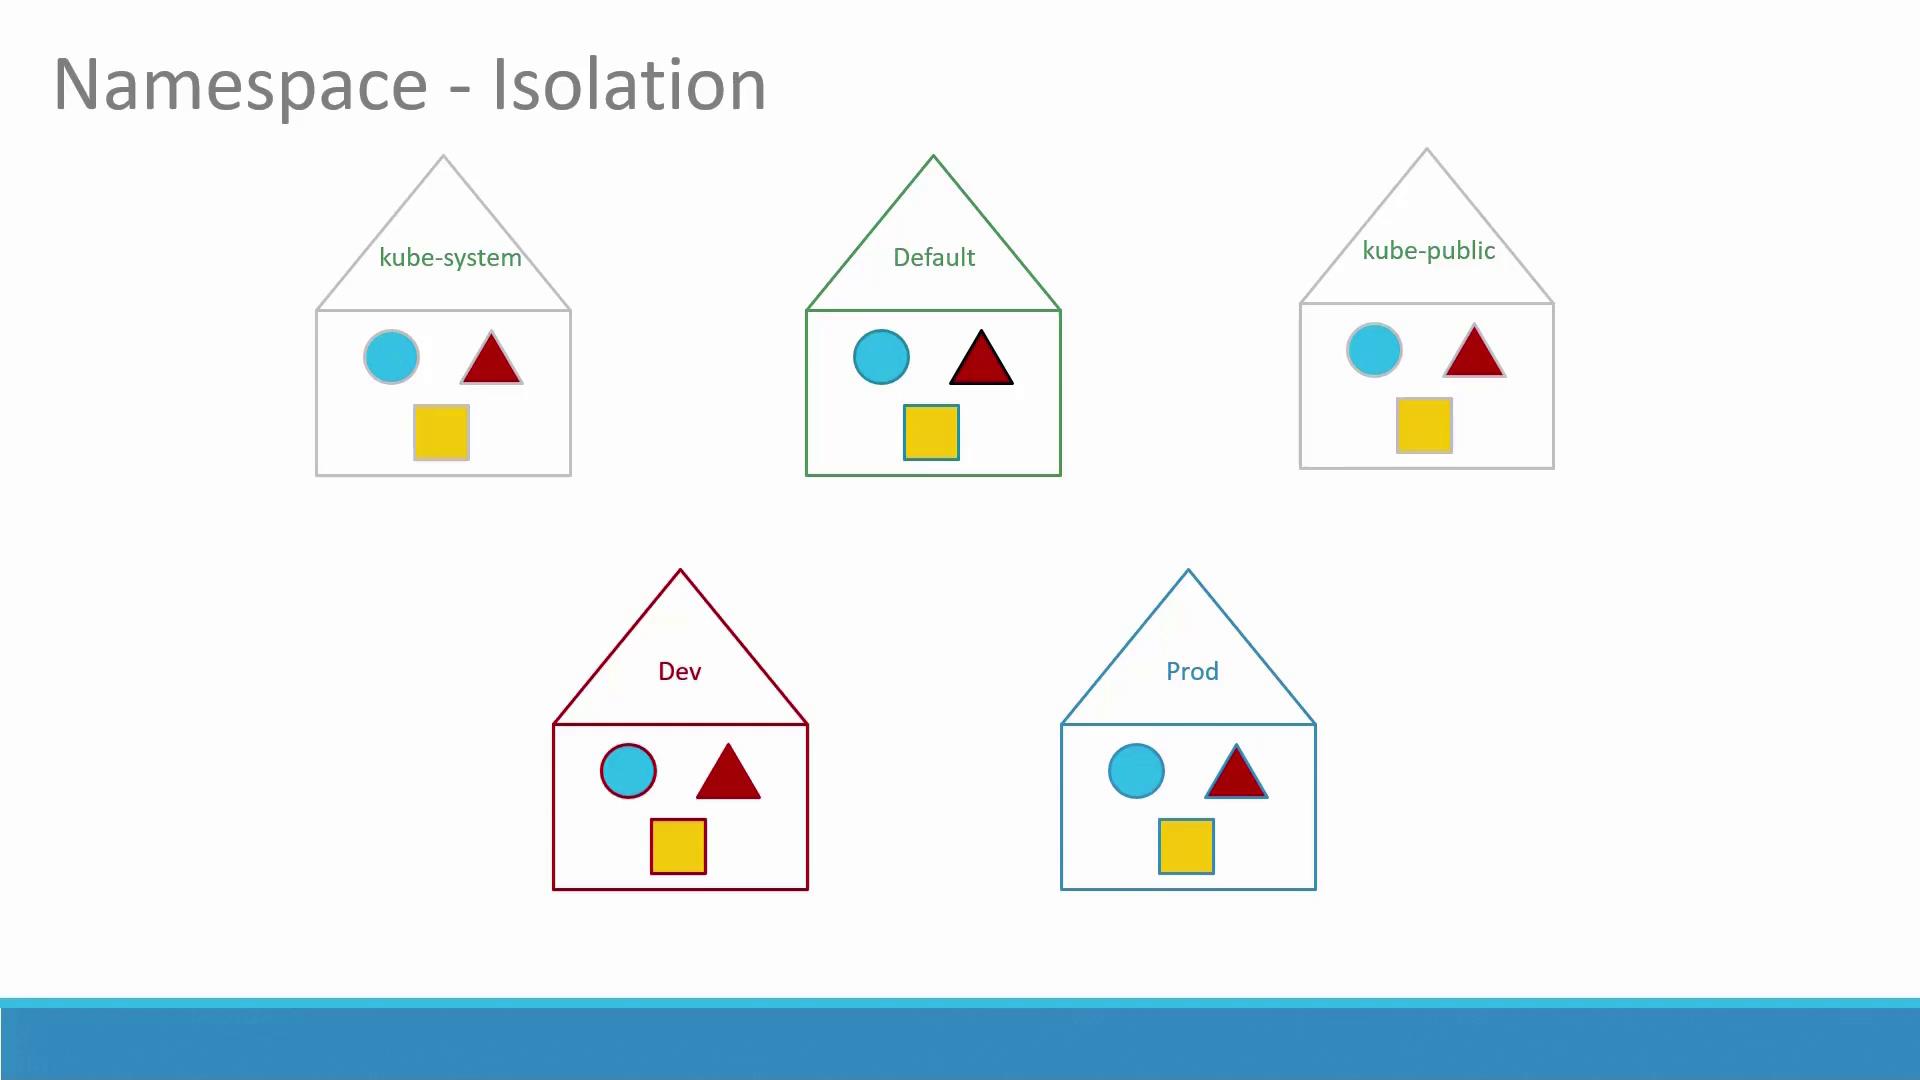
So far, you have been creating objects like Pods, Deployments, and Services in a single namespace—the default namespace, which is automatically created when the cluster is set up. In addition, Kubernetes creates several other namespaces at startup:

  • kube-system: Contains critical Pods and Services (such as networking solutions and DNS) that are isolated from the user to prevent accidental modifications.
  • kube-public: Contains resources that should be accessible to all users.

For smaller or learning environments, you might continue working in the default namespace. However, in enterprise or production setups, namespaces become crucial. For instance, if you have both development and production environments sharing the same cluster, isolating resources via separate namespaces can prevent accidental interference.

Below is a diagram that illustrates how different namespaces provide isolation:

The image illustrates Kubernetes namespaces for isolation, showing five labeled houses: kube-system, Default, kube-public, Dev, and Prod, each containing a circle, triangle, and square.

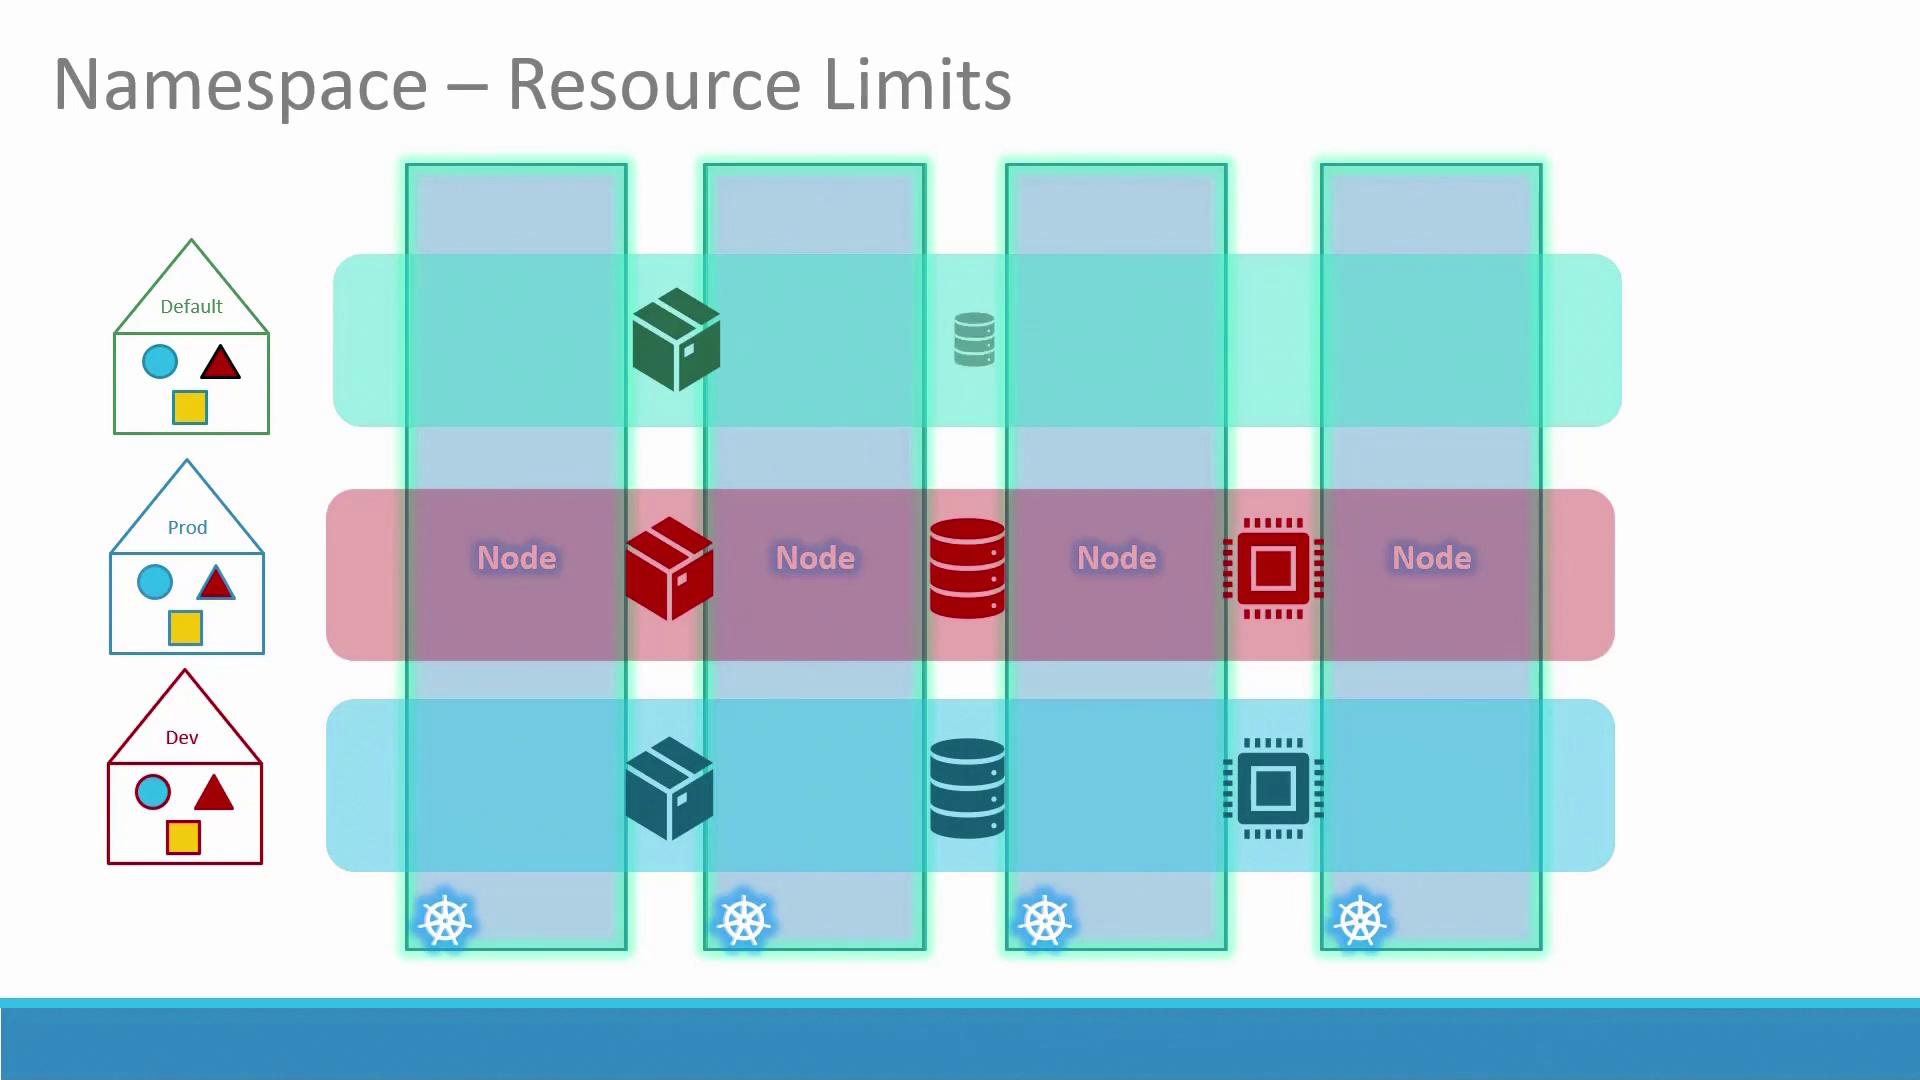
Each namespace can enforce its own set of policies and resource quotas. The following diagram demonstrates how various environments (Default, Prod, Dev) are allocated resources such as nodes and containers:

The image illustrates Kubernetes namespace resource limits, showing different environments (Default, Prod, Dev) with nodes and containers, highlighting resource allocation and management.

DNS Service Discovery within Namespaces

Within a namespace, Pods and Services can address each other directly by name. For example, if a web application Pod needs to connect to a database service in the same namespace, it can simply use the service’s name. If the service is in a different namespace, the fully qualified DNS name must be used. For example, if a web Pod in the default namespace connects to a DB service in the dev namespace, the DNS name would be:

DB-service.dev.svc.cluster.local

In this DNS name:

  • "cluster.local" is the default domain of the Kubernetes cluster.
  • "svc" indicates the service subdomain.
  • The namespace and the service name follow.

Operational Aspects and Kubectl Commands

Let’s explore some operational tasks using kubectl commands.

Connecting to a Service Using DNS

Below is an example Python snippet that connects to a database service by referencing its DNS name:

mysql.connect("db-service.dev.svc.cluster.local")

Listing Pods in Specific Namespaces

By default, the command kubectl get pods lists Pods in the default namespace. To view Pods in a different namespace (e.g., kube-system), append the --namespace option:

kubectl get pods

Output:

NAME    READY   STATUS    RESTARTS   AGE
Pod-1   1/1     Running   0          3d
Pod-2   1/1     Running   0          3d
kubectl get pods --namespace=kube-system

Output:

NAME                                      READY   STATUS    RESTARTS   AGE
coredns-78fcd6894-92d52                  1/1     Running   7          7d
coredns-78fcd6894-jx25g                   1/1     Running   7          7d
etcd-master                               1/1     Running   7          7d
kube-apiserver-master                     1/1     Running   7          7d
kube-controller-manager-master            1/1     Running   7          7d
kube-flannel-ds-amd64-hz4cf                1/1     Running   14         7d
kube-proxy-48btn                          1/1     Running   7          7d
kube-proxy-98db4                          1/1     Running   7          7d
kube-proxy-jjrsbs                         1/1     Running   7          7d
kube-scheduler-master                     1/1     Running   7          7d

Note

Remember, if you want to list Pods across all namespaces, use:

kubectl get pods --all-namespaces

Creating Pods in Specific Namespaces

When you create a Pod using a definition file, it will be created in the default namespace unless specified otherwise.

To create a Pod using the definition file in the default namespace:

kubectl create -f pod-definition.yml

Output:

pod/myapp-pod created

To create a Pod in a different namespace (e.g., dev), specify the namespace on the command line:

kubectl create -f pod-definition.yml --namespace=dev

Output:

pod/myapp-pod created

Below is an example of a Pod definition file without a specified namespace:

# pod-definition.yml (without namespace)
apiVersion: v1
kind: Pod
metadata:
  name: myapp-pod
  labels:
    app: myapp
    type: front-end
spec:
  containers:
    - name: nginx-container
      image: nginx

To ensure that a Pod is always created in a specific namespace (like dev), include the namespace in the definition file:

# pod-definition.yml (with namespace specified)
apiVersion: v1
kind: Pod
metadata:
  name: myapp-pod
  namespace: dev
  labels:
    app: myapp
    type: front-end
spec:
  containers:
    - name: nginx-container
      image: nginx

Then, create the Pod as usual:

kubectl create -f pod-definition.yml

Creating a New Namespace

Just like other Kubernetes objects, you can create a namespace using a definition file. For example:

# namespace-dev.yml
apiVersion: v1
kind: Namespace
metadata:
  name: dev

Create the namespace with:

kubectl create -f namespace-dev.yml

Output:

namespace/dev created

Alternatively, create a namespace directly from the command line:

kubectl create namespace dev

Switching the Active Namespace

By default, all kubectl commands operate in the default namespace. To permanently switch to a different namespace (e.g., dev) in your current context, run:

kubectl config set-context $(kubectl config current-context) --namespace=dev

After setting the active namespace, executing:

kubectl get pods

will list the Pods in the dev namespace. To view resources from other namespaces, remember to use the --namespace flag.

Setting Resource Quotas

Resource quotas help limit the resources available within a namespace. The following YAML file sets quotas for the dev namespace by specifying limits on Pods, CPU, and memory:

# compute-quota.yaml
apiVersion: v1
kind: ResourceQuota
metadata:
  name: compute-quota
  namespace: dev
spec:
  hard:
    pods: "10"
    requests.cpu: "4"
    requests.memory: 5Gi
    limits.cpu: "10"
    limits.memory: 10Gi

Apply the resource quota using:

kubectl create -f compute-quota.yaml

Note

This configuration ensures that the dev namespace does not exceed the defined resource limits.

Conclusion

Namespaces in Kubernetes are a powerful tool to isolate resources, manage policies, and efficiently organize your cluster environment—whether for development, testing, or production. By leveraging namespaces, you can deploy applications securely and prevent accidental cross-environment interference.

For more information on Kubernetes concepts, visit the following resources:

Happy clustering!

Watch Video

Watch video content

Previous
Kubectl Apply Command