> ## Documentation Index
> Fetch the complete documentation index at: https://notes.kodekloud.com/llms.txt
> Use this file to discover all available pages before exploring further.
# Demo Setting Up Virtual Machines on Mac
> Guide to creating Ubuntu virtual machines on Apple Silicon using Multipass to set up a local kubeadm Kubernetes cluster with one control plane and worker nodes, plus helper scripts.
In this lesson you'll create Ubuntu virtual machines on an Apple Silicon (M-series) Mac using Multipass. These VMs will serve as the servers for a kubeadm-based Kubernetes cluster: one control plane and two worker nodes. Running the cluster locally with Multipass is a convenient, low-cost way to follow the kubeadm workflow without additional hardware.
 If your Mac has 8 GB of RAM the deploy script automatically reduces the cluster to a control plane plus one worker node. Systems with 16 GB or more get the full three-node setup (one control plane + two workers).
## What you'll get
* A small kubeadm-ready environment on macOS (Apple Silicon).
* One control-plane VM and two worker VMs (reduced to one worker on 8 GB systems).
* Preconfigured network bridging and `/etc/hosts` entries so nodes resolve each other by name.
* Helper scripts to deploy and tear down the VMs.
Recommended minimum: 8 GB RAM (16 GB+ recommended for the full three-node setup).
## Prerequisites
* macOS (Apple Silicon / M-series)
* Multipass installed
* Homebrew (optional, used for installing Multipass)
* Git (to clone the repository)
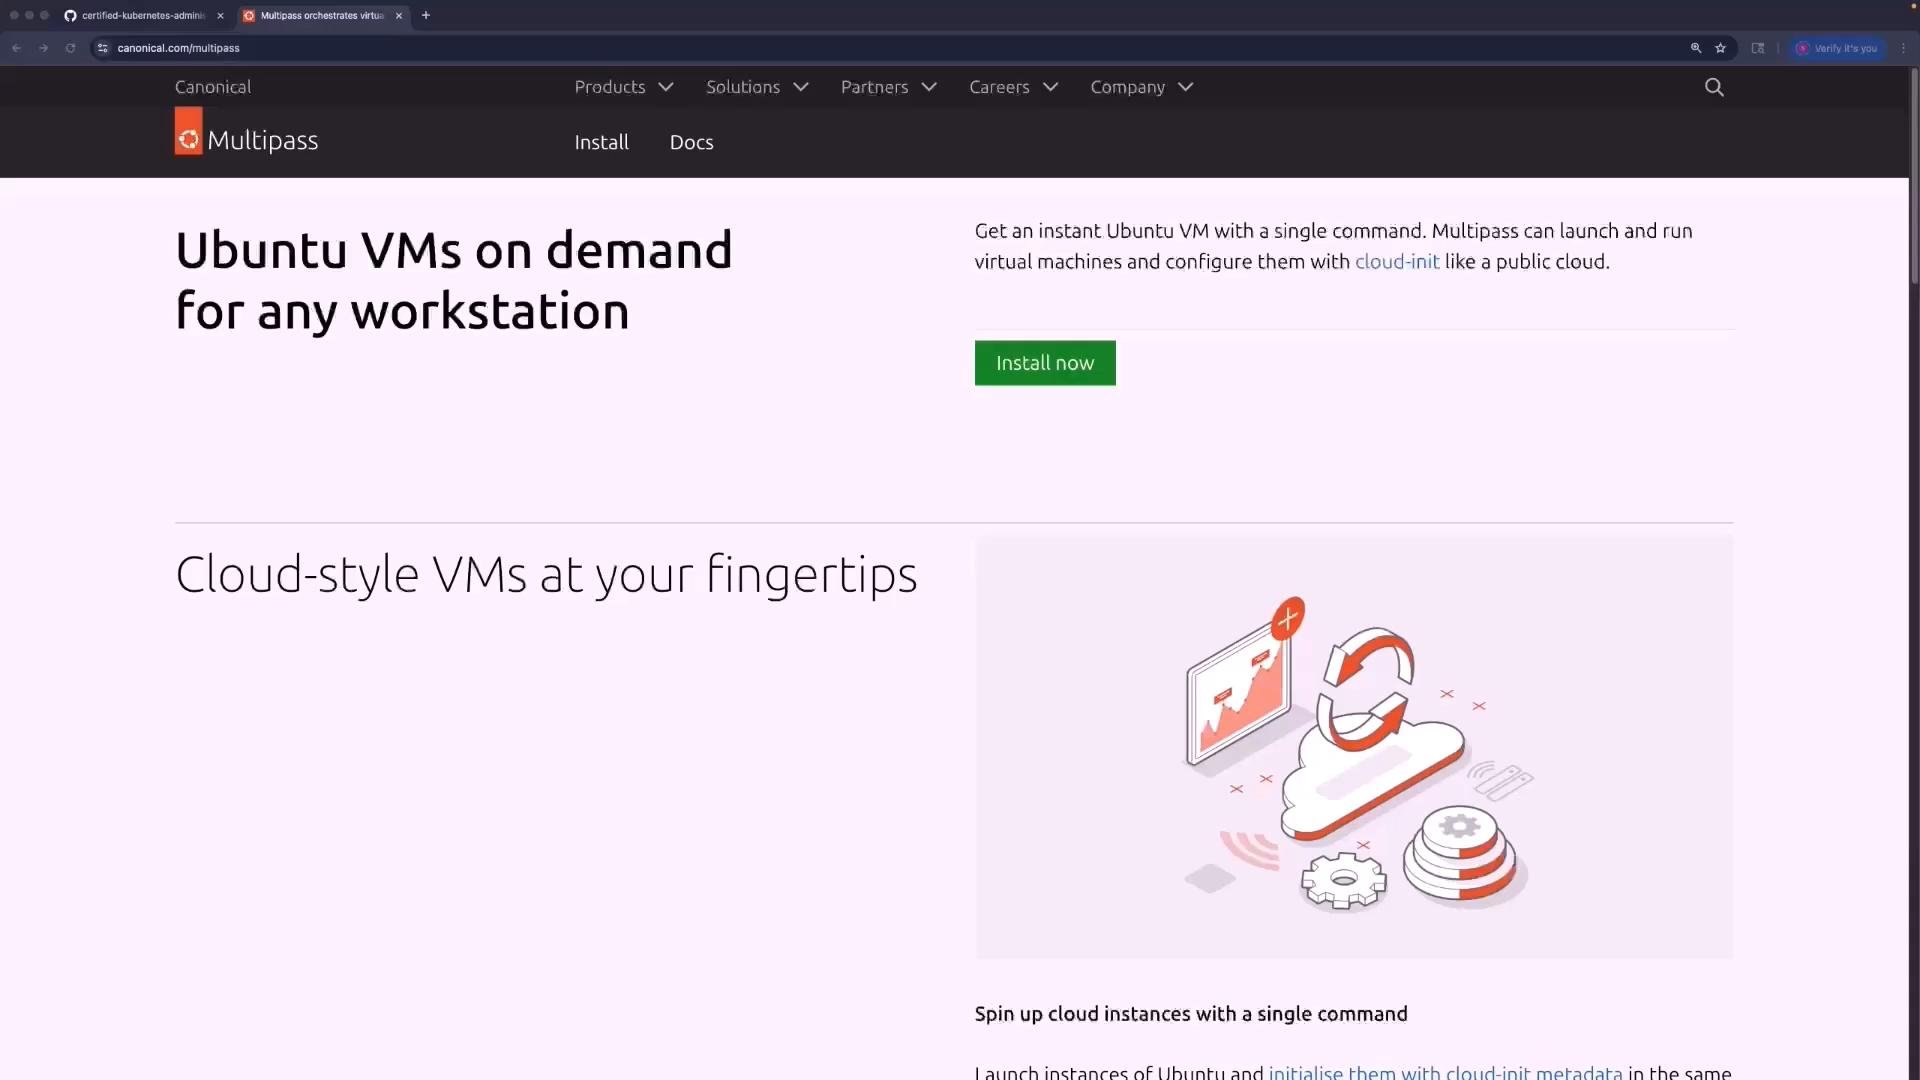
## Install Multipass on macOS
You can install Multipass via the official installer or with Homebrew Cask.
* Download and run the macOS installer from `https://multipass.run/install`.
* Or install with Homebrew:
```bash theme={null}
brew install --cask multipass
```
Verify the installation:
```bash theme={null}
multipass --version
```
Example output:
```console theme={null}
multipass 1.15.1+mac
multipassd 1.15.1+mac
```
## Repository with helper scripts
This project contains helper scripts that create and tear down the VM environment using Multipass. The Apple Silicon-specific scripts are in the `kubeadm-clusters/apple-silicon` folder of the repository.
If your Mac has 8 GB of RAM the deploy script automatically reduces the cluster to a control plane plus one worker node. Systems with 16 GB or more get the full three-node setup (one control plane + two workers).
## What you'll get
* A small kubeadm-ready environment on macOS (Apple Silicon).
* One control-plane VM and two worker VMs (reduced to one worker on 8 GB systems).
* Preconfigured network bridging and `/etc/hosts` entries so nodes resolve each other by name.
* Helper scripts to deploy and tear down the VMs.
Recommended minimum: 8 GB RAM (16 GB+ recommended for the full three-node setup).
## Prerequisites
* macOS (Apple Silicon / M-series)
* Multipass installed
* Homebrew (optional, used for installing Multipass)
* Git (to clone the repository)
## Install Multipass on macOS
You can install Multipass via the official installer or with Homebrew Cask.
* Download and run the macOS installer from `https://multipass.run/install`.
* Or install with Homebrew:
```bash theme={null}
brew install --cask multipass
```
Verify the installation:
```bash theme={null}
multipass --version
```
Example output:
```console theme={null}
multipass 1.15.1+mac
multipassd 1.15.1+mac
```
## Repository with helper scripts
This project contains helper scripts that create and tear down the VM environment using Multipass. The Apple Silicon-specific scripts are in the `kubeadm-clusters/apple-silicon` folder of the repository.
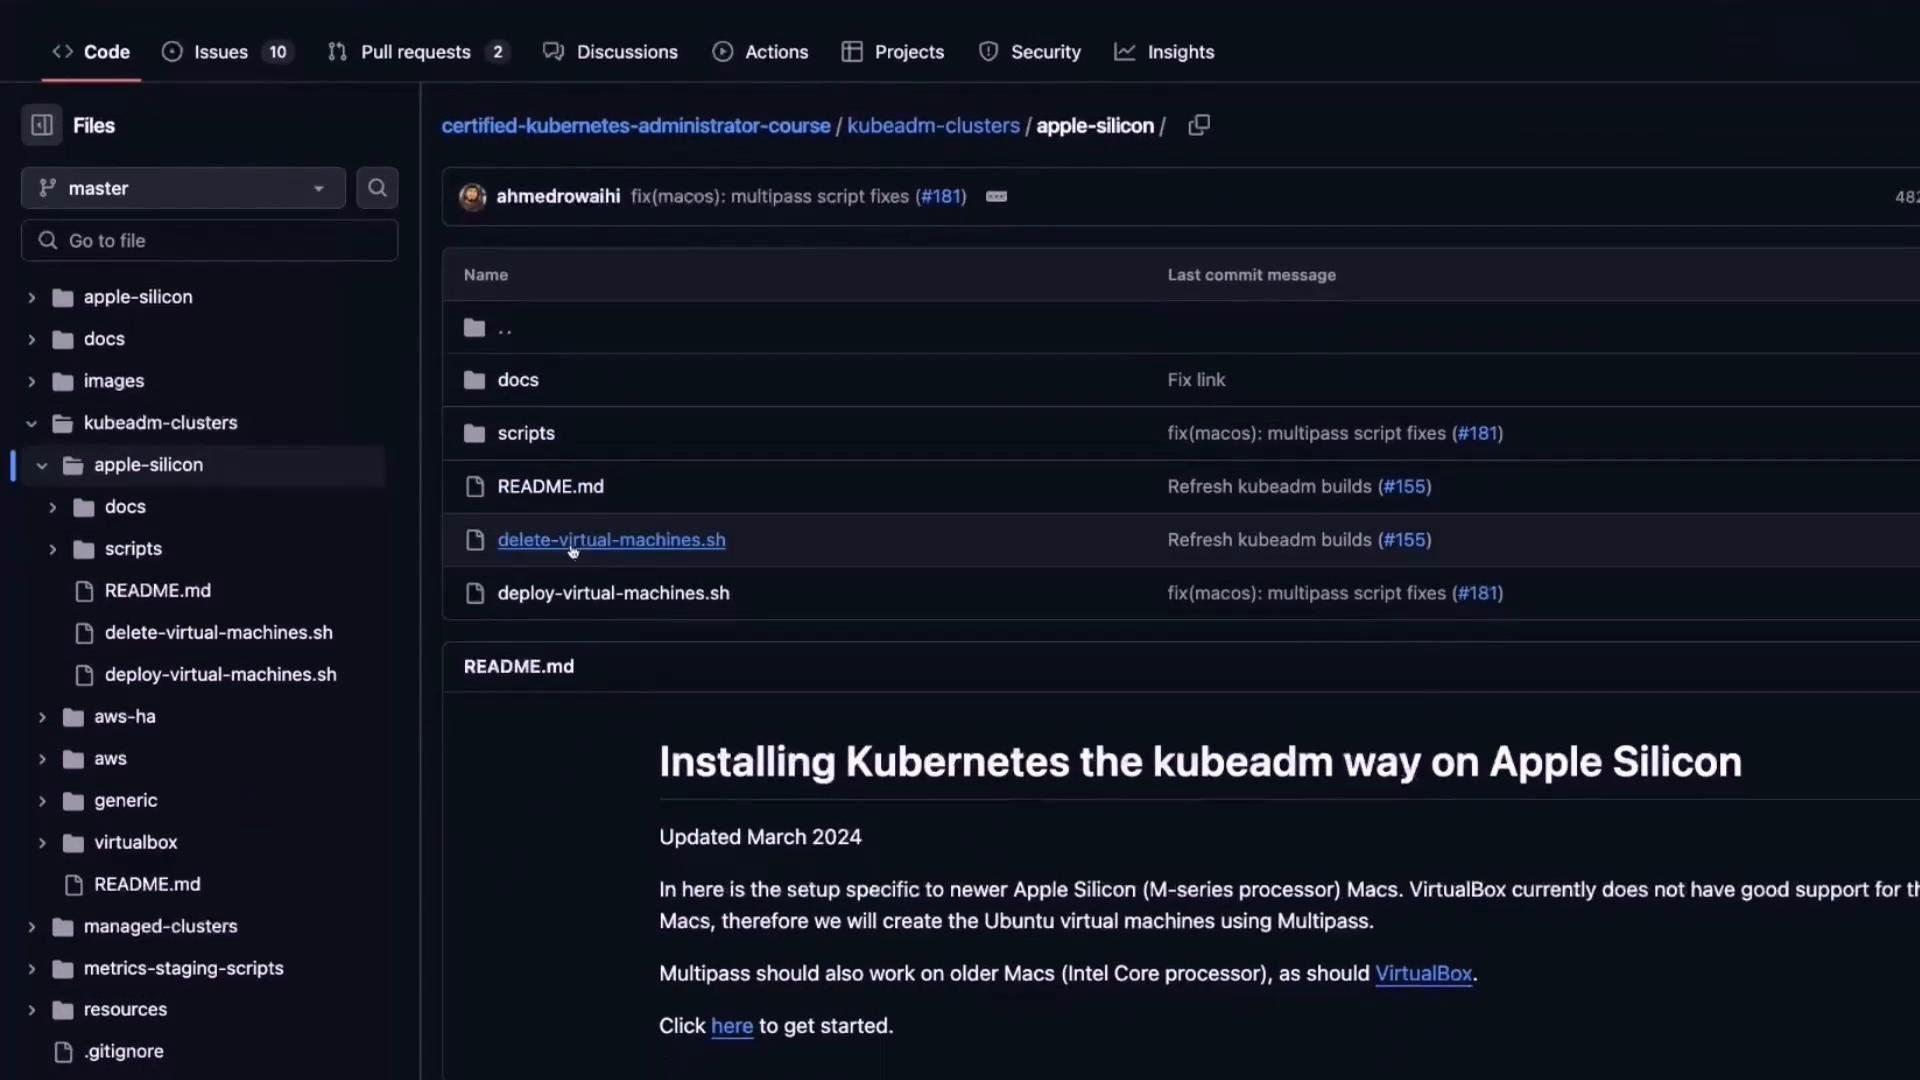 Clone the repository and open the Apple Silicon folder:
```bash theme={null}
git clone https://github.com/kodekloudhub/certified-kubernetes-administrator-course
cd certified-kubernetes-administrator-course/kubeadm/kubeadm-clusters/apple-silicon
```
The main deploy script is `deploy-virtual-machines.sh`. It checks for required tools (`jq`, `multipass`), inspects available system RAM, and chooses a network mode (BRIDGE or NAT). Below are key excerpts (abbreviated) to show the checks and RAM detection logic:
```bash theme={null}
#!/usr/bin/env bash
set -euo pipefail
if ! command -v jq > /dev/null; then
echo "'jq' not found. Please install it"
exit 1
fi
if ! command -v multipass > /dev/null; then
echo "'multipass' not found. Please install it"
exit 1
fi
NUM_WORKER_NODES=2
MEM_GB=$(( $(sysctl hw.memsize | cut -d ' ' -f 2) / 1073741824 ))
if [ $MEM_GB -lt 8 ]; then
echo "System RAM is ${MEM_GB}GB. This is insufficient to deploy a working cluster."
exit 1
fi
if [ $MEM_GB -lt 16 ]; then
echo "System RAM is ${MEM_GB}GB. Deploying only one worker node."
NUM_WORKER_NODES=1
fi
```
## Deploy the VMs
Make the deploy script executable and run it:
```bash theme={null}
chmod +x deploy-virtual-machines.sh
./deploy-virtual-machines.sh
```
The script provisions the VMs, configures their networking, and adds host entries so the nodes can resolve each other by name. When the script completes, list the VMs:
```bash theme={null}
multipass list
```
Example output showing three VMs (controlplane, node01, node02):
```console theme={null}
Name State IPv4 Image
controlplane Running 192.168.86.40 Ubuntu 22.04 LTS
node01 Running 192.168.86.41 Ubuntu 22.04 LTS
node02 Running 192.168.86.42 Ubuntu 22.04 LTS
```
You can use the table below as a quick reference for the typical VM names, roles, and example IPs created by the script.
| VM name | Role | Example IP |
| - | - | - |
| `controlplane` | Control plane | `192.168.86.40` |
| `node01` | Worker | `192.168.86.41` |
| `node02` | Worker | `192.168.86.42` |
## Connect to each VM
Open an interactive shell into any VM with `multipass shell `:
Example: connect to the control plane
```bash theme={null}
multipass shell controlplane
```
Typical welcome header (truncated):
```console theme={null}
Welcome to Ubuntu 22.04.5 LTS (GNU/Linux 5.15.0-140-generic aarch64)
System information as of ...
IPv4 address for enp0s2: 192.168.86.40
ubuntu@controlplane:~$
```
Similarly connect to the worker nodes:
```bash theme={null}
multipass shell node01
multipass shell node02
```
Each VM displays its network interfaces and local IP addresses on login.
## Networking details and host entries
Each VM generally has two network interfaces. The deploy script configures a bridged interface for node-to-node communication (the bridged interface typically carries addresses in the `192.168.86.x` range). Inspect the network interfaces inside a VM:
```bash theme={null}
ip addr
```
Example showing two interfaces (`enp0s1` and `enp0s2`):
```console theme={null}
2: enp0s1: ...
inet 192.168.64.2/24 ...
3: enp0s2: ...
inet 192.168.86.40/24 ...
```
Use the bridged interface (e.g., `enp0s2` with `192.168.86.x`) for Kubernetes cluster communication.
The deploy script also updates `/etc/hosts` on each VM so the nodes resolve each other by name. View the file:
```bash theme={null}
cat /etc/hosts
```
Example `/etc/hosts` entries added by the script:
```text theme={null}
192.168.86.40 controlplane
192.168.86.41 node01
192.168.86.42 node02
```
When you install Kubernetes with kubeadm, you can reference nodes by either IP or the hostnames added to `/etc/hosts`.
## Cleaning up — deleting the VMs
When you are finished, use the teardown script `delete-virtual-machines.sh` in the same `apple-silicon` folder:
```bash theme={null}
chmod +x delete-virtual-machines.sh
./delete-virtual-machines.sh
```
macOS may still retain DHCP lease records for the VMs. The deploy/delete scripts will prompt you if manual cleanup is required. To inspect and edit the DHCP leases file:
```bash theme={null}
sudo vi /var/db/dhcpd_leases
```
A sample lease entry looks like:
```text theme={null}
{
name=controlplane
ip_address=192.168.64.4
hw_address=1,52:54:0:78:4d:ff
identifier=1,52:54:0:78:4d:ff
lease=0x65dc3134
}
```
Remove stale entries as needed or follow the README in the repository to reclaim DHCP address space.
## Next steps
With the VMs up and networking configured you can continue to the kubeadm installation and cluster bootstrap steps in the repository's `apple-silicon` README. The helper scripts and README will guide you through initializing the control plane, joining worker nodes, and verifying cluster status.
## Links and references
* Multipass: `https://multipass.run/install`
* Project repository: `https://github.com/kodekloudhub/certified-kubernetes-administrator-course`
* Kubernetes kubeadm docs: [https://kubernetes.io/docs/reference/setup-tools/kubeadm/](https://kubernetes.io/docs/reference/setup-tools/kubeadm/)
This documentation is built and hosted on [Mintlify](https://mintlify.com), a developer documentation platform.
Clone the repository and open the Apple Silicon folder:
```bash theme={null}
git clone https://github.com/kodekloudhub/certified-kubernetes-administrator-course
cd certified-kubernetes-administrator-course/kubeadm/kubeadm-clusters/apple-silicon
```
The main deploy script is `deploy-virtual-machines.sh`. It checks for required tools (`jq`, `multipass`), inspects available system RAM, and chooses a network mode (BRIDGE or NAT). Below are key excerpts (abbreviated) to show the checks and RAM detection logic:
```bash theme={null}
#!/usr/bin/env bash
set -euo pipefail
if ! command -v jq > /dev/null; then
echo "'jq' not found. Please install it"
exit 1
fi
if ! command -v multipass > /dev/null; then
echo "'multipass' not found. Please install it"
exit 1
fi
NUM_WORKER_NODES=2
MEM_GB=$(( $(sysctl hw.memsize | cut -d ' ' -f 2) / 1073741824 ))
if [ $MEM_GB -lt 8 ]; then
echo "System RAM is ${MEM_GB}GB. This is insufficient to deploy a working cluster."
exit 1
fi
if [ $MEM_GB -lt 16 ]; then
echo "System RAM is ${MEM_GB}GB. Deploying only one worker node."
NUM_WORKER_NODES=1
fi
```
## Deploy the VMs
Make the deploy script executable and run it:
```bash theme={null}
chmod +x deploy-virtual-machines.sh
./deploy-virtual-machines.sh
```
The script provisions the VMs, configures their networking, and adds host entries so the nodes can resolve each other by name. When the script completes, list the VMs:
```bash theme={null}
multipass list
```
Example output showing three VMs (controlplane, node01, node02):
```console theme={null}
Name State IPv4 Image
controlplane Running 192.168.86.40 Ubuntu 22.04 LTS
node01 Running 192.168.86.41 Ubuntu 22.04 LTS
node02 Running 192.168.86.42 Ubuntu 22.04 LTS
```
You can use the table below as a quick reference for the typical VM names, roles, and example IPs created by the script.
| VM name | Role | Example IP |
| - | - | - |
| `controlplane` | Control plane | `192.168.86.40` |
| `node01` | Worker | `192.168.86.41` |
| `node02` | Worker | `192.168.86.42` |
## Connect to each VM
Open an interactive shell into any VM with `multipass shell `:
Example: connect to the control plane
```bash theme={null}
multipass shell controlplane
```
Typical welcome header (truncated):
```console theme={null}
Welcome to Ubuntu 22.04.5 LTS (GNU/Linux 5.15.0-140-generic aarch64)
System information as of ...
IPv4 address for enp0s2: 192.168.86.40
ubuntu@controlplane:~$
```
Similarly connect to the worker nodes:
```bash theme={null}
multipass shell node01
multipass shell node02
```
Each VM displays its network interfaces and local IP addresses on login.
## Networking details and host entries
Each VM generally has two network interfaces. The deploy script configures a bridged interface for node-to-node communication (the bridged interface typically carries addresses in the `192.168.86.x` range). Inspect the network interfaces inside a VM:
```bash theme={null}
ip addr
```
Example showing two interfaces (`enp0s1` and `enp0s2`):
```console theme={null}
2: enp0s1: ...
inet 192.168.64.2/24 ...
3: enp0s2: ...
inet 192.168.86.40/24 ...
```
Use the bridged interface (e.g., `enp0s2` with `192.168.86.x`) for Kubernetes cluster communication.
The deploy script also updates `/etc/hosts` on each VM so the nodes resolve each other by name. View the file:
```bash theme={null}
cat /etc/hosts
```
Example `/etc/hosts` entries added by the script:
```text theme={null}
192.168.86.40 controlplane
192.168.86.41 node01
192.168.86.42 node02
```
When you install Kubernetes with kubeadm, you can reference nodes by either IP or the hostnames added to `/etc/hosts`.
## Cleaning up — deleting the VMs
When you are finished, use the teardown script `delete-virtual-machines.sh` in the same `apple-silicon` folder:
```bash theme={null}
chmod +x delete-virtual-machines.sh
./delete-virtual-machines.sh
```
macOS may still retain DHCP lease records for the VMs. The deploy/delete scripts will prompt you if manual cleanup is required. To inspect and edit the DHCP leases file:
```bash theme={null}
sudo vi /var/db/dhcpd_leases
```
A sample lease entry looks like:
```text theme={null}
{
name=controlplane
ip_address=192.168.64.4
hw_address=1,52:54:0:78:4d:ff
identifier=1,52:54:0:78:4d:ff
lease=0x65dc3134
}
```
Remove stale entries as needed or follow the README in the repository to reclaim DHCP address space.
## Next steps
With the VMs up and networking configured you can continue to the kubeadm installation and cluster bootstrap steps in the repository's `apple-silicon` README. The helper scripts and README will guide you through initializing the control plane, joining worker nodes, and verifying cluster status.
## Links and references
* Multipass: `https://multipass.run/install`
* Project repository: `https://github.com/kodekloudhub/certified-kubernetes-administrator-course`
* Kubernetes kubeadm docs: [https://kubernetes.io/docs/reference/setup-tools/kubeadm/](https://kubernetes.io/docs/reference/setup-tools/kubeadm/)
This documentation is built and hosted on [Mintlify](https://mintlify.com), a developer documentation platform.