Kustomize

Kustomize Overview

Kustomize Problem Statement Idealogy

In this guide, we’ll examine why Kustomize exists and how it helps you manage Kubernetes manifests across multiple environments without duplicating YAML files. You’ll learn:

  • The drawbacks of maintaining separate manifests for each environment
  • Core Kustomize concepts: Bases and Overlays
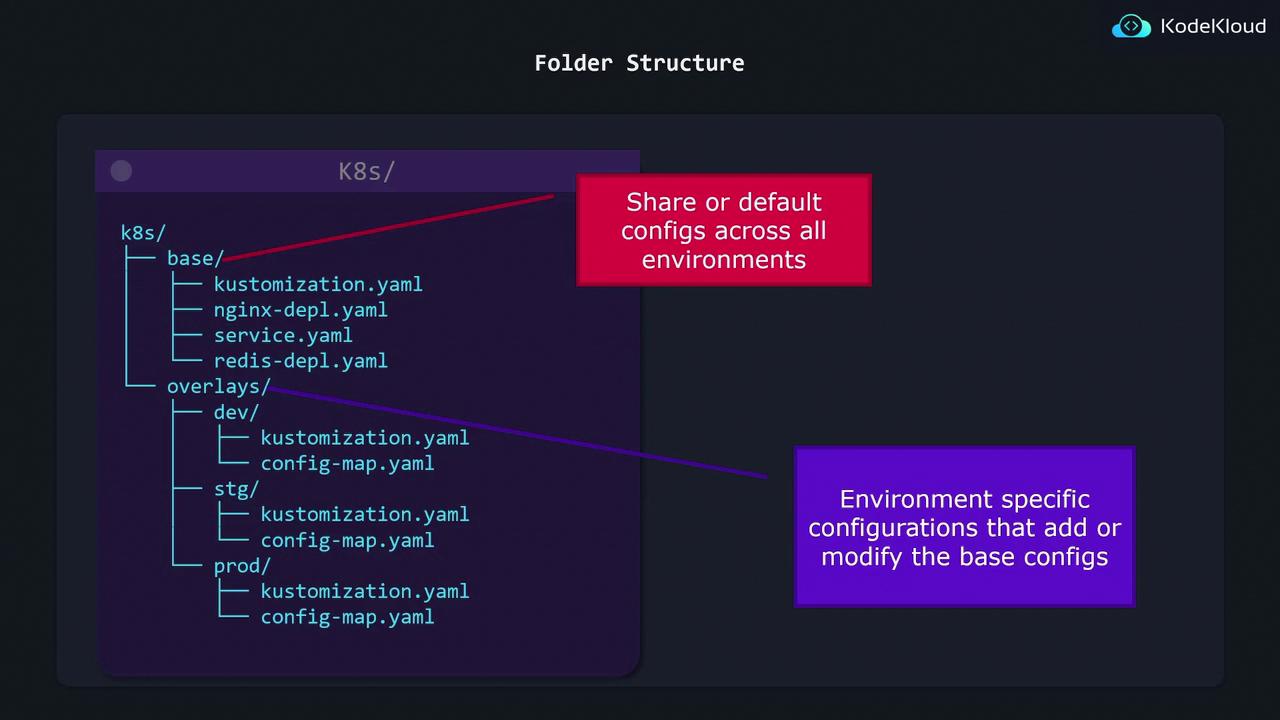
  • Folder structure best practices
  • How to apply Kustomize with kubectl

The Pain of Duplicated Manifests

Imagine you have a simple NGINX Deployment that you want to run in dev, stg, and prod, varying only the replicas count:

# base/nginx-deployment.yaml
apiVersion: apps/v1
kind: Deployment
metadata:
  name: nginx-deployment
spec:
  replicas: 1
  selector:
    matchLabels:
      component: nginx
  template:
    metadata:
      labels:
        component: nginx
    spec:
      containers:
        - name: nginx
          image: nginx

A naïve solution is to copy this into three folders and change only the replicas value:

├── dev/nginx.yaml   # replicas: 1
├── stg/nginx.yaml   # replicas: 2
└── prod/nginx.yaml  # replicas: 5

kubectl apply -f dev/
kubectl apply -f stg/
kubectl apply -f prod/

Warning

Any update to the base spec—like adding an annotation—must be repeated in each folder. This quickly leads to configuration drift and inconsistent deployments.


Introducing Kustomize: Base + Overlays

Kustomize solves duplication by splitting your manifests into two layers:

ConceptPurposeFile Example
BaseShared resources and default valuesbase/nginx-deployment.yaml
OverlayEnvironment-specific patches and configoverlays/stg/kustomization.yaml

How It Works

  1. Base: Contains common resources (Deployments, Services, ConfigMaps).
  2. Overlay: References the base and applies patches (e.g., change replica count).

Note

You can use 
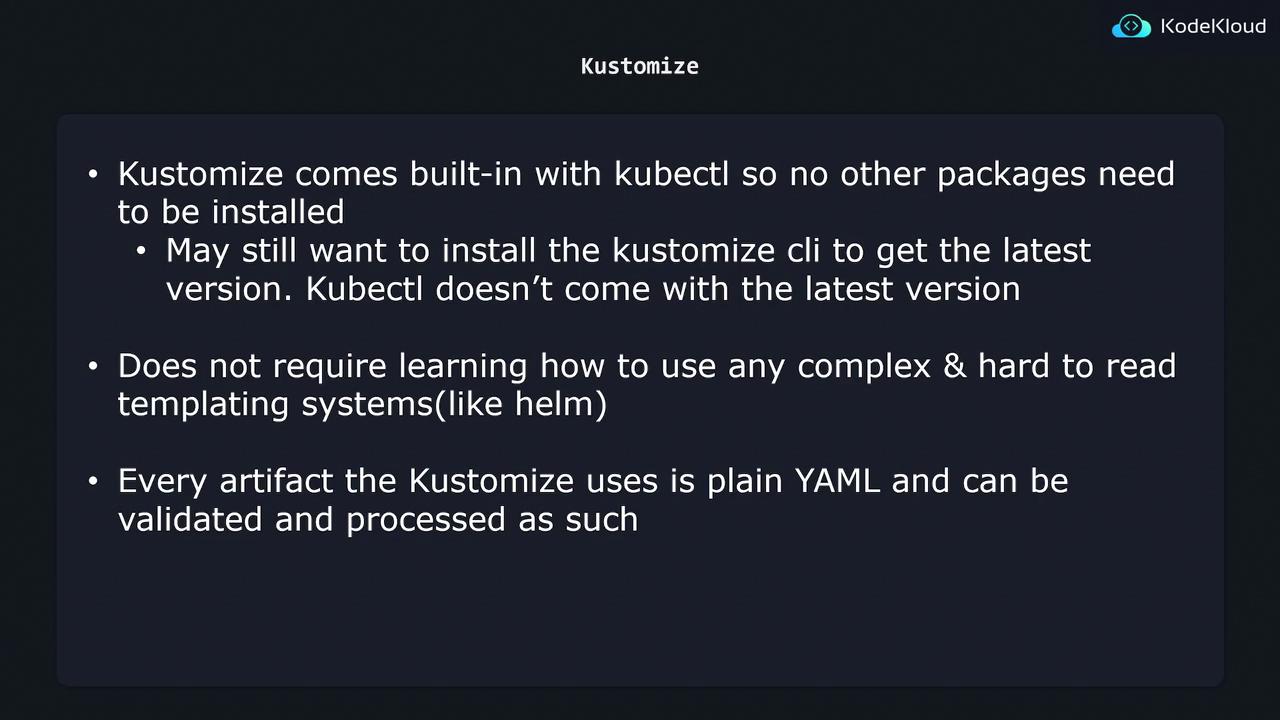
kubectl kustomize (or kubectl apply -k) without installing any extra tools. Everything remains plain YAML—no templating language to learn!


Defining Your Base

Create a base/ folder with a kustomization.yaml that lists all shared resources:

k8s/
└── base/
    ├── kustomization.yaml
    ├── nginx-deployment.yaml
    ├── service.yaml
    └── redis-deployment.yaml
# base/kustomization.yaml
resources:
  - nginx-deployment.yaml
  - service.yaml
  - redis-deployment.yaml

The image shows a folder structure for Kubernetes configurations, with a base directory for shared configs and overlay directories for environment-specific configurations.


Creating Overlays

Each environment overlay only needs to patch what’s different. For example, staging increases the replica count:

k8s/
└── overlays/
    ├── stg/
    │   ├── kustomization.yaml
    │   └── config-map.yaml
    └── prod/
        ├── kustomization.yaml
        └── config-map.yaml
# overlays/stg/kustomization.yaml
bases:
  - ../../base
patches:
  - patch: |-
      apiVersion: apps/v1
      kind: Deployment
      metadata:
        name: nginx-deployment
      spec:
        replicas: 2
    target:
      kind: Deployment
      name: nginx-deployment

Building and Applying Final Manifests

When you run Kustomize, it merges the base plus your overlay to produce the final manifest:

The image is a diagram illustrating the Kustomize process, showing how a "Base" and "Overlay" combine to create "Final Manifests."

# Generate and apply the staging manifests
kubectl apply -k overlays/stg/

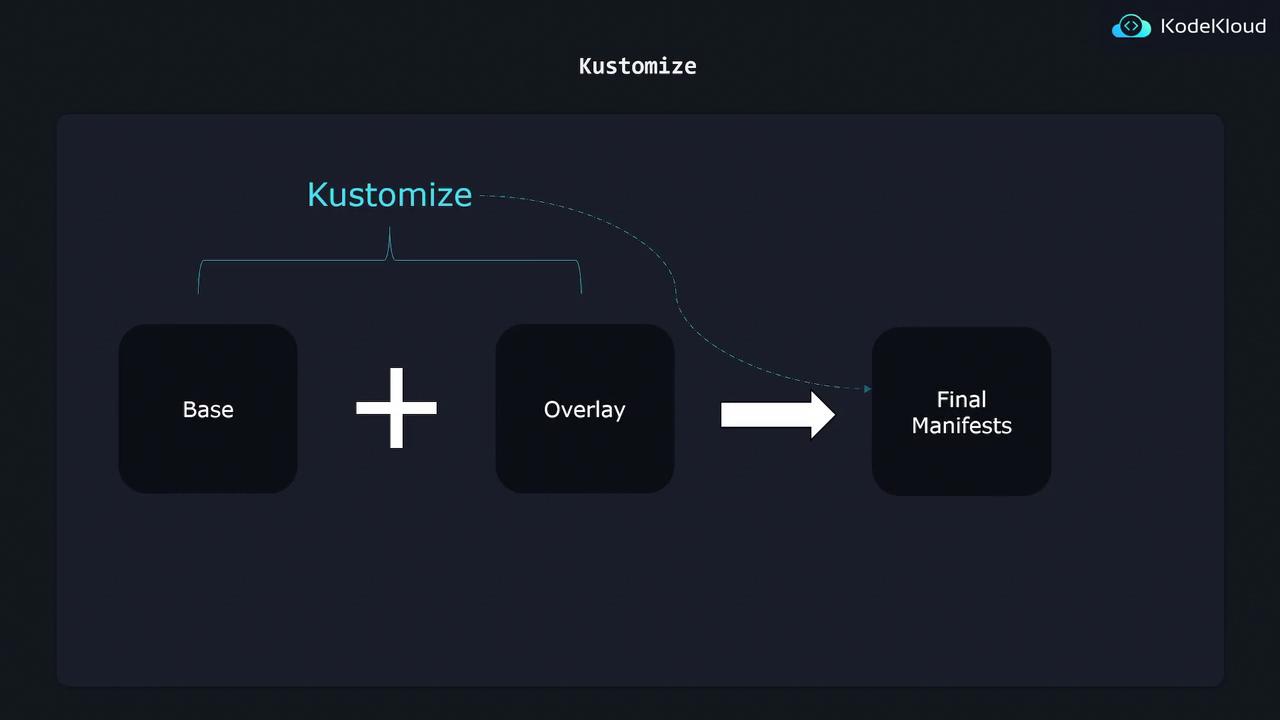
kubectl + Kustomize Integration

Kustomize is bundled with kubectl, so you can work with it immediately:

# Preview changes without applying
kubectl kustomize overlays/prod/

# Directly apply merged YAML
kubectl apply -k overlays/prod/

The image is a slide about Kustomize, highlighting its integration with kubectl, ease of use without complex templating systems, and reliance on plain YAML for artifacts.


Summary

By separating Bases and Overlays, Kustomize lets you:

  • Maintain one source of truth for shared configurations
  • Apply minimal patches per environment
  • Eliminate manifest duplication and drift
  • Use plain YAML—no templating

For more details, check out the official Kustomize documentation.

Watch Video

Watch video content

Previous
Course Introduction