> ## Documentation Index
> Fetch the complete documentation index at: https://notes.kodekloud.com/llms.txt
> Use this file to discover all available pages before exploring further.
# Configuring the Development Environment
> Guide to configuring a local Python environment for using the OpenAI API including installing Python and packages, creating and exporting an API key, and testing with curl and Jupyter
This guide walks through configuring a local Python development environment to experiment with the OpenAI API. The steps work whether you’re using a pre-configured environment (e.g., KodeKloud) or your own workstation.
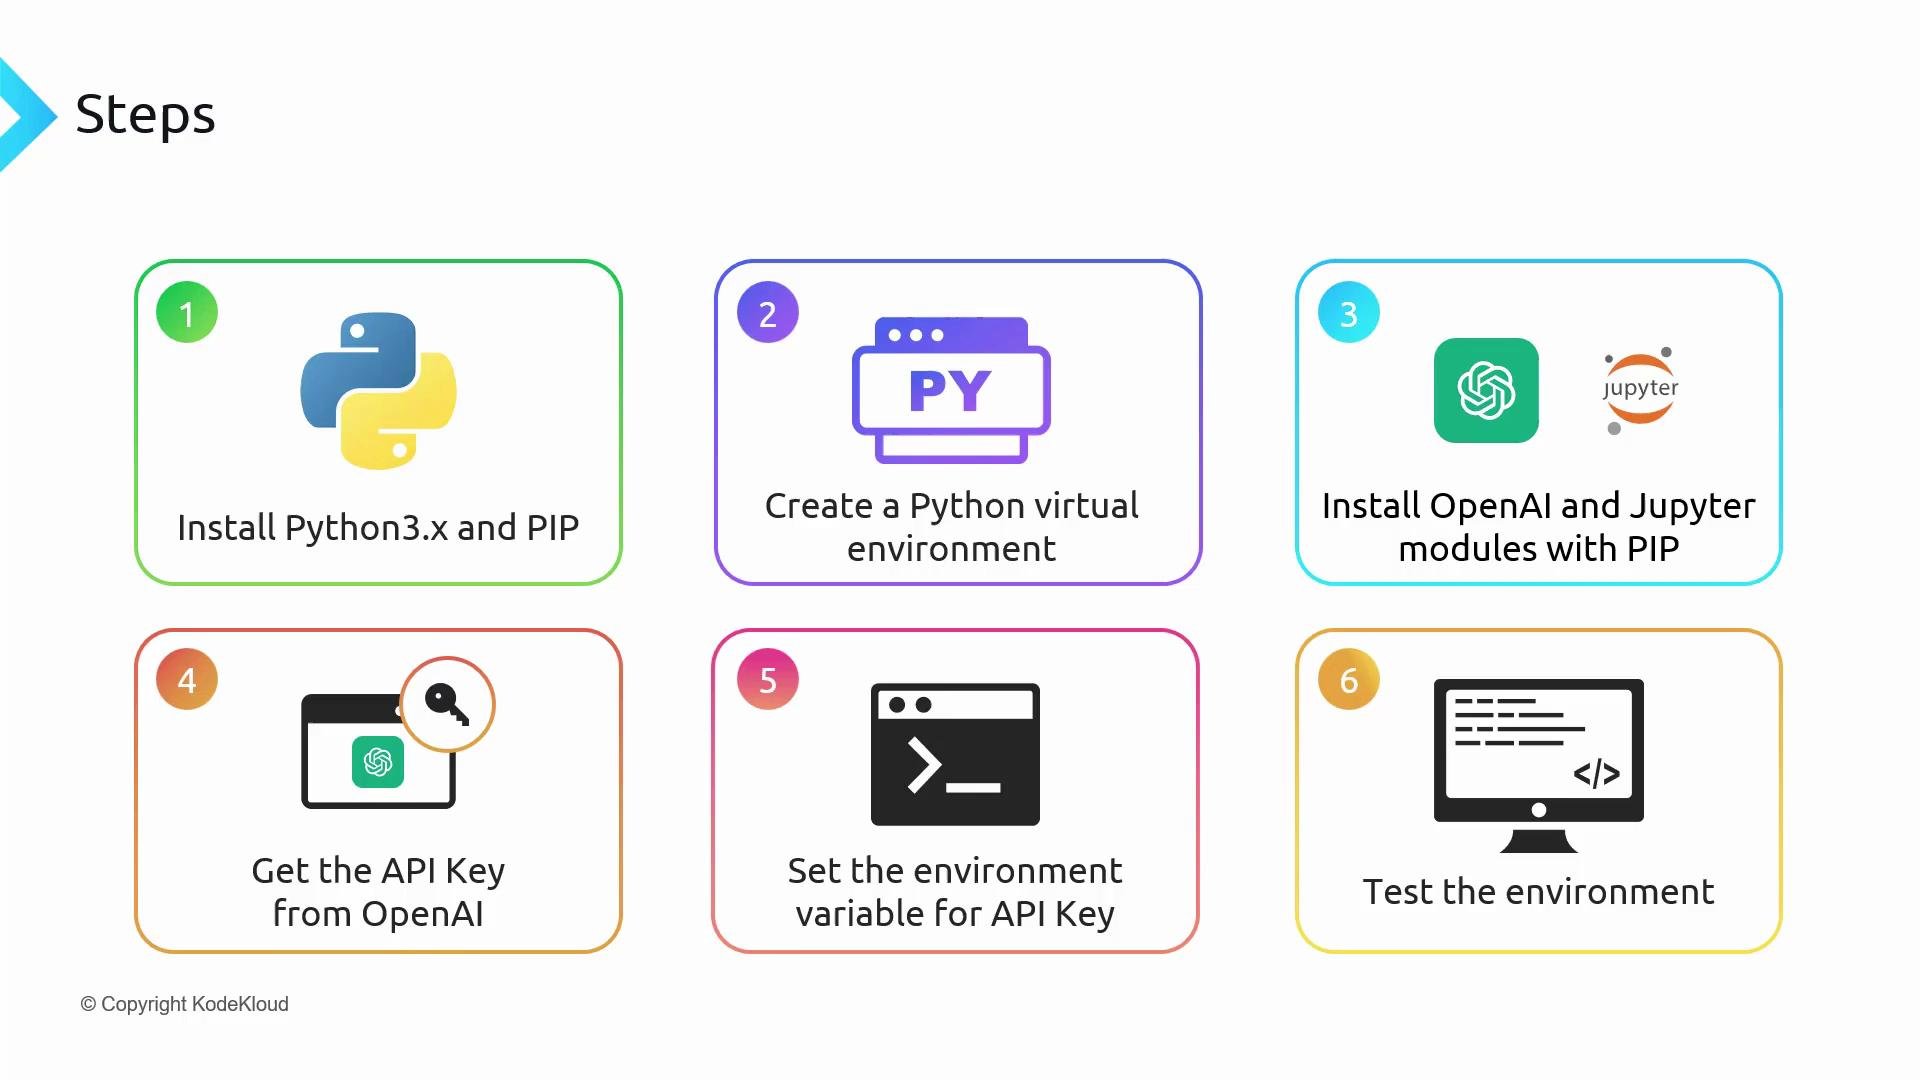
Quick overview of the setup flow:
1. Install Python (3.10+).
2. Create and activate a Python virtual environment.
3. Install required Python packages (`openai` and `jupyter`).
4. Create an OpenAI API key and export it as an environment variable.
5. Test the API from the command line (curl).
6. Test the API from a Python Jupyter notebook.
 For quick reference, here’s a condensed table of common commands used in this guide:
| Task | Command / Notes |
| -------------------------------- | --------------------------------------------------- |
| Verify Python | `python -V` |
| Create venv (Unix/macOS/Windows) | `python -m venv venv` |
| Activate venv (macOS/Linux) | `source venv/bin/activate` |
| Activate venv (PowerShell) | `.\venv\Scripts\Activate.ps1` |
| Install packages | `pip install openai jupyter` |
| Export API key (bash) | `export OPENAI_API_KEY="sk-REDACTED-YOUR-KEY-HERE"` |
| Temp set API key (PowerShell) | `$env:OPENAI_API_KEY = "sk-REDACTED-YOUR-KEY-HERE"` |
| Start Jupyter | `jupyter notebook` |
## 1) Install Python
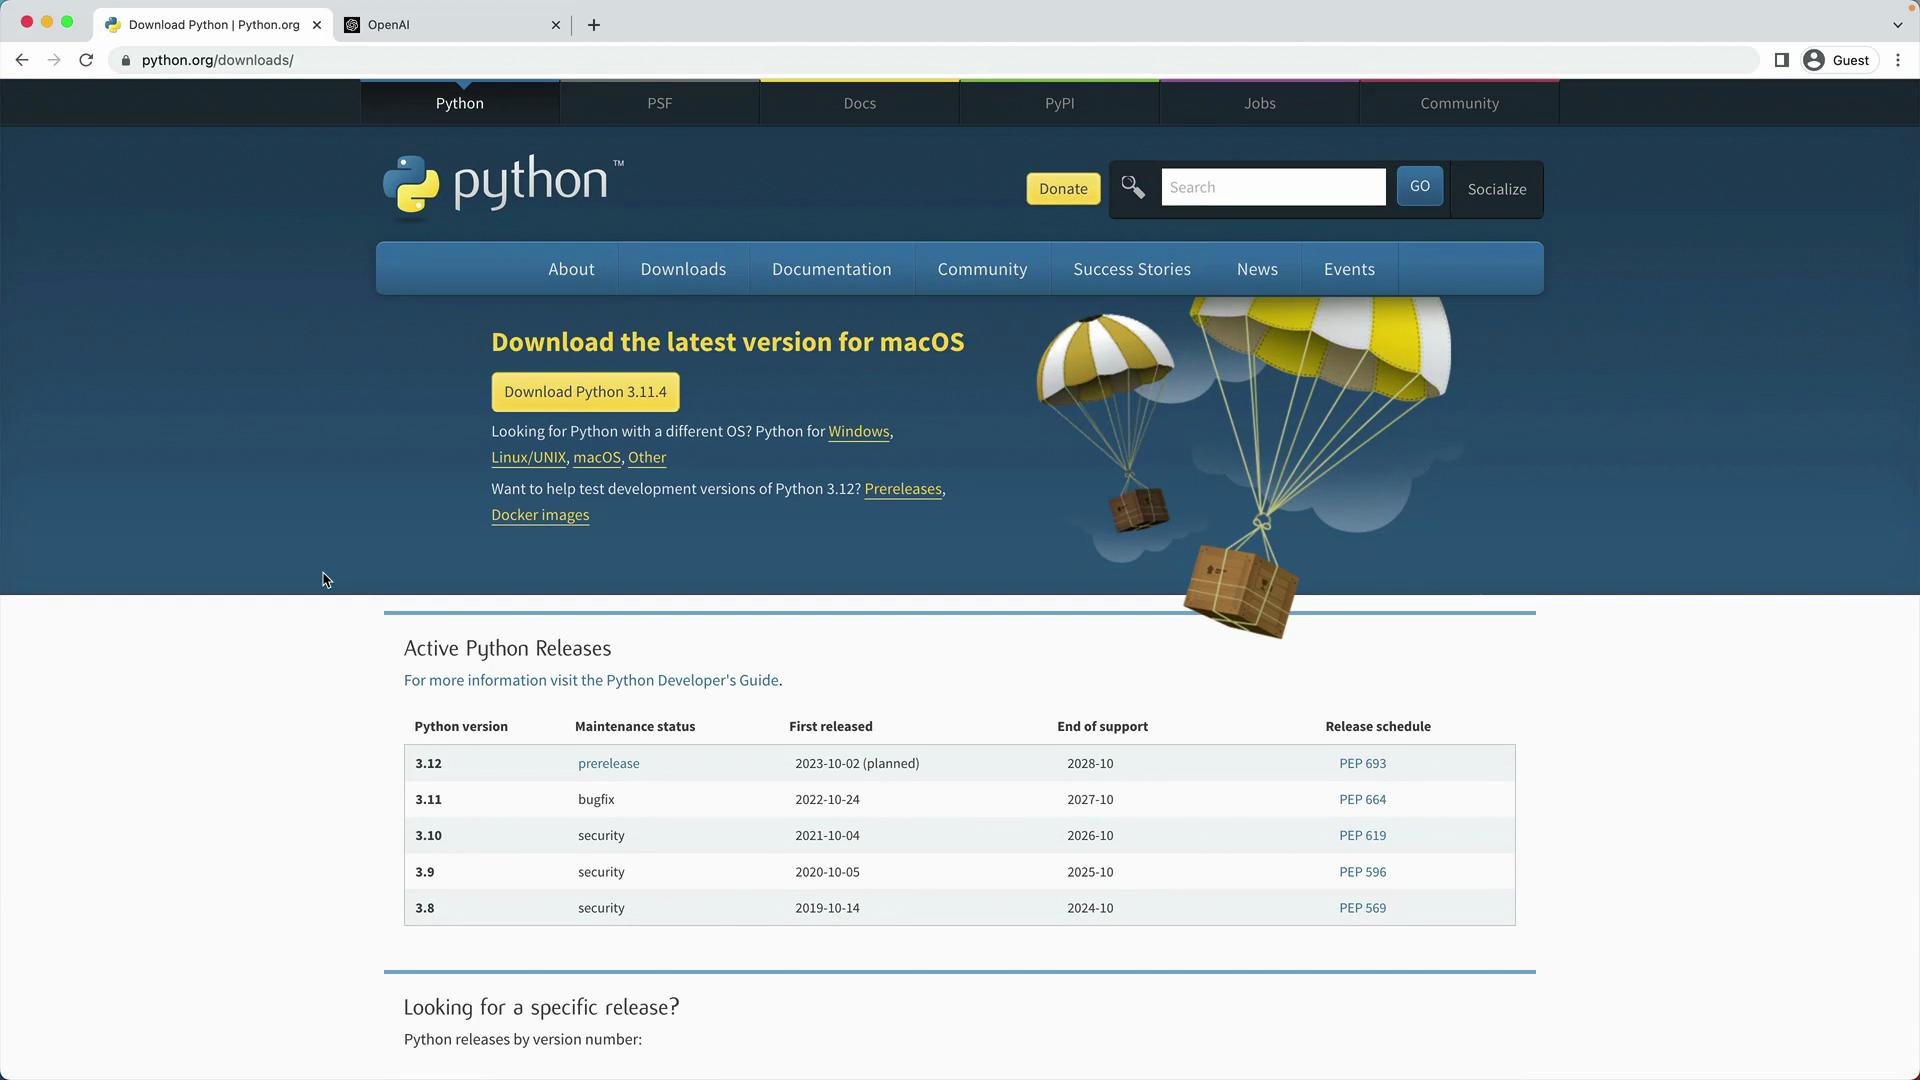
Download and install Python 3.10 or later from the official site: [https://www.python.org/downloads/](https://www.python.org/downloads/). Choose the installer that matches your OS (Windows, macOS, Linux).
Example usage (can be run in the Python REPL or a script):
```python theme={null}
# Simple output (with Unicode)
print("Hello, I'm Python!")
# Input and assignment
name = input('What is your name?\n')
print(f'Hi, {name}.')
```
Verify the Python installation:
```bash theme={null}
python -V
# Example output:
# Python 3.11.4
```
For quick reference, here’s a condensed table of common commands used in this guide:
| Task | Command / Notes |
| -------------------------------- | --------------------------------------------------- |
| Verify Python | `python -V` |
| Create venv (Unix/macOS/Windows) | `python -m venv venv` |
| Activate venv (macOS/Linux) | `source venv/bin/activate` |
| Activate venv (PowerShell) | `.\venv\Scripts\Activate.ps1` |
| Install packages | `pip install openai jupyter` |
| Export API key (bash) | `export OPENAI_API_KEY="sk-REDACTED-YOUR-KEY-HERE"` |
| Temp set API key (PowerShell) | `$env:OPENAI_API_KEY = "sk-REDACTED-YOUR-KEY-HERE"` |
| Start Jupyter | `jupyter notebook` |
## 1) Install Python
Download and install Python 3.10 or later from the official site: [https://www.python.org/downloads/](https://www.python.org/downloads/). Choose the installer that matches your OS (Windows, macOS, Linux).
Example usage (can be run in the Python REPL or a script):
```python theme={null}
# Simple output (with Unicode)
print("Hello, I'm Python!")
# Input and assignment
name = input('What is your name?\n')
print(f'Hi, {name}.')
```
Verify the Python installation:
```bash theme={null}
python -V
# Example output:
# Python 3.11.4
```
 ## 2) pip and creating a virtual environment
Modern Python installers include pip, which you’ll use to install libraries. Always use a virtual environment to isolate dependencies per project.
Create and activate a virtual environment (Unix/macOS):
```bash theme={null}
python -m venv venv
ls
# venv
source venv/bin/activate
# Your shell prompt will indicate the active venv, e.g. (venv) user@host:~$
```
On Windows (PowerShell):
```powershell theme={null}
python -m venv venv
.\venv\Scripts\Activate.ps1
```
Using a venv prevents global package conflicts and makes dependency management reproducible.
## 3) Install the OpenAI Python package and Jupyter
With the virtual environment activated, install the required packages:
```bash theme={null}
pip install openai jupyter
```
If the wheels are cached, pip will reuse them and the install will be fast.
Tip: consider pinning package versions in a `requirements.txt` for reproducible installs:
```text theme={null}
openai==0.xx.x
jupyter
```
Then install via:
```bash theme={null}
pip install -r requirements.txt
```
## 4) Create an OpenAI API key
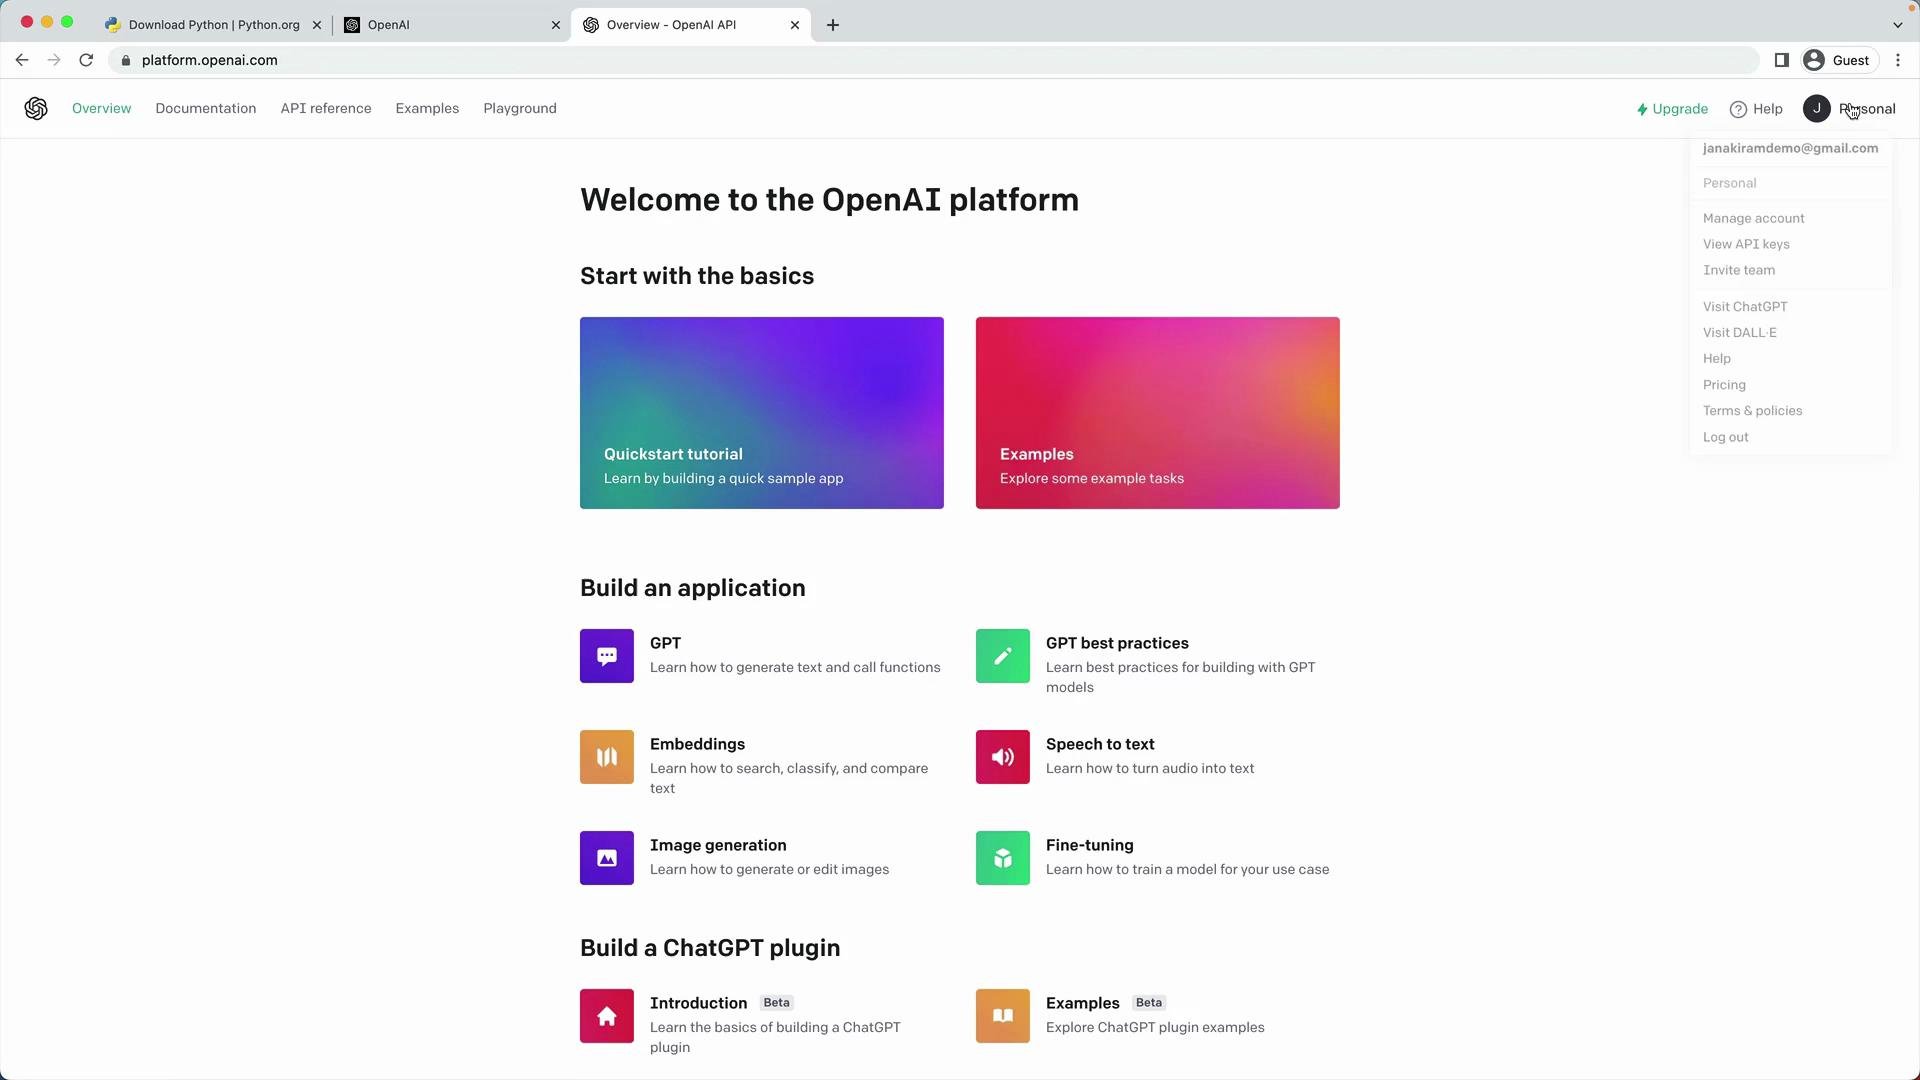
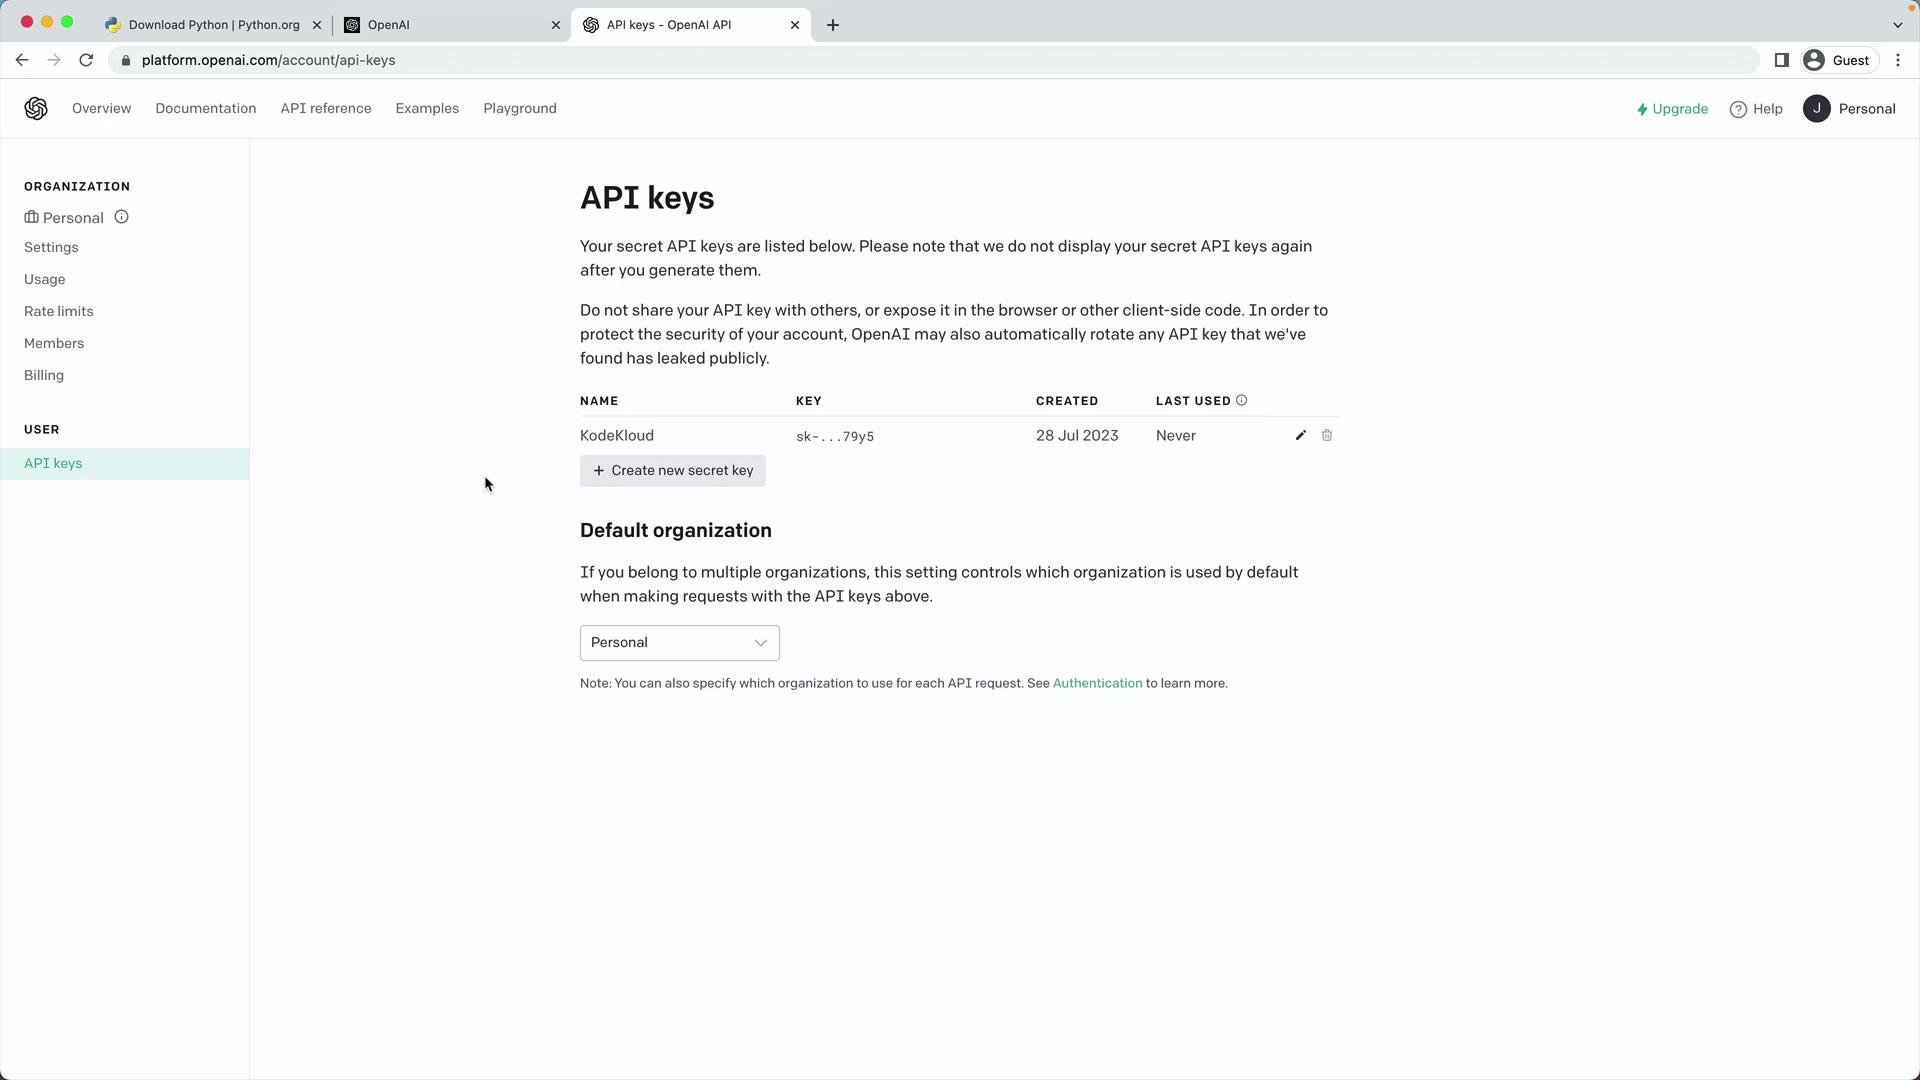
1. Sign in to the OpenAI platform: [https://platform.openai.com/account/api-keys](https://platform.openai.com/account/api-keys)
2. Create a new API key and give it a descriptive name (e.g., `KodeKloud-dev`).
3. Copy the secret value immediately — you will not be able to view the full secret after you close the dialog.
## 2) pip and creating a virtual environment
Modern Python installers include pip, which you’ll use to install libraries. Always use a virtual environment to isolate dependencies per project.
Create and activate a virtual environment (Unix/macOS):
```bash theme={null}
python -m venv venv
ls
# venv
source venv/bin/activate
# Your shell prompt will indicate the active venv, e.g. (venv) user@host:~$
```
On Windows (PowerShell):
```powershell theme={null}
python -m venv venv
.\venv\Scripts\Activate.ps1
```
Using a venv prevents global package conflicts and makes dependency management reproducible.
## 3) Install the OpenAI Python package and Jupyter
With the virtual environment activated, install the required packages:
```bash theme={null}
pip install openai jupyter
```
If the wheels are cached, pip will reuse them and the install will be fast.
Tip: consider pinning package versions in a `requirements.txt` for reproducible installs:
```text theme={null}
openai==0.xx.x
jupyter
```
Then install via:
```bash theme={null}
pip install -r requirements.txt
```
## 4) Create an OpenAI API key
1. Sign in to the OpenAI platform: [https://platform.openai.com/account/api-keys](https://platform.openai.com/account/api-keys)
2. Create a new API key and give it a descriptive name (e.g., `KodeKloud-dev`).
3. Copy the secret value immediately — you will not be able to view the full secret after you close the dialog.
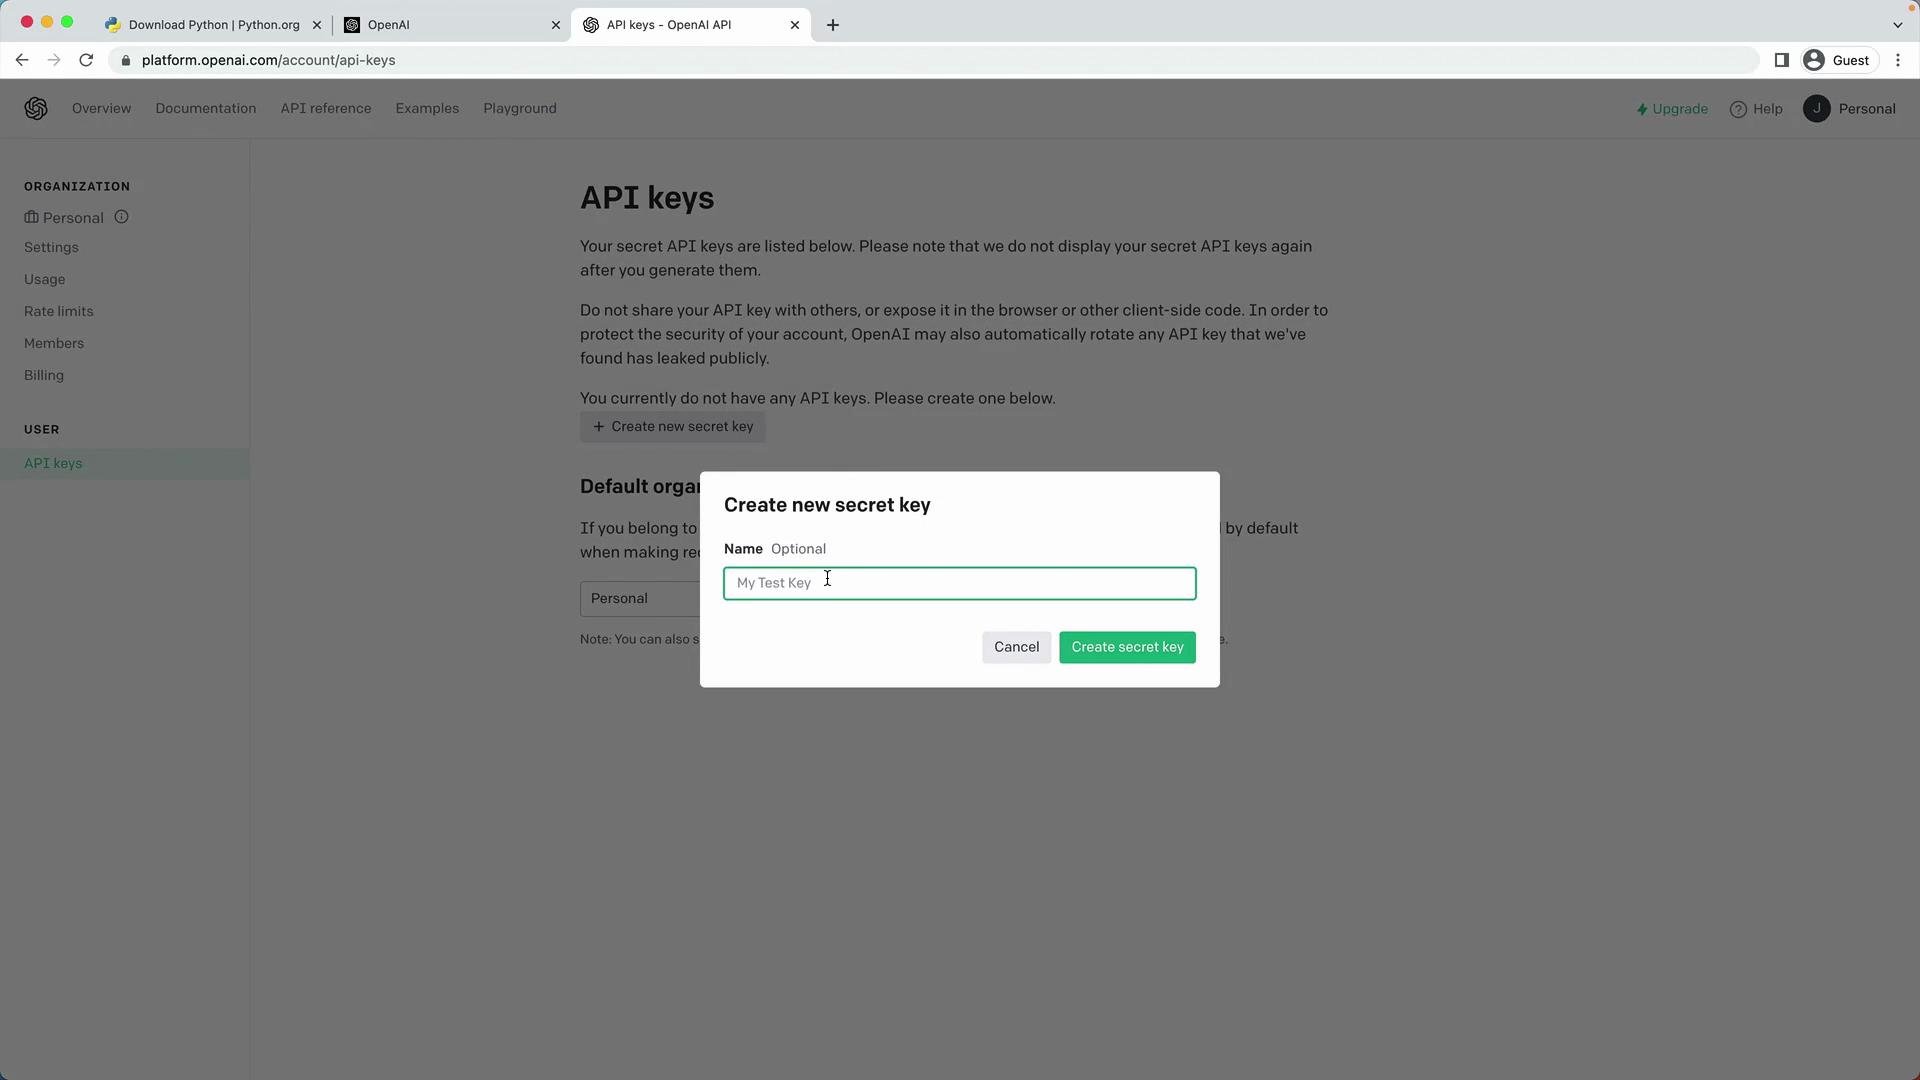 Keep your API key secret. Copy it now because you will not be able to see it again after closing the creation dialog.
Example: export the key for the current shell session (do not paste a real key here — use the key you copied):
```bash theme={null}
# Bash / macOS / Linux
export OPENAI_API_KEY="sk-REDACTED-YOUR-KEY-HERE"
```
For PowerShell (temporary for the session):
```powershell theme={null}
$env:OPENAI_API_KEY = "sk-REDACTED-YOUR-KEY-HERE"
```
To persist the key across sessions:
* Add the export line to your shell startup file (e.g., `~/.bashrc`, `~/.zshrc`) on macOS/Linux.
* Or add the PowerShell line to your PowerShell profile for Windows.
Keep your API key secret. Copy it now because you will not be able to see it again after closing the creation dialog.
Example: export the key for the current shell session (do not paste a real key here — use the key you copied):
```bash theme={null}
# Bash / macOS / Linux
export OPENAI_API_KEY="sk-REDACTED-YOUR-KEY-HERE"
```
For PowerShell (temporary for the session):
```powershell theme={null}
$env:OPENAI_API_KEY = "sk-REDACTED-YOUR-KEY-HERE"
```
To persist the key across sessions:
* Add the export line to your shell startup file (e.g., `~/.bashrc`, `~/.zshrc`) on macOS/Linux.
* Or add the PowerShell line to your PowerShell profile for Windows.
 Do not commit your API key to version control or paste it into public forums. Use environment variables or a secrets manager for production applications.
## 5) Test the API from the command line (curl)
Use curl to verify the environment and the `OPENAI_API_KEY` variable. This example calls the Chat Completions endpoint (gpt-3.5-turbo) and asks a simple timezone question.
```bash theme={null}
curl https://api.openai.com/v1/chat/completions \
-H "Content-Type: application/json" \
-H "Authorization: Bearer $OPENAI_API_KEY" \
-d '{
"model": "gpt-3.5-turbo",
"messages": [
{
"role": "system",
"content": "You are a helpful AI assistant that answers questions related to timezones."
},
{
"role": "user",
"content": "If it is 9AM in London, what time is it in Hyderabad? Be concise."
}
]
}'
```
A typical (abridged) JSON response:
```json theme={null}
{
"id": "chatcmpl-7hDVmftC9Jqr7aLxW01vXdxJq5D1i",
"object": "chat.completion",
"created": 1690534398,
"model": "gpt-3.5-turbo-0613",
"choices": [
{
"index": 0,
"message": {
"role": "assistant",
"content": "2:30 PM in Hyderabad"
},
"finish_reason": "stop"
}
],
"usage": {
"prompt_tokens": 43,
"completion_tokens": 6,
"total_tokens": 49
}
}
```
Understanding the `usage` block (prompt\_tokens, completion\_tokens, total\_tokens) helps you optimize prompts and control costs.
## 6) Test from a Jupyter notebook (Python)
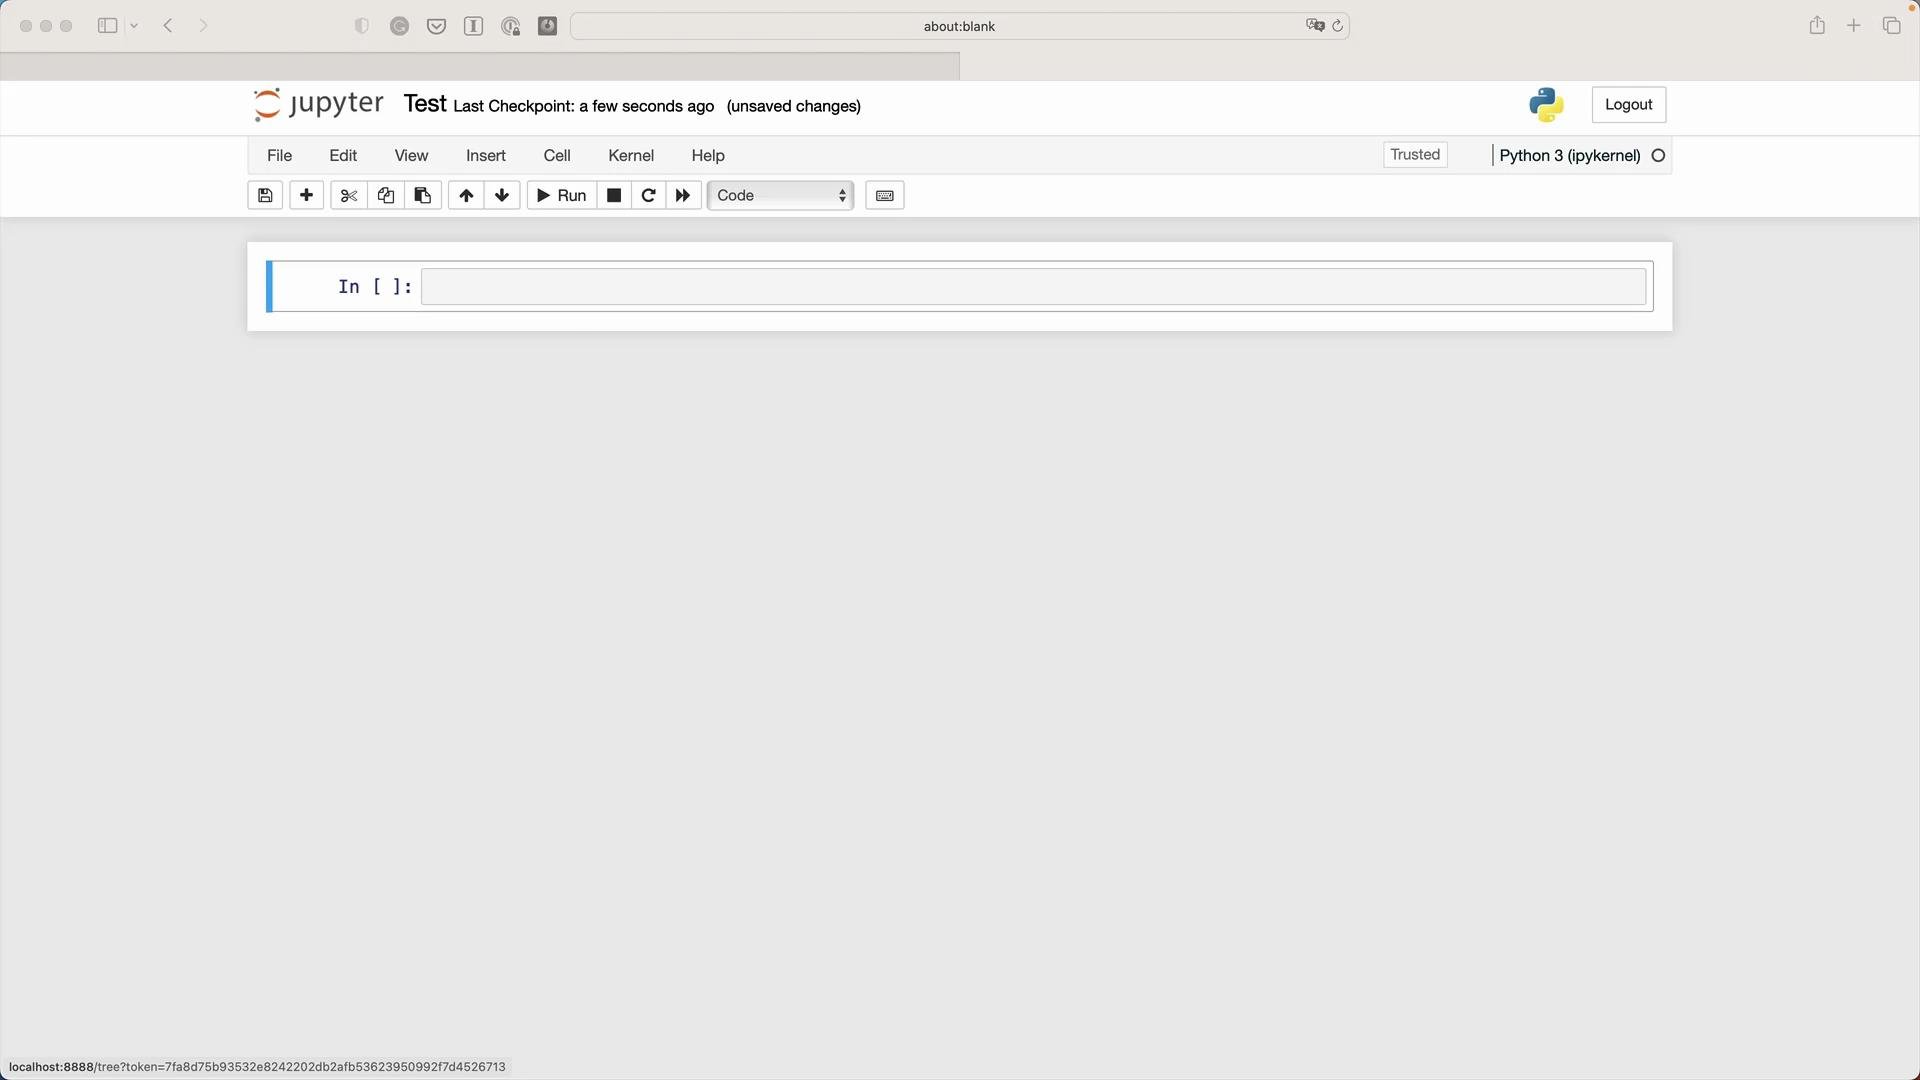
Start Jupyter:
```bash theme={null}
jupyter notebook
```
Open a new notebook (e.g., "Test") and run this code in a cell. The code reads the API key from the environment and uses the OpenAI Python client to create a chat completion.
Do not commit your API key to version control or paste it into public forums. Use environment variables or a secrets manager for production applications.
## 5) Test the API from the command line (curl)
Use curl to verify the environment and the `OPENAI_API_KEY` variable. This example calls the Chat Completions endpoint (gpt-3.5-turbo) and asks a simple timezone question.
```bash theme={null}
curl https://api.openai.com/v1/chat/completions \
-H "Content-Type: application/json" \
-H "Authorization: Bearer $OPENAI_API_KEY" \
-d '{
"model": "gpt-3.5-turbo",
"messages": [
{
"role": "system",
"content": "You are a helpful AI assistant that answers questions related to timezones."
},
{
"role": "user",
"content": "If it is 9AM in London, what time is it in Hyderabad? Be concise."
}
]
}'
```
A typical (abridged) JSON response:
```json theme={null}
{
"id": "chatcmpl-7hDVmftC9Jqr7aLxW01vXdxJq5D1i",
"object": "chat.completion",
"created": 1690534398,
"model": "gpt-3.5-turbo-0613",
"choices": [
{
"index": 0,
"message": {
"role": "assistant",
"content": "2:30 PM in Hyderabad"
},
"finish_reason": "stop"
}
],
"usage": {
"prompt_tokens": 43,
"completion_tokens": 6,
"total_tokens": 49
}
}
```
Understanding the `usage` block (prompt\_tokens, completion\_tokens, total\_tokens) helps you optimize prompts and control costs.
## 6) Test from a Jupyter notebook (Python)
Start Jupyter:
```bash theme={null}
jupyter notebook
```
Open a new notebook (e.g., "Test") and run this code in a cell. The code reads the API key from the environment and uses the OpenAI Python client to create a chat completion.
 ```python theme={null}
import os
import openai
openai.api_key = os.getenv("OPENAI_API_KEY")
response = openai.ChatCompletion.create(
model="gpt-3.5-turbo",
messages=[
{
"role": "system",
"content": "You are a helpful AI assistant that answers questions related to timezones."
},
{
"role": "user",
"content": "If it is 9AM in London, what time is it in Hyderabad? Be concise."
}
]
)
print(response)
```
Example returned JSON (abridged):
```json theme={null}
{
"id": "chatcmpl-7hDXEkgRe0PrrmFlawWjKjxAraTNE",
"object": "chat.completion",
"model": "gpt-3.5-turbo-0613",
"choices": [
{
"message": {
"role": "assistant",
"content": "It is 2:30 PM in Hyderabad."
}
}
],
"usage": {
"prompt_tokens": 43,
"completion_tokens": 10,
"total_tokens": 53
}
}
```
This confirms:
* Command-line access with curl is functional.
* Python access via the OpenAI client works inside Jupyter.
* The `OPENAI_API_KEY` environment variable is being used correctly.
Next steps: we will dive deeper into tokenization, prompt design, and cost optimization for production-ready applications.
## Links and references
* [OpenAI API Keys & Usage](https://platform.openai.com/account/api-keys)
* [Python Downloads](https://www.python.org/downloads/)
* [Jupyter Documentation](https://jupyter.org/documentation)
```python theme={null}
import os
import openai
openai.api_key = os.getenv("OPENAI_API_KEY")
response = openai.ChatCompletion.create(
model="gpt-3.5-turbo",
messages=[
{
"role": "system",
"content": "You are a helpful AI assistant that answers questions related to timezones."
},
{
"role": "user",
"content": "If it is 9AM in London, what time is it in Hyderabad? Be concise."
}
]
)
print(response)
```
Example returned JSON (abridged):
```json theme={null}
{
"id": "chatcmpl-7hDXEkgRe0PrrmFlawWjKjxAraTNE",
"object": "chat.completion",
"model": "gpt-3.5-turbo-0613",
"choices": [
{
"message": {
"role": "assistant",
"content": "It is 2:30 PM in Hyderabad."
}
}
],
"usage": {
"prompt_tokens": 43,
"completion_tokens": 10,
"total_tokens": 53
}
}
```
This confirms:
* Command-line access with curl is functional.
* Python access via the OpenAI client works inside Jupyter.
* The `OPENAI_API_KEY` environment variable is being used correctly.
Next steps: we will dive deeper into tokenization, prompt design, and cost optimization for production-ready applications.
## Links and references
* [OpenAI API Keys & Usage](https://platform.openai.com/account/api-keys)
* [Python Downloads](https://www.python.org/downloads/)
* [Jupyter Documentation](https://jupyter.org/documentation)